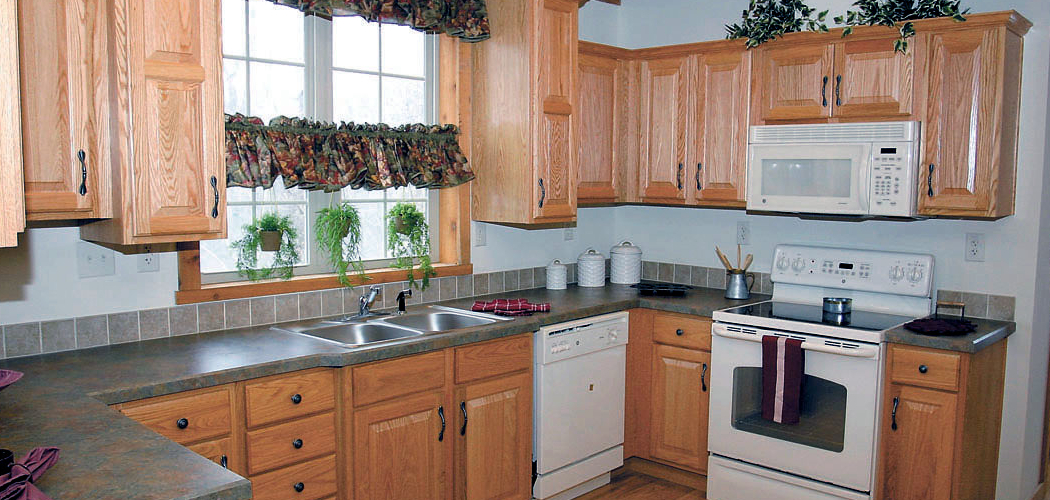
A leaky kitchen sink can be a frustrating and inconvenient problem, often resulting in water damage, mold growth, and increased water bills. Understanding how to identify the source of the leak and effectively resolve it is essential for maintaining a functional and clean kitchen environment.
In this guide on how to fix leak under kitchen sink, we will walk you through the common causes of leaks under kitchen sinks and provide step-by-step instructions for fixing them.
Whether you’re a seasoned DIYer or a novice, these tips will empower you to tackle the issue with confidence and restore your sink to working order.
Why is My Kitchen Sink Leaking?
Before jumping into the solutions, it is important to understand why your kitchen sink might be leaking. Here are some of the most common causes:
Loosened or Damaged Connections:
Over time, the pipes and fittings under your sink can become loose due to regular use or wear and tear. This can cause leaks from the joints or connections between pipes. Damaged or worn-out seals and gaskets can also contribute to leaks.
Clogged Drainage System:
A clog in the drain pipe can result in water backup, leading to leaks under the sink. This is often caused by food particles, grease, hair, or other debris that accumulates over time.
Cracked or Broken Pipes:
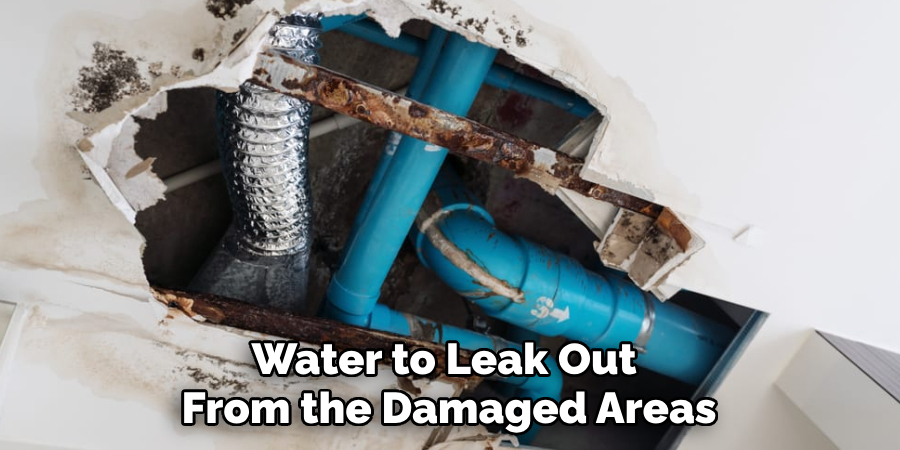
Pipes made of PVC, copper, or galvanized steel can crack or break due to age, corrosion, high water pressure, or sudden impacts. This can cause water to leak out from the damaged areas.
8 Step-by-step Guidelines on How to Fix Leak Under Kitchen Sink
Step 1: Identify the Source of the Leak
The first step in fixing a leak under your kitchen sink is to accurately identify where the leak is coming from. Begin by thoroughly inspecting all visible pipes and connections under the sink.
Look for signs of moisture or water pooling, which can indicate the leak’s location. Check the connections where pipes meet, including the drain assembly and the water supply lines.
If the area is dry, you may need to wipe down the pipes with a cloth to see if any water appears after a few moments.
Additionally, you can run the faucet and observe if the leak appears while water is flowing. By pinpointing the source, you’ll be better equipped to select the appropriate repair method for the issue.
Step 2: Turn off the Water Supply
Once you’ve identified the source of the leak, it’s crucial to turn off the water supply before proceeding with any repairs.
Locate the shut-off valves under the sink, which are usually found along the water supply lines leading to the faucet. Turn the valves clockwise until they are completely closed to stop the flow of water.
If you can’t find individual shut-off valves, you may need to turn off the main water supply for your home.
Doing this will ensure that you can work safely and prevent any further water damage while conducting the repair. After the water supply is shut off, you can start preparing to fix the leak.
Step 3: Tighten Loose Connections
If the leak is coming from a loose or faulty connection, tightening the pipes may be all that’s needed to stop it. Use an adjustable wrench or pliers to tighten any loose fittings and connections.
Be careful not to over-tighten as this can cause further damage. If you notice any damaged gaskets or seals while inspecting the connections, they will need to be replaced.
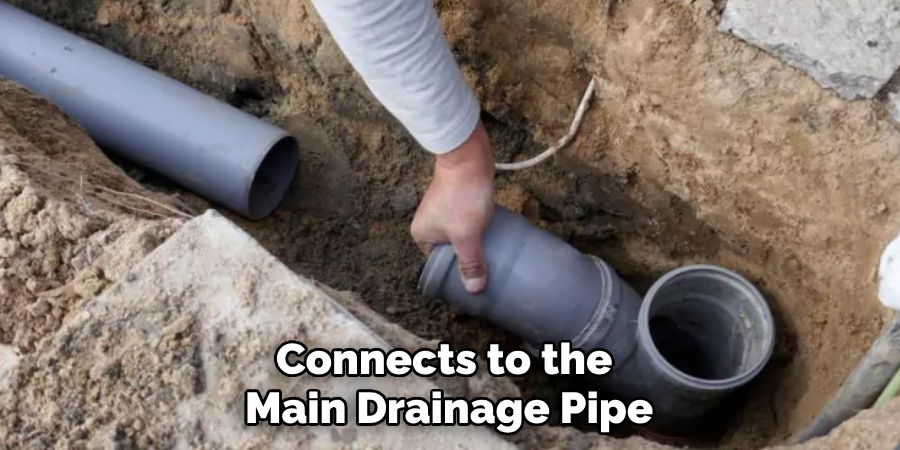
The sink drain assembly, which connects to the main drainage pipe, is another common source of leaks. You can tighten this by hand or use a pair of pliers if needed. If tightening doesn’t solve the issue, you may need to replace the gaskets or seals.
Step 4: Clean and Clear Clogs
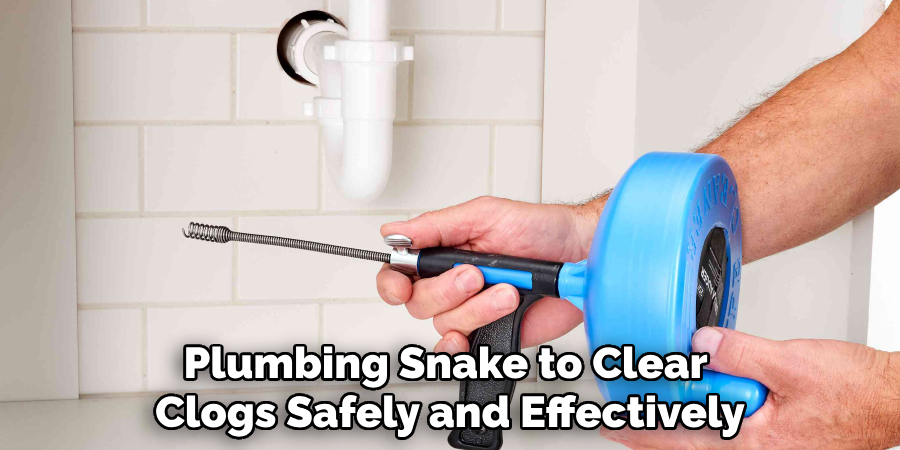
For leaks caused by clogged pipes, it’s essential to clear out any debris that may be obstructing the water flow. Start by using a plunger to break up and clear away any blockages in the drain pipe. For stubborn clogs, a plumbing snake can help dislodge and remove any trapped materials.
Once you’ve cleared the clog, run hot water down the drain to flush out any remaining residue. This will help prevent future clogs and keep your pipes in good condition.
Step 5: Patch Cracked or Damaged Pipes
If you’ve identified a cracked or damaged pipe as the source of the leak, it’s important to patch or replace it right away. To fix small cracks, you can use waterproof tape or epoxy putty that’s specifically designed for plumbing repairs.
For larger cracks or holes, you may need to cut out the damaged section and replace it with a new piece of pipe. Make sure to use materials that are compatible with your existing plumbing system and follow proper installation procedures.
Step 6: Address Corroded Pipes
Corroded pipes can significantly contribute to leaks under your kitchen sink. If you notice signs of corrosion, such as discoloration, flaking, or pitting on the surface of the pipes, it’s crucial to address the issue promptly.
Start by turning off the water supply to prevent any further leaks during the repair process. For minor corrosion, you can clean the affected area using a wire brush to remove rust and debris, then apply a rust-inhibiting sealing compound to protect the pipe.
However, if the corrosion is extensive and has compromised the integrity of the pipe, it’s advisable to replace the entire section with a new pipe made from a corrosion-resistant material, such as PVC or PEX.
Ensure proper fittings are used for seamless integration with your existing plumbing system. After addressing the corroded pipes, re-check all connections and seals for leaks before restoring the water supply.
Step 7: Test for Leaks
After completing the necessary repairs, it’s vital to test for leaks before turning the water supply back on. Start by running water through the faucet and inspecting all connections and pipes for any signs of leakage.
If you notice any leaks, tighten or adjust the fittings as needed. Once you are confident that there are no more leaks, turn on the water supply and run water through both hot and cold settings to ensure everything is in proper working order.
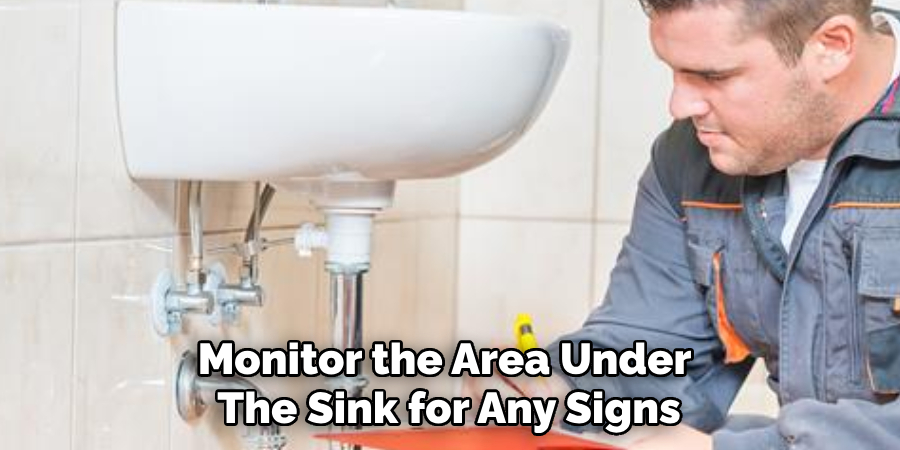
You can also monitor the area under the sink for any signs of moisture or water pooling over the next few days to ensure that the leak has been fully remedied.
Step 8: Maintenance and Prevention
Regular maintenance is crucial in preventing leaks under your kitchen sink. Routinely check all pipes, connections, and fittings for any signs of wear or damage. Clean out drains and traps regularly to prevent clogs from forming.
Additionally, be mindful of what you put down your garbage disposal, as certain items can cause clogs or damage to your pipes. Avoid pouring grease or oils down the drain, as they can solidify and cause blockages. Hair catchers can also help prevent hair from accumulating in the pipes and causing clogs.
By following these steps on how to fix leak under kitchen sink and practicing proper maintenance, you can effectively address and prevent leaks under your kitchen sink.
Remember to always turn off the water supply before attempting any repairs, and if a leak seems too complicated or extensive, it’s best to call a professional plumber for assistance. Your kitchen sink will be leak-free and functioning properly in no time!
Frequently Asked Questions
Q1: Can I Use Regular Tape to Patch a Leak Under My Kitchen Sink?
No, regular tape is not waterproof and will not effectively seal the leak. It’s essential to use materials specifically designed for plumbing repairs, such as waterproof tape or epoxy putty.
Q2: How Often Should I Check for Leaks Under My Kitchen Sink?
It’s recommended to check for leaks at least once a month and to incorporate it into your regular kitchen maintenance routine. However, if you notice any signs of a leak, such as water damage or mold growth, conduct an inspection immediately.
Q3: Can I Use Chemical Drain Cleaners to Clear Clogs in My Kitchen Sink?
Chemical drain cleaners can be harsh and may cause further damage to your pipes. It’s best to use natural alternatives like baking soda and vinegar or a plumbing snake to clear clogs safely and effectively. If the clog persists, it’s best to call a professional plumber for assistance.
Conclusion
By following the outlined steps on how to fix leak under kitchen sink, homeowners can effectively identify, address, and prevent leaks under their kitchen sink. Regular maintenance and prompt attention to minor issues can save significant time, money, and inconvenience in the long run.
Always remember to prioritize safety by turning off the water supply before beginning any repairs, and don’t hesitate to seek professional help for complex plumbing problems. With these practices in place, you can ensure your kitchen remains a functional and leak-free space.

