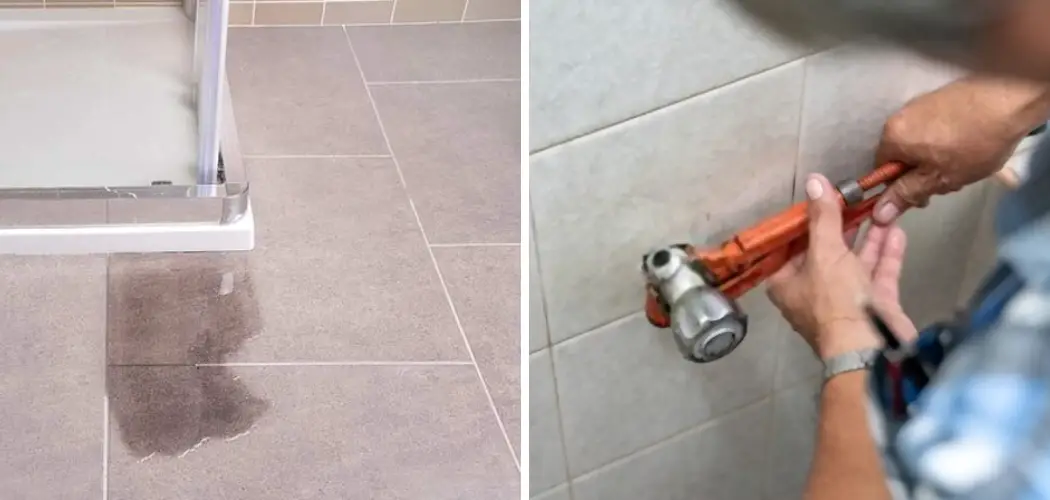
Are you tired of dealing with wet, slippery bathroom floors due to a leaking shower? Are you worried about the damage it may cause to your walls and flooring?
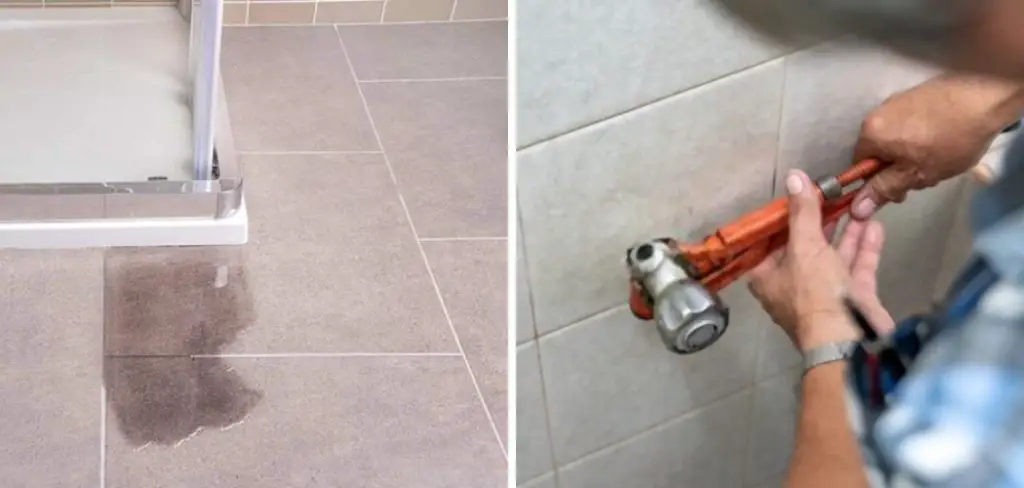
How to fix leaking shower without removing tiles can seem like a daunting task, but with the right approach and tools, it is entirely achievable. Leaks can not only waste water but also lead to mold growth and damage to surrounding areas if left untreated. This guide will cover common causes of shower leaks and step-by-step instructions to help you identify the source and implement effective repairs.
By addressing the issue promptly and directly, you can restore the functionality of your shower while preserving your bathroom’s aesthetic appeal. Whether it’s a faulty seal, worn-out fixtures, or issues with your grout, our tips will equip you with the knowledge you need to tackle the job efficiently.
What Will You Need?
Before you begin, gather all the necessary tools and materials to save time and ensure a smooth repair process. Here’s a list of items that you may require:
- Screwdriver
- Caulking gun
- Grout saw
- Silicone caulk
- Replacement tiles (if needed)
- Tile adhesive (if required)
- Waterproofing solution or sealant
- Cleaning supplies (sponge, cloth, etc.)
It’s always best to have these items ready before starting any repairs to avoid interruptions.
10 Easy Steps on How to Fix Leaking Shower Without Removing Tiles
Step 1: Identify the Source of the Leak
Start by carefully inspecting your shower for any visible signs of water leakage. Look for damp spots on walls, the ceiling below (if applicable), or around fixtures. Pay special attention to the grout lines and seals around faucets and showerheads, as these are common culprits for leaks. Ensure the shower is turned off during your inspection to get an accurate reading of where the water might be seeping from.

Step 2: Check the Showerhead and Faucet
Once you’ve identified potential leak sources, the next step is to inspect your showerhead and faucet. Begin by tightening loose connections with a screwdriver, as even a slightly loose fitting can cause water to seep. If your showerhead has a build-up of mineral deposits, consider soaking it in a vinegar solution to remove the residue, which can hinder proper sealing. For the faucet, turn it on and off to see if there are any drips. If you notice water dripping from either the showerhead or faucet when they are off, it may be time to replace the washers or O-rings inside, which often cause leaks.
Step 3: Inspect the Grout and Caulk
After checking the showerhead and faucet, focus on the grout and caulk around your enclosure. Look for any cracks, gaps, or signs of wear in the grout lines between tiles and around the edges of the tub or shower base. If you find any damaged areas, removing the old grout or caulk using a grout saw or utility knife to create a clean surface for reapplication is crucial. This will help ensure a watertight seal, preventing future leaks from occurring.
Step 4: Reapply Grout or Caulk
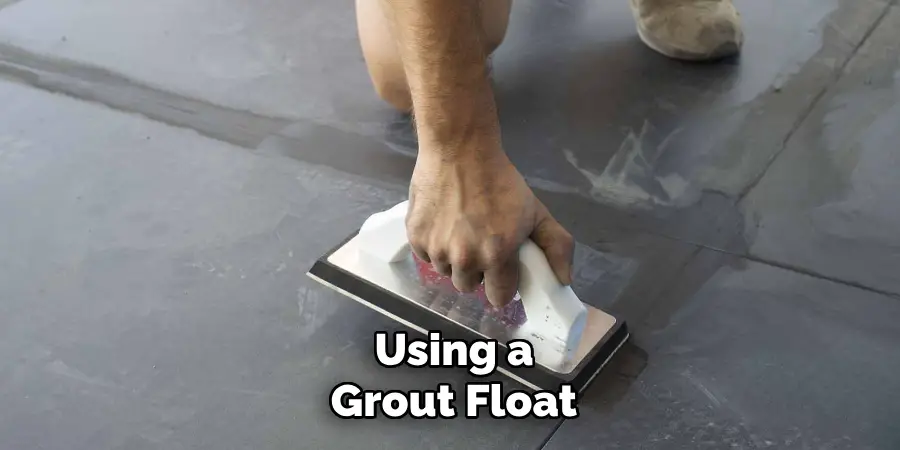
Once you have removed the compromised grout or caulk, it’s time to reapply to restore the waterproof barrier of your shower. For grout, mix the new grout according to the manufacturer’s instructions, ensuring a smooth and consistent texture. Using a grout float, carefully press the new grout into the gaps between tiles, filling in any voids completely. It’s important to work methodically, avoiding any excess grout on the tile surfaces that will require cleaning later.
For caulking, select a high-quality silicone caulk specifically designed for bathroom use, as it offers superior resistance to moisture and mold. Load the caulk into a caulking gun and apply a steady bead along the seams between the tub or shower base and the wall and around any fixtures and edges.
Use your finger or a caulk tool to smooth out the bead, ensuring it adheres properly and creates a neat finish. Allow sufficient curing time as specified by the manufacturer before using the shower, typically 24 hours, to guarantee that your repairs effectively seal any potential leak paths and restore your shower’s integrity.
Step 5: Test for Leaks
After allowing the new grout or caulk to cure completely, testing your repairs for any remaining leaks is essential. Turn on the shower and let the water run for a few minutes, observing the newly sealed areas for any signs of moisture. Check around fixtures, grout lines, and caulked seams to ensure everything is watertight. If you notice any new leaks, you may need to apply additional caulk or grout in those areas for better coverage.
Step 6: Clean Up
Once you’ve tested your repairs and confirmed no leaks, it’s time to clean up the work area. Start by carefully removing any excess grout or caulk that may have accidentally gotten onto the tile surfaces during application. A damp sponge or cloth can be effective for this purpose; ensure you wipe in a way that does not disturb the fresh seals. Dispose of any debris and used materials correctly to maintain a tidy workspace.
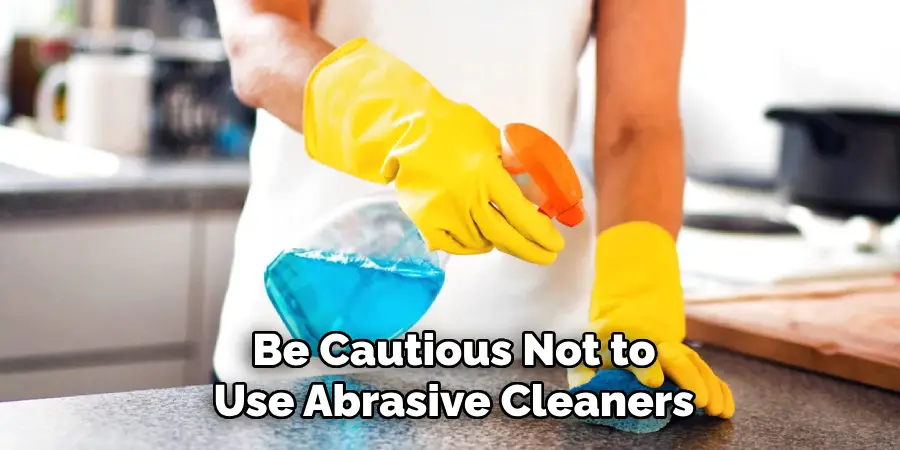
Next, take the opportunity to clean the rest of your shower area. A mix of warm water and a mild cleaning solution can help remove any soap scum or mildew that may have accumulated. Be cautious not to use abrasive cleaners that could damage the new grout or caulk.
After cleaning, inspect the area one last time to ensure everything looks polished and professionally finished. This step not only enhances your shower’s appearance but also helps create a clean environment that discourages the growth of mold and mildew. Finally, place any items back in the shower and enjoy your newly functional, leak-free space!
Step 7: Regular Maintenance
To ensure your shower remains leak-free, it’s vital to incorporate regular maintenance into your routine. Periodically check the caulk and grout for signs of wear or damage, especially after exposure to water or cleaning products. Schedule a deep cleaning of your shower at least once a month, focusing on grout lines and caulk seams to prevent the build-up of soap scum and mildew, which can compromise the integrity of your repairs.
Additionally, consider applying a waterproof sealant to the grout every six months for added protection. By staying proactive with maintenance, you can extend the lifespan of your repairs and keep your shower in optimal condition, avoiding future leaks.
Step 8: Seek Professional Help
If you’ve followed the previous steps and still notice persistent leaks, it may be time to consult a professional plumber. Persistent leaks can sometimes indicate more significant underlying issues, such as plumbing problems behind the walls or within the plumbing system itself.
A qualified plumber can conduct a thorough inspection, use specialized equipment to detect hidden leaks and provide expert solutions for repairs that may be beyond the scope of DIY fixes. Investing in professional assistance can save you time, stress, and potential further damage to your home, ensuring a long-lasting resolution to any leakage issues in your shower.
Step 9: Document your Repairs
After completing your repairs and maintenance, it’s helpful to document the work you’ve done. Keep a record of the dates when you performed each task, along with notes on any materials used and any observations regarding the condition of your shower. This documentation can serve as a reference for future repairs and regular maintenance schedules.

Additionally, if you ever need to involve a professional, having detailed records of your attempts to address the issue can provide valuable context. Maintaining a log ensures you stay informed about your shower’s history and aids in identifying recurring problems early on.
Step 10: Consider Upgrading Your Fixtures
If your shower continues to experience issues despite diligent maintenance and repairs, consider upgrading your fixtures. Older faucets, showerheads, and valves can contribute to leaks and inefficiencies. Investing in modern, water-efficient fixtures not only enhances the functionality of your shower but also reduces water usage, which can lead to savings on your utility bills.
When selecting new fixtures, look for high-quality products that offer warranties for added peace of mind. Additionally, while upgrading, ensure that all new components are compatible with your current plumbing system, or consult a professional for installation to ensure a proper fit and function. An upgrade can breathe life into your shower, providing a fresher aesthetic and improved performance.
Following these ten steps, you can effectively address and prevent leaks in your shower, keeping your bathroom space functional, safe, and leak-free.
Conclusion
In summary, how to fix leaking shower without removing tiles is entirely feasible with a systematic approach.
By thoroughly identifying the source of the leak, applying high-quality grout or caulk, and ensuring proper curing and sealing, you can significantly enhance the integrity of your shower. Regular maintenance is vital in preventing future leaks, and documenting your repairs assists with tracking the condition of your shower. Should issues persist, seeking professional help or upgrading fixtures can provide long-term solutions.
By following these steps, you can maintain a functional and visually appealing shower space without requiring extensive renovations.

