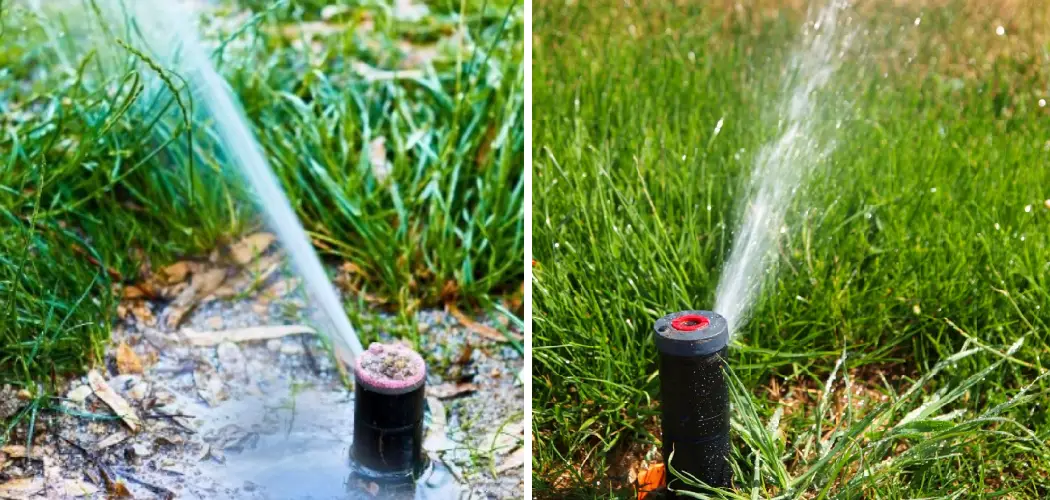
If you have an irrigation system, the last thing you want is to deal with a leaking sprinkler valve. Not only does it waste water, but it can also damage your landscape, increase your water bill, and cause other significant problems. Fixing it can be intimidating, especially if you don’t know what to do.
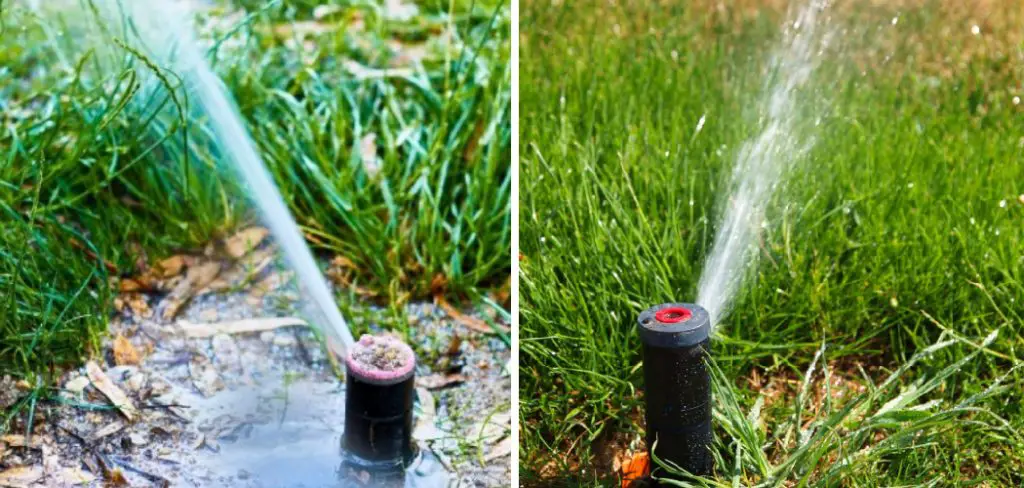
However, with the right tools and knowledge, you can easily repair the valve and get your sprinkler system back to work. In this post, we’ll provide you with a step-by-step guide on how to fix leaking sprinkler valve and save you from spending money on hiring a professional.
Can You Fix the Leaking Sprinkler Valve?
When you notice that your sprinkler system isn’t working properly, pinpointing the problem’s source can be frustrating. One common issue that crops up is a leaking sprinkler valve. This pesky little valve can cause your system to lose pressure and ultimately impact the efficiency of your irrigation process.
While the thought of fixing a sprinkler valve might seem daunting, fear not – with a little bit of know-how and some elbow grease, you can get your sprinkler system up and running in no time. So put on your DIY hat and get ready to tackle that leaking valve head-on!
Why Should You Fix the Leaking Sprinkler Valve?
A leaking sprinkler valve may seem like a minor inconvenience, but it can actually cause significant damage to your landscape and wallet. As the water continues to leak, it can create muddy areas and cause erosion in the soil.
The excess water can also attract pests and insects that can harm your plants. Not to mention, the consistently running water can easily spike up your water bill. By fixing the leaking sprinkler valve, you save money and protect your beautiful landscape from any unwanted damage. Don’t let a small problem turn into a big one. Take action and fix the leaking sprinkler valve today.
7 Steps to Follow on How to Fix Leaking Sprinkler Valve
Step 1: Assess the Problem
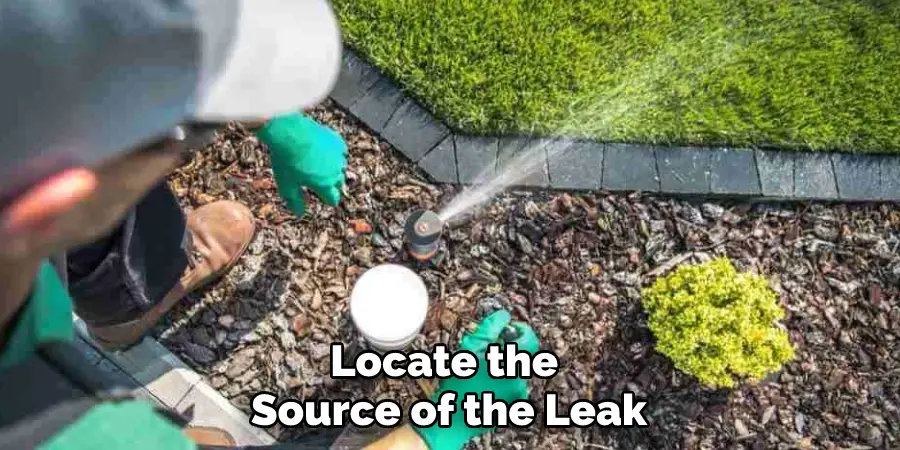
Before you start repairing the valve, you must first locate the source of the leak. Sometimes the leak may not be visible, and you’ll need to turn on the system and observe the valve to determine the leakage. The most common signs of a faulty valve include low pressure, no water at all, and water coming out of unintended areas. Once you identify the leak, you should look for the appropriate water supply lines and shut off the water to the sprinkler system.
Step 2: Disassemble the Valve
After cutting off the water supply, the next step is to detach the valve from the manifold. First, remove the solenoid, usually a small cylindrical part above the valve’s chamber. Next, take out the screws that connect the valve to the manifold using a screwdriver. Unscrew the bleed screw, the bolt that is near the top of the valve, to release the water pressure. Be sure to keep all the screws, bolts, and washers together for reassembly.
Step 3: Inspect and Replace Parts
Once you open up your valve, it’s essential to examine the internal parts to see if there are any cracks or worn-out components. If you notice any damaged parts, then you need to replace them.
Commonly damaged parts include the diaphragm, a rubber piece separating the upper and lower chambers, and the solenoid if it’s corroded. If you don’t have a replacement part, you can take the damaged part to the nearest hardware store or order online for a replacement.
Step 4: Reassemble and Test the Valve
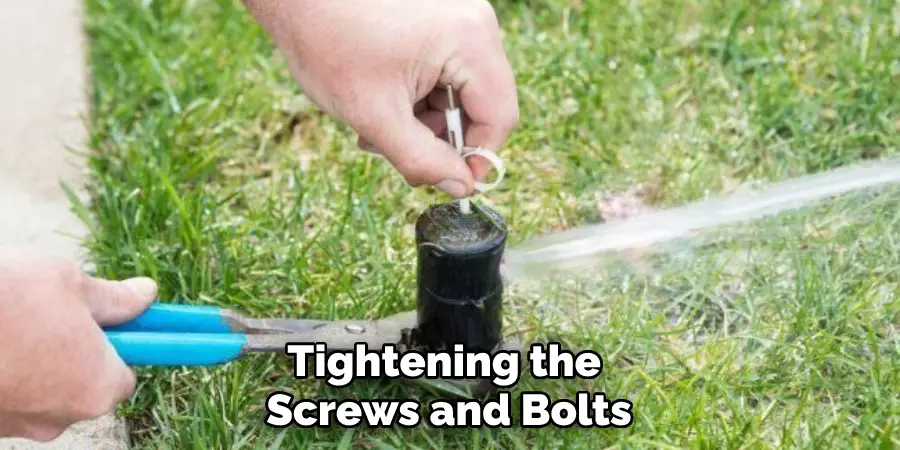
After replacing the broken parts, reassemble the valve by following the manual. Start by attaching the solenoid back to the top of the valve, tightening the screws and bolts in the correct order, and closing the bleed screw. Turn on the water supply and test the valve by turning on the sprinkler system. Observe the repaired valve for any leaks and if it’s working properly.
Step 5: Regular Maintenance
After repairing a leaking sprinkler valve, you need to implement a routine maintenance schedule to prevent further issues. Regular inspection and cleaning of the valve’s components can prevent the accumulation of debris, which can lead to blockages and other damages. Regular inspection can also detect and fix small leaks before they become significant. It’s recommendable to check your sprinkler system’s valves before turning it on and shutting it off in every irrigation season.
Step 6: Reposition the Valve if Needed
If you observe any leaks in your repaired sprinkler valve, it could indicate an incorrect positioning. The pressure of the water may be pushing the valve away from its ideal spot and creating a leak. To fix this issue, ensure the valve is level with the ground and firmly secured.
Step 7: Troubleshoot the Valve
If you’ve followed all the steps and your valve is still leaking, then there might be an issue with the wiring or controller settings. Check the electrical components of your system, such as disconnects, breakers, and circuits to make sure they’re all in the right spot.
Additionally, check your controller settings and make sure there are no obstructions between the valve and the controller. If these steps don’t help, consider calling a professional to have a look at your system.
These are seven important steps on how to fix leaking sprinkler valve. Regular maintenance and troubleshooting of the wiring and controller settings can help you avoid future issues with your sprinkler system. If none of these steps work, then it’s best to call a professional for help. With the right knowledge and skills, you’ll have no problem fixing a leaking sprinkler valve in no time!
5 Considerations Things When You Need to Fix a Leaking Sprinkler Valve
1. Determine the Cause of the Leak
The first step in fixing a leaking sprinkler valve is to determine the cause of the leak. There are several possible causes, such as a broken seal or a clogged valve, so it is important to identify the root cause before attempting to fix the problem.
2. Turn Off the Water Supply
Once you have determined the cause of the leak, you will need to turn off the water supply to the sprinkler system. This can usually be done by turning off the main water valve to the house or business.
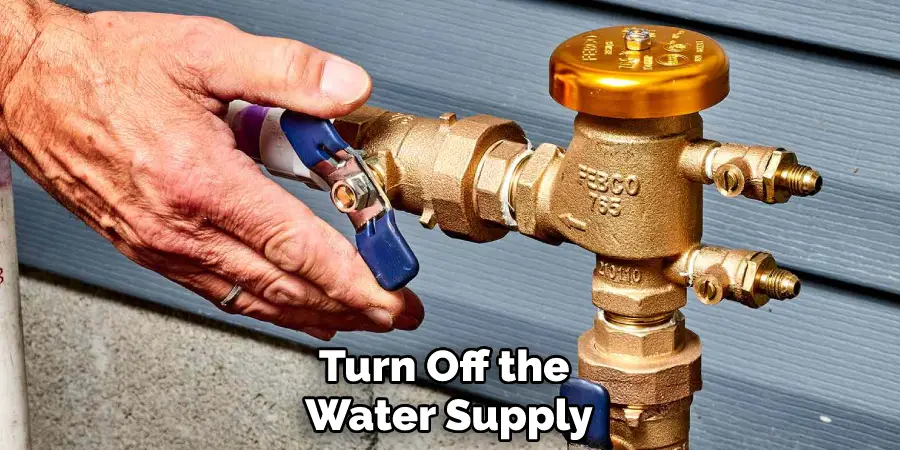
3. Repair or Replace the Broken Part
Once you have turned off the water supply, you can repair or replace the broken part causing the leak. If you are replacing a broken seal, you will need to purchase a new one from a hardware store or online retailer.
4. Turn on the Water Supply and Test the System
After you have repaired or replaced the broken part, you will need to turn on the water supply and test the system to make sure that it is working properly. If everything is working correctly, you can turn on the sprinklers and allow them to run as normal.
5. Schedule Regular Maintenance Checks
It is important to schedule regular maintenance checks for your sprinkler system to prevent future leaks. This will allow you to identify any potential problems before they become serious and cause extensive damage.
4 Common Mistakes People Make When Trying to Fix a Leaking Sprinkler Valve
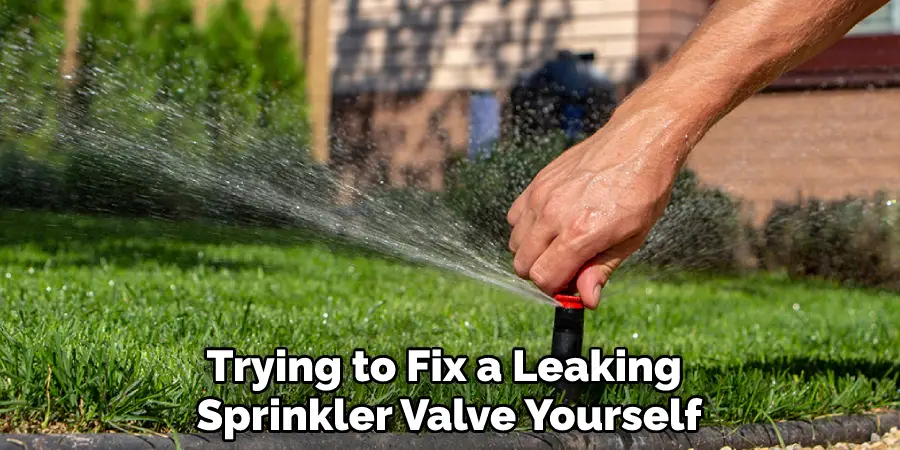
1. Trying to Fix It Yourself
The first mistake people make when they have a leaking sprinkler valve is trying to fix it themselves. While it may seem like a simple problem, fixing a leaking sprinkler valve can be quite difficult and even dangerous if you don’t know what you’re doing. If you’re not experienced in plumbing, it’s best to leave this job to the professionals.
2. Ignoring the Problem
Another common mistake people make is ignoring the problem. Many people think that a little leak isn’t a big deal and that they can just ignore it. However, ignoring a leaking sprinkler valve can actually lead to much bigger problems down the road. If you don’t fix the problem now, it will only get worse and could eventually cause serious damage to your home or property.
3. Not Shutting Off the Water Supply
Another mistake people make when trying to fix a leaking sprinkler valve is not shutting off the water supply. If you don’t shut off the water supply before you start working on the valve, you could end up making the problem worse or even causing serious injury to yourself. Always remember to shut off the water before attempting any repairs.
4. Not Calling a Professional
The last mistake people make is not calling a professional. Many people think they can save money by fixing the problem themselves, but this is often not true. If you’re not experienced in plumbing, it’s best to call a professional who can properly diagnose and fix the problem. Trying to fix a leaking sprinkler valve yourself can often end up costing you more money in the long run.
Conclusion
Fixing a leaking sprinkler valve is a simple DIY task that can save you money and time. By assessing the problem, disassembling the valve, replacing the faulty parts, and reassembling and testing the valve, you can get your system back to working without calling a professional.
Regularly maintaining your sprinkler system can prevent future leaks and other issues. Remember, if you’re not confident in fixing the valve, you can always contact an irrigation professional for guidance. Thanks for reading our post about how to fix leaking sprinkler valve.

