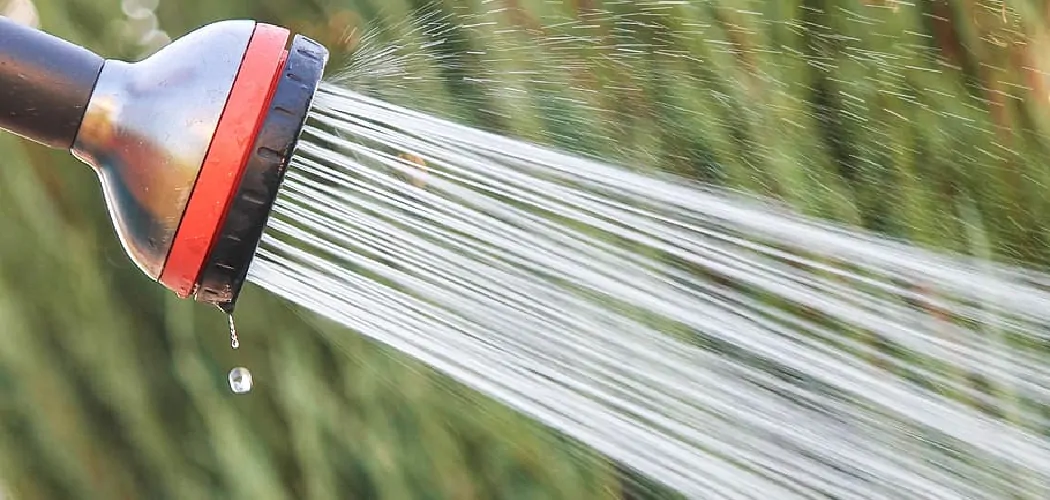
There’s nothing more frustrating than a leaky hose nozzle. It can make watering your garden or washing your car a real hassle. Not to mention, it’s a waste of water and can cause a spike in your water bill. But don’t worry – fixing a leaky hose nozzle is easier than you might think. In this blog post, we’ll take you through some of the most common causes of leaks and how to fix leaky hose nozzle. So keep reading to learn more!
Can You Fix the Leaky Hose Nozzle?
There’s nothing more frustrating than trying to water your plants or wash your car only to find that the nozzle on your hose is leaking. You may be tempted to toss the hose and buy a new one, but don’t give up just yet.
You can take a few simple steps to fix that pesky leaky nozzle and get back to your gardening or car-washing tasks. With a bit of patience and a few tools, you can save yourself some money and avoid contributing to the landfills by repairing your hose instead of replacing it. So put on your DIY hat, and let’s get started!
Why Should You Fix a Leaky Hose Nozzle?
A leaky hose nozzle might not seem like a big deal, but it can lead to significant problems down the line. For starters, it wastes water and can quickly cause your water bill to skyrocket. Additionally, a leaky nozzle can result in water pooling in your yard, creating a breeding ground for mosquitoes and other insects.
Plus, constant exposure to moisture can cause mold and mildew to form, which is unsightly and potentially hazardous to your health. Ultimately, fixing a leaky hose is a small but vital step toward maintaining a healthy and safe outdoor space – not to mention saving you money in the long run.
7 Steps to Follow on How to Fix Leaky Hose Nozzle
Step 1: Tighten the Connections
If you notice a leak in your hose nozzle, check the connections first. Sometimes, the problem could be as simple as a loose connection. Use pliers to tighten the coupling or the nozzle to the hose. Be careful not to over-tighten the connections, as this could cause damage to the threads.
Step 2: Replace the Washer
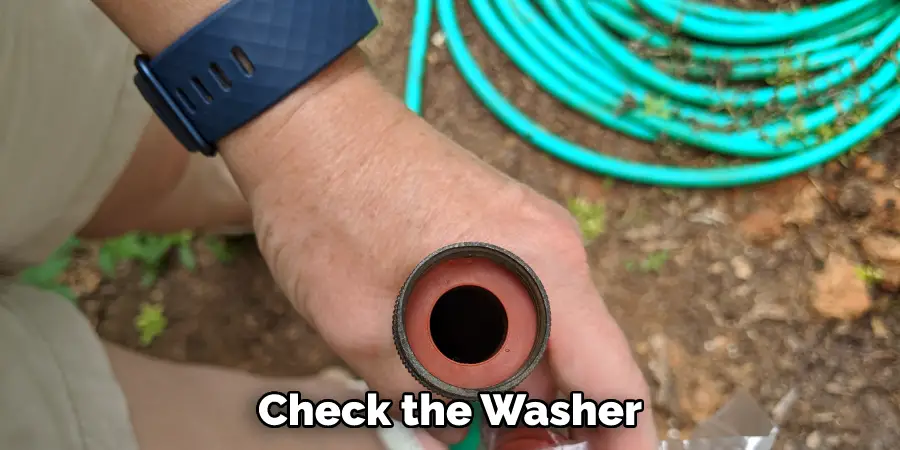
If tightening the connections doesn’t fix the leak, you should next check the washer. The rubber washer inside the nozzle can wear out over time, causing leaks. To replace the washer, unscrew the nozzle from the hose and remove the old washer. Replace it with a new one, making sure it fits snugly. Screw the nozzle back onto the hose and test it to see if the leak is fixed.
Step 3: Clean the Nozzle
Sometimes, leaks can be caused by a buildup of dirt and debris inside the nozzle. To clean it, unscrew the nozzle from the hose and use a toothbrush or a small brush to scrub away any dirt or debris gently. Rinse the nozzle with water and screw it back onto the hose. Test it to see if the leak is fixed.
Step 4: Use Teflon Tape
If none of the above steps work, try using Teflon tape. This tape can help seal any small gaps or leaks in the threads of the coupling or the nozzle. Wrap a few layers of Teflon tape around the threads of the nozzle, making sure to wrap it in the same direction as you screw it on. Screw the nozzle back onto the hose and test it to see if the leak is fixed.
Step 5: Replace the Nozzle
If none of the above steps work, it might be time to replace the nozzle altogether. A good quality nozzle can last for several years, but eventually, it will wear out. Look for a nozzle that is made of durable materials and has a comfortable grip. Test it before you buy it to ensure it has the features you need.
Step 6: Check the Pressure
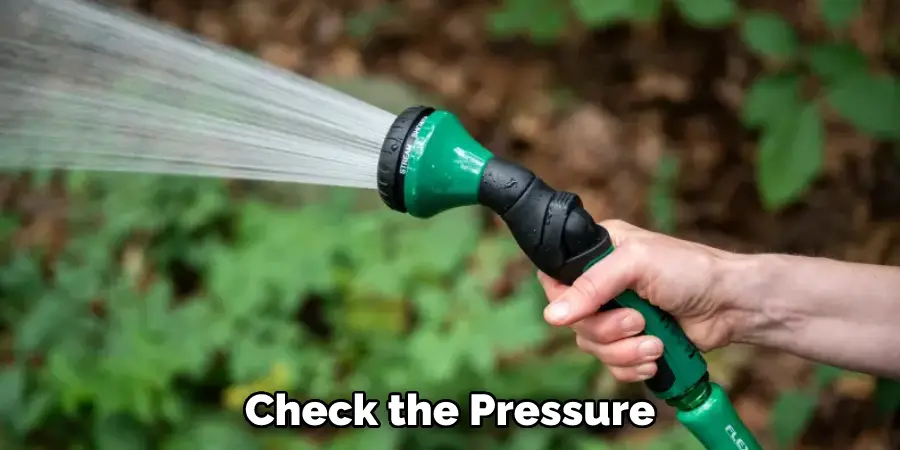
Sometimes, leaky nozzles can be caused by high water pressure. If the pressure is too high, it can cause the nozzle to vibrate and eventually weaken its seals. To check the pressure, shut off your main water valve and open a faucet connected to your hose. Measure the water pressure with a gauge and adjust the main water valve if necessary.
Step 7: Call a Professional
If you’ve tried all of the above steps but still can’t fix your leaky hose nozzle, it might be time to call in a professional. They will have the proper tools and knowledge to diagnose and fix the problem quickly and correctly.
That’s it! You’ve now learned how to fix leaky hose nozzle using these seven simple steps. Start by tightening the connections, replacing the washer, cleaning the nozzle, and using Teflon tape. If none of these solutions work, replace the nozzle or check the water pressure. Finally, if all else fails, call in a professional for help.
5 Considerations Things When You Need to Fix Leaky Hose Nozzle
1. Check the Washer
The first thing you should do when you have a leaky hose nozzle is to check the washer. The washer is a small rubber disc that sits between the hose and the nozzle. Over time, the washer can become cracked or worn, which will cause water to leak out. If the washer is damaged, it will need to be replaced.
2. Check the O-Ring
The next thing you should check is the O-ring. The O-ring is a small rubber ring that sits on the inside of the nozzle. Its purpose is to create a watertight seal between the hose and the nozzle. If the O-ring is damaged, it will need to be replaced.
3. Check for cracks or damage
If there are no obvious problems with the washer or O-ring, you will need to check for cracks or damage to the hose or nozzle. Inspect both the hose and nozzle for any cracks or damage that could be causing water to leak out. If you find any damage, you will need to either repair or replace the hose or nozzle.
4. Clean the hose and nozzle
Even if there is no visible damage to the hose or nozzle, cleaning them both thoroughly is still a good idea. Over time, dirt and debris can build up on these surfaces, which can eventually lead to leaks. Simply use soapy water and a soft cloth to clean the hose and nozzle. Rinse both well afterward and allow them to air dry completely before using them again.
5. Replace any damaged parts
If you find any damaged parts, such as a cracked washer or O-ring, you must replace them before using your hose again. These parts are relatively inexpensive and can be found at most hardware stores or gardening centers. Simply follow the manufacturer’s instructions for replacing them, and your hose will be good as new.
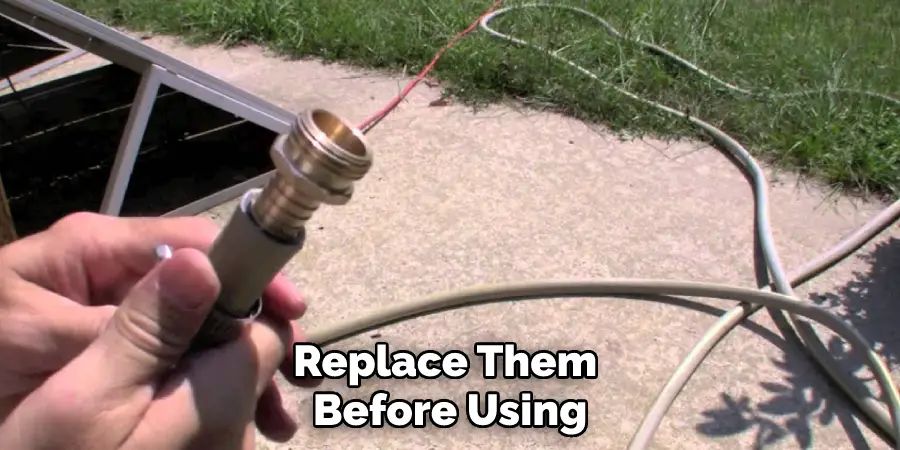
Fixing a leaky hose nozzle is not difficult, but it does require some basic knowledge of how a hose and nozzle work. By following these simple steps, you should have no trouble getting your hose back in working order in no time. Just remember to clean and inspect the hose and nozzle regularly to avoid future problems!
4 Benefits of Fix Leaky Hose Nozzle
1. Water Conservation
A leaky hose nozzle can waste a lot of water over time. By fixing the leak, you can help to conserve water and reduce your water bill.
2. Less Wear and Tear on Your Hose
A leaky hose nozzle can cause wear and tear on your hose, as the water pressure can cause the hose to rub against surfaces or become kinked. By fixing the leak, you can help extend your hose’s life.
3. Reduced Chance of Flooding
If your hose nozzle is leaking, there is a chance that it could flood your home or yard. By fixing the leak, you can help to prevent this from happening.
4. Peace of Mind
Leaky hose nozzles can be annoying and stressful. By fixing the leak, you can help give yourself peace of mind and avoid worrying about it in the future.
Remember to clean and inspect the hose and nozzle regularly in order to keep them in good working condition! This will help ensure that your hose is always ready when needed, reducing stress and hassle.
Some Common Mistakes People Make When Trying to Fix Leaky Hose Nozzle
A leaky hose nozzle can be a frustrating inconvenience, but attempting to fix it can be even more frustrating if you make some common mistakes. One of the most common mistakes people make is overtightening the connections, which can cause even more leaks or damage the nozzle itself.
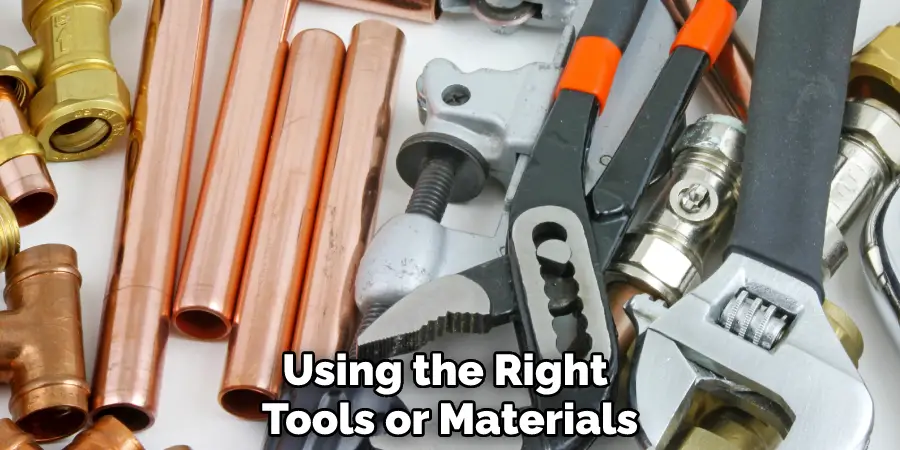
Another mistake is not properly inspecting the nozzle for any cracks or damage before attempting to fix it. And finally, not using the right tools or materials, such as the proper sized wrench or Teflon tape, can also hinder the success of your attempted repair. Avoid these mistakes, and you’ll be on your way to a perfectly functioning hose nozzle and a job well done.
Conclusion
A leaky hose nozzle can be a real pain, but it’s a problem that can easily be fixed. Start by tightening the connections and replacing the washer. Try cleaning the nozzle or using Teflon tape if that doesn’t work. If all else fails, replace the nozzle altogether. With these tips and tricks, you’ll have a leak-free hose nozzle in no time. Thanks for reading our post about how to fix leaky hose nozzle.

