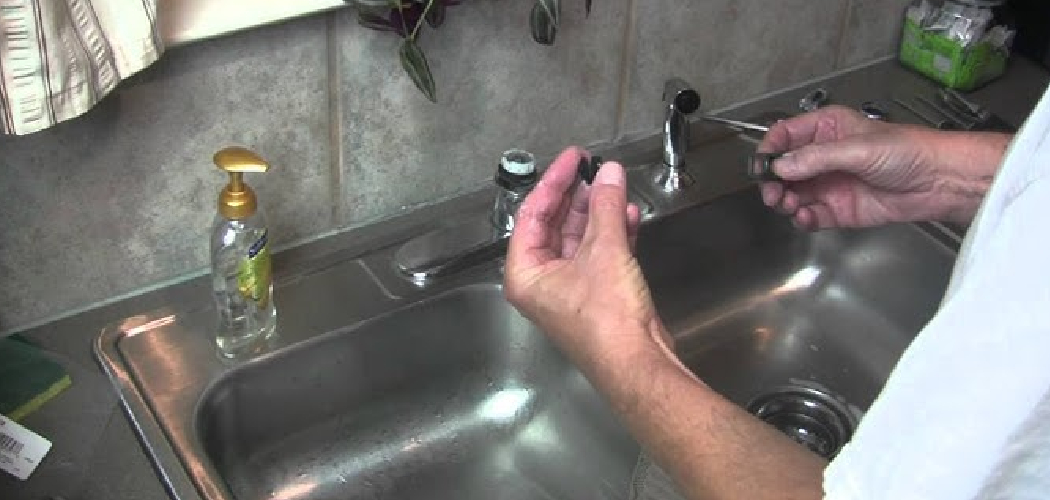
Leaky faucets can be a frustrating nuisance, not only wasting water but also increasing your utility bills. When it comes to Moen kitchen faucets, understanding how to identify and fix leaks can save you time and money.
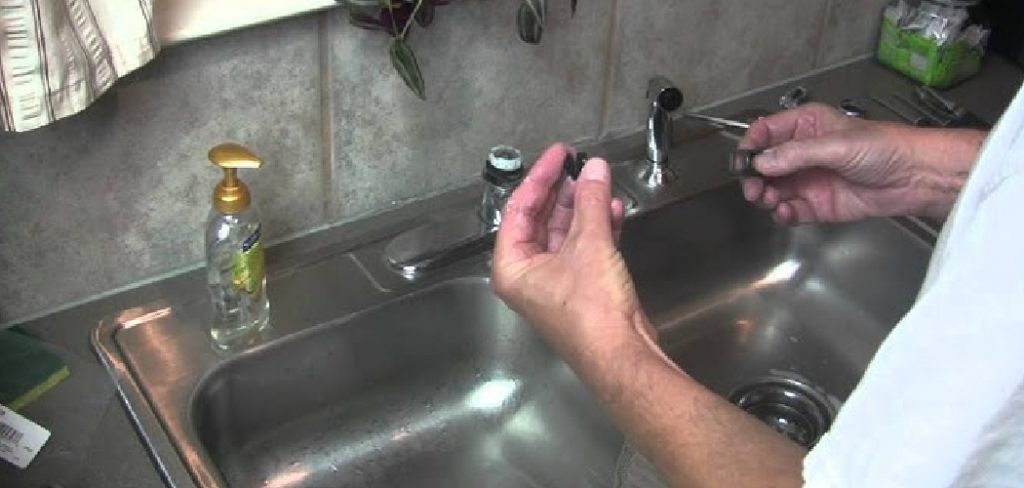
This guide aims to provide a clear and straightforward approach on how to fix leaky moen kitchen faucet, ensuring it functions properly while enhancing the overall efficiency of your kitchen. Whether you’re a seasoned DIY enthusiast or a novice, the following steps will empower you to tackle faucet leaks with confidence.
Common Issues of a Leaky Moen Kitchen Faucet
One of the most prevalent issues found in leaky Moen kitchen faucets is the deterioration of the cartridge, which is essential for regulating water flow. Over time, mineral buildup, wear and tear, or corrosion can cause the cartridge to fail, leading to leaks around the handle or spout. Another common culprit is the O-ring, a small rubber component that ensures a watertight seal.
If the O-ring becomes damaged or worn, it can allow water to escape, resulting in dripping. Additionally, loose or damaged connections in the faucet assembly, including the aerator or supply lines, can contribute to leaks. By recognizing these common problems, you can target your repair efforts effectively to restore your faucet’s functionality.
Types of Moen Kitchen Faucets
Moen offers a diverse range of kitchen faucets to suit different styles and functionality needs. Among the most popular types are pull-down faucets, which feature a retractable spray head for easy access and versatility in cleaning large pots or rinsing vegetables.
Another type is the pull-out faucet, which includes a detachable spray wand that can be removed for convenience yet usually retains its connection via a hose. Deck-mounted faucets, designed to sit directly on the countertop, are common and come in various designs, ranging from traditional to modern.
Additionally, there are touchless faucets that utilize motion sensors, allowing for hands-free operation, which enhances hygiene and convenience in busy kitchens. Choosing the right type of Moen kitchen faucet can significantly impact your kitchen’s functionality and aesthetic appeal.
Common Causes of Leaks
Understanding the common causes of leaks in Moen kitchen faucets can help pinpoint issues quickly and streamline the repair process. One primary cause is the wear and tear of the faucet’s internal components, particularly the cartridge and O-rings, which often deteriorate over time due to constant exposure to water and pressure.
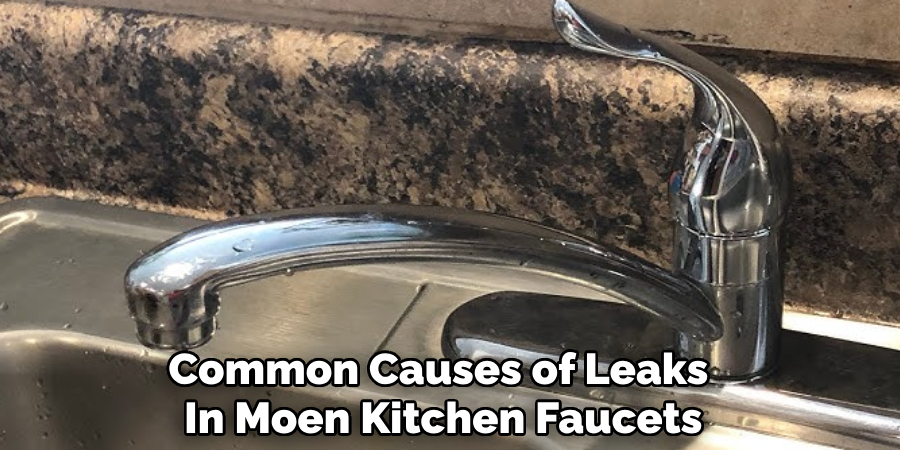
Another frequent cause is the accumulation of mineral deposits, especially in areas with hard water, which can lead to blockages or damage to seals. Additionally, improper installation or loose fittings can create gaps that allow water to leak. Lastly, corrosion from aging materials or chemical exposure can weaken faucet components, resulting in leaks at critical junctions.
Identifying these causes will enable you to take effective measures to fix the leaks and maintain your faucet’s performance.
10 Methods How to Fix Leaky Moen Kitchen Faucet
1. Turn Off the Water Supply
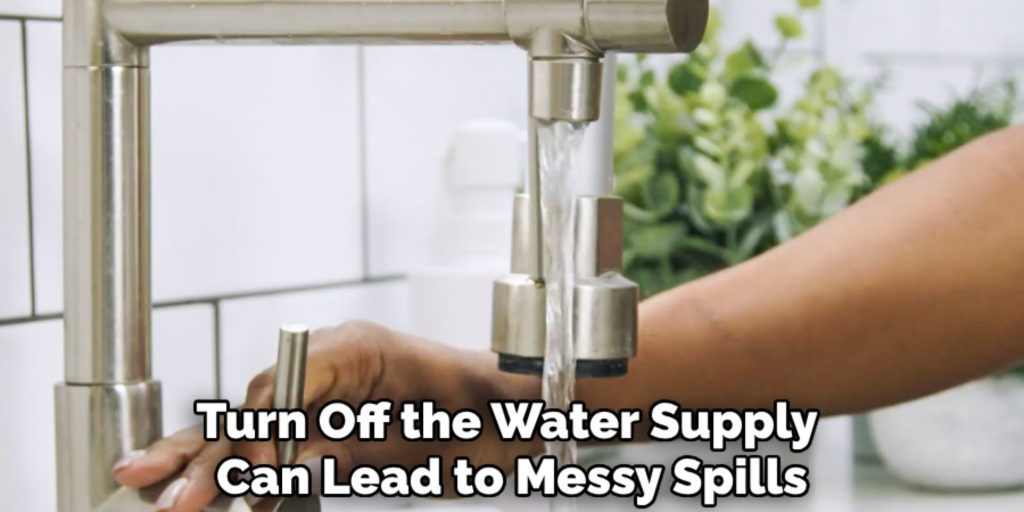
Before starting any repair work on your faucet, the first and most crucial step is to turn off the water supply. Locate the shut-off valves under the sink. These valves are typically situated near the wall and connected to the water lines leading to your faucet.
Turn both the hot and cold water shut-off valves clockwise to close them. After closing the valves, turn on the faucet to drain any remaining water in the lines. This step ensures that you won’t experience any spills or leaks while disassembling the faucet.
2. Identify the Type of Moen Faucet
Moen faucets come in several different types, including cartridge, ball, and compression styles. Identifying the type of faucet you have is essential for determining the appropriate repair method.
Most Moen kitchen faucets use a cartridge design, but you should check the faucet’s handle or the manufacturer’s documentation if you’re unsure. Once you know the type, you can proceed with the correct repair steps and gather the necessary tools and replacement parts.
3. Remove the Faucet Handle
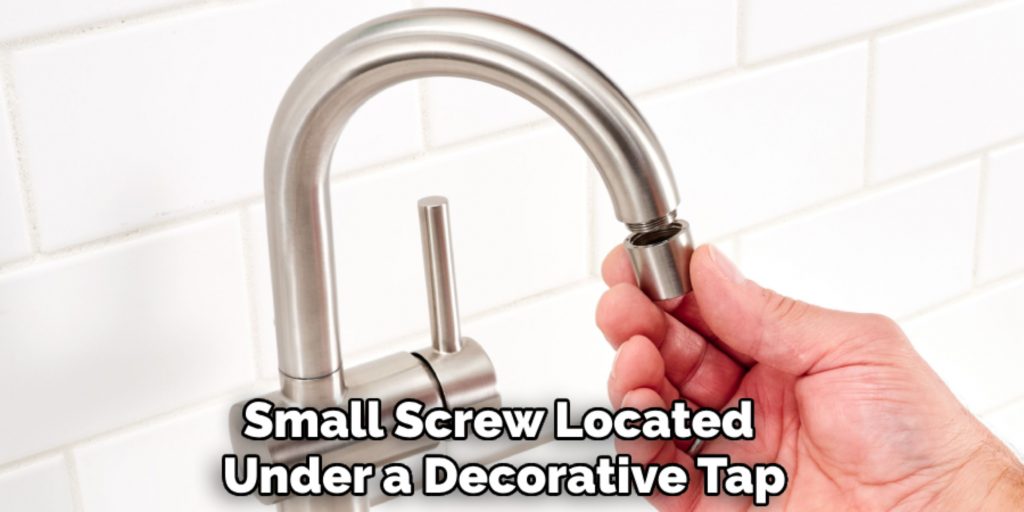
To access the internal components of the faucet, you need to remove the handle. Start by locating the screw or cap that holds the handle in place. In many Moen faucets, this will be a small screw located under a decorative cap on the handle. Use a small flathead screwdriver or Allen wrench to remove the screw.
Once the screw is removed, gently lift off the handle. If the handle does not come off easily, check for any additional screws or components that may need to be removed first.
4. Disassemble the Faucet
With the handle removed, you’ll need to disassemble the faucet to access the cartridge or other internal parts. For a cartridge faucet, use a pair of pliers to remove the retaining clip or nut that holds the cartridge in place. Carefully pull the cartridge out of the faucet body.
If your faucet uses a ball or compression mechanism, follow the manufacturer’s instructions to disassemble the components. Place all removed parts in a safe location for cleaning or replacement.
5. Inspect the Cartridge or Internal Parts
Once you have removed the internal components, inspect them for signs of wear, damage, or debris. For cartridge faucets, check the cartridge itself for cracks or deterioration. Look for any mineral buildup or debris that could be affecting its performance. For ball or compression faucets, inspect the ball or valve seat for damage or corrosion. Cleaning or replacing these components will often resolve issues with leaks.
6. Clean the Cartridge or Valve
If the internal parts are dirty but otherwise in good condition, clean them thoroughly. Soak the cartridge or valve components in a solution of vinegar and water to dissolve any mineral deposits or grime.
Use a soft brush or cloth to scrub away any remaining debris. Rinse the parts thoroughly with clean water and allow them to dry completely before reassembling the faucet. Cleaning can often restore proper function and prevent leaks caused by buildup.
7. Replace Worn or Damaged Parts
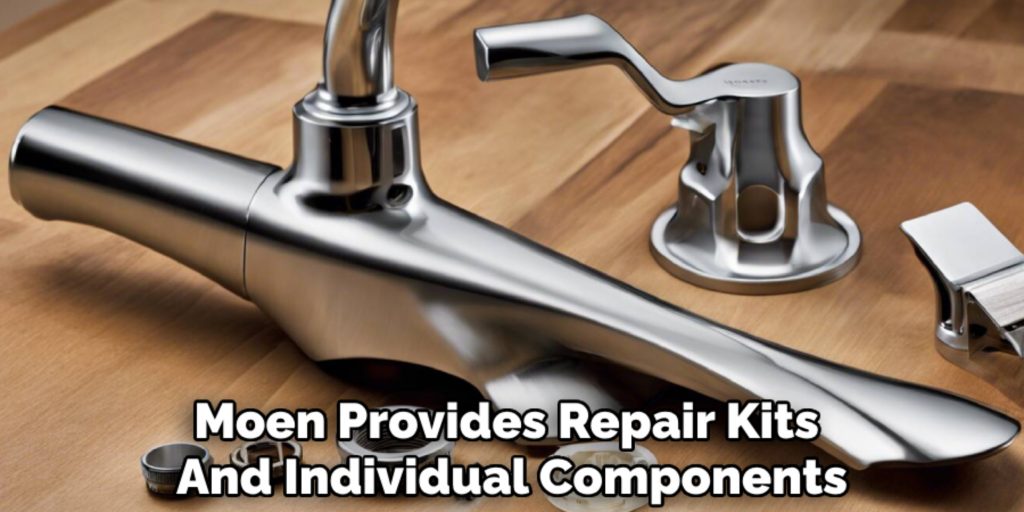
If you find that any of the internal components are worn, cracked, or damaged, they will need to be replaced. Purchase replacement parts that are specifically designed for your Moen faucet model. Moen provides repair kits and individual components that can be found at most hardware stores or online. Replace the cartridge, ball, or valve seat with the new parts, ensuring that they are installed correctly and securely.
8. Reassemble the Faucet
Once you have cleaned or replaced the necessary parts, reassemble the faucet. Start by reinserting the cartridge or other internal components into the faucet body.
Secure them in place with the retaining clip or nut that was removed earlier. Reattach the faucet handle by aligning it with the mounting post and securing it with the screw or cap. Ensure that all components are tightened properly but avoid overtightening, as this could damage the faucet or its components.
9. Turn On the Water Supply and Test the Faucet
With the faucet reassembled, it’s time to turn the water supply back on. Slowly open the shut-off valves by turning them counterclockwise. After turning on the water, check the faucet for any leaks around the handle, spout, or base.
Turn the faucet on and off to test its operation and ensure that the leak has been resolved. If you notice any leaks or issues, you may need to disassemble the faucet again to check for any missed problems or improper reassembly.
10. Perform Routine Maintenance
To prevent future leaks and maintain the performance of your Moen kitchen faucet, perform regular maintenance. Check the faucet periodically for any signs of wear or leaks, and clean it regularly to remove mineral deposits and debris.
Replace worn or damaged parts promptly to ensure that the faucet continues to operate smoothly. By staying on top of maintenance, you can extend the lifespan of your faucet and avoid the need for more extensive repairs.
Common Mistakes to Avoid
When repairing your Moen faucet, there are several common mistakes to be mindful of to ensure a successful repair. First, failing to turn off the water supply can lead to messy spills and potential water damage. Always double-check that the shut-off valves are securely closed before beginning any work.
Another mistake is not correctly identifying the faucet type, which can result in using the wrong methods or tools. Take the time to look up your specific Moen faucet model to ensure you have the right information.
Additionally, neglecting to inspect all internal components can lead to unresolved issues. Be thorough in your examination, as sometimes wear on a small O-ring or gasket can be the culprit behind a leak. Lastly, be cautious when reassembling.
Conclusion
Fixing a leaky Moen kitchen faucet involves a series of methodical steps, from turning off the water supply to inspecting and replacing internal components. Each method plays a crucial role in addressing the issue and ensuring that the faucet functions properly without leaks.
By following these ten methods, you can effectively repair a leaky faucet and restore its functionality, preventing water waste and potential damage to your sink area. Thanks for reading, and we hope this has given you some inspiration on how to fix leaky moen kitchen faucet!

