Are you experiencing low water pressure in your house? If so, you’re not alone. Many homeowners face this issue at some point, which can be frustrating and inconvenient.
Low water pressure in a house can be a frustrating issue that impacts daily activities like showering, washing dishes, or doing laundry. Thankfully, identifying and addressing the root cause is often straightforward and can significantly improve water flow throughout your home. Whether the problem lies in clogged pipes, faulty fixtures, or an issue with your main water supply line, understanding the potential causes and solutions is the first step toward restoring optimal water pressure.
This guide on how to fix low pressure water in house will walk you through practical tips and troubleshooting methods to help resolve low water pressure in your house efficiently.
What Are the Causes of Low Water Pressure in Your House?
There can be several reasons for low water pressure in your house. Some of the most common causes include:
- Clogged Pipes: Over time, mineral deposits, rust, and other debris can build up inside pipes, leading to blockages that restrict water flow.
- Faulty Fixtures: If you are experiencing low water pressure in a specific faucet or shower head, the problem could be a defective fixture. Mineral buildup and worn-out parts can prevent the full flow of water.
- Leaks: Any leaks in your plumbing system, visible or hidden, can result in low water pressure as the water supply diverts to areas with lower resistance. It is essential to check for leaks regularly and have them repaired promptly.
- Water Meter Issues: In some cases, the low water pressure may be due to an issue with your water meter. If you suspect this is the case, contact your local water company to have them inspect and potentially replace the meter.
- Municipal Water Supply: Occasionally, low water pressure can be caused by a problem with the municipal water supply. This could be due to maintenance or repairs on the system or even something as simple as a broken main line. Contact your local water department for more information if you suspect this may cause your low water pressure.
What Will You Need?
- Tools: To properly diagnose and fix low water pressure, you may need a few basic tools, such as pliers, a pressure gauge, and an adjustable wrench. Having these on hand for any plumbing issues is always a good idea.
- Replacement Parts: Depending on the cause of your low water pressure, you may need to replace certain parts in your plumbing system. This could include things like faucet aerators, showerheads clogged with sediment or debris, or even larger components like pipes or valves if there is damage or blockage.
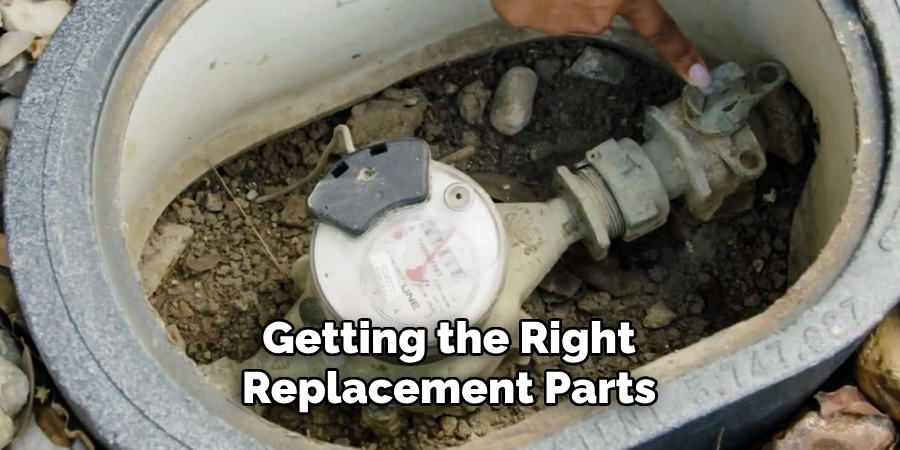
Once you identify the source of your low water pressure, getting the right replacement parts and tools for the job is important. You can find these at hardware or plumbing supply stores or online.
8 Easy Steps on How to Fix Low Pressure Water in House
Step 1: Check Your Water Meter and Main Shutoff Valve
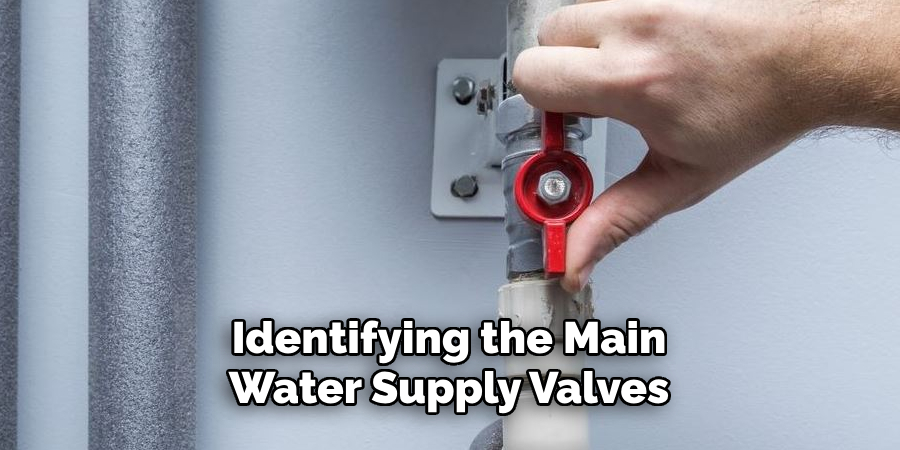
Make sure that the water meter and main shutoff valve are fully open. Sometimes, the main shutoff valve may have been partially closed during maintenance or repairs, reducing water pressure throughout the house. Locate the valve, typically near the water meter, and turn it counterclockwise to ensure it is entirely open. Carefully apply a wrench or lubricant if the valve appears stiff or too rigid to turn. Check the water meter as well to verify there are no issues or signs of leaks in the supply line that could be affecting the overall water flow. This step is crucial as any restrictions at this point will affect all your fixtures and make it difficult to solve the problem effectively.
Step 2: Inspect Individual Fixtures
Inspect individual fixtures throughout the property after ensuring the main water supply valve is fully open and operational. Begin with the fixtures experiencing water flow issues and check for clogged aerators, leaks, or obstructions that might be restricting water. Remove the aerator from the faucet and clean it thoroughly to clear any accumulated debris. For showers, examine the showerhead and soak it in a vinegar solution to dissolve mineral buildup. Addressing these tiny components can significantly improve water flow and help isolate the source of the problem if it persists.
Step 3: Inspect the Plumbing System
After checking individual fixtures, examine the plumbing system for potential blockages or issues. Start by identifying the main water supply valves and ensure they are fully open to allow optimal water flow. Next, trace the pipes for any visible signs of damage, leaks, or corrosion that could be affecting water pressure. If you encounter a section of pipe that appears compromised, consider contacting a professional plumber to assess and repair the issue. Properly maintaining the plumbing system can prevent future water flow problems and maintain consistent performance throughout the property.
Step 4: Check for Clogged Fixtures
Inspect all faucets, showerheads, and other fixtures for blockages that may restrict water flow. Mineral deposits, sediment buildup, or debris can accumulate over time, reducing the efficiency of the fixtures. Remove the affected fixtures and clean them thoroughly using a solution of vinegar and water to dissolve any buildup. Once cleaned, reinstall the fixtures and test for improved water pressure. Regular cleaning and maintenance of fixtures can ensure optimal performance and prevent future clogs.
Step 5. Apply Pressure-Reducing Valves
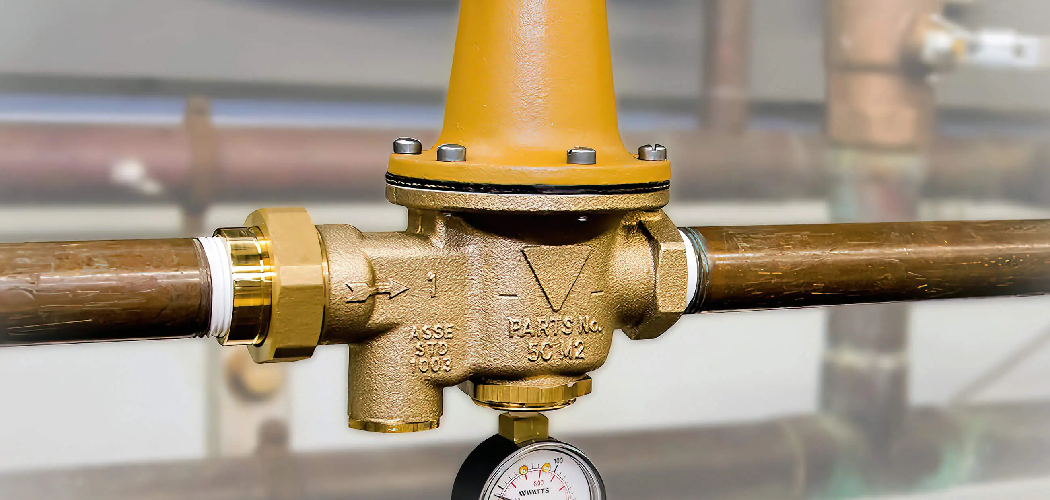
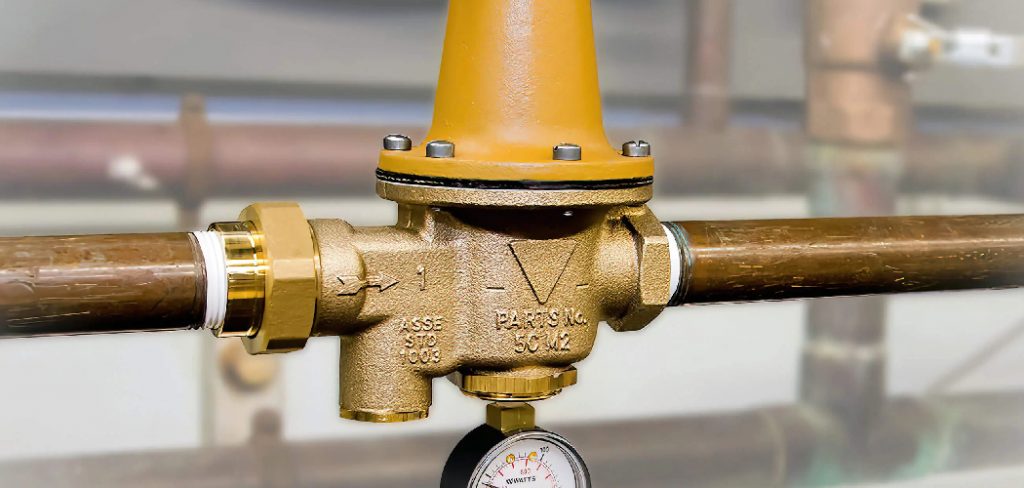
Another common cause of low water pressure is high water pressure. This can put unnecessary strain on your plumbing system and result in leaks or burst pipes. To combat this issue, consider installing pressure-reducing valves (PRVs) at the main water supply line to regulate the water flow into your home.
PRVs reduce the incoming water pressure from the municipal supply before it reaches your fixtures. This helps prevent damage to your pipes, improves overall water efficiency, and reduces energy costs.
If you’re unsure about installing a PRV, consult a professional plumber for assistance. They can properly assess your home’s water pressure and install a PRV if necessary.
Step 6: Use Water-Saving Fixtures
In addition to installing a PRV, there are other ways to reduce water consumption in your home. One simple way is by using water-saving fixtures.
Faucets, showerheads, and toilets are all available with low-flow options that can significantly decrease water use. These fixtures use aerators or flow restrictors to limit water flow through them without compromising performance.
For example, a standard faucet typically uses 2.5 gallons of water per minute, while a low-flow faucet uses only 1.5 gallons per minute. This may not seem like a big difference, but over time, it can add up to significant savings on your water bill.
Step 7: Consider Energy-Efficient Lighting
Lighting is another crucial aspect to consider in a sustainable bathroom design. By choosing energy-efficient lighting options such as LED or CFL bulbs, you can reduce your energy consumption and save money on your utility bill.
In addition, consider incorporating natural light into your bathroom design through the use of windows or skylights. This reduces the need for artificial lighting during the day, provides a connection to the outdoors, and can improve overall mood and well-being.
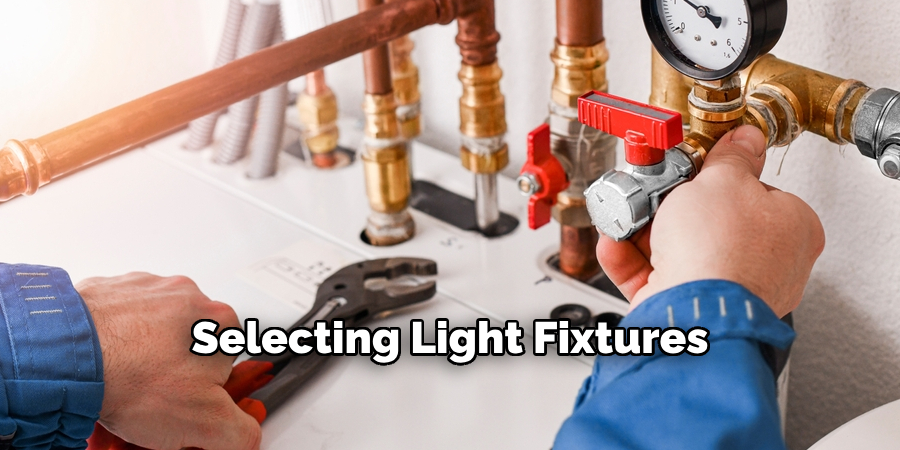
When selecting light fixtures, opt for ones with high energy efficiency ratings, and make sure they are correctly installed to maximize their effectiveness. Task lighting, such as vanity lights above the mirror, can also be used strategically to provide focused lighting for specific tasks like applying makeup or shaving.
Step 8: Keep it Natural
When designing a sustainable bathroom, try to incorporate natural elements whenever possible. This could include using organic or sustainable materials for surfaces and finishes, incorporating plants for natural air purification, and utilizing natural light sources.
Choosing materials like bamboo or cork for flooring can reduce the use of non-renewable resources while still providing a stylish look. Incorporating plants such as spider plants or peace lilies adds aesthetic appeal and helps purify the air by absorbing toxins commonly found in bathrooms.
By following these eco-friendly design practices, you can create a healthier and more sustainable bathroom space for yourself and the environment.
5 Things You Should Avoid
- Ignoring the Root Cause: One of the biggest mistakes is fixing the symptoms without identifying the underlying cause of the low water pressure. This could lead to temporary or ineffective solutions that don’t address the real problem.
- Using Excessive Force on Pipes or Fixtures: Applying too much force when attempting to fix or open pipes can result in damaged plumbing, leaks, or broken fittings. Always handle pipes and fixtures with care and use proper tools.
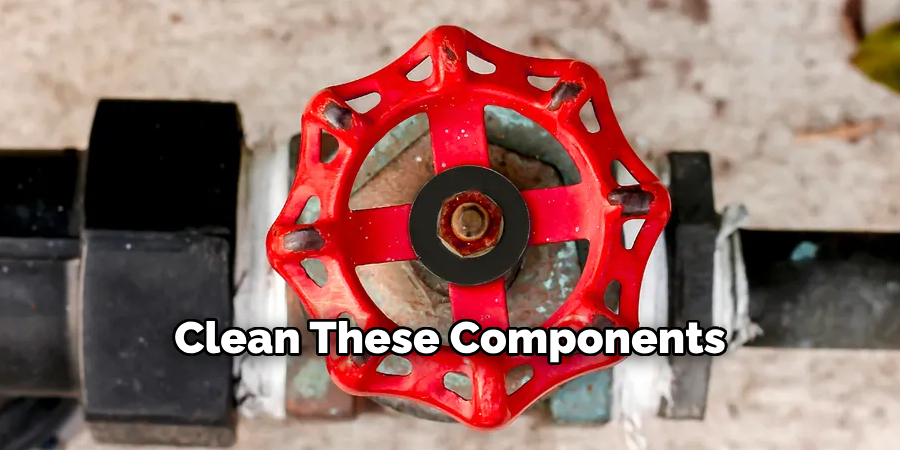
- Neglecting to Clean Faucets and Showerheads: Mineral buildup in faucets and showerheads is a common cause of low water pressure. Failing to inspect or clean these components may leave the issue unresolved and waste your effort.
- Overlooking Pressure Regulator Issues: Skipping the examination of your home’s water pressure regulator could cause you to miss a simple fix. A malfunctioning regulator can significantly affect water flow, and replacing it may be all that is needed.
- Using DIY Fixes for Major Plumbing Problems: Attempting to handle complex plumbing repairs without professional help can worsen the situation. If the issue seems beyond your expertise, consult a licensed plumber to prevent additional damage or costly mistakes.
Conclusion
How to fix low pressure water in house often starts with identifying the root cause. Start by checking common issues like clogged faucets, closed shutoff valves, or problems with the water pressure regulator.
Simple fixes, such as cleaning aerators or replacing faulty components, often solve the problem. However, for more complex issues, such as hidden leaks or outdated plumbing systems, seeking professional assistance is essential to ensure a proper resolution and prevent further damage.
By addressing these concerns promptly and effectively, you can restore optimal water flow and enjoy a more efficient plumbing system.

