A peeling tub can be both an eyesore and a potential hazard in your bathroom. Over time, wear and tear, improper cleaning methods, or previous refinishing jobs can cause the surface of a bathtub to peel or chip away. Fortunately, fixing
a peeling tub is a manageable DIY project that can restore its appearance and functionality. This guide will walk you through the necessary steps of how to fix peeling tub and prevent future damage.
Why Bathtub Surfaces Peel Over Time
Bathtub surfaces can peel over time due to a variety of factors. One common reason is the natural wear and tear that comes with regular use. Over time, the protective coating on the tub can degrade, exposing the underlying surface. Poor maintenance practices, such as using harsh cleaning chemicals or abrasive scrubbers, can accelerate this process by wearing down the finish. Additionally, previous refinishing jobs that were not done properly—such as inadequate surface preparation or low-quality materials—can lead to peeling. Moisture and constant exposure to water also play a significant role in weakening the finish, making it more prone to flaking or chipping. Understanding these causes can help you take preventative measures to maintain your bathtub’s condition.
Signs Your Tub Needs Repair
Recognizing the signs that your tub needs repair is crucial to addressing issues before they worsen. One of the most obvious signs is visible peeling or flaking of the surface, which can expose the underlying material and lead to further damage.
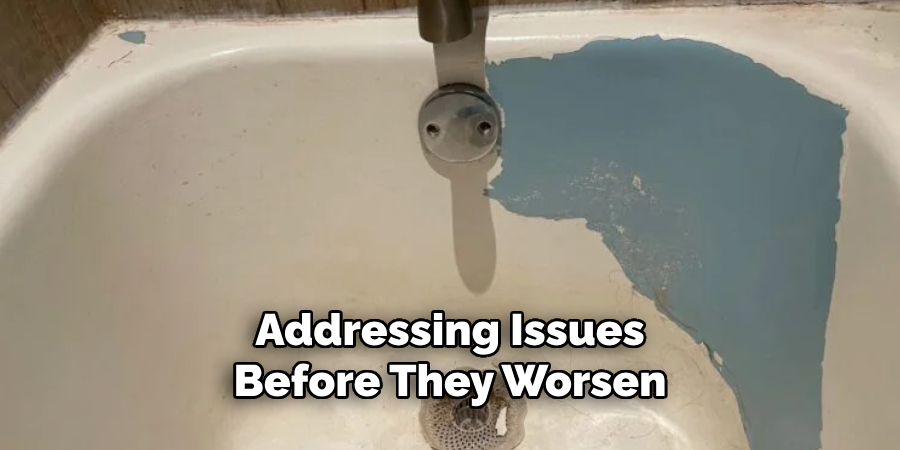
You might also notice rough or uneven patches on the tub’s surface, making it uncomfortable to use. Discoloration, such as yellowing or stains that cannot be removed with cleaning, is another indicator that the protective finish is compromised. Cracks or chips in the coating not only affect the tub’s appearance but can also allow water to seep through, potentially causing structural damage or mold growth. If your tub has been previously refinished and the coating is failing prematurely, it’s a clear sign that repairs are needed to restore its durability and functionality.
10 Methods How to Fix Peeling Tub
1. Assess the Extent of Peeling Damage
Before attempting to fix the peeling, carefully inspect the bathtub’s surface to determine how severe the damage is. If only a small portion is peeling, a simple touch-up may be sufficient. However, if large sections are affected, a complete refinishing job may be necessary. Identifying the extent of the peeling will help you choose the most appropriate repair method and avoid unnecessary work.
2. Remove Loose Peeling Paint or Coating
Use a plastic scraper, putty knife, or fine-grit sandpaper to gently remove any peeling or flaking material from the bathtub’s surface. Be careful not to scratch the underlying surface while removing the loose layers. This step is crucial to create a smooth base for the new coating and to prevent further peeling in the future.
3. Clean the Tub Thoroughly
Once the peeling layers have been removed, clean the bathtub thoroughly to eliminate dirt, soap scum, and grease. Use a mild detergent or a mixture of baking soda and vinegar to scrub the surface. Avoid using abrasive cleaners, as they can further damage the tub. Rinse the tub with warm water and dry it completely before proceeding with any repairs.
4. Sand the Surface for Better Adhesion
To ensure proper adhesion of the new coating, lightly sand the entire bathtub surface using fine-grit sandpaper (220 to 400 grit). This process helps remove any remaining gloss from the old finish and creates a slightly rough texture that allows the new coating to bond effectively. Wipe away any dust or debris with a clean, dry cloth before moving on to the next step.
5. Apply a High-Quality Bonding Primer
A bonding primer is essential for creating a strong foundation for the new tub coating. Choose a primer specifically designed for bathtubs and apply it evenly using a foam roller or paintbrush. Allow the primer to dry completely as per the
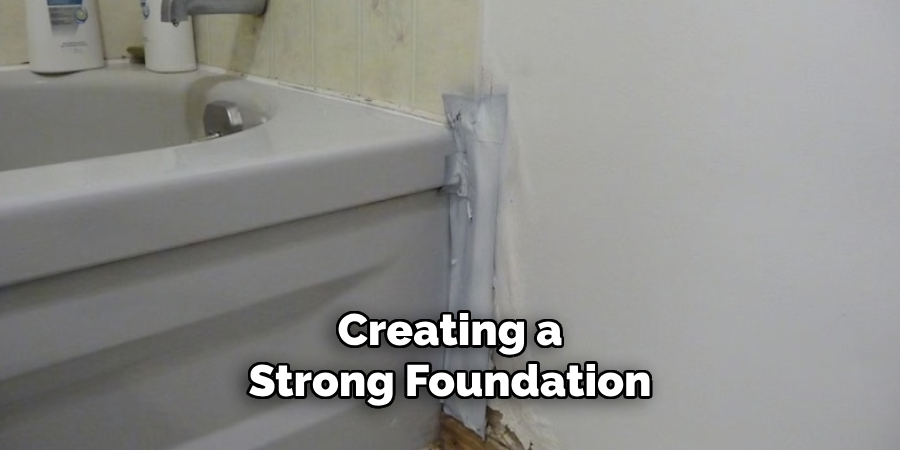
manufacturer’s instructions before applying any finishing coats. This step ensures long-lasting results and prevents premature peeling.
6. Refinish the Tub with a Durable Coating
After priming, apply a high-quality epoxy or acrylic refinishing kit specifically made for bathtubs. These coatings provide a durable and water-resistant finish that mimics the original tub surface. Use a spray gun or a foam roller for a smooth application, working in even, thin layers. Let each coat dry thoroughly before applying additional layers to achieve an even and glossy finish.
7. Seal and Protect the New Finish
Once the refinishing coat has dried, apply a clear sealant to enhance durability and prevent future peeling. A protective sealant acts as a barrier against moisture and cleaning chemicals, prolonging the life of the newly refinished tub. Follow the manufacturer’s instructions for application and curing time to ensure optimal results.
8. Avoid Harsh Cleaners and Abrasives
One of the primary reasons for peeling bathtubs is the use of harsh cleaning chemicals. To maintain the new finish, switch to non-abrasive, pH-balanced cleaners. Avoid bleach, ammonia, and scouring pads, as they can degrade the coating
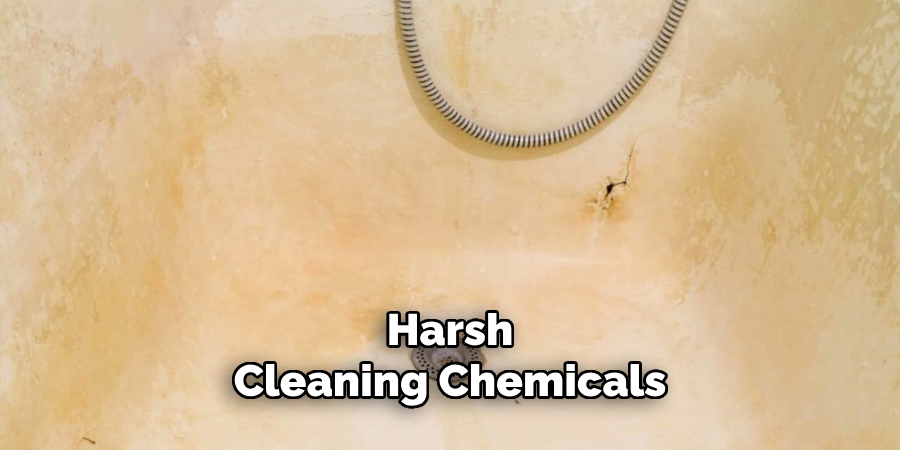
over time. Instead, opt for mild soaps or specialized bathtub cleaners designed to preserve refinished surfaces.
9. Allow Proper Curing Time Before Use
After refinishing the bathtub, it’s crucial to allow sufficient curing time before exposing it to water. Most bathtub refinishing kits require at least 24 to 48 hours of drying time before the tub can be used. Avoid heavy scrubbing or placing objects on the tub surface during this period to ensure the coating fully hardens and bonds correctly.
10. Perform Regular Maintenance and Touch-Ups
To keep your bathtub looking new and prevent future peeling, perform regular maintenance and touch-ups as needed. Inspect the tub periodically for signs of wear, and if small chips or scratches appear, use a touch-up repair kit to fix them before they worsen. Consistent care will extend the life of your refinished tub and maintain its smooth, glossy appearance.
Maintenance and Upkeep
Proper maintenance and regular care are essential to preserve the condition of your bathtub and ensure its longevity after repairs or refinishing. Begin by establishing a consistent cleaning routine to prevent the buildup of soap scum, mildew, and hard water stains. Use a soft sponge or cloth along with non-abrasive, pH-balanced cleaners that are safe for the tub’s refinished surface. Regularly wipe down the surface after each use to remove lingering moisture and avoid water spots.
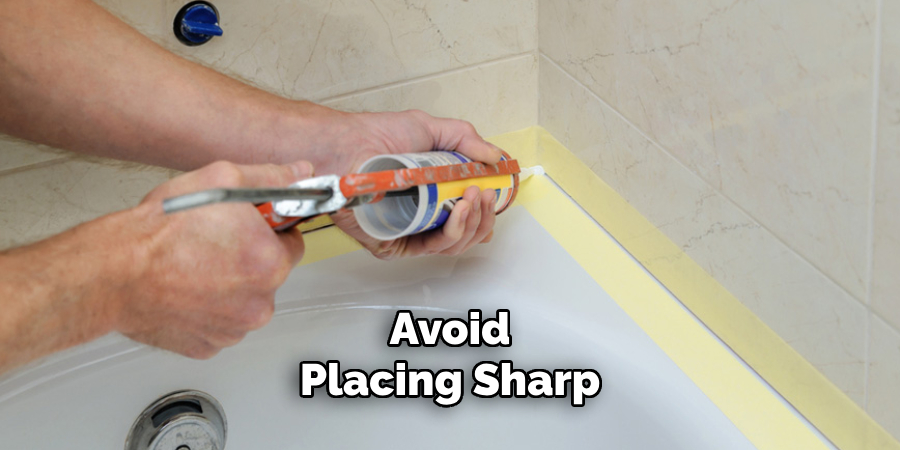
Avoid placing sharp or heavy objects directly on the tub, as they can chip or damage the coating. Use a bath mat with suction cups that are smooth and gentle to prevent scratches. Address minor damages, such as small chips or scratches, immediately using a matching touch-up repair kit designed for refinished tubs. Periodically inspect the sealant or protective coating and reapply it as needed to maintain a strong barrier against moisture.
Lastly, educate household members about the proper cleaning methods and safe practices to minimize wear and tear on the tub. Adopting these preventative measures will keep your bathtub in pristine condition, reduce the risk of future peeling, and preserve its glossy, smooth finish for years to come.
Troubleshooting Common Issues
Even with proper care, refinished bathtubs can occasionally encounter problems. Here are some common issues you may face and tips on how to address them effectively:
1. Peeling or Flaking Finish
If you notice peeling or flaking despite following the refinishing process, reevaluate the preparation steps. This issue is often caused by insufficient surface cleaning or sanding prior to applying the finish. To fix it, sand down the affected area, clean it thoroughly, and reapply the primer and refinishing coating as instructed. Ensure adequate curing time before using the tub.
2. Bubbling or Blistering
Bubbles or blisters can form if the refinishing materials were applied over a wet or dirty surface or if the curing process was rushed. To resolve this, remove the bubbled area by sanding it down, clean the surface thoroughly, and reapply the coating properly under recommended conditions. Always allow sufficient drying and curing time between layers.
3. Uneven Coating or Brush Marks
An uneven or streaky finish may result from improper application techniques, such as applying the coating too thickly or using the wrong tools. For a smoother result, lightly sand the surface to even it out and reapply a thin, uniform layer using a foam roller or spray gun. Work in small sections for better control.
4. Persistent Odors After Refinishing
Strong odors can linger after refinishing due to incomplete curing or poor ventilation during the process. Increase airflow in the bathroom by opening windows and using fans. Allow the tub more time to cure fully and avoid exposing it to water until the smell subsides.
Conclusion
Fixing a peeling bathtub requires careful preparation, proper refinishing techniques, and ongoing maintenance. By following these ten methods, you can restore your tub’s original appearance and ensure long-lasting durability. Whether dealing with minor touch-ups or a complete refinishing job, taking the right steps will help protect your bathtub from further damage and keep it looking pristine for years to come. So, there you have it – a quick and easy guide on how to fix peeling tub.

