Whether you’re a plumbing amateur or professional, chances are you have come across Pex pipe before and know how its strength and flexibility can prove extremely beneficial for your home improvement projects. However, like all materials used during any construction endeavor, pex can be subject to damage such as holes in the system’s connections. No need to worry though!

In this blog post, we’ll discuss everything about how to fix pex pipe hole so that you feel confident enough to fix it yourself without breaking the bank or going out of business trying! So grab your tools, turn off those pipes, and let’s get started on fixing those pesky little pex pipe leaks once and for all!
Supplies You Will Need to Fix Pex Pipe Hole
- Pex pipe cutter or hacksaw
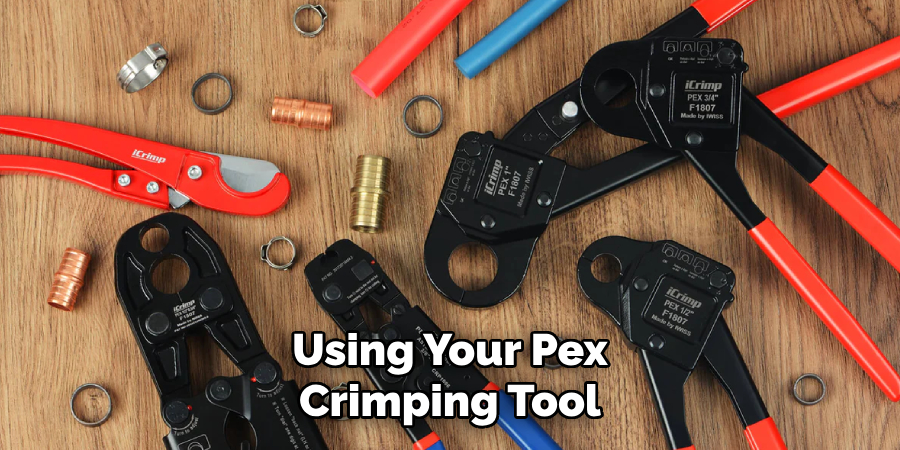
- Pex crimping tool
- Crimp rings or clamps
- Pipe repair kit (includes pex pipe, fittings, and crimps)
- Heat gun or hair dryer (if using PEX-A piping)
- Sandpaper (optional)
Step-by-step Guidelines on How to Fix Pex Pipe Hole
Step 1: Identify the Leak
The first step to fixing any problem is to identify it. In this case, you need to find where exactly the leak is in your Pex pipe system. This can usually be done by checking for visible water stains or wet spots near connections and joints. Identifying the leak will help you determine how to approach fixing it.
Step 2: Turn off the Water
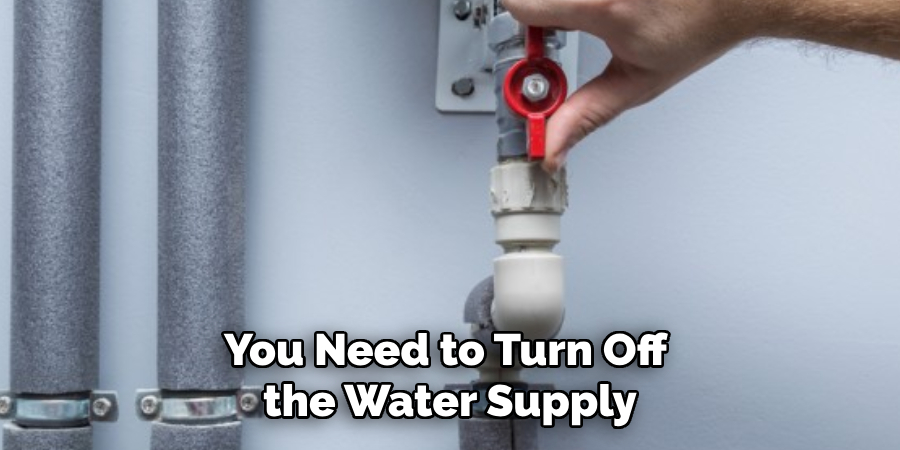
Before beginning any repairs, you need to turn off the water supply. This will prevent any accidents or further damage while working on your Pex pipe system. You can shut off the main water valve of your home or specific valves that control water flow to the affected area. Before proceeding to the next step, make sure no water is running through your pipes.

Step 3: Cut Out the Damaged Section
Using a pex pipe cutter or hacksaw, carefully cut out the damaged section of the Pex pipe. Be sure to measure accurately and leave enough room for new fittings and connections. You can use sandpaper to smooth out any rough edges on the ends of your cut pipes. While cutting, make sure to wear safety glasses and gloves to protect yourself from potential pipe fragments.
Step 4: Prepare the New Pipe Section
Now it’s time to prepare the new section of Pex pipe. If you are using PEX-A piping, use a heat gun or hair dryer to expand the end of your new pipe. This will make it easier for the fittings to slide onto the ends. Once heated, quickly cool the end with cold water. For other types of pex pipes, skip this step.
Step 5: Install New Fittings and Connections
Slide on a crimp ring or clamp onto each end of your new pipe section, and then insert the new fittings into both ends. Make sure to keep the rings or clamps at least 1/8 inch from the edge of the fitting. Using your pex crimping tool, secure the rings or clamps onto each connection. For PEX-A pipes, you can use expansion fittings instead of crimp rings or clamps.

Step 6: Connect the New Pipe Section
Finally, connect the new pipe section to your existing Pex piping. Make sure to secure the connections with the appropriate tool depending on your type of pex pipe. Once all connections are properly secured, turn on the water supply and check for any leaks. Congratulations! You have successfully fixed a hole in your Pex pipe system!
Following these simple steps, you can easily fix any holes or leaks in your Pex pipe system without needing to call a professional plumber. Remember to always wear protective gear and take necessary precautions when working with tools and hot pipes. With this newfound knowledge, you can confidently tackle any Pex pipe issue that may arise in the future. Happy plumbing!
Additional Tips and Tricks to Fix Pex Pipe Hole
1. Use a heat gun to gently warm the Pex pipe before attempting to repair any holes. This will make the pipe more pliable and easier to work with.
2. If you’re dealing with a large hole or tear in the Pex pipe, consider using a patch kit specifically designed for Pex pipes. These kits can be found at most hardware stores and include all the necessary materials for repairing larger holes.
3. When using a patch kit, be sure to follow the instructions carefully and allow ample time for the adhesive to dry before turning the water back on.
4. If you don’t have access to a patch kit, you can also use an epoxy putty or plumber’s tape to temporarily seal small holes. However, these methods should only be used as a temporary fix and not as a long-term solution.
5. It’s important to regularly inspect your Pex pipes for any signs of damage or wear, especially in high-traffic areas. Catching and fixing small holes early on can prevent bigger problems down the road.

6. When repairing a hole in a Pex pipe, be sure to properly clean and dry the area before applying any patches or adhesive. This will ensure a secure bond and increase the longevity of the repair.
7. If you’re unsure of how to properly fix a Pex pipe hole, it’s always best to consult a professional plumber. They have the knowledge and experience to properly assess the situation and provide the best solution for your specific needs.
8. In addition to fixing the hole, it’s important to address any underlying issues that may have caused the damage. This could include adjusting water pressure or replacing old and worn pipes.
Following these tips and tricks will not only help you successfully repair any Pex pipe holes, but also prevent them from happening in the future. Proper maintenance and regular inspections are key to keeping your plumbing system running smoothly and avoiding costly repairs. Remember, when it comes to fixing Pex pipe holes, it’s always better to be proactive rather than reactive. So, be sure to stay on top of any potential issues and address them promptly for a hassle-free plumbing experience. Happy repairing!
Precautions Need to Be Followed for Fixing Pex Pipe Hole
1. First and foremost, it is important to turn off the main water supply before attempting to fix a Pex pipe hole. This will prevent any further water damage and make the repair process easier.
2. Make sure to wear protective gear such as safety glasses and gloves when working with Pex pipes. The sharp edges of the damaged area can cause injury, so taking precautions is crucial for your safety.

3. Before fixing the hole, it is recommended to clean the area around the pipe with a gentle cleaner and cloth. This will help remove any dirt or debris that could interfere with the repair process.
4. Use a Pex pipe cutter or a sharp utility knife to carefully cut around the damaged area in order to create a clean edge for easier patching.
5. Once the damaged section is removed, use sandpaper to smooth out the edges and make sure they are clean and free of any rough spots.
6. When patching the hole, make sure to use a high-quality Pex repair kit or clamp that is specially designed for fixing holes in Pex pipes. These kits typically come with instructions that should be followed carefully.
7. It is important to properly secure the patch or clamp in place, making sure it is centered on the hole and tightly fastened. This will ensure a strong and long-lasting repair.
Following these precautions will not only ensure a successful repair but also prevent any potential safety hazards. It is important to take the time and care to properly fix a Pex pipe hole, as any mistakes could lead to further damage and costly repairs in the future.
Frequently Asked Questions
What is Pex Pipe?
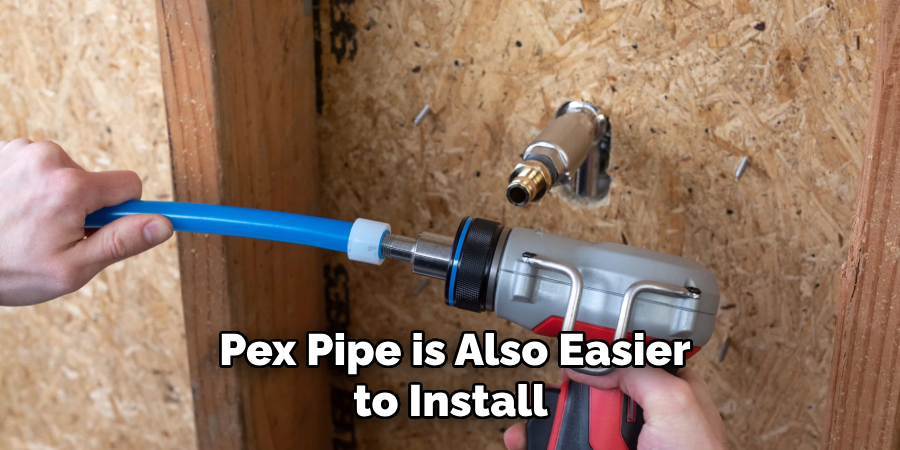
Pex pipe, short for cross-linked polyethylene pipe, is a type of flexible plastic plumbing tubing commonly used in residential and commercial buildings. It is an alternative to traditional copper or PVC pipes due to its durability, flexibility, and affordability. Pex pipe is also easier to install as it can bend and flex around corners and obstacles, eliminating the need for multiple fittings.

Why Would a Pex Pipe Develop Holes?
Pex pipe is known for its durability, but like any other plumbing material, it can develop holes over time. These holes can be caused by a variety of factors such as physical damage from drilling or nailing into the wall, exposure to extreme temperatures, or poor installation techniques. It is important to fix these holes promptly to prevent water damage and maintain the integrity of your plumbing system.
How to Identify a Pex Pipe Hole?
One of the most common ways to identify a hole in your pex pipe is by noticing water leaks or reduced water pressure. You may also notice discoloration, bulging, or cracking on the surface of the pipe. If you suspect a hole, it is best to inspect the entire length of the pipe to check for any other potential issues.
Conclusion
In conclusion, when you need to repair a Pex pipe hole, it is important to consider what tools and materials are available. It is important to follow all of the installation instructions for the hardware and sealant that you use. If necessary, it may also be helpful to get expert assistance in order to ensure that the job is done properly. If done correctly, this repair should last for many years and will help prevent further pipe damage from occurring.
When completing any sort of plumbing task, safety must always come first – make sure you take all precautions before beginning work and have adequate ventilation if using any chemicals or adhesives while fixing the pipe hole. With these steps in mind, tackling a Pex pipe hole repair yourself can be an easy task! So don’t wait another minute – take action now and learn how to fix pex pipe hole like a pro!

