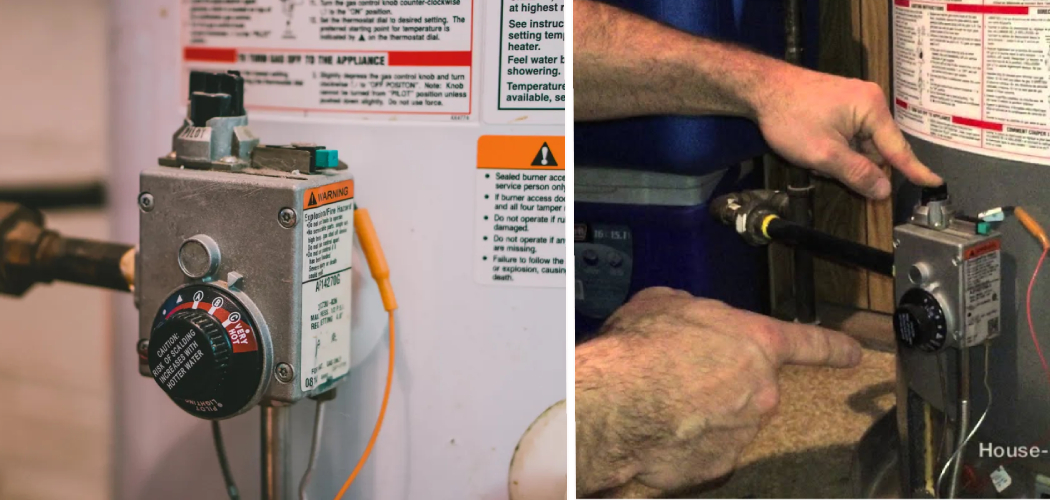
Are you having trouble getting your water heater to function properly? If you’ve been experiencing issues with the pilot light on your water heater, you may be wondering how to fix it.
If you’ve ever been abruptly showered with cold water due to a malfunctioning hot water heater, then you know the importance of maintaining its pilot light. Aside from making it easier to use your hot appliances and preventing unnecessary energy waste, fixing the pilot light on your water heater can also save you considerable time, money, and frustration. If that’s not enough incentive for you to learn how to tackle this project yourself, consider all the satisfaction of mastering such a useful DIY skill!
In this blog post, I’ll be walking through an easy step-by-step guide that will show you how to fix pilot light on water heater. So let’s get started!
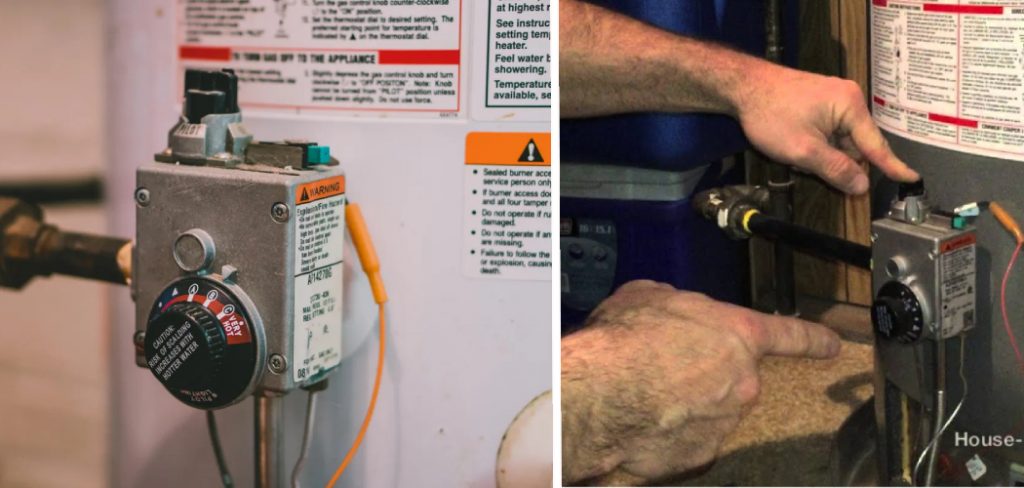
What Can Damage a Pilot Light On a Water Heater?
Before we dive into how to fix the problem, let’s identify some things that can damage the pilot light on your water heater.
1.Dirt and Debris Buildup in the Components: Over time, dirt and debris can accumulate in your water heater’s components, clogging up sensitive parts of its control systems and preventing the pilot light from igniting.
2. Gas Supply Interruption: If the gas flow to your water heater is interrupted due to a broken filter or valve, then the pilot light will not ignite.
3. Poor Air Circulation: If not enough air is drawn into the system, then the fuel-air mixture won’t be able to generate enough heat for the pilot light to stay lit.
4. A Faulty Thermocouple: The thermocouple is a device that senses how hot the flame is on a burner—if it’s malfunctioning, it could prevent your pilot light from staying lit.
Now that we know what can damage your water heater’s pilot light let’s look at how to fix it.
What Will You Need?
Before you get started, make sure that you have the following tools and materials on hand:
- Screwdriver
- Pliers
- Flashlight (optional)
- A replacement thermocouple (if needed)
Once you have the necessary supplies, it’s time to begin!
8 Easy Steps on How to Fix Pilot Light on Water Heater
Step 1: Turn Off the Power & Gas Supply
Before attempting any repairs, turn off the power and gas supply to your water heater. This will help you avoid any potential hazards while you work. Be careful not to short the wires or accidentally move them too much.

Step 2: Inspect the Pilot Light Assembly
Once the power and gas are turned off, open up the access panel on your water heater and inspect the pilot light assembly. If you notice any dirt or debris buildup, remove it with a damp cloth—this will help improve air circulation and let the flame burn more effectively. Ensure that the gas line is connected properly and there are no leaks.
Step 3: Check for Gas Supply Issues
Next, check for any issues that might be causing an interruption in your gas supply. Ensure all your valves are working properly and replace any broken filters or faulty parts before continuing. If you’re still having trouble, it may be time to call a professional.
Step 4: Replace the Thermocouple (If Necessary)
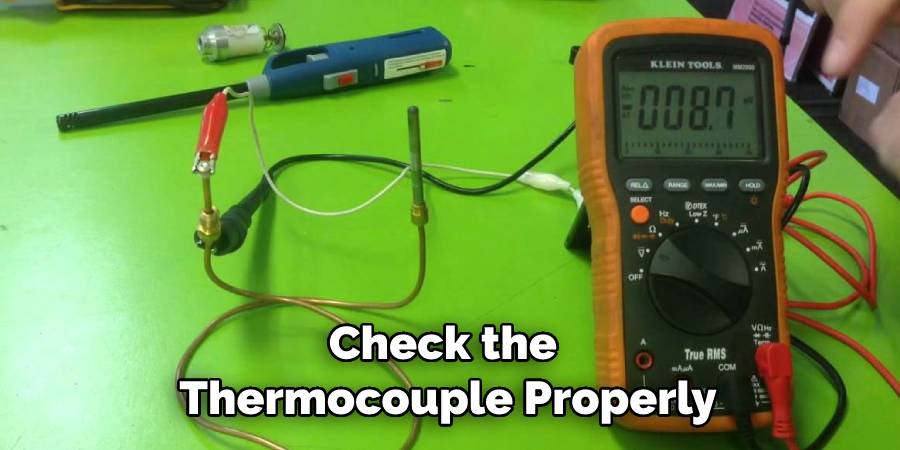
If your pilot light still won’t stay lit, then it’s time to check the thermocouple. If it appears to be damaged or faulty, you’ll need to replace it before continuing. Don’t try to repair the thermocouple yourself, as this can be dangerous.
Step 5: Test the Pilot Light
Once you’ve completed all of the above steps, it’s time to test your pilot light. Turn on the gas and power supply and follow the manufacturer’s instructions for how to ignite your pilot light. Doing this carefully and slowly is important to avoid any potential hazards.
Step 6: Use the Pilot Light
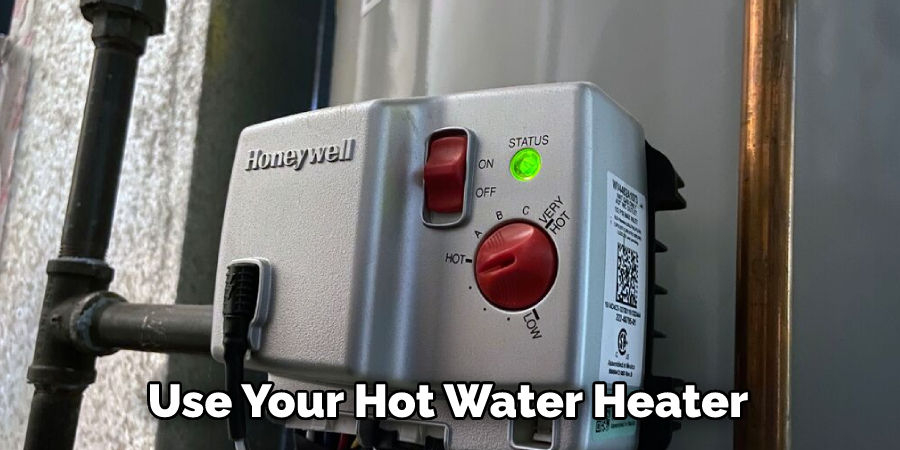
Once your pilot light is lit and burning steadily, you can begin to use your hot water heater again. Make sure to periodically check the flame to ensure there are no further issues with its operation. You can also check the flame color periodically to confirm that it is burning correctly.
Step 7: Maintain Regular
Finally, it is important to maintain your water heater regularly. This will help ensure that all of its components are working properly and that the pilot light remains lit. Additionally, regularly checking for wear and tear can help you identify any issues before they become more serious.
Step 8: Call a Professional
If you find that the issue persists or you are not confident in how to fix the pilot light on the water heater, then it may be time to call a professional. A technician will be able to come in and conduct a thorough inspection of your system, diagnose the problem, and make any necessary repairs. Moreover, they may also be able to offer tips on how to maintain your hot water heater properly.
By following these eight simple steps, you’ll be able to easily and safely fix your pilot light on the water heater. Just remember to use caution when conducting any repairs and always read the manufacturer’s instructions before attempting any work. With a little bit of patience, you’ll have your hot water heater up and running in no time!
5 Additional Tips and Tricks
1. Make sure the gas valve is in the “on” position. This will ensure that the necessary amount of gas is allowed to flow through your water heater, which will make it easier for you to light up the pilot light successfully.
2. Check for air drafts and blockages near the area where your pilot light is located. If there are any obstructions like this, they can prevent a spark from lighting up the flame properly and keep it from staying lit.
3. Clean out any dust or dirt that has accumulated inside of the pilot light assembly with a cotton swab or other cleaning tool. Dust buildup can hinder how well the flame ignites and how long it stays lit afterward.
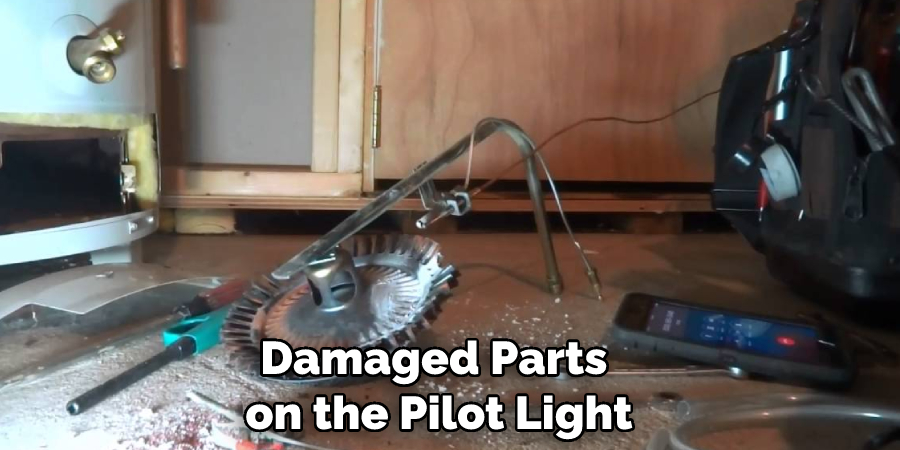
4. Replace any worn-out or damaged parts on the pilot light assembly, such as a thermocouple or igniter. This will increase the likelihood of the flame staying lit for longer periods of time.
5. Carefully and slowly adjust the flame as needed to get it to stay lit. This may require a few attempts to get it just how you want it, so be patient! If you’re still having trouble, it might be time to call a professional.
With patience and caution, anyone can safely maintain their hot water heater for many years!
5 Things You Should Avoid
1. Don’t ever use flammable liquids to light the pilot light. Although some people may recommend this method, it is extremely dangerous and could cause an explosion or fire.
2. Don’t attempt to fix a broken thermocouple without having the proper tools or knowledge. If you do not know how to replace the thermocouple yourself, contact a professional for assistance.
3. Don’t leave the gas on while troubleshooting your water heater; this can create a serious safety hazard.
4. Don’t try to light the pilot if there is already too much natural gas in the heating chamber, as this can also be hazardous and can lead to an explosion or fire.
5. Don’t attempt to troubleshoot a gas water heater if you are unfamiliar with how the system works. Knowing how the pilot should light and how it interacts with the thermocouple is important before you begin attempting to fix the problem. If necessary, consult an expert for help.
By following these guidelines, you can ensure that your efforts to fix your pilot light will be successful and safe. With a few simple steps and precautions, you can have your water heater up and running in no time.
What is a Faulty Pilot Light?
A faulty pilot light is a problem that occurs when the pilot light on your water heater fails to stay lit. Various issues, such as a broken thermocouple, obstructed venting, improper fuel supply, etc., can cause this.
A malfunctioning pilot light can prevent your hot water heater from running properly and may even cause it to shut down completely. That’s why it is important to understand how to fix your pilot light on a water heater to get your system up and running again quickly and safely.
Conclusion
Fixing a pilot light on a water heater is no easy feat, but anybody can get the job done with the right guidance and tools! Whether you took a DIY approach or hired an experienced plumber armed with these tips, you’re more than prepared to check on your pilot light and ensure all is functioning correctly.
Remember always to take safety precautions when handling gas-fueled appliances: never force the tank connections, always keep your face away from the connection point in case of a spark, and make sure there are no defects. With these precautions in mind, you should be able to operate, maintain, and repair your water heater safely!
Hopefully, the article on how to fix pilot light on water heater was helpful in giving you the information needed to keep your hot water heater running smoothly and safely. Good luck!

