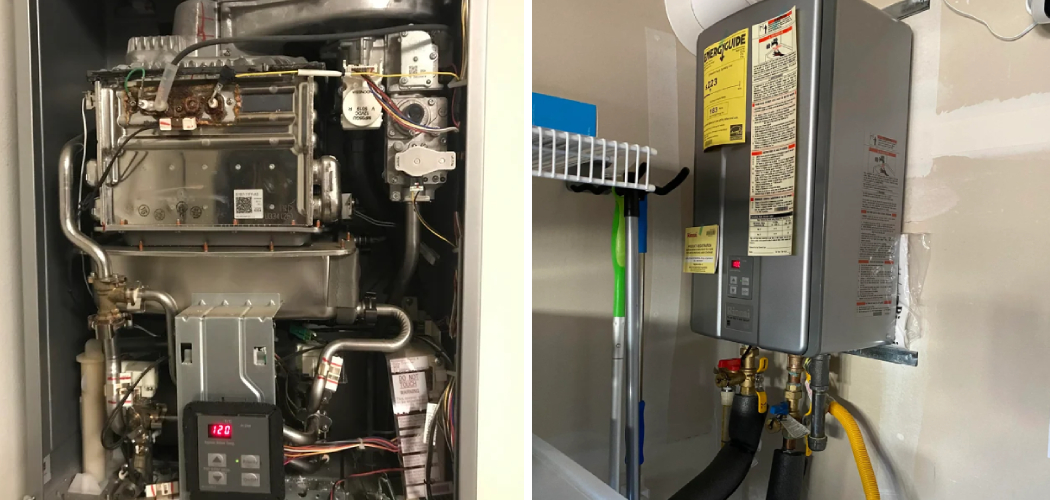
Are you tired of dealing with a Rinnai tankless water heater that keeps flashing code 11? This error code indicates a “no ignition” problem and can be caused by various issues such as gas supply, air flow, or electrical problems.
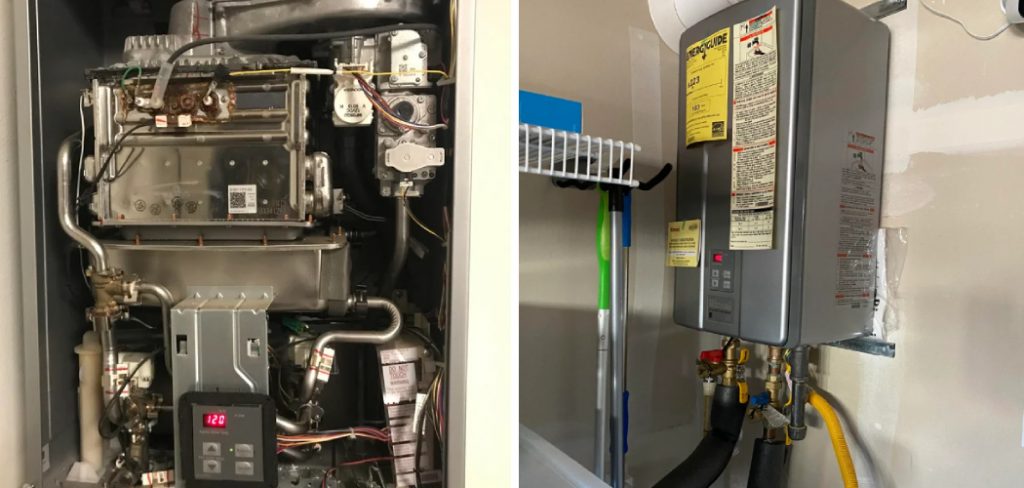
Rinnai Code 11 indicates a fault typically related to the ignition of the heater or water system, which can lead to interruptions in service and discomfort for users. Understanding how to fix Rinnai code 11 is essential for maintaining consistent hot water availability and ensuring the efficient functioning of your Rinnai system.
In this guide, we will explore common causes of Code 11, offer step-by-step instructions for diagnosis and repair, and provide tips for regular maintenance to prevent future issues. By following these guidelines, you can confidently address this problem and restore your system’s performance.
What Will You Need?
Before beginning the troubleshooting process, it is essential to gather a few items that may be necessary for fixing Rinnai Code 11:
- A screwdriver set
- A voltmeter or multimeter
- A pipe wrench
- Rags or towels
- Cleaning solution (if applicable)
Having these tools on hand will make it easier to perform any necessary repairs and ensure an efficient and effective resolution to the issue. Now, let’s dive into the steps you can take to fix Rinnai Code 11.
10 Easy Steps on How to Fix Rinnai Code 11
Step 1: Check the Gas Supply
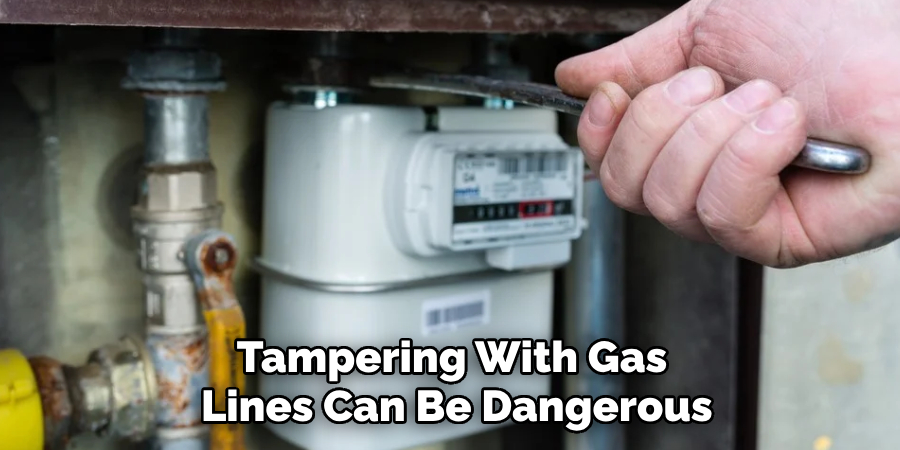
The first and most crucial step in troubleshooting Rinnai Code 11 is ensuring your gas supply is uninterrupted. Begin by inspecting the gas meter and verifying that it is functioning correctly. Look for any visible signs of damage or leaks along the gas lines leading to the water heater.
If you’re using propane, check the fuel level in your tank to ensure it hasn’t run empty. Additionally, ensure that all gas valves are open, allowing proper flow to the unit. If you’re uncertain, consider enlisting the help of a professional to assess the gas supply system, as tampering with gas lines can be dangerous.
Once you’ve confirmed that the gas supply is intact, you can move on to the next steps in the troubleshooting process.
Step 2: Inspect the Airflow
Proper airflow is essential for efficiently operating your Rinnai tankless water heater. Begin by checking the venting system for any blockages or obstructions that may impede airflow. This includes examining the vents for debris, bird nests, or other materials that could obstruct the exit of exhaust gases.
If your unit is located indoors, ensure that no furniture or appliances are blocking the intake vents. Once the vents are clear, assess the fan mechanism to confirm it is functioning correctly. If the fan does not operate, it may need to be replaced or repaired to restore proper airflow and combustion.
Step 3: Reset the Unit
After checking the gas supply and airflow, the next step is to reset your Rinnai unit. Resetting can sometimes clear error codes and restore functionality if the issue is temporary.
To perform a reset, locate the reset button on your water heater, usually found on the control panel. Press and hold the reset button for 5 to 10 seconds or until you see the display reset itself. You are monitoring any changes in the indicator lights after the reset is essential. If the error code disappears, this could indicate that the problem was minor or a momentary glitch.
However, if code 11 reappears shortly after the reset, it suggests that further troubleshooting will be necessary. In such cases, continue with the subsequent steps to identify and address the underlying issues affecting your tankless water heater’s ignition system.
Step 4: Check the Igniter
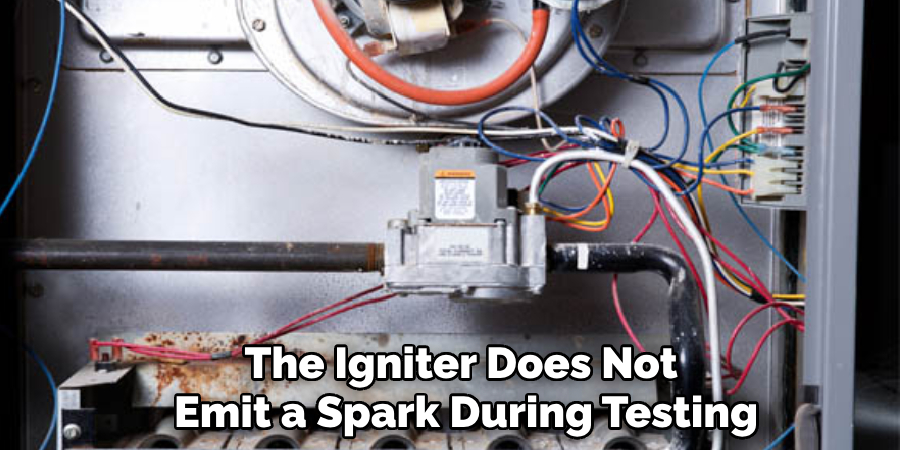
The igniter is critical for initiating the combustion process in your Rinnai tankless water heater. First, inspect the igniter and ensure the unit is powered off for safety.
Locate the igniter, typically positioned near the burner assembly. Inspect it for any signs of wear, damage, or excessive dirt build-up that might hinder its performance. If the igniter appears dirty, carefully clean it using a soft brush or cloth. Ensure that all electrical connections are secure and free from corrosion.
If you identify any damage or the igniter does not emit a spark during testing, it may need replacing. Reassemble the components securely before moving on to the next step in the troubleshooting process.
Step 5: Examine the Flame Sensor
The flame sensor is a vital safety feature designed to detect the presence of a flame during operation. If the flame sensor is dirty or malfunctioning, it can signal a false “no ignition” error, leading to Rinnai Code 11. Start by powering off the unit and locating the flame sensor near the burner.
Carefully inspect it for any buildup of soot or debris. Clean the sensor using a soft cloth or a gentle abrasive cleaner if necessary. Check the sensor’s wiring for any signs of wear or damage, and ensure that all connections are secure. If the flame sensor still does not function correctly after cleaning, it may need to be replaced. Reassemble the unit and proceed to the next step to diagnose the issue further.
Step 6: Test the Water Flow
Inadequate water flow can also contribute to the occurrence of Rinnai Code 11. Begin by checking the water supply to your tankless water heater. Ensure that the main water valve is fully open and that there are no blockages in the pipes leading to the unit. You may want to open nearby taps to assess if water flows freely, indicating that there are no obstructions in the plumbing system.
If you encounter reduced flow, consider inspecting the inlet filter screen for sediment build-up or debris, which can hinder water intake. Cleaning or replacing the filter, if necessary, can help restore optimal water flow to your Rinnai heater. Once you’ve confirmed adequate water supply, you can proceed to the next step in the troubleshooting process.
Step 7: Verify Electrical Connections
Electrical connections are crucial for properly operating your Rinnai tankless water heater. Begin by turning off the power to the unit to ensure safety. Check all electrical connections, including the wiring to the igniter, flame sensor, and control board, for signs of loose connections, corrosion, or damage.
Use a multimeter to test the continuity of the wiring; this will help identify any issues along the electrical pathways if any connections are found to be faulty or corroded, secure or replace them as needed. Once all electrical connections are verified, reassemble the unit and restore power to see if the error code persists. If Rinnai Code 11 continues to appear, proceed to the next step in the troubleshooting process.
Step 8: Update Firmware
In some cases, outdated firmware can lead to operational issues with your Rinnai tankless water heater. Begin by checking the manufacturer’s website or your user manual to determine if any firmware updates are available for your model.
Following the guidelines to download and install the new firmware if an update is necessary. Typically, this involves connecting your water heater to a computer via a compatible cable and running the update software.
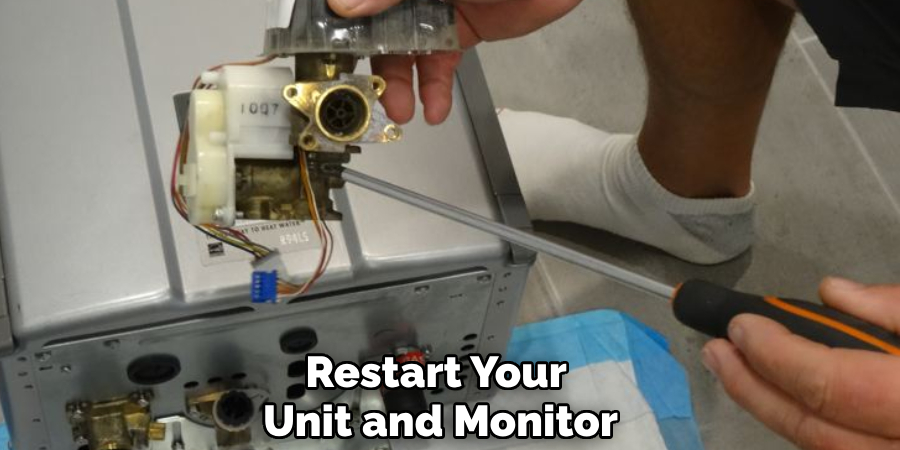
Ensure you follow all instructions carefully to avoid interrupting the update process, which can cause further issues. Once updated, restart your unit and monitor for any reoccurrence of Rinnai Code 11. If the error persists, seek professional assistance for a comprehensive diagnosis.
Step 9: Consult the User Manual
If the previous troubleshooting steps have not resolved Rinnai Code 11, it’s advisable to consult the user manual specific to your tankless water heater model.
The manual often contains valuable information regarding error codes, maintenance tips, and detailed troubleshooting guides tailored to your unit. Look for sections that address ignition issues or explanations for error codes. Following the manufacturer’s recommendations can help you identify specific features or settings requiring adjustment.
If the problem persists after reviewing the manual, consider contacting Rinnai customer support or a qualified technician for professional assistance. They can provide more advanced diagnostics and repairs to ensure your unit operates efficiently.
Step 10: Seek Professional Help
If all prior troubleshooting methods have proven ineffective in resolving Rinnai Code 11, it’s time to consider seeking professional assistance. Contact a certified technician who specializes in tankless water heater repairs.
They possess the expertise and tools necessary to diagnose complex issues that may not be easily identifiable through standard troubleshooting. Be prepared to provide them with detailed information about your steps, any observations you’ve made, and the specific error codes displayed.
This information will aid them in swiftly pinpointing the problem and implementing a solution, ultimately restoring the efficient operation of your Rinnai tankless water heater.
By following these steps and conducting thorough troubleshooting, you can effectively address Rinnai Code 11 and resume the smooth operation of your tankless water heater.
Conclusion
In summary, addressing Rinnai Code 11 involves a systematic troubleshooting approach encompassing several key steps. Start by ensuring that the gas supply is adequate and free from obstructions, followed by thoroughly examining and cleaning critical components such as the flame sensor and the inlet filter.
Verifying electrical connections is crucial, as faulty wiring may lead to persistent issues. Keeping your firmware up to date can also prevent operational complications. If the error persists despite these measures, consulting the user manual can provide tailored insights for your specific model.
Ultimately, don’t hesitate to seek professional help if necessary, as certified technicians can efficiently diagnose and resolve more complex issues. By diligently following this troubleshooting guide on how to fix rinnai code 11, you’ll be well-equipped to restore your Rinnai tankless water heater to optimal performance.

