How to fix septic drain field requires a systematic approach to identify and resolve issues effectively. Start by inspecting the entire area for signs of failure, such as pooling water, strong odors, or lush vegetation in certain spots.
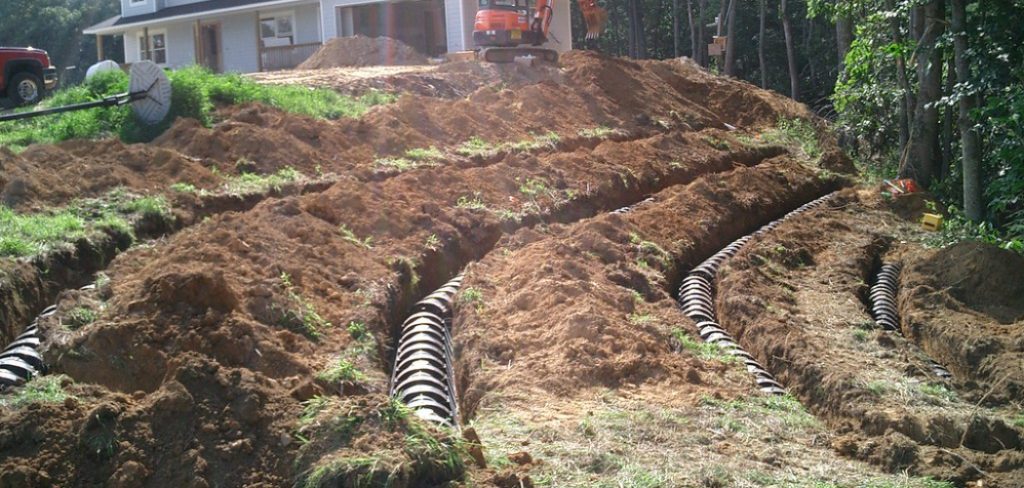
If you suspect a blockage, locate the cleanouts and use a plumbing snake to clear any obstructions in the pipes leading to the drain field. It may also be necessary to evaluate the condition of the soil; if it has become overly compacted or saturated, aerating the area can help improve drainage. In severe cases of failure, consider replacing sections of the drain field or installing a new system.
Always consult with a professional septic service for advice tailored to your specific situation to ensure compliance with local regulations and safe practices.
What Will You Need?
Before attempting to fix a septic drain field, you will need a few essential items. These include:
- Shovel or Backhoe: This will be used to dig up the soil around the drain field.
- Plumbing Snake: A plumbing snake is necessary for clearing any blockages in the pipes leading to the drain field.
- Soil Aerator: If the soil has become compacted or saturated, an aerator can help improve drainage.
- Replacement Parts: In some cases, you may need to replace damaged or broken septic system components, such as broken pipes or distribution boxes.
These items will ensure you are prepared to tackle any issues with your septic drain field.
10 Easy Steps on How to Fix Septic Drain Field
Step 1. Identify the Problem:
The first step in fixing a septic drain field is to identify the specific issues affecting its function accurately. Begin by inspecting the area surrounding the drain field for any visible indicators of trouble. Look for pooling water, which may suggest the system is overwhelmed or improperly draining. Strong, unpleasant odors can clearly indicate sewage is surfacing, pointing to system failure. Additionally, if you notice areas of unusually lush vegetation, this may indicate that effluent is being released into the soil where it shouldn’t be.
It’s essential to take note of any changes in these conditions over time, as this may provide insights into the severity and progression of the problem. Documenting your observations will help you communicate effectively with any professionals you may consult later, ensuring you comprehensively understand the situation before proceeding with repairs.
Step 2. Locate the Cleanouts:
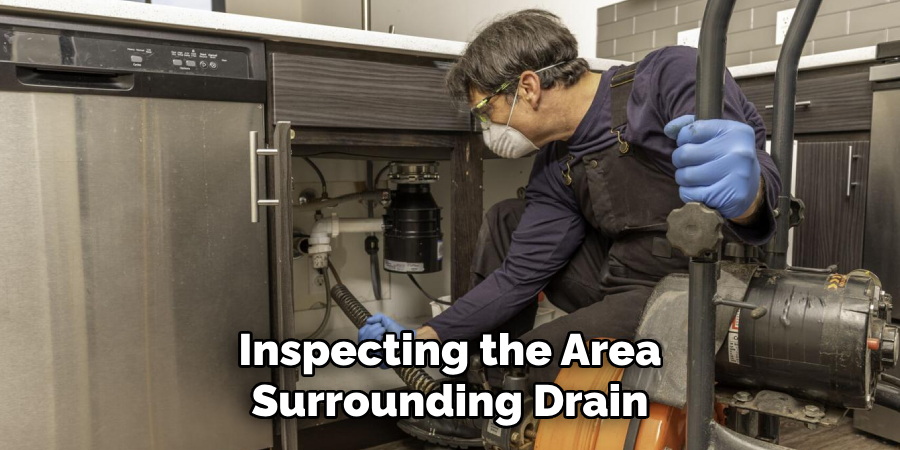
After identifying the problem, the next step is to locate the cleanouts of your septic system. Cleanouts are essential access points for inspecting and maintaining your system, allowing you to clear blockages or perform necessary repairs. They are typically found on the main line leading from your home to the septic tank. Once located, remove any caps or covers to gain access to the piping. This area is critical for troubleshooting issues, so it is essential to approach it with caution as wastewater may be present.
Step 3. Inspect and Clear the Pipes:
With the cleanouts accessible, use a plumbing snake to probe the pipes for any blockages gently. Gradually push the snake into the pipes and twist it to break up clogs. If you encounter significant resistance, withdraw the snake and inspect it for debris before proceeding. Clearing these pipes is essential to restoring proper flow and preventing further complications within the system. After clearing blockages, run water through the system to ensure the drainage is functioning correctly.
Step 4. Evaluate the Soil Condition:
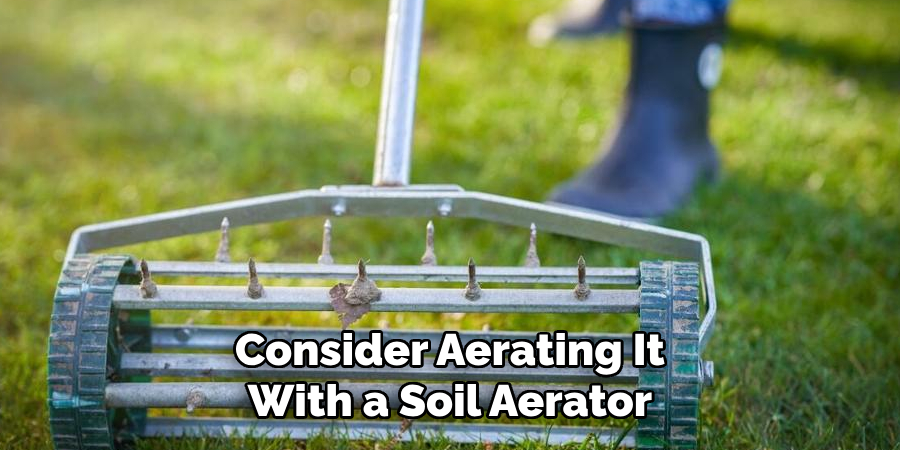
Take a moment to assess the soil surrounding your septic drain field. Compacted or oversaturated soil can severely impact the system’s ability to absorb and filter wastewater. If you find the soil to be overly compacted, consider aerating it with a soil aerator to improve drainage and promote healthy microbial activity. This process involves creating small holes in the soil to allow air, water, and nutrients to penetrate deeper, enhancing the soil’s overall function.
Step 5. Monitor for Further Issues:
Once you have completed the necessary repairs and adjustments, monitoring the area for any signs of recurrence is essential. Over the next few weeks, look for pooling water, odors, or unusual vegetation. Regular inspections will help you detect potential issues early, ensuring that your system remains in optimal working condition. If problems persist despite your efforts, it may be time to consult a professional for a more thorough evaluation and potential upgrades to your system.
Step 6. Consider Replacement of Damaged Components:
If monitoring reveals that issues persist or that there are clear signs of significant damage, you may need to replace certain components of your septic drain field. Start by inspecting the distribution box and leach lines for any cracks, blockages, or signs of deterioration. A damaged distribution box can disrupt the flow of effluent to the drain field, while compromised leach lines can impede proper drainage.
With any necessary replacement parts on hand, carefully excavate and remove the damaged sections, ensuring that you follow local regulations regarding septic system repairs. Replace these components with new parts, making sure to connect all plumbing to restore functionality to the system properly. Following installation, conduct a thorough inspection to confirm everything is secured and functioning before covering the excavation with soil.
Step 7. Perform Soil Percolation Tests:
After replacing any damaged components, conducting soil percolation tests is crucial to ensure that the drain field is functioning correctly. This test measures the rate at which water will naturally seep into the soil, which is fundamental for the effective treatment of wastewater. To perform a percolation test, dig a hole approximately 12 inches deep and fill it with water.

Allow the water to drain completely, then refill the hole with water and indicate how long it takes to drain. The drainage speed will help determine your soil’s suitability for a septic drain field. If the percolation rate is too slow, consider alternative solutions, such as installing a different type of drain field or enhancing the existing one to improve its efficacy.
Step 8. Install Additional Drainage Solutions:
If the soil percolation tests indicate that your current setup is insufficient for effective wastewater management, consider installing additional drainage solutions. Options include raised drain fields or mound systems that elevate the leach field above the natural grade to improve drainage in existing soil conditions. This may involve creating a series of trenches filled with gravel to enhance natural drainage or implementing a sand mound system where a sand base is utilized for improved filtration.
Be sure to consult local regulations and consider involving a professional to ensure that the installation adheres to safety standards and is engineered appropriately for your specific site conditions. Before proceeding, assess the overall layout and any potential impact on nearby structures or the environment to determine the most viable solution.
Step 9. Implement Regular Maintenance:
Establishing a routine maintenance schedule is critical to ensuring the long-term health of your septic system. This should include regular inspections of the system components, checking for unusual signs such as slow drainage or odors, and scheduling pump-outs every three to five years, depending on the household size and usage. Keeping accurate records of all maintenance activities will help you identify patterns and potential issues early, allowing for timely interventions.
Step 10. Educate Household Members:
All household members need to understand the proper care and usage of the septic system. Educate them on what substances can and cannot be disposed of down the drains, such as avoiding flushing non-biodegradable items or pouring grease down the sink. Implementing these practices helps reduce the risk of clogs and protects the system’s overall integrity. Encourage everyone to be vigilant and report any signs of trouble, ensuring a proactive approach to septic system management.
By following these steps and implementing regular maintenance practices, you can help ensure that your septic system remains in proper working condition for years to come. It’s crucial to address any issues promptly and involve professionals as needed to keep your septic drain field functioning effectively.

5 Things You Should Avoid
- Neglecting Professional Help: While DIY solutions can be valuable, it’s essential to recognize the need for professional assistance. Attempting complex repairs without proper knowledge or experience can exacerbate issues and lead to costly repairs.
- Ignoring Warning Signs: If you notice symptoms such as sewage backups, foul odors, or unusually lush vegetation in the drain field, do not dismiss these as minor problems. Ignoring these signs can lead to accelerated damage and environmental hazards.
- Using Harsh Chemicals: Avoid pouring harsh chemicals down the drain, as they can disrupt the balance of beneficial bacteria essential for breaking down waste in your septic system. Opt instead for environmentally friendly products.
- Overloading the System: Be cautious about what you flush or pour down the drain. Items such as paper towels, sanitary products, and excess grease can clog the system, making it less efficient and requiring more frequent interventions.
- Skip Routine Pumping: Don’t neglect the importance of regular pumping and inspection of your septic system. Failing to pump out solids at appropriate intervals can lead to backups and system failures, resulting in expensive repairs.
Conclusion
In summary, how to fix septic drain field is essential for effective wastewater management and the overall health of your property.
By following a structured approach that includes inspecting for damage, conducting soil percolation tests, and implementing necessary repairs or enhancements, you can preserve the integrity of your septic system. Regular maintenance, including timely pumping and educating household members about proper disposal practices, is crucial for preventing future issues. Being proactive and responsive to signs of trouble will not only extend the life of your system but also ensure compliance with local regulations and protection of the environment.
If challenges arise, don’t hesitate to seek professional assistance to achieve the best possible outcome for your septic system.

