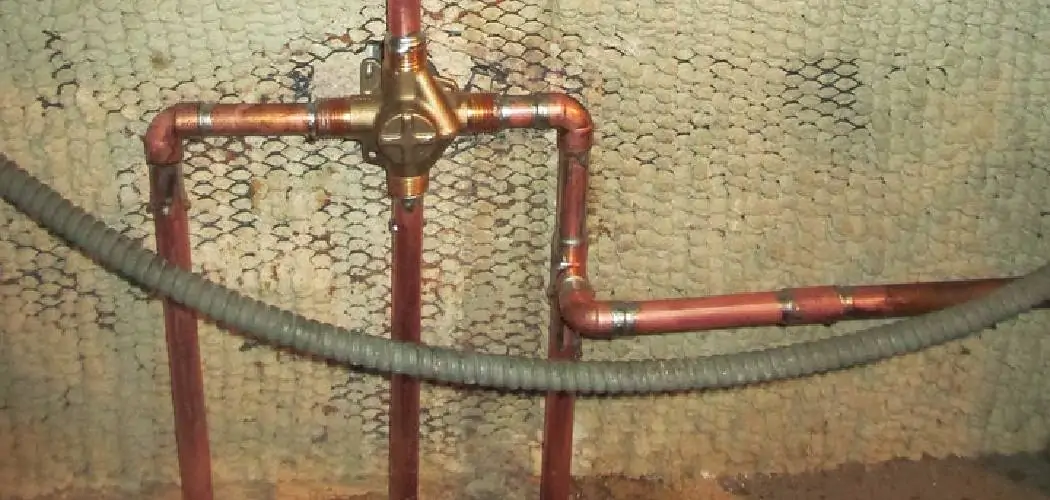
A shower leaking behind the wall is a troublesome issue that can lead to serious structural damage and mold growth if left unaddressed. When you notice water seeping into your walls from the shower area, it’s crucial to take immediate action. In this article, we will delve into the essential steps and strategies on how to fix shower leaking behind wall, ensuring the integrity of your bathroom and preventing potential costly repairs.
From identifying the source of the leak and accessing the affected area to addressing damaged seals and waterproofing, we will guide you through the process. Whether you’re a DIY enthusiast or considering professional help, understanding how to tackle this problem is vital to safeguard your home against water damage and maintain a dry, safe, and leak-free shower environment.
The Importance of Addressing Shower Leaks
Shower leaks are a common household problem that can often go unnoticed for long periods of time. In fact, it is estimated that 1 trillion gallons of water are wasted due to leaks in homes across the United States each year. Not only do shower leaks waste water and cost homeowners money through increased utility bills, but they can also cause damage to the structure of the home.
When a shower leak occurs behind the wall, it can lead to the growth of mold and mildew which can cause health problems for those living in the home. Additionally, if left unaddressed, a shower leak can weaken the structure of the wall and lead to costly repairs or even a complete reconstruction.
Aside from potential damage to your home and health, ignoring a shower leak can also have a negative impact on the environment. Wasting water not only affects your utility bills, but it also contributes to water scarcity and strains natural resources.
Therefore, it is important to address shower leaks as soon as they are discovered. This includes regularly checking for any signs of leaks, such as damp or discolored walls, musty odors, or a sudden increase in water bills. If a leak is suspected, it is best to call a professional plumber to properly diagnose and fix the issue.
In addition to fixing any existing shower leaks, it is also important to take preventative measures to avoid future leaks. This can include properly sealing grout and caulk around the shower area, using a high-quality shower head with proper installation, and maintaining proper water pressure to reduce strain on pipes.
10 Methods How to Fix Shower Leaking Behind Wall
1. Check the Shower Head and Faucet
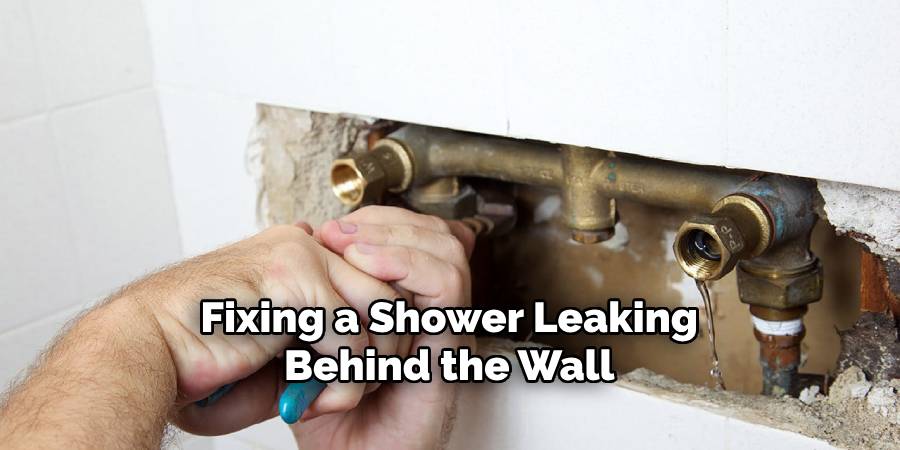
The first step to fixing a shower leaking behind the wall is to check the shower head and faucet for any signs of wear or damage. If you notice any cracks, leaks, or other damage, it’s important to replace these parts as soon as possible in order to stop the leak from getting worse. Additionally, it’s also important to check for any debris that may be blocking the drain and causing water to back up into the wall.
2. Replace Worn Out Seals
If you find that there are worn-out seals around the shower head or faucet, it’s important to replace them immediately in order to prevent further water leakage. It’s also a good idea to inspect the caulking around the edges of the shower door or tub enclosure for any signs of wear or damage. If necessary, you can use a silicone caulk to reseal these areas in order to keep water from seeping through.
3. Clean Out Any Clogs
If you’ve checked all of the seals and caulking but still find that there is water leaking behind your wall, then it could be due to a clog in your pipes. In this case, it’s important to clean out any clogs using an auger or snake tool in order to restore proper drainage and stop water from backing up into your walls.
4. Install a Pressure Reducing Valve
If you have high water pressure coming into your home, this could be contributing to your shower leaking behind the wall problem. To reduce this pressure and stop leaks from occurring, consider installing a pressure-reducing valve on your incoming water line, which will help regulate how much pressure enters your home each time you turn on your shower faucet or flush your toilet.
5. Repair Cracked Tiles
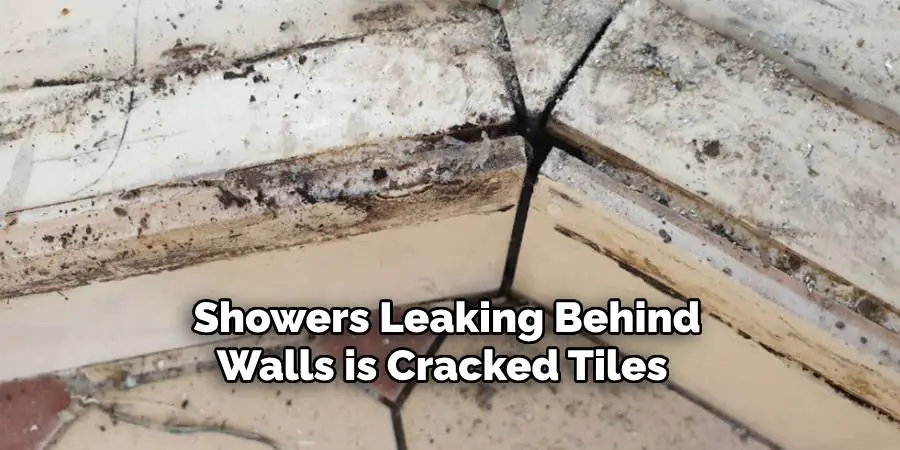
Another common cause of showers leaking behind walls is cracked tiles surrounding the shower area, which can allow moisture into otherwise dry areas of your bathroom walls and flooring over time if not addressed quickly enough.
To repair cracked tiles, start by removing all loose pieces of tile before applying new grout around each tile with waterproof sealant in order to create an airtight seal against moisture entering through these cracks again in the months ahead!
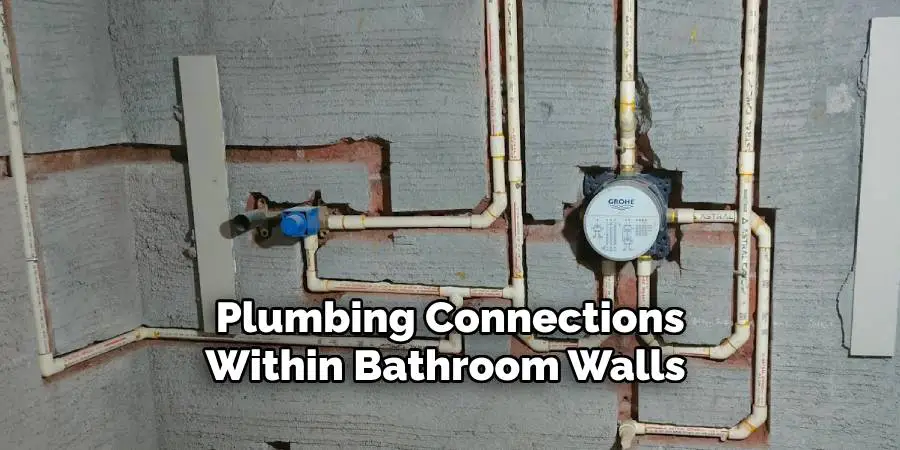
6. Inspect Plumbing Connections
It’s also important that you inspect all plumbing connections within your bathroom walls and ceiling for any signs of leakage or corrosion, which could be allowing moisture into otherwise dry areas over time if left unaddressed long enough!
Be sure that all connections are securely tightened so they don’t come undone due to too much movement over time – especially if located near active plumbing lines like those found near showers/baths where lots of vibration occurs when using them frequently throughout daily life!
7. Insulate Pipes
Insulating pipes within bathroom walls & ceilings can help keep warm air inside during cold winter months while helping protect against sudden temperature changes – both hot & cold – which could cause condensation build-up along metal surfaces leading towards potential leakage problems down line if not addressed quickly enough!
Consider purchasing pre-cut insulation rolls specifically designed for insulating pipes & wrapping them around affected areas before taping off ends securely with waterproof tape material (or similar) so they stay put no matter what happens outside/inside the home environment-wise!
8. Replace Damaged Drywall
If, after inspecting all plumbing connections within bathroom walls & ceilings, you notice drywall has been damaged due to prolonged exposure to moisture – either from condensation build-up or direct contact with plumbing lines themselves – then replacing damaged sections should be done right away before mold/mildew growth becomes an issue as well!
Start by removing old drywall pieces & replacing them with fresh ones before applying waterproof sealant along edges where new meets old material so everything stays sealed tight against future moisture exposure situations going forward!
9. Check Shower Drainage System
Finally, make sure that you check out how well (or not) your shower drainage system is working by running some tests on it once every couple of weeks just in case something goes wrong without warning signs beforehand!
This includes ensuring the drain trap isn’t blocked by debris buildup while also making sure there aren’t any kinks present along the piping leading towards the main sewer line connection point outside the home itself as both can lead towards potential leakage issues down the line if left unchecked long enough!
10. Call Professional Plumber
If after trying out all these DIY methods yourself but still haven’t been able to fix ongoing issues related to the “shower leaking behind the wall” problem then calling a professional plumber might be the best option available at this point moving forward! Not only do they have experience dealing with these kinds of situations but also possess all the necessary tools & equipment required to get job done right without any hassle whatsoever!
Ask around for referrals from friends or family members who have used their services before so you know what to expect going into things beforehand rather than leaving everything up in air once pro shows up on site ready to get started fixing whatever’s been causing your headache lately!
Things to Consider When Fixing Shower Leaking behind Wall
When it comes to fixing a leaking shower behind the wall, there are a few important things to keep in mind. While some minor leaks can be easily fixed with simple DIY solutions, more serious leaks may require professional help. Here are some tips and considerations for fixing a shower leak behind the wall:
Identify the Root Cause of the Leak
The first step in fixing a leaking shower behind the wall is to identify the root cause of the leak. Common causes of shower leaks include faulty plumbing, cracks in tiles or grout, and worn out seals. By determining the specific cause of the leak, you can take appropriate steps to fix it.
Assess the Extent of Damage
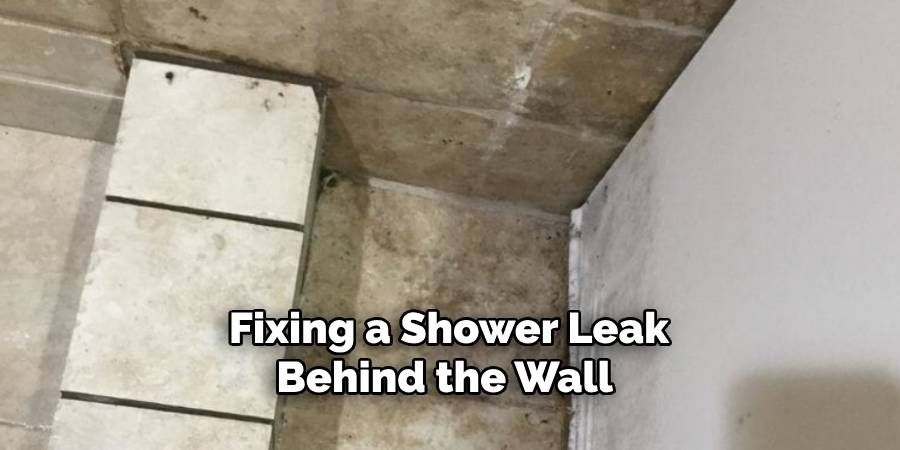
Before starting any repairs, it’s important to assess the extent of damage caused by the leak. If the water has already seeped through to other areas or has caused structural damage, it may require more extensive repairs. In such cases, it’s best to seek professional help.
Gather Necessary Tools and Materials
Depending on the cause of the leak, you’ll need different tools and materials for fixing it. Some common tools and materials required for fixing a shower leak behind the wall include caulking gun, silicone caulk, sealant tape, grout, tile adhesive, putty knife, and waterproofing membrane.
Conclusion
In conclusion, a shower leaking behind the wall can be quite an intimidating fix. While it may require a plumber and possibly some costly repairs, with the right preparation and knowledge on how to handle this issue, you can tackle it in no time. Doing your research beforehand and know what the steps are to fixing a shower leak behind the wall can help ensure that everything is well taken care of.
It’s also important to call a professional if you’re unable to take on the task yourself, as it may cause more issues later on if not adequately fixed right away. If you want to take action now and learn how to fix shower leaking behind wall, follow our blog posts for detailed instructions and diagrams on solving this common problem.

