Are you tired of dealing with a leaking shower that has caused water damage to your ceiling? It can be frustrating and expensive to constantly deal with the aftermath of a leaking shower. Luckily, fixing a shower leaking through the ceiling is not as difficult as it may seem.
If you’re like most of us, there is nothing quite as irritating and potentially dangerous as a shower leaking through the ceiling. Not only can this cause damage to your ceilings and walls, but it can lead to unwanted mold growth in your home.
Thankfully, we’ve got all the information here for you on how to fix shower leaking through ceiling so that you don’t need to worry about any further damage being done. Keep reading to find out more!
What Will You Need?
Before we jump into the steps of fixing a shower leaking through the ceiling, let’s take a look at what you will need for this project:
- Caulk gun
- Silicone caulk
- Putty knife
- Grout saw (optional)
- Waterproof sealant or grout sealer
- Rubber gloves
- Safety goggles
- Ladder (if needed)
Once you have all these materials, you’re ready to tackle the leaking shower and protect your ceiling from further damage.
10 Easy Steps on How to Fix Shower Leaking Through Ceiling
Step 1: Identify the Source of the Leak
The first step to fixing a shower leaking through the ceiling is identifying precisely where the water is coming from. This might require you to remove the shower head or any fixtures and inspect the drain and the caulking around the shower. Keep in mind that water can travel before it leaks through the ceiling, so the source of the leak might not be directly above the water damage. Once you’ve identified the source of the leak, you can move on to the next step.
Step 2: Prep the Area
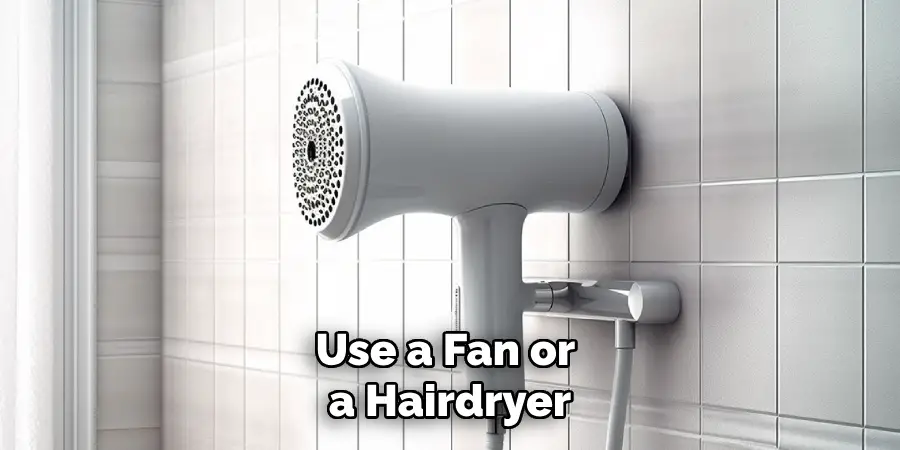
After you’ve found the source of the leak, it’s time to prepare the area for repair. Remove any loose caulk or grout from the leaking area using your putty knife or a grout saw. Be careful not to cause any additional damage to the tiles or the shower while doing this. Rinse the area with water and leave it to dry completely. This is crucial as any moisture left can affect the adhesion of the new caulk or grout. You may use a fan or a hairdryer to speed up the drying process. Once the area is dry, you can proceed to the next step.
Step 3: Apply the Caulk
Now that the area is prepped, it’s time to apply the new caok. Cut the tip of the silicone caulk at a 45-degree angle and load it into your caulk gun. Apply the caulk smoothly and evenly over the area where you removed the old caulk or grout. Ensure that you cover all the gaps to prevent future leaks. After you’re done, smooth out the caulk with your finger or a caulking tool to create a seal. Clean up any excess caulk immediately before it dries. Leave the caulk to dry for as long as the manufacturer recommends (usually 24 hours) before proceeding to the next step.
Step 4: Apply the Sealant
Once the caulk has dried completely, you can move onto applying the sealant. This additional layer will provide more protection against future leaks. Put on your gloves and safety goggles, then carefully apply the waterproof sealant or grout sealer over the dried caulk, following the manufacturer’s instructions. Make sure you cover all the caulked areas thoroughly and evenly. Once done, allow the sealant to dry completely before using the shower again. This could take anywhere from a few hours to a couple of days, depending on the specific product.
Step 5: Test for Leaks
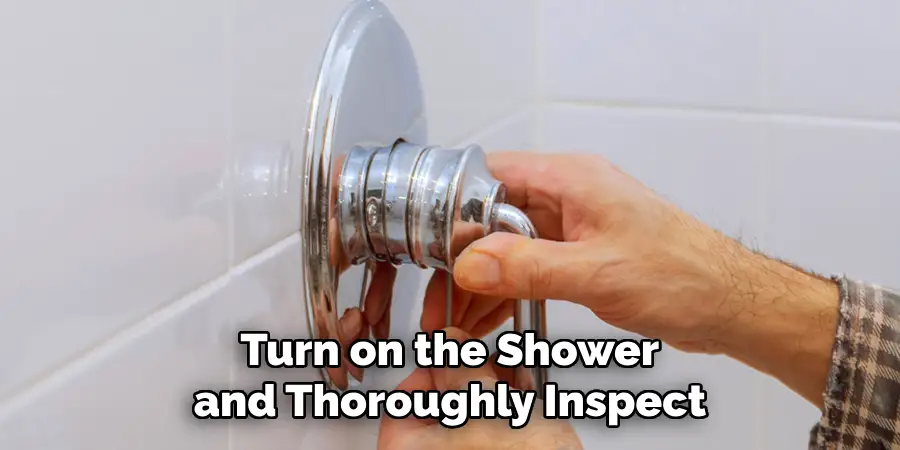
After the sealant has thoroughly dried, you should test the shower for leaks before you use it regularly. Turn on the shower and thoroughly inspect the area you just repaired. Allow the water to run for several minutes, and watch for any signs of leakage. If you notice any water seeping through, you may need to apply another layer of caulk or sealant if there are no signs of leaking; congratulations! You have successfully fixed the shower leak.
Step 6: Ceiling Repair
Now that the leak from the shower has been fixed, it’s time to repair the water damage on the ceiling. Start by inspecting the ceiling for any signs of lingering moisture. If the ceiling is dry, you can proceed with the repair. However, if it’s still damp, you must dry it out completely before starting the repair. Use fans or dehumidifiers to speed up the drying process.
Once the ceiling is dry, remove any loose or peeling paint using a scraper. Clean mold with a mixture of 1 part bleach and three parts water if there’s any mold. After this, patch the damaged part with a suitable patching compound, allow it to dry, and then sand it smooth. Finally, repaint the ceiling to match the rest of your decor. If the damage is extensive, consider hiring a professional to repair it.
Step 7: Regular Maintenance
To avoid future leaks and ceiling damage, it’s important to maintain your shower regularly. Look for any signs of wear and tear, especially around the grout and caulking. If you notice the caulk or grout deteriorating, replace it immediately to prevent a small issue from becoming a major problem. Additionally, ensure your bathroom is well-ventilated to avoid condensation, which can lead to mold growth. Regular maintenance can save you from costly repairs down the road.

Step 8: Professional Inspection
After completing the repair and maintenance, consider scheduling a professional inspection to ensure all leaks have been properly addressed. A professional plumber has the knowledge and experience to detect hidden issues that may not be visible to the untrained eye. While this may incur an additional cost, it will provide peace of mind and potentially save you from further costly repairs.
Step 9: Prevention Measures
Preventing future leaks is equally as important as fixing current ones. Invest in quality fixtures and proper installation to reduce the risk of leaks. Regularly clean your shower and drain to prevent build-up that could lead to blockages and subsequent leaks. Consider installing a water detector, alerting you to leaks before they become a significant issue. Remember, prevention is always better than cure.
Step 10: Enjoy Your Leak-Free Shower
After diligently following the steps above, you’ve taken significant strides in rectifying the issue of your shower leaking through the ceiling. You’ve addressed the root cause, done necessary repairs, and implemented preventive measures. Now, it’s time to enjoy your shower worry-free. Regularly monitor for any signs of potential leaks, but take time to appreciate the peace of mind a well-maintained home brings.

Remember, maintaining your home’s condition is a continuous process, but the comfort and safety it provides are immeasurable rewards.
By following these steps and staying vigilant, you can effectively fix a shower leaking through the ceiling and prevent future occurrences.
5 Additional Tips and Tricks
- Inspect the Grout: A leaking shower is often due to deteriorated or missing grout between the tiles. Regular inspection and re-grouting can prevent water from seeping through.
- Replace the Shower Head: Sometimes, a faulty shower head may cause a leak. Replacing the shower head could solve the problem.
- Check the Seals: Ensure the seals around the shower, particularly around doors or fixtures, are intact and functioning correctly. Replace them if necessary.
- Keep the Shower Curtain Inside: If you use a shower curtain, keep it inside the tub while taking a shower. Water splashing onto the floor can cause damage and lead to leaks.
- Use Silicone Caulking: If you notice gaps or cracks in the shower area, use silicone caulk to fill them. This will prevent water from escaping and causing damage to your ceiling.
With these additional tips and tricks, you can effectively fix a shower leaking through the ceiling. Remember to permanently address the issue promptly to prevent further damage.
6 Things You Should Avoid
- Ignoring the Issue: Overlooking a shower leak can lead to extensive water damage and expensive repairs in the future. It’s essential to address the issue immediately upon noticing it.
- Using Incorrect Tools: Using incorrect or low-quality tools can cause additional damage. Always ensure you have the right tools for the job.
- Not Turning Off the Water Supply: Before starting any repair, make sure to turn off the water supply to the shower. This will prevent any unwanted water flow that could worsen the situation.
- Skipping the Inspection: A thorough inspection of the shower and the surrounding area is essential. Don’t just patch up the visible issues; make sure to find the root cause of the leak.
- DIY without Proper Knowledge: While it’s tempting to fix the issue by yourself to save costs, you need the proper knowledge and expertise to avoid ending up making the issue worse. If you need more clarification, it’s always best to call in a professional.
- Neglecting Regular Maintenance: Prevention is essential to avoiding leaks. Neglecting regular maintenance can lead to more significant issues down the line. Make sure to schedule routine checks and address any potential problems promptly.

By avoiding these common mistakes, you can ensure a successful and long-lasting fix for your shower leaking through the ceiling.
Conclusion
Taking action to fix a leaking shower ceiling quickly and efficiently will ensure the safety of those using it and ensure that you have peace of mind knowing that your home is secure. All in all, it’s worth the time, effort, and expense it takes to diagnose best and remediate any water damage as well as stop further leaks.
Whether you decide to take on the task yourself or call an expert – following these pieces of advice will set you up for success. Schedule a meeting with a plumbing contractor today to assess the problem’s severity and start fixing the shower leak through your ceiling immediately. Don’t forget – time is of the essence!
Hopefully, the article on how to fix shower leaking through ceiling has provided you with valuable tips and knowledge to address this common household issue. Remember, a well-maintained shower not only prevents leaks but also helps prolong its lifespan.

