A broken toilet chain can be a frustrating issue, but fortunately, it’s a problem that can be resolved quickly with the right steps. The toilet chain plays a crucial role in ensuring the flushing mechanism works properly, so addressing this issue promptly can help prevent further complications.
In this guide on how to fix toilet chain broken, we’ll walk you through simple, step-by-step instructions to fix a broken toilet chain and get your toilet functioning smoothly again.
Tools and Materials Needed
Pliers:
You’ll need pliers to disconnect the broken toilet chain from the flush handle and flapper valve.
New Toilet Chain:
Before starting any repairs, make sure you have a new toilet chain on hand. These are readily available at most hardware stores or online.
Scissors:
You may need scissors to cut the new toilet chain to the correct length. Make sure they are sharp enough to easily cut through the metal chain.
9 Step-by-Step Instructions on How to Fix Toilet Chain Broken
Step 1: Turn Off the Water Supply
Before starting the repair, locate the water supply valve, which is typically found near the base of the toilet. Turn the valve clockwise to shut off the water flow.
This step will prevent any water from entering the tank while you work, avoiding potential mess or further damage. Make sure to double-check that the water supply is fully off by flushing the toilet to drain the tank.
Step 2: Remove the Toilet Tank Lid
Carefully remove the lid of the toilet tank and set it aside in a safe place. Be cautious as the lid may be heavy or fragile.
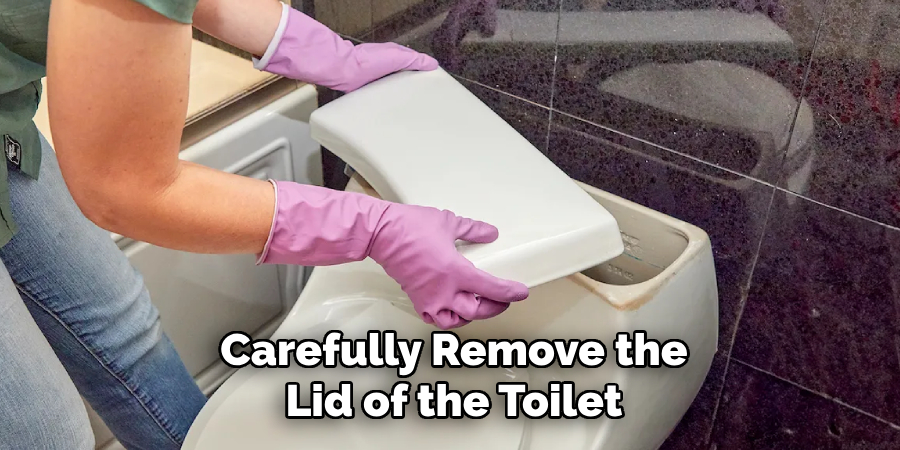
Open up the toilet tank to reveal its inner workings. This will allow you to see and access the broken chain that needs fixing.
Step 3: Identify the Broken Chain
Inspect the inside of the toilet tank to locate the chain connected to the flush lever and the flapper at the bottom of the tank. The chain is typically a small but critical part of the flushing mechanism.
Look for signs of damage, such as a disconnected, tangled, or snapped chain. If the chain is detached, note where it has come loose—either from the flush lever or the flapper. This step ensures you understand the issue before proceeding with the repair.
Step 4: Remove the Broken Chain
Once you have identified the broken chain, carefully remove it from the toilet tank. Start by detaching the chain from the flush lever. This usually involves unclipping or unhooking the chain from the small hole or hook on the lever.
Next, disconnect the other end of the chain from the flapper. Take care not to damage the flapper or any surrounding components during this process. Set the broken chain aside, ensuring no loose pieces are left in the tank that could interfere with the mechanism. Now the tank is ready for the installation of a replacement chain.
Step 5: Measure and Cut Replacement Chain
Take the replacement chain and compare its length to the old chain you removed. This will help ensure the new chain is neither too long nor too short, which could affect the proper functioning of the toilet.
Lay the new chain flat and mark the spot where it needs to be cut. Using a pair of pliers or wire cutters, carefully trim the chain to the appropriate length. Be sure to leave enough length to allow the flapper to fully close and seal the tank, but not so much that the chain becomes tangled or slack. Once cut, verify the length again to confirm it matches the required size.
Step 6: Attach Replacement Chain
Attach one end of the replacement chain to the lever arm, ensuring it is securely fastened to prevent it from slipping off during operation. Connect the other end of the chain to the flapper, using the designated hook or latch point.
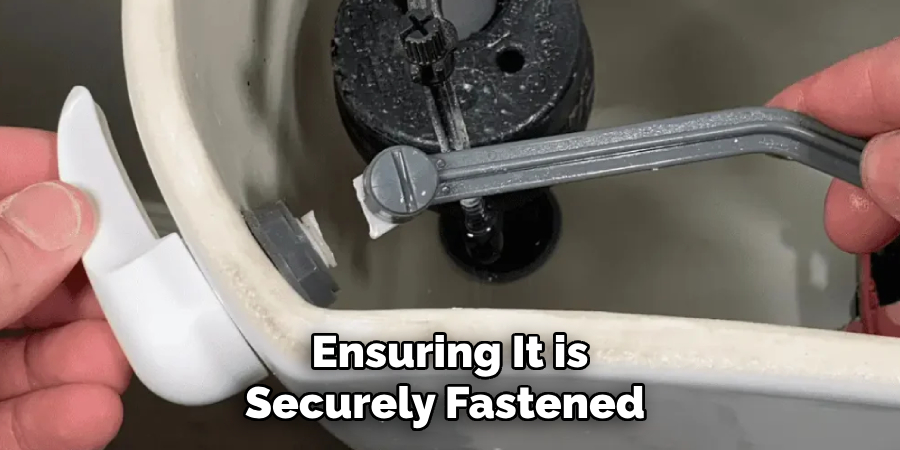
Adjust the chain so there is a slight amount of slack, allowing the flapper to move freely without resistance. Test the attachment by lifting the lever to see if the flapper rises and lowers smoothly. If necessary, make minor adjustments to the chain length to achieve optimal functionality.
Step 7: Test and Adjust
Flush the toilet to test the functionality of the newly installed chain and flapper assembly. Observe the movement of the flapper to ensure it lifts and seals properly during the flushing cycle. Check for any issues such as incomplete drainage, water leakage, or the flapper not settling back into place completely.
If any problems are identified, adjust the chain length by either shortening or lengthening it slightly to improve the flapper’s motion. Repeat the flushing test until the mechanism operates smoothly and efficiently, ensuring a proper seal and consistent water flow with each flush.
Step 8: Replace Toilet Tank Lid
Once you have ensured that all adjustments have been made and the toilet is flushing properly, carefully replace the toilet tank lid. Align it with the edges of the tank, and gently lower it into place to avoid chipping or cracking.
Ensure that the lid sits evenly and securely on top of the tank to complete the process. Your toilet should now be fully functional and ready for regular use.
Step 9: Clean Up
Dispose of any old or broken parts properly and wipe down the surrounding area with a disinfectant cleaner. Congratulations, you have successfully replaced your toilet chain and ensured your toilet is functioning properly once again!
Following these steps on how to fix toilet chain broken will save you time and money in the long run. Remember to periodically check your toilet chain for any wear or damage, and replace it as needed. By keeping up with regular maintenance, you can prevent future issues and keep your bathroom running smoothly.
Additional Tips for Maintaining Your Toilet
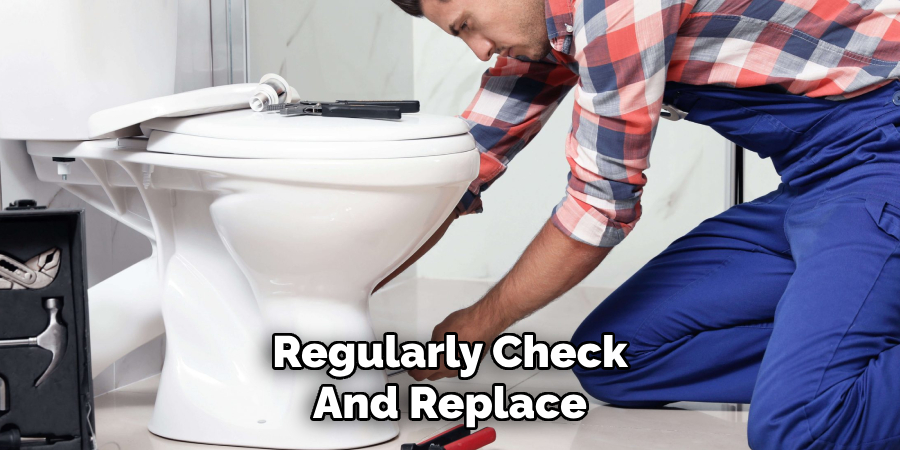
Regularly check and replace any worn-out or damaged parts to prevent future issues with your toilet. It is also important to regularly clean your toilet, both inside and out, to keep it in good working condition. Here are a few additional tips for maintaining your toilet:
- Use a plunger to clear any clogs instead of using harsh chemical drain cleaners.
- Avoid flushing anything other than human waste and toilet paper down the toilet.
- Check the water level in the tank periodically and adjust if necessary.
- Consider installing a water-saving device such as a dual-flush system or low-flow toilets. This can help save water and money on your water bill.
- If you notice any leaks or unusual sounds coming from your toilet, call a professional plumber to address the issue before it becomes more serious. Ignoring small problems can lead to larger and more expensive repairs down the line.
Frequently Asked Questions
Q: How Often Should I Clean My Toilet?
A: It is recommended to clean your toilet at least once a week, using a disinfectant cleaner and a scrub brush. However, if you have a large household or regularly use the toilet, it’s best to clean it more frequently.
Q: Can I Use Bleach to Clean My Toilet?
A: Yes, bleach can be used to effectively disinfect and clean your toilet. However, be sure to follow the instructions on the label and properly dilute the bleach before using it.
Q: Is There Anything I Can Do to Prevent Clogs in My Toilet?
A: One way to prevent clogs in your toilet is to be mindful of what you flush down it. Avoid disposing of items such as paper towels, feminine products, or other non-toilet paper materials. You can also consider installing a toilet plunger nearby in case of an emergency clog.
Q: What Should I Do If My Toilet is Overflowing?
A: If your toilet is overflowing, the first step is to turn off the water supply to the toilet by shutting off the valve located behind or near the base of the toilet. Then use a plunger to try and clear any clogs. If that doesn’t work, you may need to call a plumber for further assistance.
Q: How Do I Clean and Disinfect My Toilet?
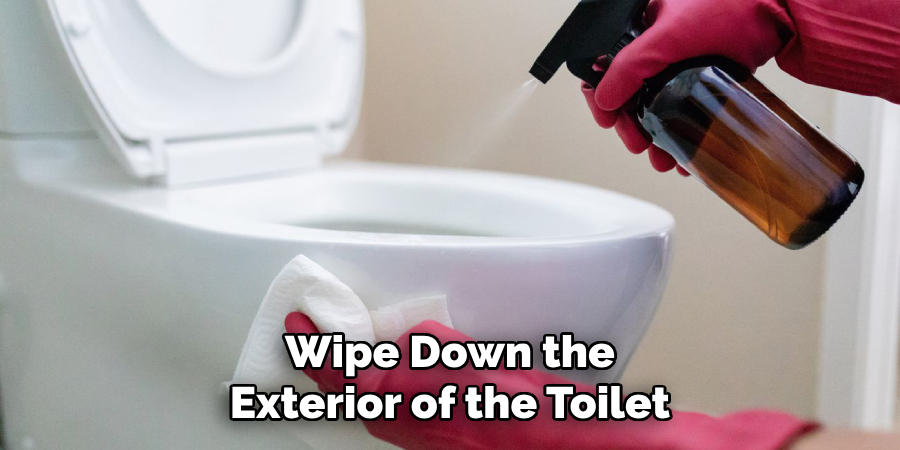
A: To clean and disinfect your toilet, start by putting on gloves to protect your hands. Then, use a toilet brush or scrubber to scrub away any dirt or grime inside the bowl. Next, pour some bleach or other disinfectant cleaner into the bowl and let it sit for a few minutes before flushing it away. Wipe down the exterior of the toilet with a cleaning solution as well. Don’t forget to also clean under the seat and around the base of the toilet. Once finished, remove your gloves and wash your hands thoroughly.
Conclusion
Proper toilet maintenance is essential to avoid costly repairs and maintain a hygienic bathroom environment. By following simple practices on how to fix toilet chain broken such as only flushing appropriate materials, keeping a plunger nearby, and knowing how to stop the water supply during emergencies, you can prevent the most common toilet issues.
However, for persistent problems, seeking professional help from a plumber is always a wise decision. Taking these proactive steps will ensure your toilet remains functional and reliable for years to come.

