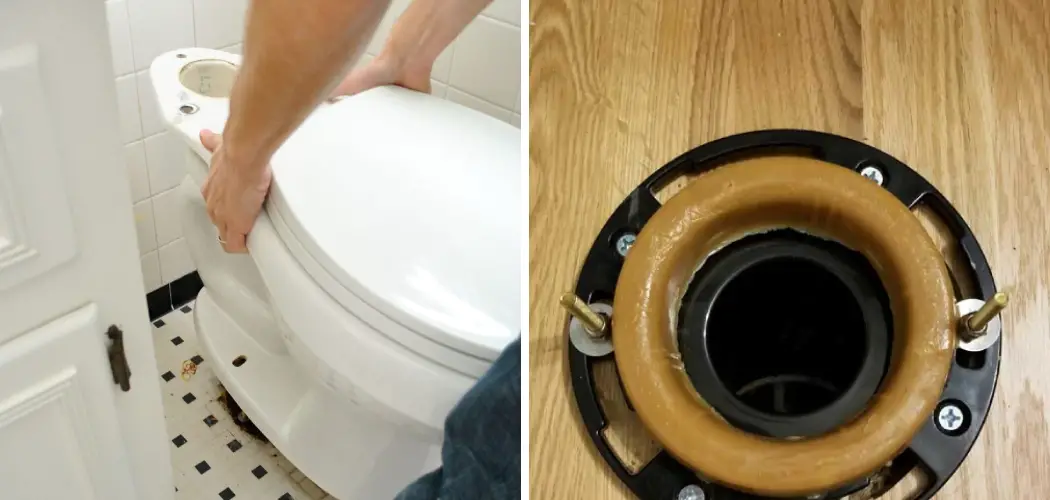
Fixing toilet flange bolts is an essential task for maintaining the stability and functionality of your toilet. Over time, these bolts can become corroded or loose, leading to leaks, wobbly toilets, and potential damage to your bathroom floor.
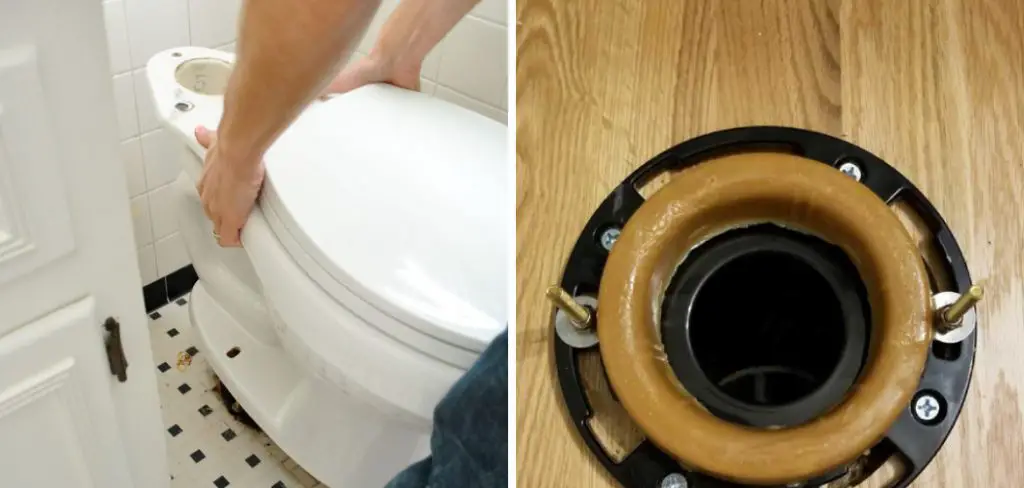
This guide on how to fix toilet flange bolts will provide you with step-by-step instructions on how to properly assess and repair your toilet flange bolts, ensuring a secure and leak-free installation. Whether you’re a seasoned DIY enthusiast or a novice looking to tackle home repair, this process is straightforward and manageable.
What is a Toilet Flange Bolt?
A toilet flange bolt is a crucial component in the installation and securing of a toilet to the floor. These bolts are typically made of metal and are designed to connect the toilet bowl to the flange, which is the fitting that attaches to the drainage pipe and is mounted to the floor.
The flange itself provides a stable base for the toilet, while the bolts ensure that the toilet remains firmly attached, preventing any movement that could lead to leaks or instability. Properly functioning toilet flange bolts are essential for maintaining the integrity of your plumbing system and ensuring a safe and comfortable bathroom environment.
Why Do Toilet Flange Bolts Need Repair?
Over time, toilet flange bolts can become damaged or worn out due to regular use and exposure to moisture. This can happen for a variety of reasons, including:
- Corrosion from water and cleaning chemicals
- Loose bolts cause movement and strain on the bolts
- Aging and wear over time
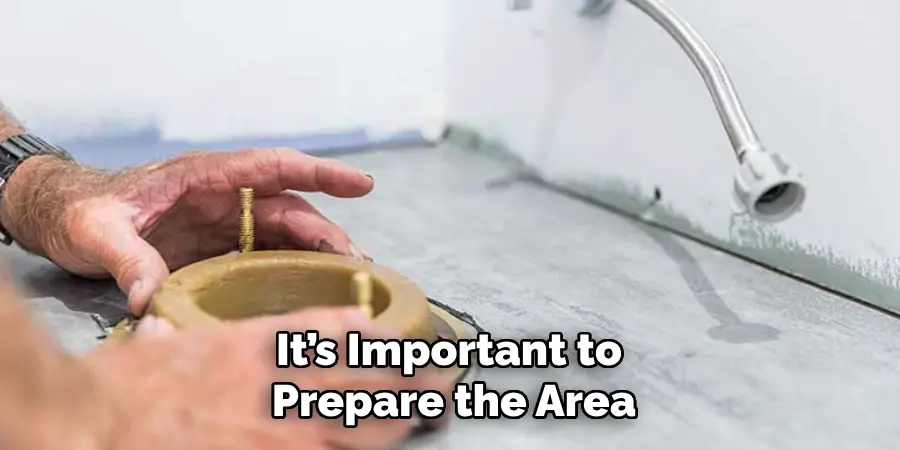
When these issues arise, it’s crucial to address them promptly to prevent further damage and potential hazards in your bathroom. The following steps will guide you through the process of properly fixing toilet flange bolts.
Needed Materials
- Adjustable Wrench
- Screwdriver
- Replacement Bolts and Nuts (if Necessary)
- Toilet Flange Repair Kit (Optional)
8 Step-by-step Guidelines on How to Fix Toilet Flange Bolts
Step 1: Prepare the Area
Before you begin fixing the toilet flange bolts, it’s important to prepare the area to ensure a smooth and efficient repair process. Start by turning off the water supply to the toilet to prevent any leaks during the procedure. Next, flush the toilet to drain the tank and bowl, which will make accessing the bolts easier.
After that, use a sponge or towel to soak up any remaining water in the bowl and tank. Finally, remove any items around the toilet area to provide enough space for working and to prevent any damage to your belongings. With the area prepared, you’ll be ready to proceed with the repair.
Step 2: Remove the Toilet
The next step is to remove the toilet from the floor. Start by disconnecting the water supply line and unscrewing any bolts or screws holding the tank to the bowl. Next, carefully lift off the tank and place it in a safe area.
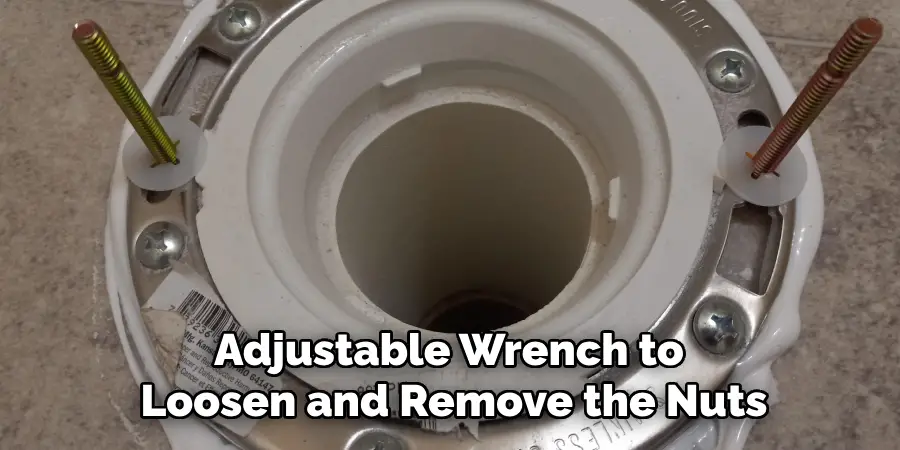
After that, use an adjustable wrench to loosen and remove the nuts from both flange bolts located at each side of the base of the toilet bowl. With all connections removed, gently lift them up on the toilet and set them aside.
Step 3: Inspect Bolts and Flange
With the toilet safely removed, take the time to inspect the bolts and the flange for any signs of damage or wear. Examine the bolts for corrosion, rust, or bending, which may indicate they need replacing. If the bolts are severely degraded, it’s advisable to replace them with new ones to ensure a secure fit. Next, inspect the flange itself for cracks, breaks, or any signs of deterioration.
The flange should be firmly attached to the floor and free of any debris or obstruction that could affect the toilet’s stability. If you notice any issues with the flange, consider using a toilet flange repair kit or replacing the flange entirely before re-installing the toilet. This step is vital to ensure a leak-free and secure installation.
Step 4: Clean the Area
Once you’ve inspected and addressed any necessary repairs to the bolts and flange, it’s essential to clean the area thoroughly. Use a degreasing cleaner or a mixture of water and vinegar to remove any built-up grime, dirt, or old wax ring residue from the floor around the flange. Be sure to dry the area completely before proceeding.
It’s also a good idea to clean the underside of the toilet bowl and remove any wax or debris from the wax ring. This will ensure a proper seal when re-installing the toilet.
Step 5: Replace Bolts (If Necessary)
If your inspection revealed that the toilet flange bolts are corroded, bent, or otherwise damaged, it’s time to replace them. Start by removing any remnants of the old bolts from the flange, ensuring that you clean the bolt holes thoroughly. Take your new replacement bolts and insert them into the flange, securing them by hand initially.
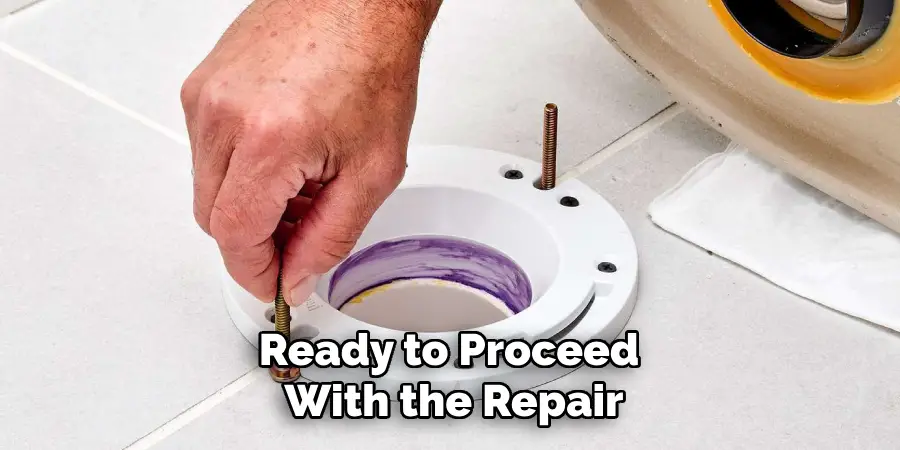
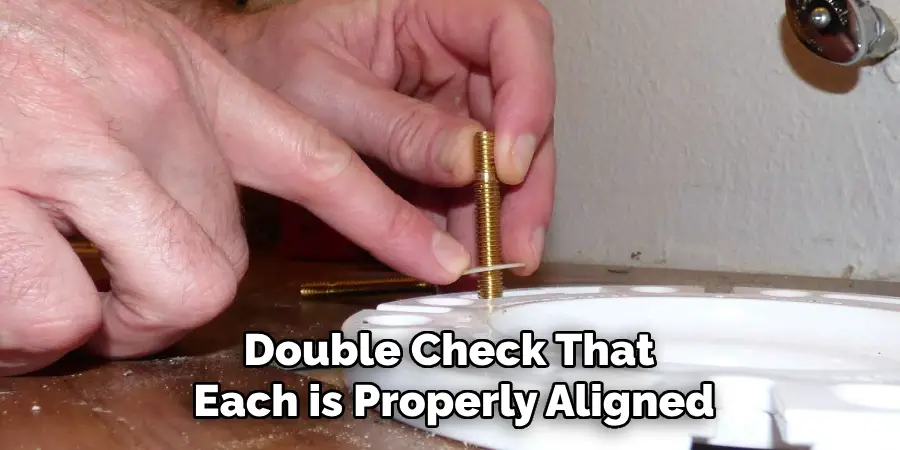
Once the bolts are in place, use an adjustable wrench to tighten the nuts onto the bolts, ensuring a snug fit but being careful not to overtighten, as this can damage the flange. After replacing the bolts, double-check that each is properly aligned and secure before moving on to the next step.
Step 6: Reinstall the Toilet
With the area clean and bolts replaced (if necessary), it’s time to re-install the toilet. Begin by positioning the wax ring onto the flange, ensuring that it is centered and in place. Next, slowly set the toilet bowl back into its original position on top of the flange bolts, making sure that they fit through the holes on each side of the base. Gently press down on the toilet to secure it in place.
You may need to adjust the position of the toilet slightly to ensure it sits level. Once you’re satisfied with the placement, use an adjustable wrench to tighten and secure the nuts onto each flange bolt. Be careful not to overtighten, as this can crack or damage the base of the toilet.
Step 7: Reattach the Tank and Water Supply Line
With the toilet securely re-installed, it’s time to reconnect the tank and water supply line. Begin by carefully setting the tank onto its mounting bolts on top of the bowl. Then, insert and tighten any screws or nuts necessary to secure the two pieces together.
Next, reattach the water supply line to both ends – one connected to the tank and one connected to the shut-off valve – ensuring a tight fit. Once the water supply is reconnected, turn on the shut-off valve and check for any leaks or issues.
Step 8: Test and Finish Up
The final step in fixing toilet flange bolts is to test your work and finish up. Start by filling the tank with water and flushing it multiple times, checking for any leaks around the base of the toilet. If you notice any leaks, double-check all connections and tighten them as needed.
Once you’re satisfied that everything is secure and leak-free, clean up any remaining debris or residue from the repair process. You can also use caulk around the base of the toilet to provide a finished look and prevent any water from seeping in between the floor and the base of the toilet.
Frequently Asked Questions
Q: Can I Reuse the Old Toilet Flange Bolts?
A: It is not advisable to reuse old toilet flange bolts, as they may be corroded or damaged, which can affect the stability of the toilet and cause leaks. It’s best to replace them with new bolts during the repair process.
Q: How Often Should I Replace My Toilet Flange Bolts?
A: It’s a good idea to inspect your toilet flange bolts for damage or wear during regular maintenance checks. If you notice any issues, it’s best to replace them immediately to prevent further damage and ensure a secure installation. Generally, it is recommended to replace the bolts every 5-7 years as part of routine maintenance.
Q: Can I Fix Toilet Flange Bolts Without Removing the Toilet?
A: In some cases, it may be possible to fix toilet flange bolts without removing the entire toilet. However, this method is often more complicated and can be less effective in addressing underlying issues with the bolts or flange. It’s generally recommended that the toilet be removed for a more thorough and secure repair.
With these tips and steps on how to fix toilet flange bolts, you should now feel confident in fixing toilet flange bolts and ensuring a secure and leak-free installation. Remember to always prioritize safety and take your time during the repair process. If you encounter any issues or are unsure about any steps, it’s best to consult a professional plumber for assistance.
Conclusion
In conclusion, properly maintaining and repairing your toilet flange bolts is crucial for ensuring the longevity and reliability of your toilet installation. By following the step-by-step process on how to fix toilet flange bolts outlined above, from inspecting and cleaning to reinstalling and testing, you can effectively address any issues that arise.
Regular checks and timely repairs not only help prevent leaks and potential water damage but also promote a stable and secure toilet fixture. Remember, when in doubt or if significant damage is found, it’s always wise to consult with a professional to guarantee the best results for your home’s plumbing system.

