Are you struggling to fix an underground pool pipe leak and not sure where to start? Believe it or not, fixing a leaking pipe under your swimming pool isn’t as complicated or expensive as you may think. It can be time-consuming though, so it’s good to have a plan in place before starting the process.
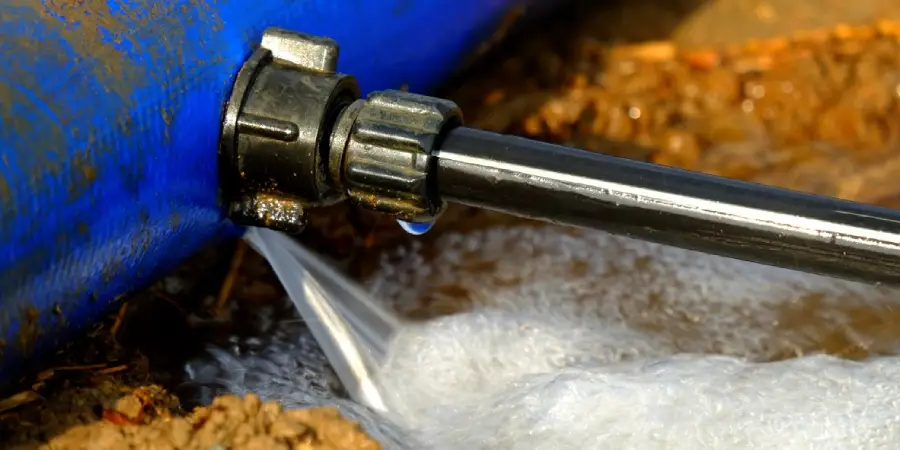
In this blog post on how to fix underground pool pipe leak, we’ll explain how you can go about stopping that pesky leaking pipe from ruining your relaxation by giving some tips on locating and fixing the leak quickly and effectively. So take a deep breath and read on for our advice on resolving this problem—you’ll soon be enjoying crystal-clear water instead of worrying over what lies beneath!
Why Do Pool Pipes Leak?
Before we dive into the steps of fixing a leaking underground pipe, it’s important to understand why these leaks occur in the first place. There are a few reasons why pool pipes may start to leak, and some of these include:
Age and Wear:
Over time, pipes can become worn or corroded, leading to leaks.
Pressure Changes:
Extreme changes in pressure within the pool system, such as water draining from the pool or sudden temperature fluctuations, can cause pipes to crack or burst.
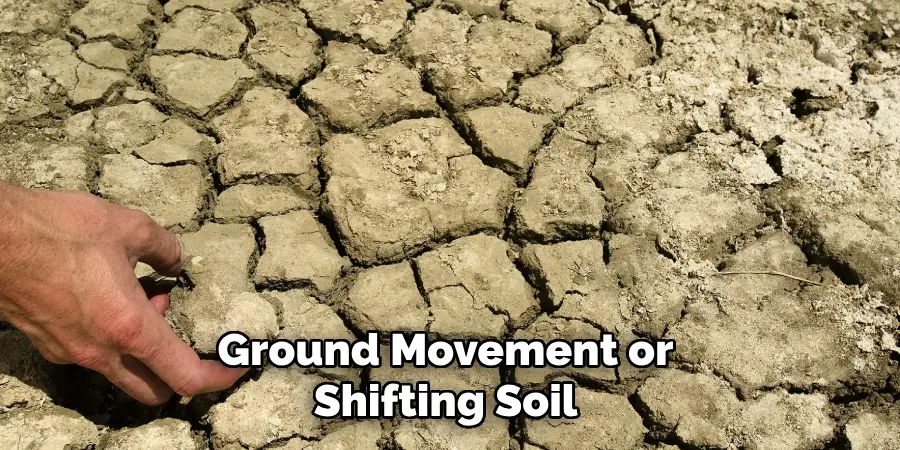
Ground Movement:
If there is any excessive movement in the ground where your pool is located, it can put stress on pipes and cause them to leak.
Now that we have a better understanding of why pool pipes may start leaking, let’s move on to the steps for fixing an underground pipe leak.
10 Step-by-step Guidelines on How to Fix Underground Pool Pipe Leak:
Step 1: Locate the Leak
The first step in fixing an underground pool pipe leak is to find where the leak is coming from. This can be a tricky process as the pipe may be hidden beneath layers of soil and debris, but there are a few methods you can try. Some options include using dye testing, listening for any hissing or bubbling noises, or hiring a professional with specialized equipment to locate the leak.
Step 2: Shut off the Pool System
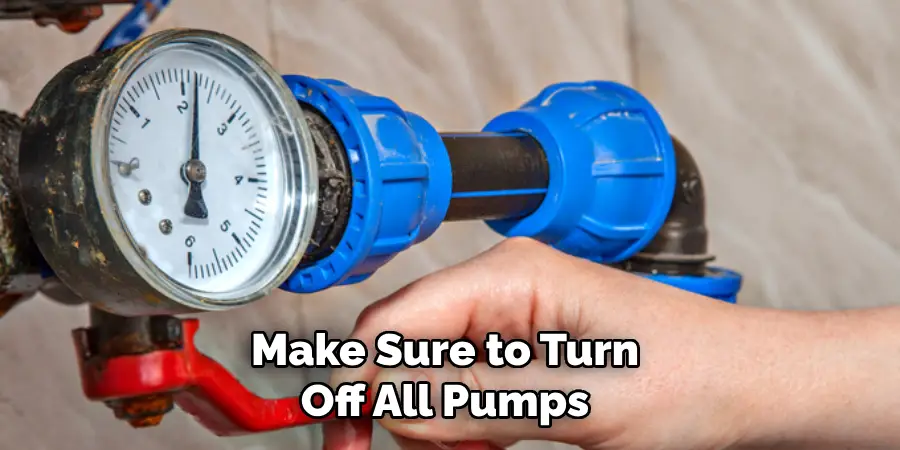
Before attempting to fix a leaking pool pipe, make sure to turn off all pumps and water circulation systems. This will prevent any additional water from entering the system and make it harder for you to locate the leak. You may also want to drain the pool slightly to reduce pressure on the pipes. You can do this by using a submersible pump or siphoning water out with a garden hose.
Step 3: Dig Out the Pipe
Once you have located the leak, carefully dig around the area to uncover the pipe. Be sure to avoid damaging any other pipes or electrical lines in the process. It may be helpful to use a shovel or other tool specifically designed for digging in tight spaces. This step may take some time, so be patient and take breaks when needed. It’s essential to have a clear view of the pipe before moving on to the next step.
Step 4: Clean and Dry the Area
Before attempting any repairs, make sure that the area around the leak is clean and dry. Any dirt or debris can affect how well your repairs will hold, so it’s crucial to remove as much as possible. You may also want to use a towel or hairdryer to ensure that the area is completely dry before moving on. But, it’s good to remember that depending on the location of the leak and the extent of damage, you may need to replace a section of the pipe or even the entire pipe.
Step 5: Prepare Pipe Repair Materials
There are a few options for repairing a leaking pool pipe, depending on the type of pipes and extent of damage. Some common repair materials include waterproof sealant, epoxy putty, or rubber patches. Make sure to read and follow all instructions carefully before applying any repair material to your pipes. Otherwise, the leak may not be fixed properly.
Step 6: Apply Repair Material
Carefully apply your chosen repair material to the leaking area of the pipe. Be sure to cover any holes or cracks completely and follow the instructions for how long it needs to dry before moving on to the next step. Depending on the product used, you may need to hold off on using your pool until the repairs are fully cured. It’s crucial to follow any safety precautions outlined by the manufacturer when using these materials.
Step 7: Test for Leaks
Once the repair material has dried, turn the pool system back on and check for leaks. If you still notice leaking, repeat steps 5 and 6 until no more leaks are present. Keep in mind that if your initial repair method isn’t successful, you may need to try a different approach or call in a professional to assist. It’s essential to make sure that the pipe is completely fixed before moving on.
Step 8: Refill and Test Pool
Once all leaks have been successfully repaired, it’s time to refill your pool with water. Once full, turn your pool system back on and check for any unusual noises or pressure changes. If everything seems to be running smoothly, you’ve successfully fixed your underground pool pipe leak! However, it may be a good idea to keep an eye on the area for a few days just in case any new leaks occur.
Step 9: Clean Up
After completing all repairs and ensuring that your pool is running properly, it’s time to clean up the area and fill in any holes or trenches dug during the process. It’s important to leave the area looking as close to its original state as possible. This will prevent any hazards and keep your pool area looking neat and tidy. You may also want to dispose of any old or damaged pipes properly.
Step 10: Regular Maintenance
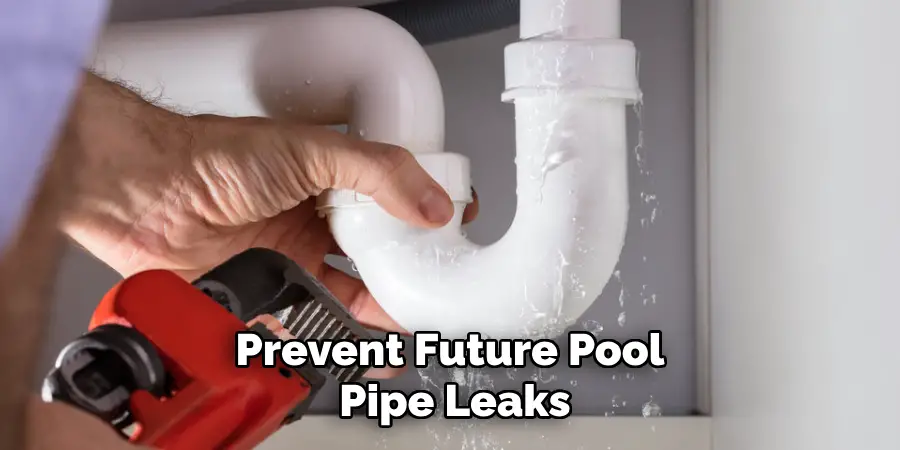
Finally, to prevent future pool pipe leaks, it’s important to keep up with regular maintenance of your pool system. This includes regularly checking for any visible damage or leaks, keeping the area around pipes clear and free from debris, and making necessary repairs as soon as they are noticed. By staying on top of maintenance tasks, you can avoid costly and time-consuming underground pipe leak repairs in the future.
Following these 10 steps on how to fix underground pool pipe leak should help you successfully fix an underground pool pipe leak and keep your pool running smoothly. Remember, if at any point you feel uncomfortable or unsure of a repair method, it’s best to call in a professional for assistance. Don’t hesitate to seek help when needed to ensure the safety and functionality of your pool system. Now go enjoy a refreshing swim without worrying about any pesky leaks!
Frequently Asked Questions
Q1. What Are the Common Causes of Underground Pool Pipe Leaks?
A1. Some common causes include old or corroded pipes, high water pressure, shifting soil or ground movement, and sharp objects piercing the pipes. It’s essential to regularly check for any warning signs of a potential leak to catch it early and prevent further damage.
Q2. Can I Use Regular Tape or Caulk to Fix a Leaking Pool Pipe?
A2. No, regular tape or caulk is not suitable for repairing underground pool pipes. These materials are not strong enough to withstand the pressure and can deteriorate quickly when exposed to water. It’s best to use specialized repair materials designed specifically for pool pipes.
Q3. How Do I Know If My Pool Pipe Is Leaking?
A3. Some signs to look out for include a sudden drop in water level, unusual noises coming from the pool system, or wet areas around the pool or pipes. You may also notice an increase in your water bill if there is a significant leak. Regularly checking and maintaining your pool can help catch leaks early on.
Q4. Can I Prevent Underground Pool Pipe Leaks?
A4. While some factors such as ground movement or shifting soil are out of our control, regular maintenance and keeping an eye out for potential issues can help prevent leaks. Additionally, it’s important to have a professional inspect your pool system regularly to catch any problems early on. Overall, taking care of your pool and its pipes can significantly reduce the chances of experiencing a leak in the future.
Conclusion
In conclusion, fixing an underground pool pipe leak doesn’t have to be difficult or expensive. By following the steps outlined in this blog, you can easily identify the source of the leak and take appropriate action to fix it. It is important to follow each step correctly so that the repair job can last for many years.
Remember, if something doesn’t feel right or any further problems arise during the repair process, it’s best to contact a professional plumber or pool technician who can assist you with resolving the issue quickly and safely. So don’t wait – get in there and fix that busted pool pipe today! Thanks for reading this article on how to fix underground pool pipe leak.

