Water damage can be a homeowner’s nightmare, leading to significant complications if not addressed promptly. Floors, being one of the most affected areas, can suffer from warping, swelling, and even mold growth.
This guide on how to fix water damaged floor will walk you through the steps needed to assess the damage, repair the flooring, and ultimately restore your home to its original state. Understanding the necessary actions can not only save you time and money but also preserve the integrity of your living space.
Why is it Important to Fix Water Damaged Floors?
Water damaged floors can pose several hazards, both short and long-term. First and foremost, they compromise the structural stability of your home. Excessive moisture can seep into the subflooring, causing it to rot and weaken over time. This can lead to uneven flooring, cracks or even collapse in extreme cases.
Moreover, water-damaged floors can also lead to mold growth. Mold thrives in dark, damp environments and can spread quickly if not addressed. Not only does it compromise the appearance of your home, but it can also cause health issues for you and your family.
Lastly, leaving water damage untreated can significantly decrease the value of your property. Potential buyers may be deterred by the presence of a damaged floor as it indicates potential underlying problems with the house’s structure.
Needed Materials
Before starting the repair process, it is crucial to gather all necessary materials. These may vary depending on the type of flooring you have, but some general items include:
Buckets:
To collect and dispose of excess water from the floor.
Protective Gear:
Rubber gloves, safety goggles, and dust masks to protect yourself from harmful substances like mold or chemicals used in cleaning.
Cleaning Solutions:
Depending on the severity of the damage, you may need different types of cleaning solutions. For lighter cases, mild detergent or vinegar can do the trick. However, for more severe damage, bleach or specialized disinfectants may be necessary.
Fans/Dehumidifier:
To speed up the drying process and prevent mold growth.
Subflooring Repair Materials:
If your subflooring is damaged, you will also need materials such as plywood sheets and screws to replace it.

8 Steps on How to Fix Water Damaged Floor
Step 1: Identify the Source
Before initiating any repairs, it is crucial to identify the source of the water damage. This could be due to a leaky roof, burst pipes, plumbing fixture leaks, or even flooding. By pinpointing the origin of the water intrusion, you can take appropriate measures to stop the flow and prevent further damage.
Inspect the area thoroughly and consider consulting a professional if the source is not immediately apparent. Once the source is identified and resolved, you can proceed with the necessary repairs to your flooring, ensuring a more lasting solution.
Step 2: Remove the Standing Water
Once you have identified and resolved the source of the water damage, the next critical step is to remove any standing water. This can be done effectively with the use of buckets, wet/dry vacuums, or pumps, depending on the volume of water present.
Begin by carefully scooping or vacuuming up any accumulated water, ensuring that you are thorough to prevent further damage to the flooring and subfloor.
Step 3: Dry the Area
After removing standing water, it’s essential to thoroughly dry the affected area to prevent further damage and mold growth. Start by using fans and a dehumidifier to circulate air and reduce humidity levels in the room. Position the fans to direct airflow towards the damp spots, and keep the dehumidifier running to assist in drawing moisture from the air.
It’s also important to open windows and doors, if possible, to allow fresh air to enter the space. Depending on the extent of the water damage and humidity levels, this drying process may take several hours to a few days. Regularly check the moisture levels in the flooring and subflooring using a moisture meter, ensuring that everything is completely dry before moving on to the repair phase.
Step 4: Inspect the Flooring
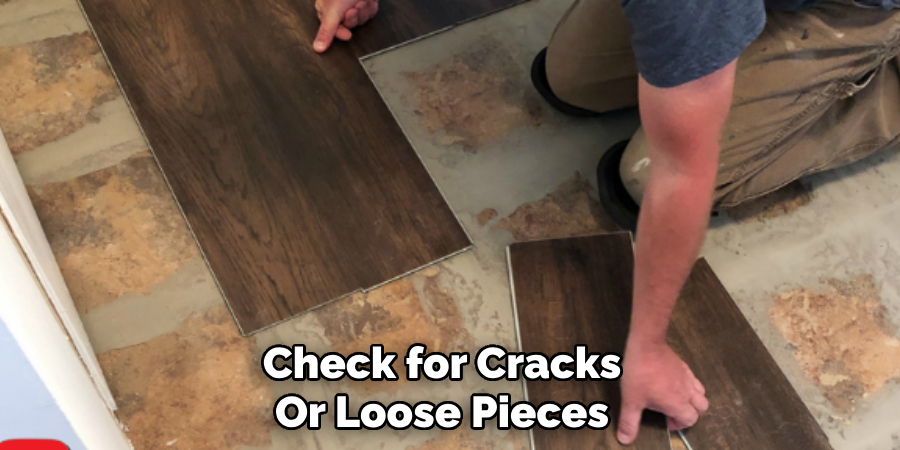
After the area is completely dry, carefully inspect the flooring for any visible damage. Look for warping, discoloration, or soft spots on wood floors. For tiles and laminate flooring, check for cracks or loose pieces. Take note of any areas that need to be repaired or replaced.
You may also need to remove any baseboards or trim along the damaged area to assess the condition of the subflooring beneath.
Step 5: Clean and Disinfect
Before repairing or replacing any flooring, it is crucial to thoroughly clean and disinfect the affected area. Use a mild detergent and warm water, or a mixture of vinegar and water, to scrub away any dirt or grime on hard surfaces. If there are signs of mold growth, use a bleach solution (1 part bleach to 10 parts water) to kill and remove it.
Ensure that you wear protective gear during this step as chemicals can be harmful if inhaled. After cleaning, allow the area to dry completely before proceeding.
Step 6: Repair or Replace the Flooring
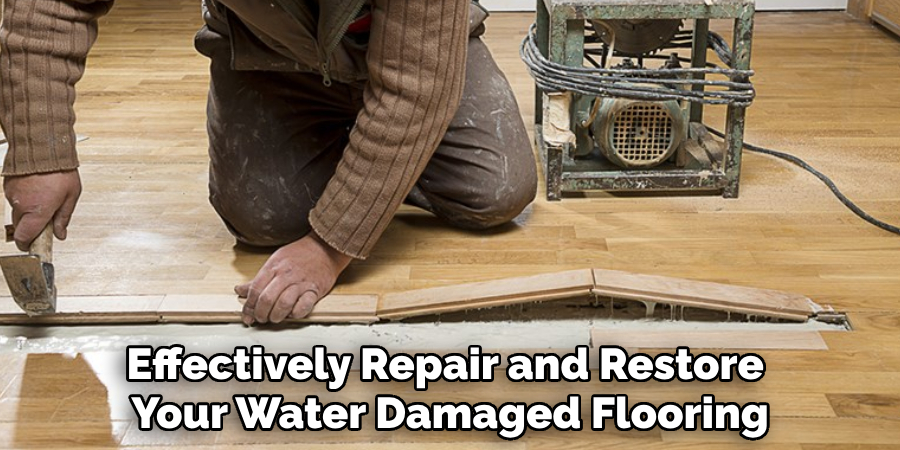
Once the area is clean and dry, you can begin repairing or replacing the damaged flooring. For minor damage, such as small cracks in tile or laminate flooring, use a waterproof filler to seal the gaps. If there are larger areas of damage, you may need to replace sections of the flooring entirely. Follow manufacturer instructions for proper installation techniques.
For hardwood floors, remove any damaged boards and replace them with new ones. For carpets, it may be necessary to cut out and replace the affected area entirely.
Step 7: Address Subflooring Damage
If your subflooring is also damaged from water exposure, it will need to be repaired or replaced as well. This step may require the help of a professional carpenter, depending on the extent of the damage.
Start by removing any damaged sections of subflooring and replacing them with new pieces. Use screws instead of nails to secure the new subflooring for better stability. Once the subflooring is replaced, allow it to dry completely before moving on to the final step.
Step 8: Finishing Touches
After all necessary repairs are made, it’s time for some finishing touches. Replace any baseboards or trim that were removed during the repair process, and touch up paint if needed.
Finally, thoroughly clean and disinfect the entire area once again to ensure that it is free from any harmful substances. Allow everything to dry completely before using the space as normal.
Following these steps on how to fix water damaged floor can help you effectively repair and restore your water damaged flooring, ensuring a safe and long-lasting solution. Remember to always take precautions when dealing with water damage and consult a professional if necessary. Give your floor the care it deserves, and it will continue to serve you well for years to come.
Additional Tips for Water Damaged Flooring
- Do not walk on wet floors, as this can spread the damage and make it more difficult to repair.
- Use caution when working with cleaning and disinfecting chemicals, and always wear protective gear.
- Consider installing waterproof flooring in areas prone to water damage, such as bathrooms or basements.
- Regularly inspect your plumbing and roofing for any potential leaks to prevent future water damage. Keep an eye out for signs of mold growth as well.
- If the damage is extensive or you are unsure of how to proceed with repairs, do not hesitate to seek professional help. It’s better to be safe than sorry when it comes to repairing water-damaged flooring.
Remember that proper maintenance and prompt action can make all the difference in preventing and repairing water damaged floors. With these steps and tips in mind, you can effectively restore your flooring and keep it in excellent condition for years to come.
Frequently Asked Questions
Q: Can I Repair Water Damaged Floors Myself?
A: It is possible to repair minor water damage to flooring yourself, but more extensive damage may require professional help. It’s always best to err on the side of caution and seek professional assistance if you are unsure about how to proceed.
Q: How Can I Prevent Water Damage to My Floors?
A: Some ways to prevent water damage include regularly inspecting plumbing and roofing, promptly fixing any leaks or issues, and installing waterproof flooring in areas prone to water exposure. Regular maintenance and prompt action can go a long way in preventing costly water damage.
Q: How Do I Know If My Subflooring is Damaged?
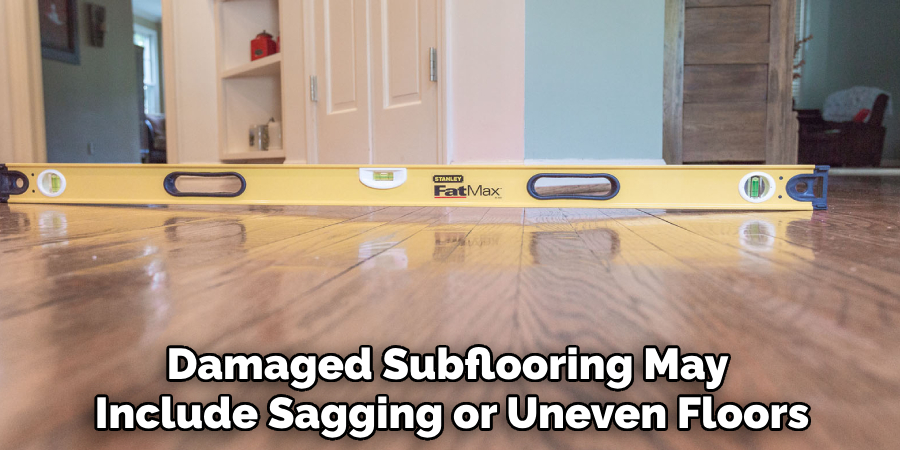
A: Signs of damaged subflooring may include sagging or uneven floors, mold growth, or visible water stains. If you suspect your subflooring may be damaged, it’s best to have a professional assess and repair it. Remember to always address any water damage as soon as possible to prevent further issues.
Conclusion
In conclusion, effectively addressing water damage to flooring involves a systematic approach that begins with the identification and removal of standing water, followed by thorough drying, inspection, cleaning, and necessary repairs. By taking prompt action and adhering to the outlined steps, homeowners can minimize the impact of water damage and restore their floors to a safe and functional state.
It’s essential to remain vigilant and proactive in maintenance to prevent future incidents. With care and attention, your flooring can not only recover but also serve you well in the years ahead, ensuring the longevity and aesthetics of your home. Always prioritize safety, and do not hesitate to seek professional assistance when needed. Thanks for reading this article on how to fix water damaged floor.

