A water heater pipe leak can be an incredibly frustrating issue that causes big hassles and messes in your home. The most common problems associated with water heater pipe leaks are unexpected flooding, hot water pressure drops, and abnormally high water bills. While this experience can be overwhelmingly stressful, you don’t have to suffer any longer. This blog post will outline the necessary steps on how to fix water heater pipe leak as quickly and efficiently as possible!
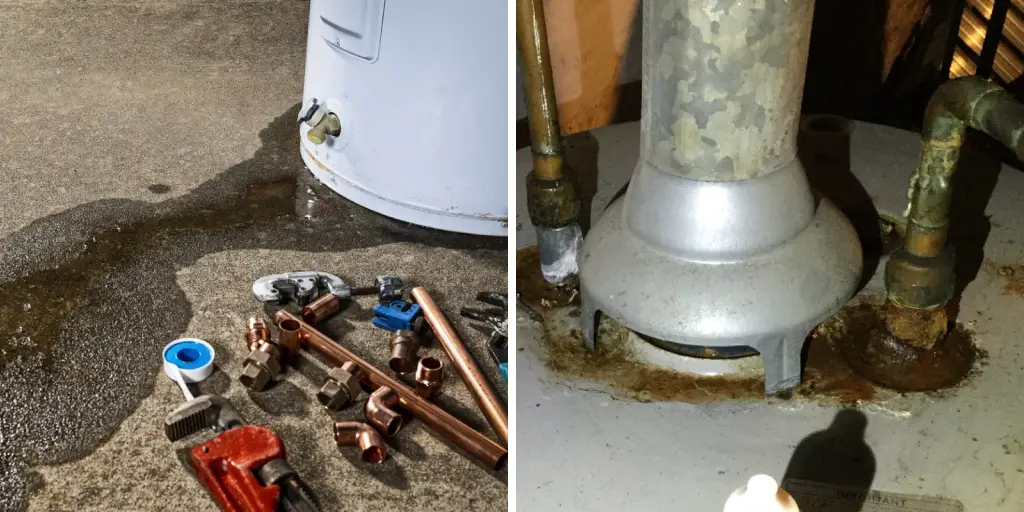
Fixing a water heater pipe leak is something you should always take seriously. Not only can it lead to significant damage in your home, but it can also be hazardous if the leaking water comes into contact with any electrical components.
Read on if you’re ready to take control of the situation and restore your home to its regular functioning.
What Will You Need?
Before starting any repair, collecting all the necessary tools and materials is essential. Here’s what you’ll need to fix that pesky water heater pipe leak:
- A Pipe Cutter
- A Wire Brush
- Sandpaper (medium-grit)
- Flux Paste
- Soldering Torch
- Lead-Free Solder
Once you have all of these items collected, it’s time to start repairing your water heater pipe leak!
10 Easy Steps on How to Fix Water Heater Pipe Leak
Step 1. Turn off the Water Supply:
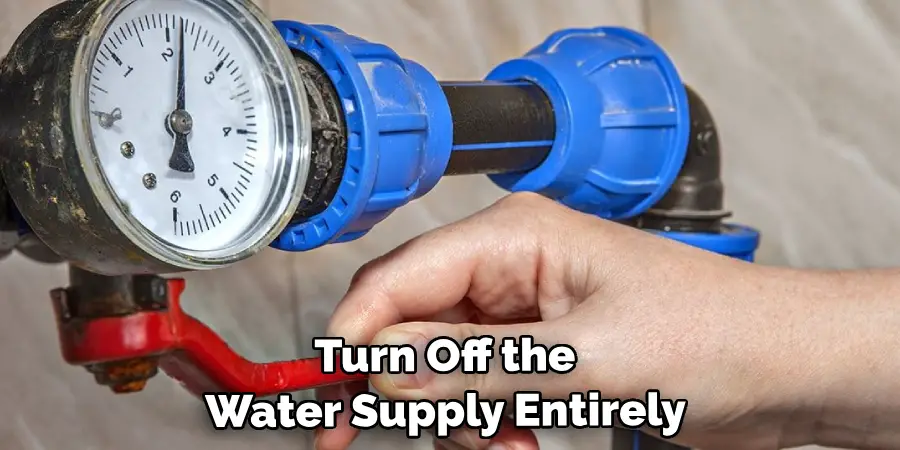
The first and most crucial step in this process is to shut off the water supply. Locate the main water valve and turn it off to prevent any more water from leaking. If you cannot find the main water valve, turn off the supply directly connected to your water heater.
Step 2. Drain the Pipes:
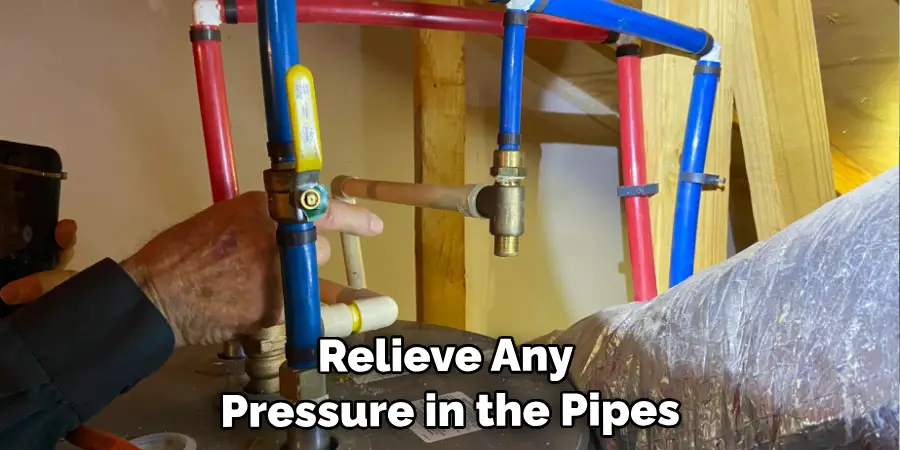
Once the water supply is turned off, drain the pipes. Open the faucets attached to the leaking pipe to allow any remaining water to come out. This will relieve any pressure in the pipes, making it safer and easier to work on the repair. Remember to place a bucket under the leak to catch any residual water.
Step 3. Cut the Damaged Pipe Section:
After draining the pipes, use the pipe cutter to remove the section of the pipe that leaks. Ensure to make two cuts: one on either side of the leak. Be careful and precise to avoid damaging other sections of the pipe. Once the damaged part is removed, clean the remaining ends of the pipe with the wire brush to remove any corrosion or residue.
Step 4. Prepare the Replacement Pipe:
After removing the damaged pipe section, it’s time to prepare the replacement. Measure the length of the removed section and cut the replacement pipe of the same length using the pipe cutter. Use sandpaper to smooth the ends of the new pipe, removing any burrs or sharp edges. Then apply a layer of flux paste around the ends of the replacement pipe. The flux helps the solder to flow and bond more efficiently, ensuring a secure, leak-proof connection.
Step 5. Attach the Replacement Pipe:
Now you’re ready to attach the new piece of pipe. Slide two couplings onto the existing pipes’ ends, ensuring they face toward the center. Then, with the fluxed ends, slide the new pipe into place between the couplings. Ensure everything aligns appropriately and the new pipe is in full contact with the existing pipes. Adjust as necessary before proceeding to the next step.
Step 6. Solder the Joints:
It’s time to create a watertight seal with everything in its proper place. Light your soldering torch and heat the joint where the new pipe meets the old pipe within the coupling. Be sure to heat evenly around the joint to ensure a clean solder. Once the joint is sufficiently heated, touch the lead-free solder to the joint.
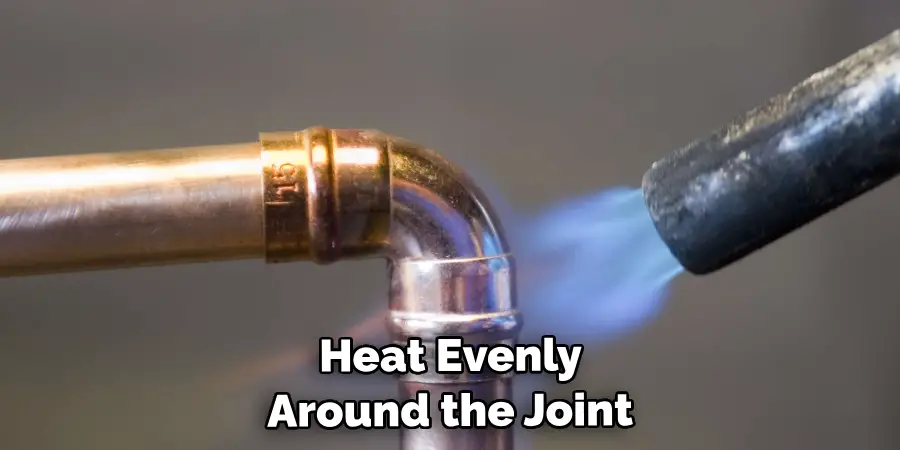
The solder will melt and flow into the joint, creating a durable and waterproof seal. Repeat this process for all joints. Be careful during this step, as the torch and melted solder can cause severe burns. Always work in a well-ventilated area to avoid inhaling harmful fumes.
Step 7. Allow the Joints to Cool Down:
Once the soldering process is completed, allow the joints to cool down naturally. Do not attempt to speed up the cooling process with water or any cooling agents, as it may cause the solder to crack, leading to another possible leak. Once the joints have cooled down and the solder has solidified, check all the joints to make sure they’re secure and leak-proof.
Step 8. Test the Repair:
Once all the joints are excellent and the solder has solidified, it’s time to test your repair work. Slowly turn on the main or the water supply directly connected to your water heater. Oversee the new pipe and joints for any signs of leaking. Use a dry cloth or tissue to check for wetness around the joints. If you notice any seepage, you may need to reapply the solder to the affected joints to ensure a tight seal. If there’s no sign of leaks, congratulations, you have successfully repaired your water heater pipe leak!
Step 9. Clean Up:
After successfully repairing the leak, it’s time for clean up. Dispose of the damaged pipe section responsibly, and ensure all your tools are safely packed away. Clean the area around the repair, ensuring to dry any water that may have spilled during the process. A clean workspace guarantees that you haven’t missed any small leaks and allows you to monitor the repair area for any future issues.
Step 10. Regularly Monitor the Repaired Pipe:
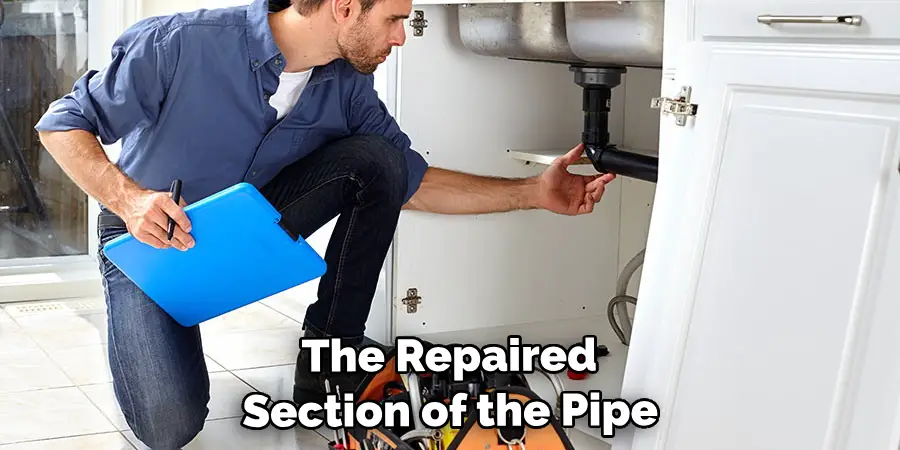
Even after a successful repair, it’s recommended to keep an eye on the repaired section of the pipe for a few weeks. Look out for any signs of moisture or small leaks. Regular monitoring will allow you to catch any potential problems early, ensuring the longevity of your repair work. Remember, preventative maintenance is often the best maintenance.
By following these ten easy steps, you can quickly fix a water heater pipe leak and save yourself from costly repairs or replacements.
5 Additional Tips and Tricks
Tip 1. Use a Pipe Repair Clamp:
In case you cannot shut off the water supply or if the damaged pipe is in an awkward location, consider using a pipe repair clamp. These clamps are designed to quickly and easily fix leaks without cutting or soldering.
Tip 2. Use Quality Materials:
Always use high-quality materials for your repairs. This includes the replacement pipe, the solder, and the flux. While it may cost more upfront, it can save you from recurring leaks and the associated repair costs in the long run.
Tip 3. Safety First:
Always prioritize your safety. Wear protective gear such as gloves and safety glasses, especially when soldering. Also, ensure good ventilation to avoid inhaling harmful fumes from the soldering process.
Tip 4. Seek Professional Help if Needed:
While it’s a great skill to be able to fix minor leaks yourself, if the problem seems too complex or if you’re in doubt about your abilities, feel free to call a professional plumber. Investing in professional help is always better than risking further damage to your plumbing system.
Tip 5. Learn from Each Repair:
Every repair is an opportunity to learn and refine your skills. Be reassured if your first few attempts are not perfect. Your DIY repair skills will improve with time, patience, and practice.
With these additional tips and tricks, you can confidently tackle any water heater pipe leak that comes your way.
5 Things You Should Avoid
Thing 1. Doing a Rushed Job: Always take time when dealing with plumbing repairs. Rushing through the process can not only result in poor quality repairs but also potentially cause even more damage to your plumbing system.
Thing 2. Skipping Steps: Skipping a step or two may be tempting, especially if you’re confident in your abilities. However, every step is essential for a successful repair.
Thing 3. Neglecting Safety Precautions: Never neglect safety when doing DIY repairs. Always wear appropriate protective gear and work in a well-ventilated area, especially when soldering.
Thing 4. Failure to Completely Turn Off Water: Turn off the water supply entirely before starting your repair can result in a messy and potentially dangerous situation. Always ensure the water is wholly shut off before you begin.
Thing 5. Not Checking For Leaks Post-Repair: After completing the repair, don’t forget to check for any potential leaks. Confirming that the issue has been fully resolved and that your repair job was successful is crucial.
By avoiding these common mistakes, you can ensure a successful repair and prevent any potential hazards or further damage to your plumbing system.
Is a Water Heater Leak Serious?
While any plumbing leak should be taken seriously, a water heater leak can be particularly concerning due to the potential for water damage and costly repairs if left untreated. It’s essential to address a water heater pipe leak as soon as possible to prevent further damage and save yourself from future headaches and expenses. Regular maintenance and prompt repairs are crucial to keeping your plumbing system in good condition and avoiding any major issues.
So the next time you encounter a water heater pipe leak, remember these easy steps and additional tips to fix it like a pro. With a little effort and knowledge, you can save yourself from the hassle and expense of hiring a professional plumber.
How Do I Know if My Water Heater is Leaking?
There are a few signs that can indicate a water heater pipe leak. The first and most obvious sign is the presence of water around your water heater. If you notice any puddles or dampness near your water heater, it’s likely there is a leak. Additionally, if you hear strange noises coming from your water heater, such as gurgling or bubbling sounds, it could be a sign of a leak. Another indicator is a sudden decrease in your hot water supply or an increase in your energy bills. If you notice any of these signs, it’s essential to investigate and address the issue before it worsens.
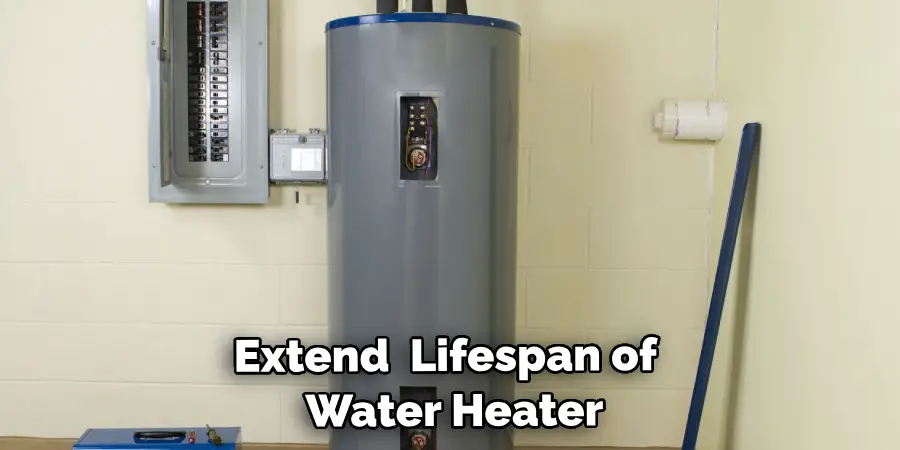
Moreover, it’s a good idea to regularly inspect your water heater for any signs of corrosion, rust, or damage. Catching these issues early can prevent leaks and extend the lifespan of your water heater.
In conclusion, dealing with a water heater pipe leak may seem daunting initially, but by following these steps and tips, you can easily fix the issue yourself.
When Should I Replace the Water Heater?
If you constantly deal with water heater pipe leaks, consider replacing your water heater. The average lifespan of a water heater is 8-12 years, so if your unit is approaching or exceeding this range, it’s worth considering a replacement. Additionally, suppose your water heater is not functioning efficiently and causing a significant increase in your energy bills. In that case, replacing it with a newer, more efficient model may be more cost-effective in the long run.
Ultimately, the decision to replace your water heater should be based on age, condition, and efficiency. Regular maintenance and prompt repairs can extend the lifespan of your water heater and delay the need for replacement. So remember to keep these tips in mind as you maintain and care for your water heater to prevent any future leaks or problems.
By following these guidelines, you can confidently handle any water heater pipe leak and ensure the longevity of your plumbing system.
Conclusion
Finally, whenever you are faced with a water heater pipe leak, take your time and research the most efficient way of tackling the problem. Understand the components, how they work, and how you can best use it to diagnose your water heater or fix leaking pipes. Remember that local regulations and building codes will also play a factor in determining the best course for fixing any plumbing issue.
Hopefully, the article on how to fix water heater pipe leaks has given you the necessary knowledge to tackle this common household problem confidently. Follow these tips, and don’t forget that when in doubt, call a professional plumber who can help provide your household with clear solutions.
Don’t wait too long- take action now and repair those leaking pipes as quickly as possible for a peaceful outcome!

