Experiencing low water pressure in your apartment can be a frustrating and inconvenient issue. It affects daily tasks such as showering, washing dishes, and doing laundry, making even the simplest activities feel like a chore.
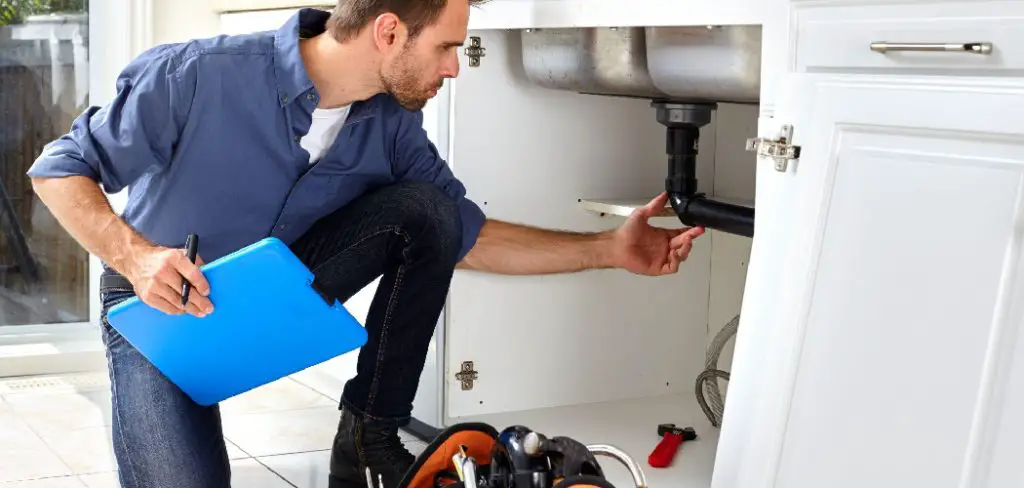
Understanding the causes of low water pressure and knowing how to address them is essential for maintaining a comfortable living environment.
In this guide on how to fix water pressure in apartment, we will explore common reasons for water pressure problems and provide practical solutions to help you restore a steady flow in your home.
Why is the Water Pressure Low?
There can be various reasons for experiencing low water pressure in your apartment. Some of the most common causes are:
Clogged Pipes
Over time, mineral deposits, sediment buildup, and debris can obstruct pipes, reducing the water flow. This is especially common in older buildings with outdated plumbing systems.
Faulty Pressure Regulator
A pressure regulator is responsible for controlling the amount of water that enters your apartment from the main supply line. If it malfunctions, it can either restrict or increase the water pressure to your home.
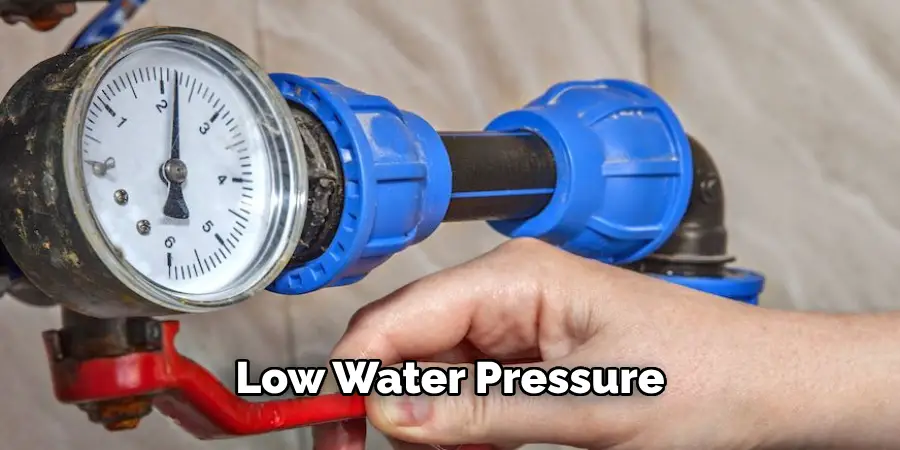
Leaks and Damage
Leaks in pipes, faucets, or fixtures can significantly reduce water pressure by diverting the flow elsewhere. Damaged or broken pipes can also cause a decrease in pressure.
Water Supply Issues
Sometimes, low water pressure may be due to problems with the municipal supply system. These could include issues such as pipe damage, maintenance work, or high demand during peak hours.
8 Step-by-step Guidelines on How to Fix Water Pressure in Apartment
Step 1: Identify the Problem
Before attempting to fix low water pressure, it’s essential to accurately identify the issue at hand. Begin by checking the water pressure in different areas of your apartment—such as the kitchen, bathroom, and laundry room—to determine if the problem is isolated to one location or affects the entire unit. Next, observe whether the pressure fluctuates throughout the day or remains consistently low.
Additionally, inspect faucets and showerheads for any visible signs of clogging or buildup, and listen for sounds of running water that could indicate leaks. Documenting these observations will assist you in pinpointing the underlying cause, making it easier to implement the appropriate solutions.
Step 2: Check the Pressure Regulator
If the water pressure issue is isolated to your apartment, it’s likely caused by a faulty pressure regulator. These are usually located near the main shut-off valve and can be easily identified by their bell-shaped or dome-like appearance.
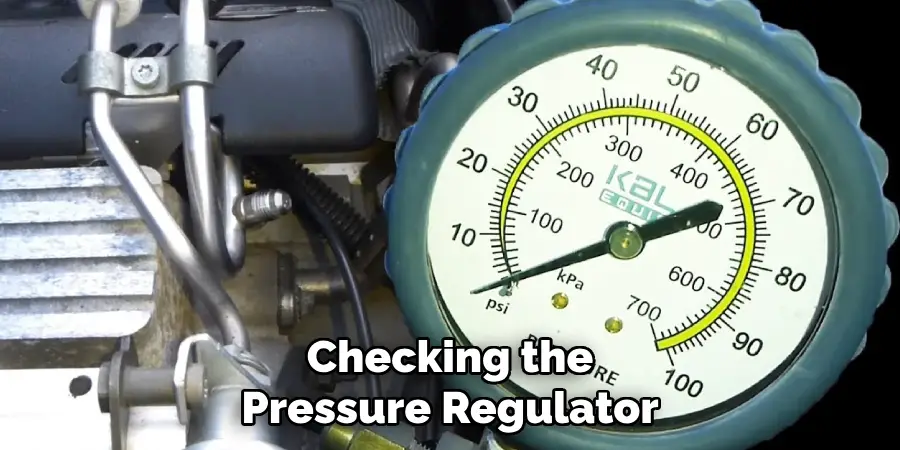
To test if the pressure regulator is functioning correctly, turn off all faucets and fixtures in your apartment and then open one tap. Place a pressure gauge on it and take note of the reading. Next, close that tap and repeat the process with another faucet in a different location. If there is a significant variation between the two readings, it may indicate an issue with the pressure regulator.
Step 3: Check for Leaks
Leaks in pipes, faucets, and fixtures can cause a decrease in water pressure. To check for leaks, turn off all the taps and fixtures in your apartment and then observe the water meter. If it is still running or moving despite everything being turned off, it could indicate a leak somewhere.
To narrow down the source of the leak, you can use food coloring to dye the water inside your toilet tank. Wait for 15-20 minutes without flushing and then check if any colored water has seeped into the bowl. This test will help you determine if there is a leak in your toilet’s flapper valve or overflow pipe.
Step 4: Clear Clogged Pipes
Mineral deposits, sediment buildup, and debris can obstruct pipes over time, causing low water pressure. To clear clogs, turn off the main water supply and then open all faucets to drain any remaining water in the pipes. Next, use a plumbing snake or auger to remove any blockages from the pipes. You can also try using a mixture of baking soda and vinegar poured down the affected drains to dissolve stubborn mineral deposits.
You can also clean faucet aerators and showerheads by soaking them in a mixture of equal parts water and vinegar. This will help remove any buildup that may be causing low pressure.
Step 5: Replace Faulty Fixtures
If you have identified a clogged or damaged fixture as the cause of low water pressure, it’s time to replace it. Start by turning off the main water supply and then removing the faulty fixture. You can either clean the fixture thoroughly or replace it with a new one.
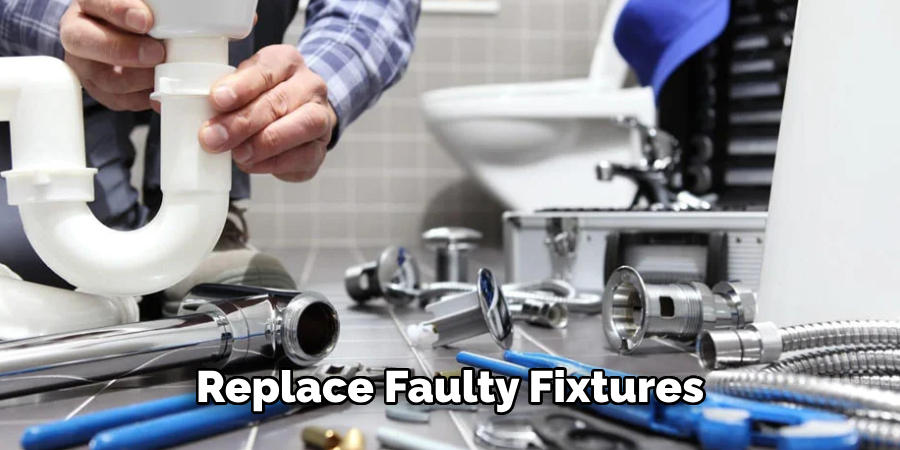
But before purchasing a new fixture, make sure to check the water flow rate (in gallons per minute or GPM) listed on the packaging. This will ensure you select a suitable replacement that won’t further contribute to low pressure.
Step 6: Test the Water Pressure
After addressing potential issues such as clogs and faulty fixtures, it’s important to test the water pressure to determine if your efforts have been successful. First, ensure that all repairs and replacements are complete and that the main water supply is turned back on. Then, take a pressure gauge and attach it to an outdoor spigot or the nearest faucet.
Turn the faucet on fully to get an accurate reading. Ideally, residential water pressure should range from 40 to 60 psi (pounds per square inch). If the pressure is still below this range, additional troubleshooting may be necessary, such as checking other fixtures or consulting your building maintenance for assistance. Tracking the pressure before and after each step can help you see improvements and identify persistent issues.
Step 7: Contact Your Building Maintenance
If you’ve followed all these steps and have not been able to fix the low water pressure issue, it may be time to consult your building maintenance or a professional plumber. They will have access to specialized tools and equipment that can help identify any underground leaks or other complex issues that require expert attention.
If the low water pressure is a result of a wider problem with the building’s plumbing, your building maintenance will be able to address it at a larger scale and ensure that all tenants are not affected.
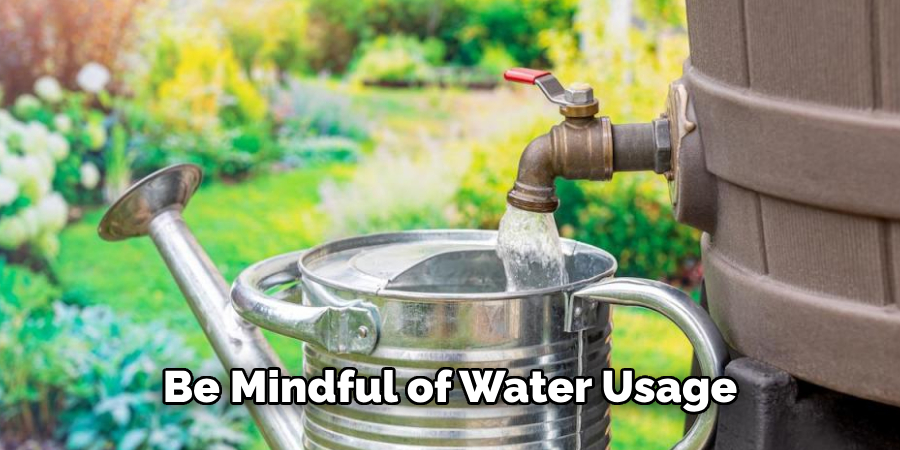
Step 8: Be Mindful of Water Usage
Prevention is always better than cure, so taking some steps to maintain good water pressure in your apartment can save you from future headaches. Be mindful of your water usage by avoiding excessive flushing, using efficient showerheads and faucets, and fixing any leaks promptly. These simple habits can go a long way in preserving adequate water pressure and preventing potential issues.
By following these steps on how to fix water pressure in apartment and being proactive in maintaining good water pressure, you can ensure a comfortable and functional living space. Remember to regularly check for any changes in pressure and address them promptly to avoid further complications. With proper attention and maintenance, you can enjoy consistent water pressure in your apartment for years to come without any disruptions or low-pressure woes.
Do You Need to Hire a Professional Plumber for Your Low Water Pressure Issue?
Determining whether to hire a professional plumber for low water pressure issues depends on several factors. If you have exhausted all the troubleshooting steps mentioned earlier and have not seen any improvement, it might be wise to consult a professional. They possess the expertise and tools required to diagnose complex plumbing problems that are not easily identifiable, such as hidden leaks within walls or under floors, which could significantly affect water pressure.
Additionally, if the problem appears to be part of a larger issue affecting multiple units in your building, enlisting the help of your building maintenance or a licensed plumber can ensure that the problem is addressed comprehensively. Remember, investing in professional help can save you time, potential headaches, and costly damages in the long run.
Frequently Asked Questions
Q: How Do I Know if the Low Water Pressure is a Result of a Larger Issue in My Building?
A: If you notice consistently low water pressure across multiple fixtures and units in your building, it could be an indication of a larger problem with the building’s plumbing system. In this case, it would be best to contact your building maintenance for assistance.
Q: Can Low Water Pressure Be Fixed Without Hiring a Professional?
A: In most cases, low water pressure can be fixed by following the steps outlined in this guide. However, if the issue persists after trying all troubleshooting methods and appears to be part of a more significant problem, it is recommended to seek professional help.
Q: How Can I Prevent Future Low Water Pressure Issues in My Apartment?
A: Regularly maintaining your apartment’s plumbing system and being mindful of water usage can help prevent future low water pressure issues. Avoiding excessive flushing and promptly fixing any leaks can also contribute to maintaining good water pressure. Remember to regularly check for changes in water pressure and address them promptly to prevent further complications.
Conclusion
Maintaining adequate water pressure in your apartment is crucial for the comfort and functionality of your everyday activities. By systematically identifying and addressing potential issues—ranging from checking the pressure regulator to being mindful of your water usage—you can significantly enhance your water flow and prevent future complications.
Remember that regular maintenance and being alert to changes in pressure can save you from extensive repairs and issues down the line. If all else fails, don’t hesitate to seek professional assistance to ensure that your plumbing system remains in optimal condition. With these proactive measures on how to fix water pressure in apartment, you can enjoy a consistent and satisfying water pressure experience.
