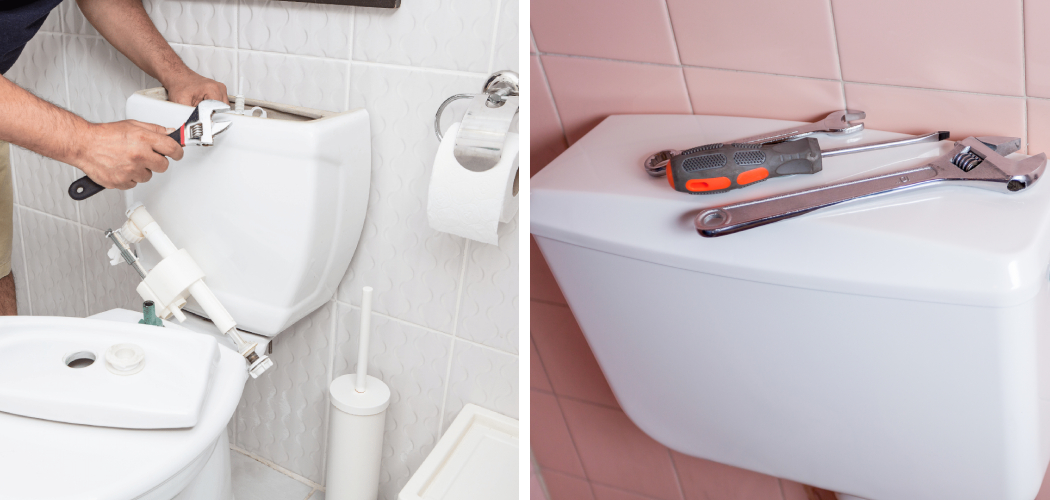
Fixing a whistling toilet is an important maintenance task for any homeowner or tenant. A whistling toilet results from water flowing through too small or poorly installed pipes. If left unattended, this noise can be annoying and interfere with your quality of life. It also wastes water, which will lead to higher utility bills. You can quickly and easily fix the problem by taking a few simple steps and restoring peace and quiet to your home.
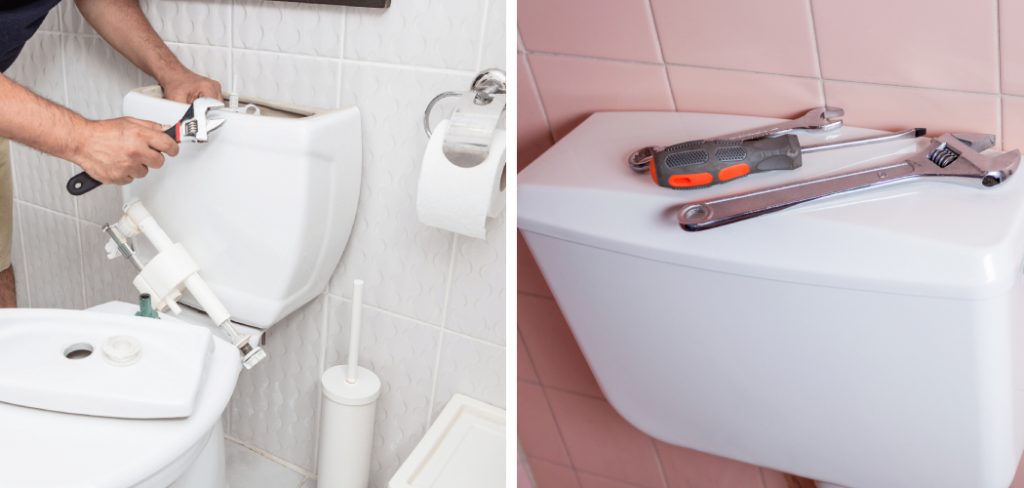
One of the main benefits of learning to Fix a Whistling Toilet is that it can save you a lot of money. Sometimes, a whistling toilet may need professional repairs or replacement, which can be costly. This means you can fix the problem promptly and avoid further inconvenience or damage. In this blog post, You will learn in detail how to fix whistling toilet.
Step by Step Processes for How to Fix Whistling Toilet
Step 1: Inspect Your Toilet
Before you start any repairs, ensure that the noise source is, in fact, a whistling toilet and not some other issue. The simplest way to do this is to listen closely while the water runs. If your toilet is whistling, it could be due to a leak somewhere in the plumbing. Check your toilet for water dripping from the toilet’s tank, bowl, or base.
Step 2: Adjust the Float Ball
Check if your toilet is whistling to see if the float ball needs adjusting. To do this, turn off the water supply valve and flush the toilet. This will open the tank, and you can inspect it for any blockages or debris. Look for any minor adjustments that need to be made to the float ball. This can help stop your toilet from whistling.
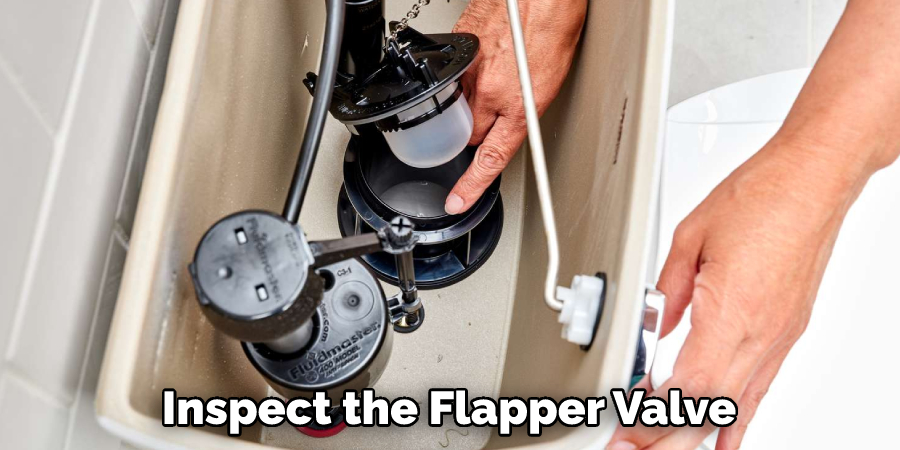
Step 3: Check the Flapper Valve
The flapper valve sits at the bottom of your toilet tank and controls the amount of water going into the bowl. If it’s worn or damaged, this could be causing a whistling sound when water enters the system. To check if this is what’s causing your whistling toilet, inspect the flapper valve for any visible signs of wear and tear. If necessary, replace it with a new one.
You Can Check It Out to Fix Brown Toilet Water
Step 4: Clean the Fill Tube
The fill tube is the plastic pipe connected to your toilet’s water supply line. If this becomes clogged or blocked in any way, it can cause a whistling sound when the water is turned on. To clean the fill tube, use a wire brush and a plunger to remove any blockages.
If your toilet continues to whistle after cleaning the fill tube, it could be caused by a faulty diverter valve. Inspect it for any signs of wear and tear. If it’s not working properly, replace it with a new one.
Step 5: Check the Pressure Regulator Valve
Your toilet’s pressure regulator valve controls the amount of water going into the tank. If this is faulty or damaged, it could be causing a whistling sound in your toilet. To check it, turn off the water supply line and open the pressure regulator valve cover. Inspect for any signs of wear and tear.
The angle stop valve regulates the amount of water entering your toilet’s tank. If this is not functioning properly, it can cause a whistling sound. To adjust this, turn off the water supply line and inspect the angle stop valve for any signs of damage. If necessary, replace it with a new one.
Step 6: Replace the Water Inlet Valve
If your toilet is still whistling after adjusting all of these other components, it could be due to a faulty water inlet valve. To replace this, turn off the water supply line and remove the old valve from the wall. Install a new one in its place and reconnect the water supply line.
Step 7: Check for Air Leaks in The Pipes
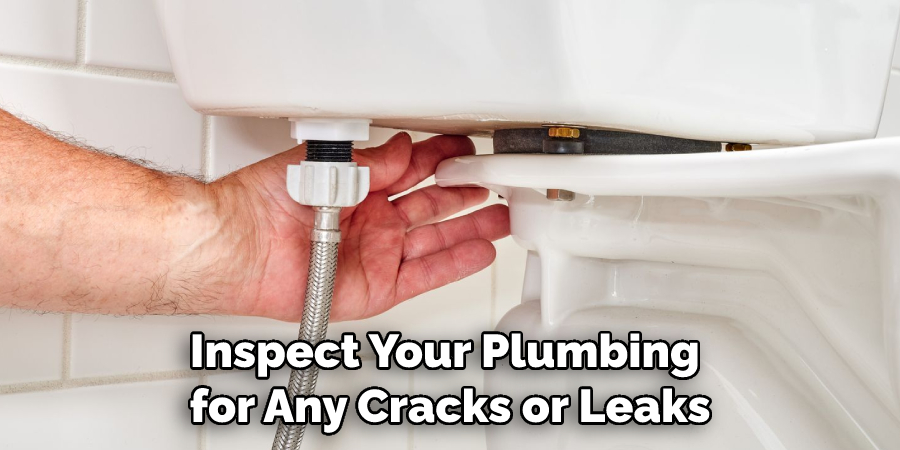
If all of these other components are working properly, your problem could be caused by an air leak in the pipes. To check for this, inspect your plumbing for any cracks or leaks. If necessary, replace the pipe that is causing the issue.
Tips for How to Fix Whistling Toilet
- Always wear safety goggles and protective gloves before attempting any repairs to a toilet. Doing so will help protect your eyes and hands from sharp edges, chemicals, or particles that may be present in the process.
- Shut off the water supply to the toilet before making any repair attempts. This will prevent any further damage that may occur as a result of the whistling.
- Inspect the flapper valve to ensure it closes properly and prevents air from escaping when flushed. If the flapper valve is worn, replace it with a new one.
- Check for any leaks or cracks around the toilet’s base where water might escape, causing the whistling sound. If any are found, seal them with silicone caulk or epoxy.
- Ensure the toilet is properly vented and the vent pipe is clear of debris. This will help ensure that air can escape when water runs into the bowl without creating a whist sound.
- Check the water pressure in the toilet tank. If it is too high, it can cause a whistling sound when the water runs into the bowl. You can reduce the water pressure by adjusting the float valve or installing a pressure-reducing valve.
- Inspect the fill and flush valves for any clogs, debris, or wear and tear. If any are found, replace the valves with new ones. If all of these steps do not fix the whistling sound, then contact a plumbing professional to inspect and repair the toilet.
Following these tips will help you repair any whistling sounds your toilet may produce, ensuring that it operates properly and safely.
How Can You Maintain Your Toilet to Prevent Future Whistling Issues?
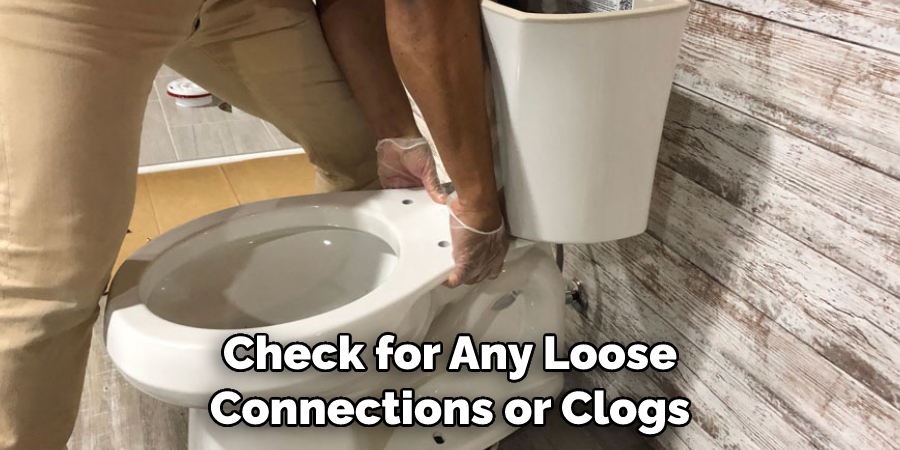
To prevent your toilet from whistling in the future, there are a few maintenance steps you can take. First, check for any damage to the tank parts- namely the flapper or fill valve. Replace them if necessary. You should also ensure that all the tank’s working parts are properly installed and adjusted. Check for any loose connections or clogs that could be causing the noise.
Next, you should periodically inspect your toilet for microbial growth or mineral buildup. These can build up over time and cause whistling if left unchecked. To remove them, use a vinegar-baking soda solution to clean the toilet bowl and the tank parts of any dirt or debris.
Finally, you should ensure you’re using the right amount of water in your toilet tank. If the water level is too high or too low, it can cause whistling. Make sure to adjust the float valve so that the water level is set properly, and fill up the tank as needed. This will help ensure that your toilet stays quiet.
How Often Should You Inspect and Maintain Your Whistling Toilet?
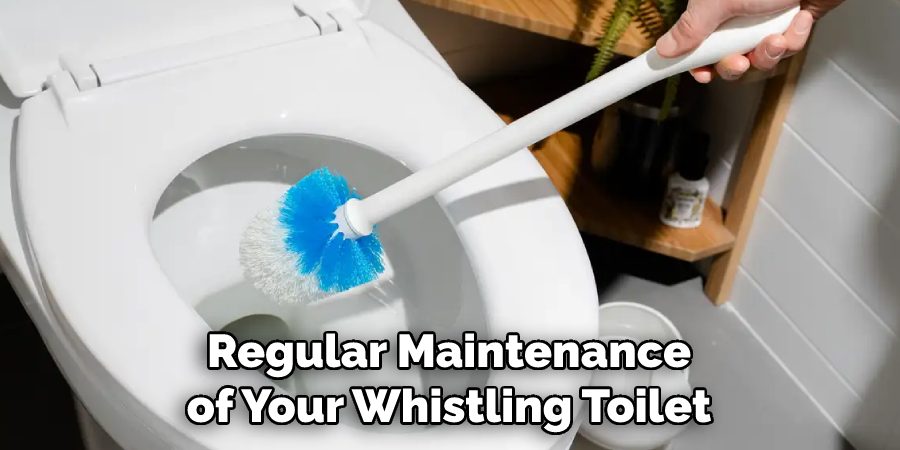
Regular maintenance of your whistling toilet is important to ensure that it operates correctly and doesn’t make an annoying noise. Depending on the frequency of use, inspect your toilet for any worn parts or loose connections at least once per year. This inspection can be done more frequently if you have a newer model toilet.
During your inspection, make sure to check for any cracks or other damage to the tank and bowl. Look out for any worn gaskets or loose screws that may be causing the whistling noise. If you find any of these issues, it’s important to fix them as soon as possible before they cause further damage to your toilet.
If the whistling noise persists after inspecting your toilet, you may need to replace some of its components. Most toilets have a fill valve, flush valve, and flapper that can easily replace with new parts. It’s important to use the correct size and type of replacement parts for your model toilet so it can operate properly without making any noise.
Conclusion
One of the main disadvantages of fixing a whistling toilet is that it can be quite time-consuming. Depending on the severity of the issue, different techniques may need to be used to address the problem properly. It’s also possible that in some cases, if an incorrect technique or solution is chosen, then it could potentially cause further damage to the toilet. No one wants to deal with a whistling toilet, but the good news is that it’s not necessarily a difficult problem to fix.
With some simple tools and a little bit of know-how, you can usually make short work on the issue. Whether you choose to replace your old flapper or opt for an adjustable float valve, either solution is sure to get your toilet running quietly once again. And when all else fails, calling in a professional plumber can be the best solution of all. I hope reading this post has helped you learn how to fix whistling toilet. Make sure the safety precautions are carried out in the order listed.

