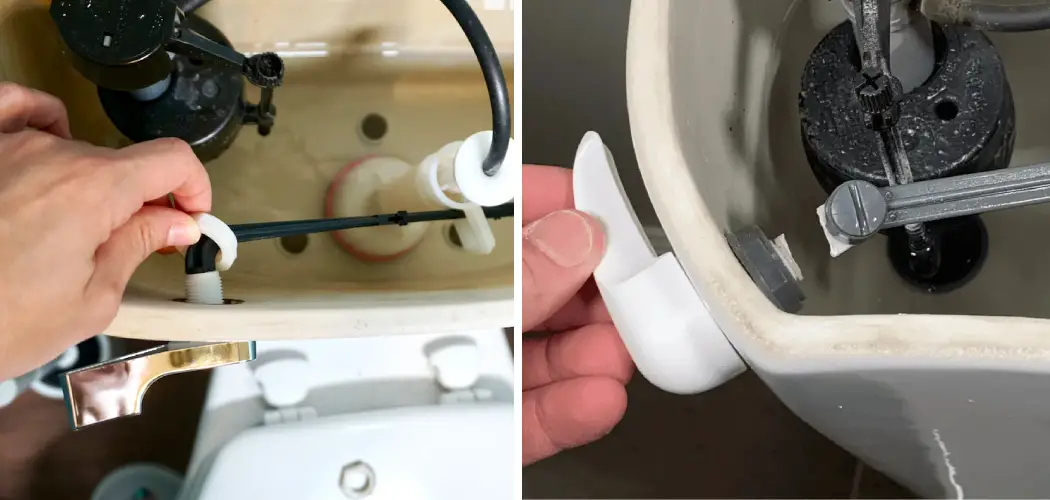
Are you tired of constantly jiggling the handle of your broken toilet? Don’t worry; flushing a toilet without a handle is easier than you might think. This guide will cover some simple steps to help you flush your toilet and avoid messy situations.
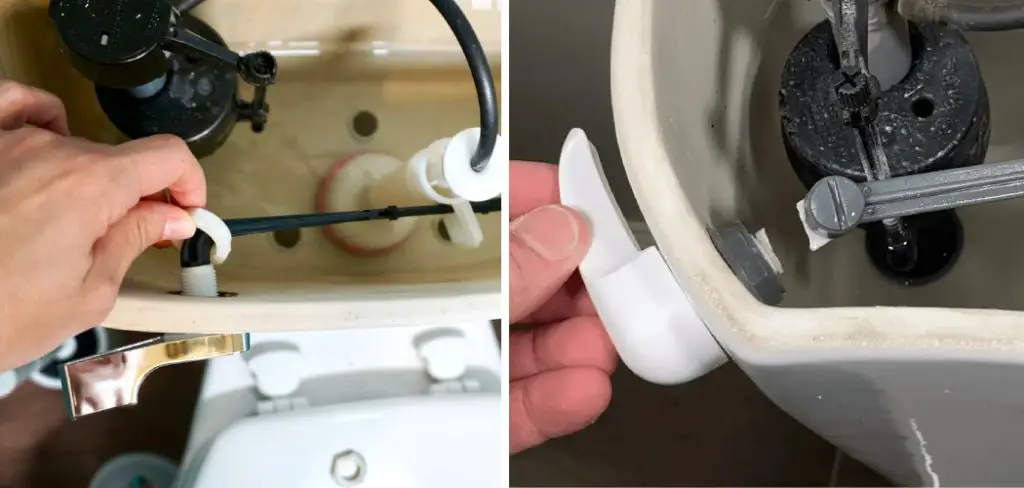
When faced with a broken toilet handle, the prospect of flushing can seem daunting, yet it’s a manageable problem that can be resolved easily. Understanding how to flush a toilet when the handle is broken not only prevents unnecessary frustration but also helps maintain proper hygiene in your bathroom.
Whether it’s a temporary fix for an unexpected situation or a solution while waiting for repairs, this guide will provide you with essential techniques and tips to effectively flush your toilet, ensuring your bathroom remains fully functional even in the face of minor plumbing challenges.
What Will You Need?
Before we dive into the steps, let’s go over the materials and tools you will need to flush your toilet without a handle:
- A bucket or container with a capacity of at least 2 gallons
- Water (preferably clean)
- Rubber gloves (optional but recommended for hygiene purposes)
That’s it! With just these few items, you can flush your toilet successfully without using the broken handle.
10 Easy Steps on How to Flush a Toilet When the Handle is Broken
Step 1. Fill the Bucket
Begin by ensuring your bucket or container is filled with clean water. You can either fill it from a sink or bathtub or, if necessary, collect rainwater outside. The water needed should typically be around two gallons to create the force required to flush the toilet.
If you’re using tap water, allow it to run for a moment to ensure it’s clear and free from contaminants. Filling the bucket to the appropriate level is crucial, as a full bucket will effectively mimic the action of a traditional flush, pushing waste down the toilet bowl efficiently.
Step 2. Pour Water into the Toilet Bowl
Once your bucket is filled with water, carefully lift it and approach the toilet. Position the bucket over the toilet bowl, making sure to aim for the center.
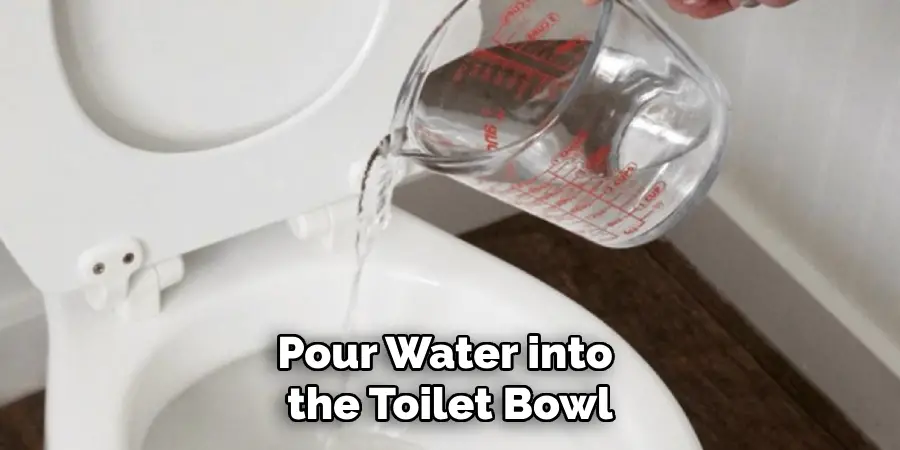
Flour the water directly into the bowl with a swift and firm motion. The key here is to pour the water quickly to create the pressure to trigger the flush.
You should see the water swish around, clearing the waste bowl. If the toilet does not flush as expected, try pouring the water from a higher position to gain more momentum. Repeat the process if necessary until the bathroom is cleared.
Step 3. Check for Remaining Waste
After pouring the water into the toilet bowl, take a moment to observe if any waste remains. If the bowl is clear, congratulations! You’ve successfully flushed your toilet without a handle. However, if there is still leftover waste, you may need to repeat the previous step.
Make sure to pour enough water to ensure a thorough flush. If the toilet continues to have waste after several attempts, consider waiting a few minutes before attempting again, as too much water too quickly can lead to overflow.
Step 4. Clean Up
After successfully flushing the toilet using the bucket method, cleaning up the area around the bathroom and the tools you use is essential. Begin by wiping down any surfaces that may have come into contact with water to prevent slipping or creating a mess. If you’ve used rubber gloves, remove them carefully and dispose of them properly to maintain hygiene.
Next, empty any remaining water from the bucket and rinse it thoroughly, ensuring it is free from contaminants before storing. If there is any spillage, mop it up promptly to keep your bathroom dry and tidy. You are practicing cleanliness after the task, which preserves your bathroom’s hygiene and prepares you for future maintenance tasks or unexpected situations.
Lastly, remember to inspect the toilet’s mechanism soon after this temporary fix; a broken handle usually indicates underlying issues that may need attention to restore the toilet to full functionality.
Step 5. Assess the Damage
Once you have completed the flushing process and cleaned up, look closer at the toilet handle and the internal mechanism. Check to see if the handle is stuck or has completely broken off. If the handle appears intact but unresponsive, it may require loosening or lubrication.
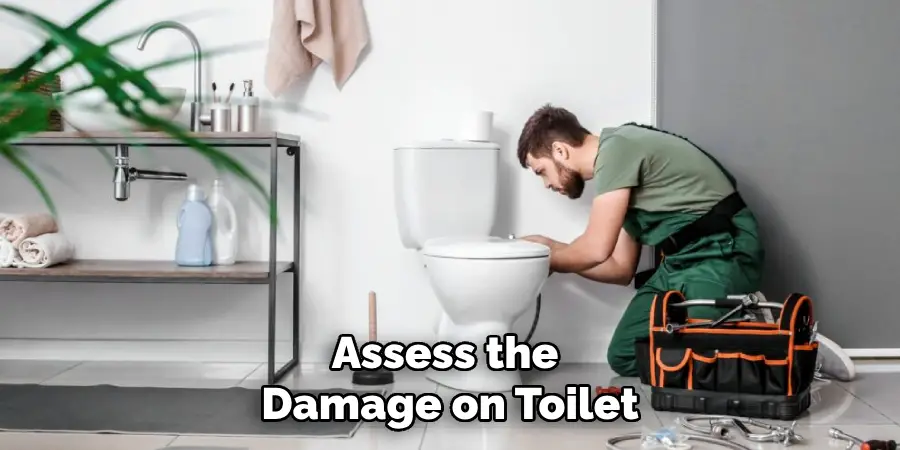
If the handle is broken, inspect the chain and flapper inside the tank to ensure they are functioning correctly. Identifying the specific issue will help you determine whether you can fix it yourself or if professional assistance is needed for a more permanent solution.
Step 6. Fixing the Handle
If you’ve determined that the handle is broken and needs repair, you can try fixing it yourself if you feel comfortable doing so. Start by purchasing a replacement handle from a local hardware store or online retailer. Make sure to choose one that fits your toilet model. Once you have the new handle, turn off the water supply to the toilet and flush it to empty the tank.
Remove the tank lid and set it aside. Loosen the screws securing the broken handle using a screwdriver. Disconnect the lift chain from the old handle, then remove the handle altogether. Install the new handle by reversing the removal steps: attach the lift chain to the new handle and secure it in place with screws.
Finally, replace the tank lid, turn the water supply back on, and test the new handle to ensure it operates smoothly. If you encounter complications, consult the manufacturer’s instructions or call a plumber for assistance.
Step 7. Test the Toilet Flushing Mechanism
After successfully replacing the broken handle, it’s essential to test the flushing mechanism to ensure everything is functioning correctly. Begin by refilling the tank with water by turning the water supply back on.
Wait for a moment as the tank fills to its appropriate level. Once filled, press the new handle down firmly and observe how the toilet responds. The flapper should lift, allowing water to rush from the tank into the bowl, clearing waste without any issues.
If the toilet flushes properly, you’ve successfully fixed the problem. However, if you notice any unusual sounds or if the toilet fails to flush effectively, double-check the installation of the handle, chain, and flapper.
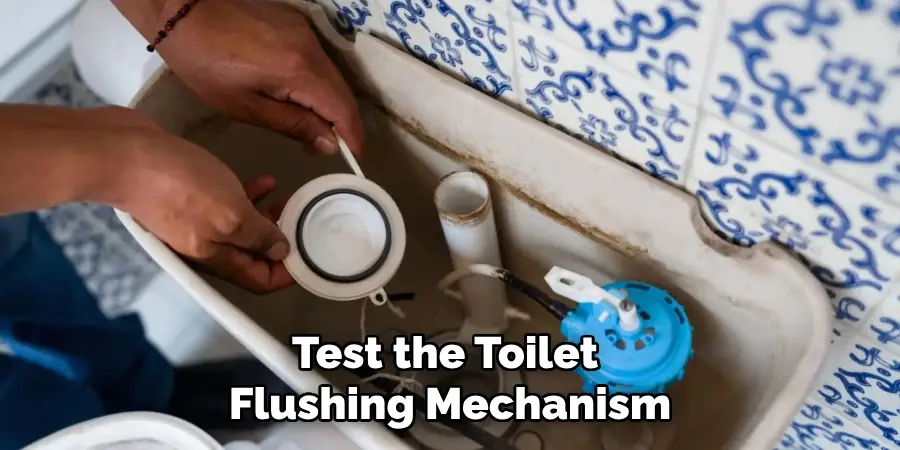
Adjustments may be necessary to achieve a smooth and effective flush.
Step 8. Regular Maintenance
To prevent future issues with your toilet handle and flushing mechanism, it’s essential to conduct regular maintenance. Start by periodically checking the handle for any signs of wear or loosening. Additionally, inspect the chain and flapper inside the tank, ensuring they are functioning correctly and not corrupted.
It’s also a good practice to flush the toilet regularly, as this helps keep the components in good condition. To maintain optimal performance, consider cleaning the tank and bowl every few months to prevent the buildup of minerals and waste.
If you notice any leaks around the base or unusual sounds when flushing, address these issues promptly to avoid more severe problems down the line. By staying proactive, you can ensure that your toilet remains in working order and prolong its lifespan.
Step 9. Know When to Call a Professional
While many toilet repairs can be handled with essential tools and materials, there are situations where calling a professional is the best course of action. If you’ve attempted to repair the handle or flushing mechanism and continue to face issues, or if there are signs of significant damage, such as cracks in the toilet bowl or tank, it may be time to consult a plumber.
Additionally, if you need to familiarize yourself with plumbing systems or feel uncomfortable completing the repair yourself, professional assistance can ensure the issue is addressed safely and effectively. A trained plumber can provide a thorough assessment and offer solutions that may not be apparent to a DIYer, ultimately saving time and preventing further complications.
Leveraging expert knowledge can be invaluable, especially in maintaining the long-term functionality of your plumbing.
Step 10. Document Your Repairs
Keeping a record of your repairs can be pretty beneficial for future reference. After completing any maintenance or fixes, take a moment to write down what was done, including the date and any specific parts replaced. This log can help you track the history of repairs and identify patterns, such as recurring issues that may indicate a more significant underlying problem.
Additionally, if you need to consult a professional in the future, having documentation of past repairs can assist them in understanding the situation quickly. Consider keeping this information in a dedicated notebook or a digital format that is easily accessible whenever necessary.
By following these steps, you can successfully repair a broken toilet handle and maintain your toilet’s functionality for years to come.
Conclusion
In conclusion, how to flush a toilet when the handle is broken can be a manageable task with the right approach and tools. You can effectively address the issue by understanding the flushing mechanism and carefully following the outlined steps.
Remember to assess whether a repair or replacement is necessary, perform routine maintenance, and document your repairs for future reference. Should complications arise or the issue prove more complex than expected, don’t hesitate to contact a professional plumber.
These measures will ensure that your toilet remains functional, saving you time and potential frustration in the long run.

