Are you facing a plumbing emergency with your toilet? Perhaps you have a clogged drain or the flush mechanism is malfunctioning. In such situations, flushing the toilet can become a hassle. But don’t worry, there’s a simple solution.
Flushing a toilet traditionally relies on a connected water supply to function properly. However, in situations where the plumbing is out of service or if you’re in an emergency scenario, knowing how to flush a toilet with a bucket of water with a bucket of water can be incredibly useful.
This method not only saves you from unpleasant sanitation issues but also demonstrates resourcefulness in times of need.
In the following sections, we’ll outline the steps needed to effectively flush a toilet using just a bucket of water, ensuring that you can manage your bathroom hygiene even when conventional means are unavailable.
What Will You Need?
To flush a toilet with a bucket of water, you’ll need the following items:
- A sturdy bucket or container that can hold at least two gallons of water
- Water from any source – this could be from a tub, sink, or even an outdoor tap
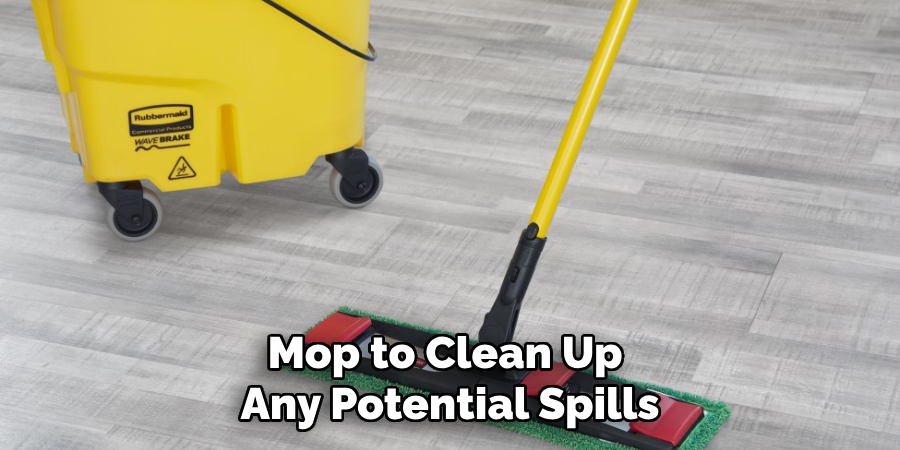
- A towel or mop to clean up any potential spills
Once you have these items, you’re ready to start the flushing process.
10 Easy Steps on How to Flush a Toilet With a Bucket of Water
Step 1. Gather Your Supplies
Before you begin, ensure you have all the necessary supplies. A sturdy bucket is crucial, as it should be able to hold at least two gallons of water to ensure a proper flush. You can fill this bucket from various sources; for instance, if you’re inside the home, you might use water from the bathtub or sink. If you’re outdoors, an outdoor tap can provide plenty of water as well.
Additionally, keep a towel or mop close by to address any spills that may occur during the process. Having everything organized in advance will make the following steps more accessible and more efficient, allowing you to concentrate on successfully flushing the toilet without further complications.
Step 2. Position the Bucket
Once you’ve gathered your supplies, take the filled bucket of water and stand next to the toilet. It’s essential to hold the bucket at waist height to make pouring more accessible and to prevent any splashes.
This positioning will allow you to control the water flow, effectively directing it into the toilet bowl. Make sure there are no obstructions around the toilet that could interfere with the pouring process, and prepare yourself for a quick and direct action to achieve a successful flush.
Step 3. Pour the Water Into the Toilet
With the bucket positioned correctly, take a deep breath and swiftly pour the water into the toilet bowl. Aim to pour the water directly into the bowl and not the tank, as this is what triggers the flushing action. The key is to pour the water rapidly to create enough force to simulate a standard flush.
You may need to adjust your pouring angle to ensure it flows evenly; typically, pouring from a height of about 12 inches will create the necessary momentum. Observe how the water fills the bowl and ensure that it drains away effectively, carrying waste with it. If the waste hasn’t cleared on the first attempt, don’t hesitate to refill the bucket and try again.

Step 4. Check for Any Blockages
After pouring the water into the toilet, take a moment to observe how the toilet responds. If the water drains smoothly and efficiently, you’ve completed the flush. However, if you notice that the water is not draining or if it’s rising too high in the bowl, there may be a blockage present. In this case, it’s essential to refrain from adding more water to avoid overflow.
Instead, take a look inside the bowl to assess the situation. If necessary, you might need to use a plunger or another method to clear the blockage before attempting to flush again with your bucket. Ensuring that there are no obstructions will help maintain sanitation and functionality in your bathroom.
Step 5. Repeat if Necessary
If your first attempt to flush the toilet did not yield the desired result due to a blockage or insufficient water flow, don’t worry. Simply refill your bucket to its total capacity and repeat the pouring process. It may take a few tries to completely clear the waste, especially if there is a significant obstruction. Remember to maintain your posture and positioning to ensure you have the best control over the water flow.
Persistence is vital; each attempt increases the chance of effectively flushing the toilet and restoring its functionality. If, after several attempts, the toilet still does not flush, it might be time to turn to professional plumbing assistance to address any underlying issues.
Step 6. Clean Up
Once you have successfully flushed the toilet and ensured that it is functioning correctly, it’s essential to clean up any spills or mess that may have occurred during the process. Use the towel or mop you prepared earlier to wipe the floor around the toilet and ensure the area is tidy. If you used a bucket, rinse it out and set it aside for future use.
Cleaning up promptly not only maintains a pleasant environment but also helps prevent any slipping hazards that could arise from wet surfaces. Keeping your bathroom clean is an essential aspect of overall hygiene, even in challenging situations.
Step 7. Inspect the Toilet System
After cleaning up, take a moment to inspect the toilet system to ensure everything is in good working order. Check the tank for any remaining water, as a functioning toilet should refill automatically after a flush. If the tank is not filling, it may indicate an issue with the water supply or the fill valve.
Additionally, observe the toilet bowl for any signs of leaks or persistent clogs that can affect future flushes. Addressing these issues early can help prevent more significant problems and keep your toilet running smoothly. If you notice anything concerning, consult a plumber for further assistance.
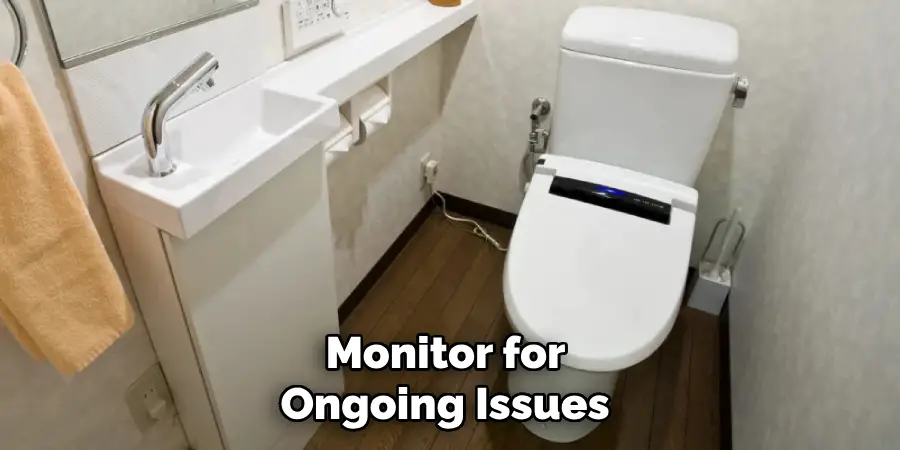
Step 8. Monitor for Ongoing Issues
After completing the flushing process and inspecting the toilet system, it’s crucial to monitor the toilet for ongoing issues over the next few days. Pay attention to the water level in the bowl; if it fluctuates or consistently drains low, there may be a leak or a problem with the flapper valve.
Additionally, listen for any unusual noises, like incessant running water, which could indicate that the fill valve is malfunctioning. Keeping an eye on these details will allow you to catch minor issues early, ultimately saving time and potential repair costs. If you observe persistent problems, don’t hesitate to reach out to a professional plumber for diagnosis and repairs.
Step 9. Document Any Repairs or Adjustments
It’s beneficial to keep a record of any repairs or adjustments made to the toilet system. Jot down important details, such as the repair date, the issue’s nature, and any parts replaced. This documentation can be valuable for future reference and helps establish a maintenance history for your toilet.
If problems recur, having this information on hand can assist a plumber in diagnosing the problem more efficiently. Additionally, it serves to remind you of any patterns in functionality or typical troubles, allowing you to stay proactive about toilet maintenance and ensure continued optimal performance.
Step 10. Consider Preventative Maintenance
To keep your toilet in optimal condition and reduce the likelihood of future issues, it’s wise to incorporate preventative maintenance into your routine. This can include periodic inspections of the toilet’s components, such as the flapper, fill valve, and supply line, as well as ensuring that the tank and bowl are free from mineral build-up or debris.
Regularly cleaning the toilet with appropriate products can help maintain both hygiene and functionality while also extending the lifespan of essential parts. Additionally, consider installing a toilet tank bank or using bowl cleaners that promote efficiency, helping to conserve water without compromising flushing power.
By following these steps and incorporating preventative maintenance, you can keep your toilet running smoothly and address any minor issues before they become significant problems.
What to Do if Toilet Has Too Much Water?
If your toilet has too much water in the bowl, it may indicate an underlying issue. Here are some steps you can take to address this problem:
- Check the Water Level in the Tank: First, check to see if the tank’s water level is set too high. The correct water level should be about one inch below the top of the overflow tube. If it is higher than this, adjust the fill valve accordingly.
- Inspect for Any Leaks: Examine all visible parts of your toilet system, including the tank and supply line, for any signs of leaking water. If you notice a leak, try tightening or replacing any damaged components.
- Use a Plunger: If the water level is high due to a clog, try using a plunger to dislodge any blockage and restore proper water flow.
- Call a Professional: If the problem persists or you are unable to identify and fix the issue yourself, it may be time to call a professional plumber for assistance.

Remember always to exercise caution when attempting to resolve toilet issues yourself. If you feel unsure or uncomfortable with any steps, it’s best to seek professional help rather than risk causing further damage.
Conclusion
In summary, how to flush a toilet with a bucket of water can be a straightforward yet effective solution during emergencies when the regular flush system is not functioning.
You can restore proper sanitation and functionality by following the steps outlined—preparing your materials, pouring the water with precision, and monitoring the toilet’s condition. Remember to address any blockages promptly, maintain cleanliness throughout the process, and consider long-term preventative measures to ensure your toilet remains in optimal working order.
With these practices, you can confidently manage toilet issues and maintain a hygienic bathroom environment.

