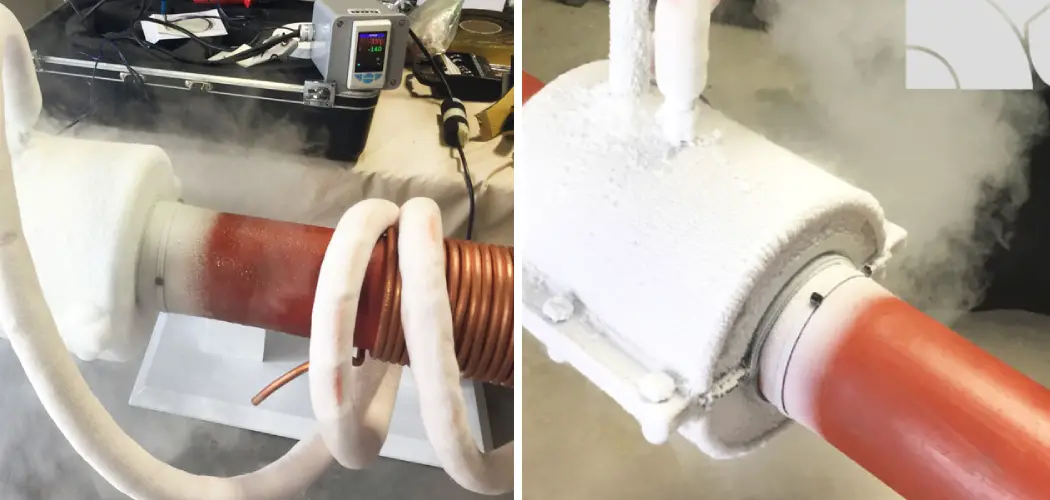
Freezing a pipe for repair is a crucial technique to manage plumbing issues effectively without causing water damage or extensive disruption. Whether you need to fix a leaking pipe, replace a damaged section, or make other repairs, knowing how to freeze a pipe temporarily can save time and money.
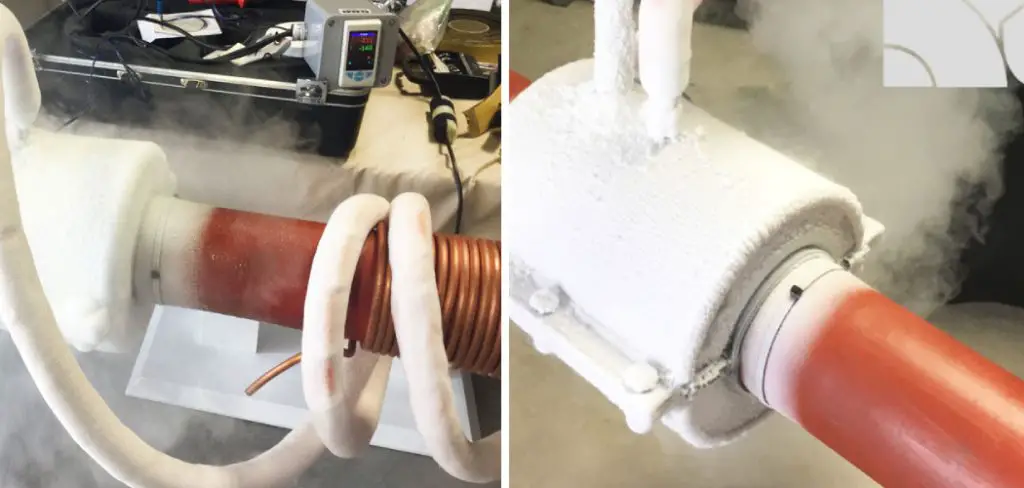
In this article, we will explore the step-by-step process of how to freeze a pipe for repair, offering practical guidance for both DIY enthusiasts and homeowners looking to mitigate plumbing problems before professional assistance arrives.
By understanding the principles of pipe freezing and the right tools to use, you can confidently address plumbing issues while minimizing the need to shut off the entire water supply. This article will equip you with the knowledge and skills to tackle pipe repairs in a controlled and efficient manner, ensuring your plumbing system remains in good working condition.
The Need to Freeze a Pipe for Repair
Pipes are an essential part of our plumbing systems, carrying water and other fluids throughout our homes and buildings. However, just like any other object, pipes can break or develop leaks over time due to various reasons such as corrosion, wear and tear, or freezing temperatures.
When a pipe is damaged or needs repair, the first step is usually shutting off the main water supply to prevent further damage. However, in some cases, this may not be enough. For instance, if the leak is located in a section of the pipe that cannot be easily accessed or if it’s a large pipe that carries high-pressure water.
In such situations, freezing the pipe becomes necessary for safe and effective repair work. Freezing a pipe essentially stops the flow of water or fluid in the pipe, providing a temporary solution while repairs are being made. It is also commonly used for replacing valves and fittings without disrupting the entire system.
Freezing pipes may seem like a daunting task, but with the right tools and techniques, it can be done safely and efficiently. The most commonly used method involves using liquid nitrogen or carbon dioxide to lower the temperature around the damaged section of the pipe until it freezes. Other methods include using specially designed freezing jackets or electric freezing machines.
It’s important to note that freezing pipes should only be done by trained professionals who are familiar with the process and safety measures involved. Improper handling of these extremely cold substances can result in serious injury or even death. Additionally, certain types of pipes, such
10 Methods How to Freeze a Pipe for Repair
1. Locate the Leak
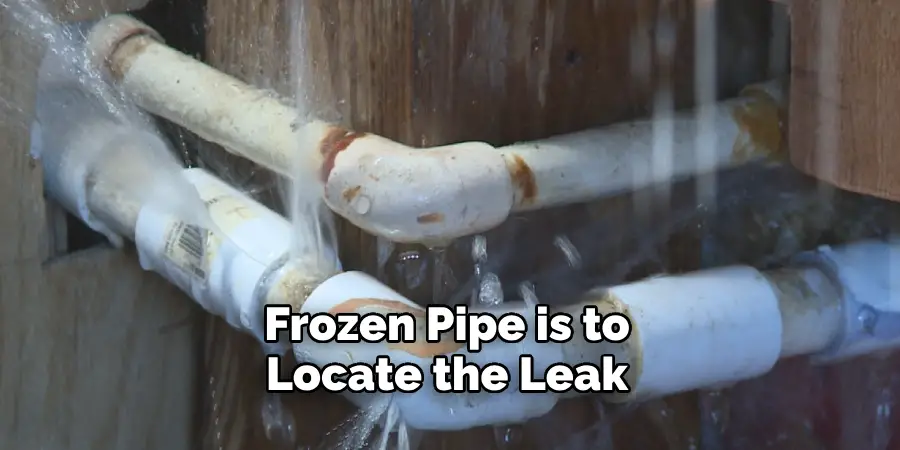
The first step in repairing a frozen pipe is to locate the leak. This can be done by shutting off the water supply to the house and then inspecting each pipe for signs of leaking or damage. Once the leak is located, it is important to determine whether the pipe needs to be replaced or if it can be repaired.
2. Shut Off Water Supply
Once the leak has been located, it is important to shut off the water supply to the house. This will prevent any further damage from occurring and will also make it easier to repair the pipe without having water running through it. It is important to remember that this should only be done if there is no risk of flooding or other damage occurring as a result of shutting off the water supply.
3. Insulate Pipes
Once the water supply has been shut off, it is important to insulate any exposed pipes with foam insulation or other materials that can help keep heat in and cold out. This will help prevent further freezing and will make it easier for repairs to be made once they are needed.
4. Heat Pipe
Once all exposed pipes have been insulated, it may be necessary to heat up the frozen pipe in order to thaw it out before attempting any repairs. This can be done by using a hair dryer or heat gun on low settings, but care must be taken not to overheat the pipe as this could cause further damage.
5. Use Hot Water Bottle
Another method for thawing out a frozen pipe is by using a hot water bottle filled with warm water and wrapping it around the affected area of the pipe for several minutes at a time until it starts to thaw out completely. This method should only be used if there are no open flames nearby, as this could cause an explosion if there are flammable vapors present in the area.
6. Apply Heat Tape
Heat tape can also be used on pipes that are prone to freezing in order to provide extra insulation and warmth during colder months of winter when temperatures drop significantly below freezing levels for extended periods of time.
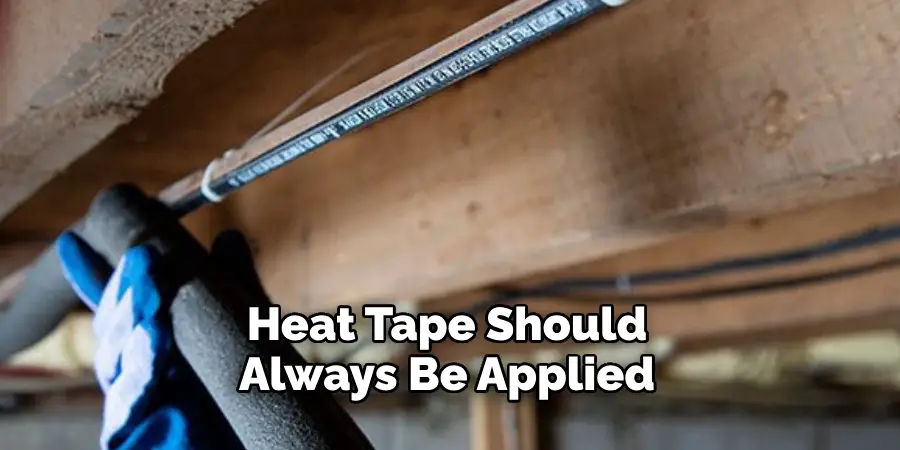
Heat tape should always be applied according to the manufacturer’s instructions and monitored closely while in use in order to avoid overheating or causing further damage due to excessive heat exposure on certain areas of a pipe system.
7. Use Pipe Sleeves
Pipe sleeves are another option for providing extra insulation against freezing temperatures and can easily fit over existing piping systems without much effort involved in the installation process. These sleeves come pre-insulated with foam material that helps keep warmth inside while preventing cold air from entering into pipes, thus helping reduce the chances of them getting frozen during winter months.
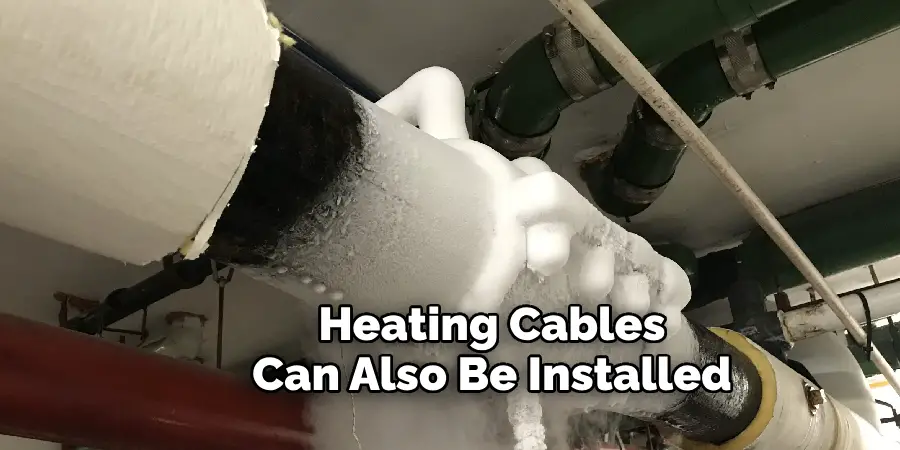
8. Install Heating Cable

Heating cables can also be installed along vulnerable sections of piping systems where freezing temperatures may become an issue during winter months. These cables provide continuous heating along the length of pipes, keeping them at optimal temperature levels even during extreme cold weather conditions, thus reducing the chances of them getting damaged due to freezing.
9. Use Chemical Solutions
Chemical solutions such as antifreeze products can also be used on vulnerable sections of piping systems where temperatures drop below freezing levels often during winter months. These solutions provide extra protection against freeze-thaw cycles and help keep pipes from becoming damaged due to their expansion when filled with liquid form antifreeze products, thus helping reduce chances of costly repairs later down the road.
10. Repair Damaged Pipes
Once all preventive measures have been taken, any damages caused by previous freeze-thaw cycles should then be repaired properly before restoring full functionality back into the piping system.
Depending on the severity level, this may involve replacing entire section(s) with new ones or simply patching up small holes/leaks found along the length of pipes using appropriate materials such as epoxy putty, rubber sealants, etc.
Things to Consider When Freezing a Pipe for Repair
Freezing a pipe essentially creates an ice plug that prevents water from flowing through. This allows for repairs or replacements to be made without having to shut off the main water supply. It’s important to note that this method should only be used on metal pipes, as plastic pipes may crack under extreme temperatures.
Here are some things that should be considered when freezing a pipe for repair:
- Type of pipe: As mentioned, only metal pipes should be frozen for repairs. This includes copper, steel, and iron pipes. Plastic or PVC pipes should not be frozen as they can easily crack.
- Location of the damage: Freezing a pipe is most effective when the damaged area is easily accessible and has enough space to accommodate the freeze kit.
- Water pressure: The water pressure in the damaged section of the pipe should ideally be at a low or moderate level. If there is high water pressure, it may cause issues with freezing the pipe.
- Temperature conditions: Freezing a pipe works best in colder temperatures (below 0 degrees Celsius). If the temperature is too warm, it may take longer for the ice plug to form and could affect the effectiveness of the repair.
- Size of the pipe: Smaller pipes are easier to freeze compared to larger pipes. If a larger pipe needs to be repaired, multiple freeze kits may be required.
- Time constraints: Freezing a pipe typically takes around 30 minutes, but this can vary depending on factors such as temperature and water pressure. It’s important to consider any time constraints before starting the process.
Conclusion
In conclusion, learning how to freeze a pipe for repair is an invaluable skill that can save you both time and money in the long run. Whether it’s a frozen waterpipe or an interfering furnace flue, these simple steps can help address the problem quickly and efficiently.
Frozen pipes are a common issue in wintertime and having the necessary skills to tackle the issue head-on can make all the difference. It might seem intimidating at first, considering its complexity; however, by understanding each step – from locating the exact area of concern to bringing out the right tools for the job – you will be well-prepared and capable of handling any situation it may bring.
By following this guide on how to freeze a pipe correctly for repair, you’ll have your and your pipes back into normal condition again in no time!

