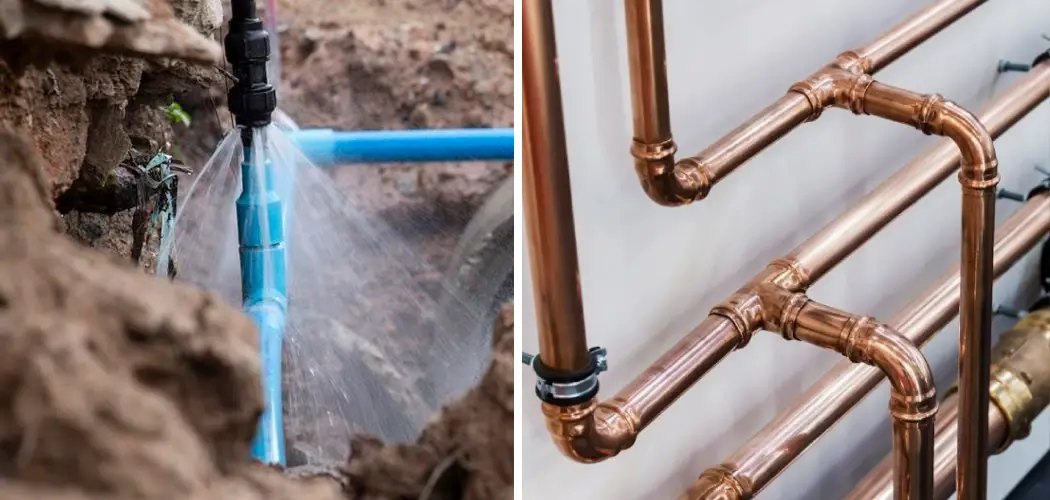
There are a few reasons why knowing to get air out of the water lines is important. First and foremost, having air in your water lines can cause disruptions in your water flow, leading to low pressure or even no water at all. This can be frustrating and inconvenient, especially if you rely on a reliable water supply for everyday tasks like cooking, bathing, and cleaning.
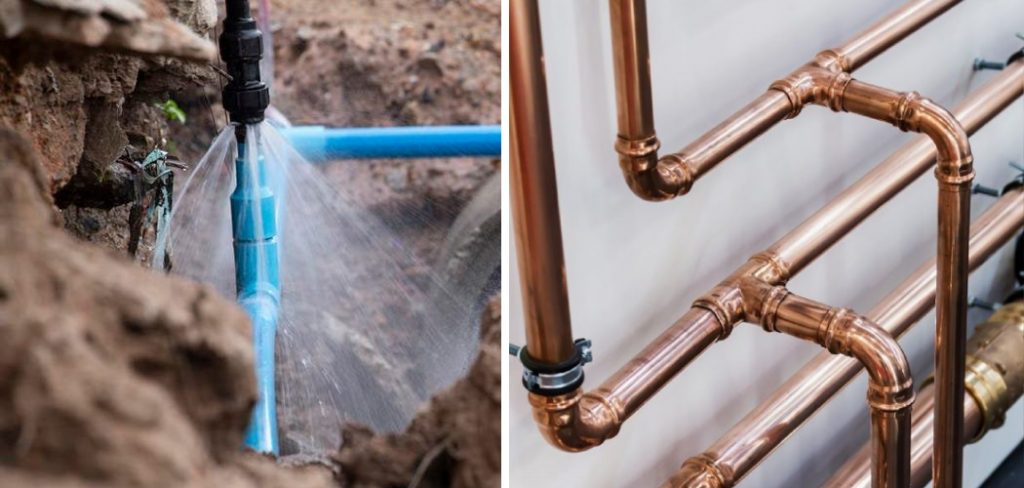
The main advantage of getting air out of the water lines is being able to maintain a consistent and reliable water supply. This can save you time, effort, and potentially even money as you won’t have to constantly call a plumber or deal with low water pressure. You can find step-by-step instructions on how to get air out of the water lines in this blog article.
Step by Step Processes for How to Get Air Out of the Water Lines
Step 1: Inspect Your Plumbing System
Before you start trying to get air out of the water lines, it’s important to first check for any visible signs of leaks or damage in your plumbing system. This could be a possible cause of air getting into the lines.
Step 2: Turn Off the Main Water Supply
Before you begin any work on your water lines, make sure to turn off the main water supply to prevent any accidents or further damage. Next, you’ll need to identify which faucets in your home are experiencing low pressure or no water at all. This will help you determine where the issue is originating from.
Step 3: Open All Water Fixtures
Once you’ve identified the affected faucets, open them all fully. This will help to release any trapped air in the lines. If you have a two-story home or multiple bathrooms, it’s important to locate the closest fixture to your main water supply. This is usually the faucet or showerhead that has the highest pressure.
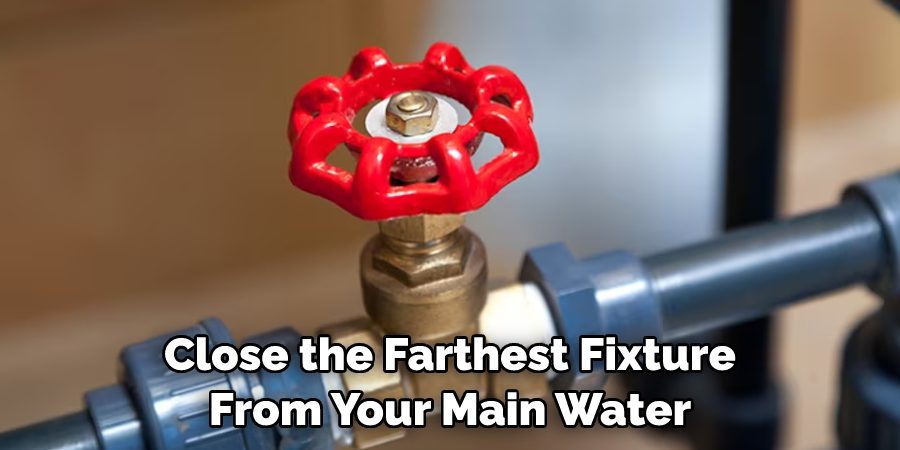
Step 4: Close the Farthest Fixture from the Main Water Supply
Next, close the farthest fixture from your main water supply. This will help to create pressure in the lines and push out any trapped air. Go through each faucet or showerhead in your home, closing the farthest one and opening the closest one until you’ve gone through all of them.
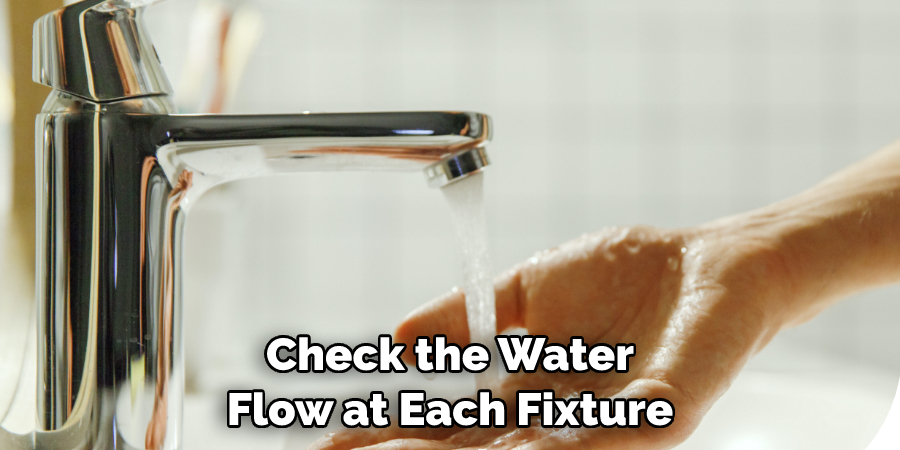
Step 5: Check the Water Flow
After going through each fixture, check the water flow to see if it has improved. If not, continue to the next step. If you have a basement or access to your main water supply, locate and close any pressure relief valves. This will help to create pressure in the lines and push out any trapped air.
Step 6: Open All Fixtures
Once you’ve closed the pressure relief valves, go through each fixture again and open them fully to release any remaining trapped air. After completing all of these steps, check the water flow at each fixture to see if the issue has been resolved.
Step 7: Turn On Main Water Supply
If everything seems to be working properly, you can turn on your main water supply again and continue using your water as normal.
By following these steps, you should now have successfully learned to get air out of the water lines in your home. Remember to always turn off the main water supply before attempting any work on your plumbing system and if you encounter any major issues, don’t hesitate to call a professional plumber for assistance.
Precautions for How to Get Air Out of the Water Lines
- Before attempting to get air out of water lines, make sure to turn off the main water supply. This will prevent any accidental leaks or damages while working on the pipes.
- It is important to wear protective gear such as gloves and safety glasses when dealing with plumbing systems. This will protect your hands and eyes from any potential hazards.
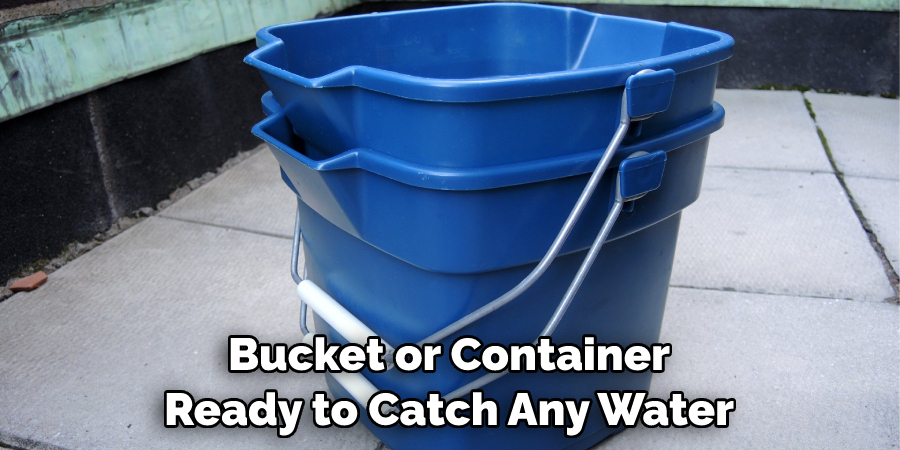
- Have a bucket or container ready to catch any water that may come out once you start releasing the air from the pipes. This will prevent any mess or water damage in your home.
- If possible, have a helper with you while getting air out of water lines. They can assist with holding buckets or turning on and off the main water supply if needed.
- Always start with the lowest faucet in your home, typically the basement or ground floor, and work your way up to the highest faucets. This will help release any trapped air from the pipes in a more efficient manner.
- Use caution when opening and closing valves and faucets as they may be stiff or difficult to turn due to air pockets. If you encounter any resistance, stop and try turning the valve or faucet in the opposite direction before attempting again.
- Once all of the air has been released from the pipes, turn on the main water supply and let it run for a few minutes to clear out any remaining air. Check all faucets and fixtures in your home to ensure that there is no more trapped air in the lines.
It is important to follow these precautions when getting air out of water lines. This will not only ensure your own safety, but also prevent any potential damages to your plumbing system.
What Causes Air to Get Trapped in Water Lines?
Air can often get trapped in water lines due to a variety of reasons. The most common cause is when there is a sudden change in water pressure, such as when the main water supply is turned off and then turned back on. This change in pressure creates air pockets within the pipes, which can then become trapped and cause disruptions in the water flow.
Another possible cause of air getting trapped in water lines is when there are leaks or cracks in the pipes. These openings can allow air to enter into the system and become trapped, which can then lead to reduced water pressure and other issues.
Additionally, improper installation of pipes or plumbing fixtures can also contribute to air getting stuck in water lines. This is especially common in new construction or during renovations where old pipes are being replaced or new ones are being installed. If the pipes are not properly sealed, air can easily enter and get trapped.
Are There Any Potential Risks Involved in Trying to Remove Air From Water Lines on Your Own?
Getting air out of the water lines can be a frustrating and time-consuming process, especially if you are not familiar with the methods used to do so. Whether you have recently installed new plumbing or have noticed that your water pressure has decreased.
It is important to know how to properly remove air from your water lines. In this section, we will discuss some common methods used to get air out of the water lines and any potential risks involved in trying to remove air on your own.
One of the most common methods used to get air out of the water lines is known as “bleeding” or “flushing” the system. This involves turning off the main water supply and opening all faucets, starting from the highest point in your house and working your way down. This will allow any trapped air to escape as the water flows through the pipes.
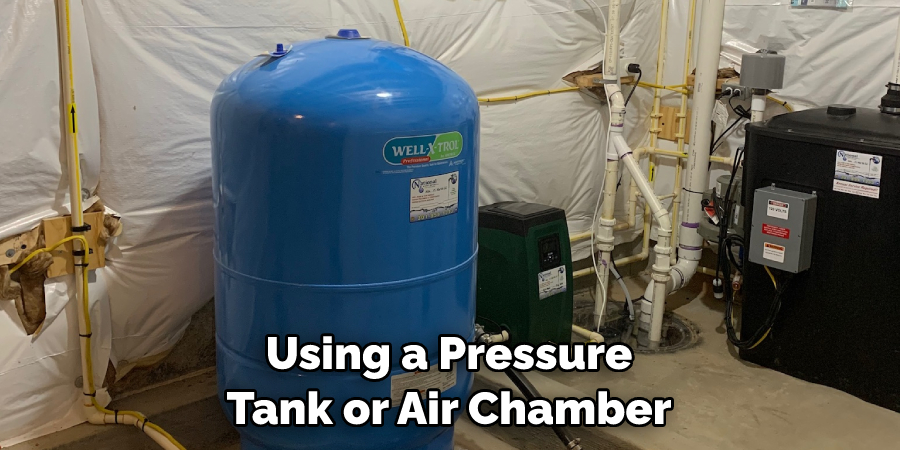
Another method is using a “pressure tank” or “air chamber.” These devices are installed in the plumbing system and help to regulate the pressure by separating air from water. If you suspect that air is causing issues with your water pressure, it may be worth considering installing one of these devices.
How Can You Prevent Air From Getting Into Your Water Lines in the First Place?
Air getting into your water lines can be a frustrating and inconvenient problem. This usually happens when there is an interruption in your water supply, such as shutting off the main valve or a pipe burst. When this happens, air can enter your pipes and cause disruptions in the flow of water. To prevent this from happening, here are some tips to keep air out of your water lines:
1. Regularly Check Your Plumbing System
It is important to regularly check for any leaks or damages in your plumbing system that may allow air to enter. Look out for any visible cracks, holes or loose connections and fix them immediately.
2. Properly Close Valves After Use
If you have shut off the water valve for any reason, make sure to properly close it once you turn the water supply back on. This will prevent air from entering the pipes and causing disruptions in your water flow.
3. Install Air Release Valves
Installing air release valves in your plumbing system can also help prevent air from getting into your water lines. These valves automatically release accumulated air, keeping your pipes free of any excess air.
4. Flush Your System
If you suspect that there is air in your water lines, you can try flushing your system by turning on all the faucets in your house and letting the water run for a few minutes. This will help push out any trapped air and restore normal water flow.
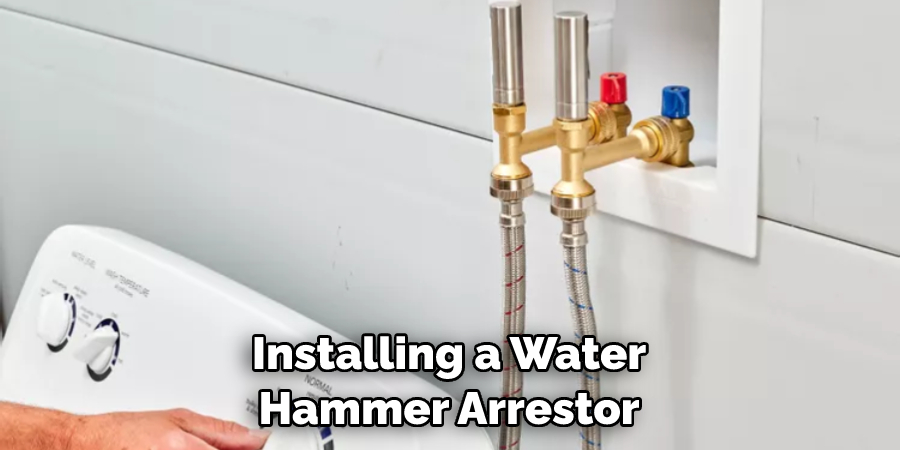
5. Consider Installing a Water Hammer Arrestor
Water hammer, which is caused by high pressure in the pipes, can also lead to air getting into your water lines. Installing a water hammer arrestor can help regulate the pressure and prevent air from being sucked in.
Remember, prevention is always better than cure when it comes to air in your water lines. Regular maintenance and proper usage of your plumbing system can go a long way in preventing this issue.
Conclusion
In conclusion, knowing to get air out of the water lines is a crucial skill for any homeowner or renter to have. It can save you time, money, and frustration in the long run. By properly bleeding your water lines, you can prevent potential damage to your plumbing system and ensure that your water is flowing smoothly.
Remember to always start by identifying the source of the issue before attempting to fix it. This will help you troubleshoot and address any underlying problems that may be causing air to build up in your water lines. I hope this article has been beneficial for learning how to get air out of the water lines. Make Sure the precautionary measures are followed chronologically.

