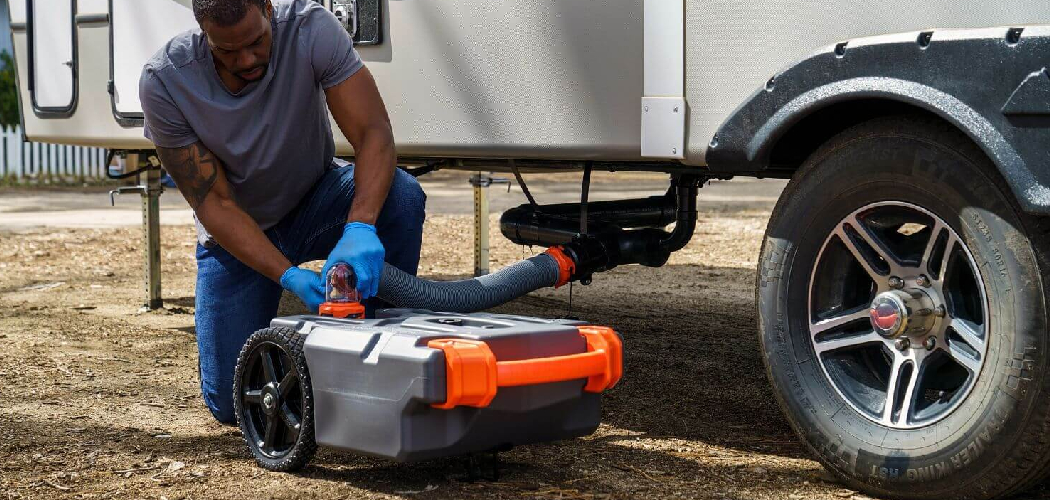
Are you an RV owner and tired of getting dried poop out of your tank? This is a common problem that many RV owners face, but luckily, there are some easy solutions to this pesky issue.
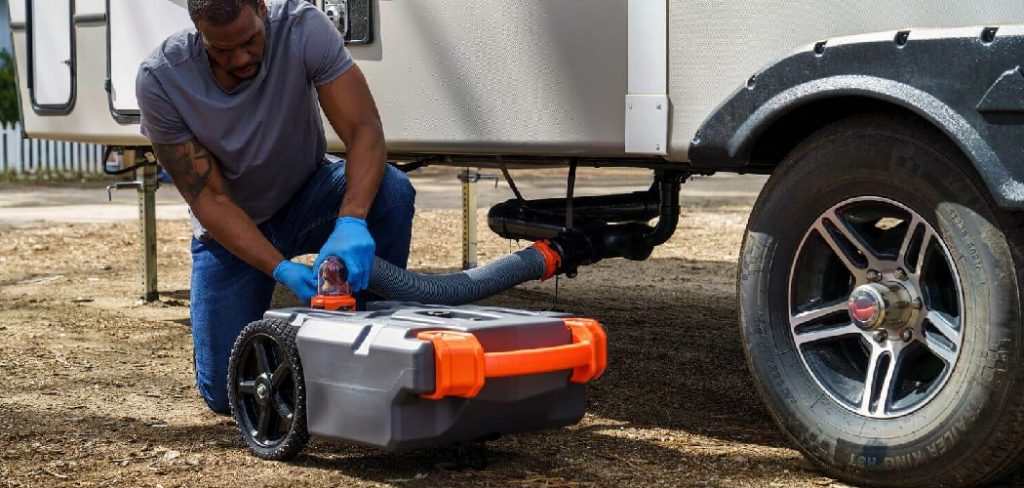
Dealing with dried poop in your RV tank can be an unpleasant and daunting task, but it’s a necessary part of RV maintenance that shouldn’t be overlooked. Over time, waste in the holding tank can harden and accumulate, leading to clogs and unpleasant odors.
In this guide, we will explore various effective methods of how to get dried poop out of RV tank, ensuring that your system functions properly and remains hygienic. Whether you’re a seasoned RVer or a newcomer, understanding how to tackle this issue can save you time, money, and hassle on your travels.
What Will You Need?
Before we dive into the methods, let’s first discuss the necessary tools and materials to clean your RV tank properly. These include:
- A good pair of gloves
- Protective eyewear
- A sewer hose or pipe cleaner
- A garden hose with a spray nozzle attachment
- Tank cleaning solution (optional)
Once you have gathered these materials, you are ready to begin cleaning.
10 Easy Steps on How to Get Dried Poop Out of RV Tank
Step 1. Prepare Your RV
Before you begin the cleaning process, preparing your RV correctly is crucial to ensure safety and efficiency. Start by parking your RV on a flat, level surface and securing the area around which your tank is accessible. It’s advisable to wear your gloves and protective eyewear at this stage to guard against any unwanted splashes or exposure to hazardous materials.
Additionally, ensure that the tank is only a little full before you begin, as this can create challenges when clearing away dried waste. It might be helpful to have a bucket or a suitable container nearby for collecting any residues that may dislodge during the process. This preparation will help mitigate mess and ensure that you are ready for the subsequent steps in safely clearing out your RV tank.
Step 2. Flush the Tank
Once your RV is prepared, the next step is to flush the holding tank. If available, connect the garden hose to your RV’s flush inlet, or use the sewer hose to drain any liquid waste. Turn on the water and allow it to flow into the tank for several minutes. This process helps to loosen any hardened waste, making the following cleaning steps more effective.
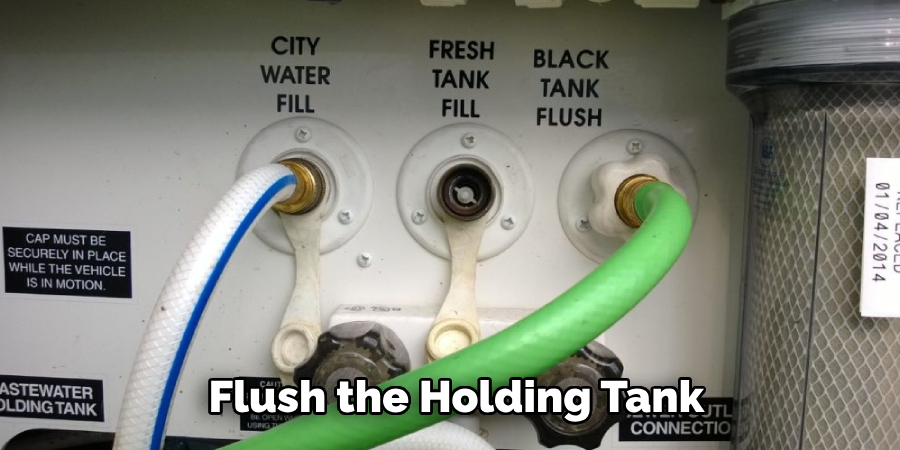
Be sure to monitor the tank levels and drain any water and waste that accumulates during this process. If you notice that the tank is still clogged or resistant, you may need to repeat this flushing step until it flows freely.
Step 3. Use a Pipe Cleaner or Sewer Hose
After flushing the tank, it’s time to tackle the dried poop more directly. Take your sewer hose or pipe cleaner and insert it into the tank through the flush inlet or the drain opening. Gently push and twist the hose or cleaner to break up any remaining solid waste. Be cautious not to damage the tank’s interior. This process can help dislodge stubborn clumps that have not loosened during the flushing stage.
Step 4. Apply Tank Cleaning Solution
If there is still residual waste or stubborn build-up, it’s time to use a tank cleaning solution. Pour the recommended amount of the cleaning solution into the tank through the drain opening or flush inlet. Make sure to follow the manufacturer’s instructions regarding the correct dilution ratio, as some products can be pretty potent.
Allow the solution to sit in the tank for at least 30 minutes to an hour, depending on the product instructions. This will help break down any remaining solids and eliminate odors. During this time, it’s advisable to gently shake the RV to allow the solution to circulate inside the tank.
Step 5. Rinse the Tank
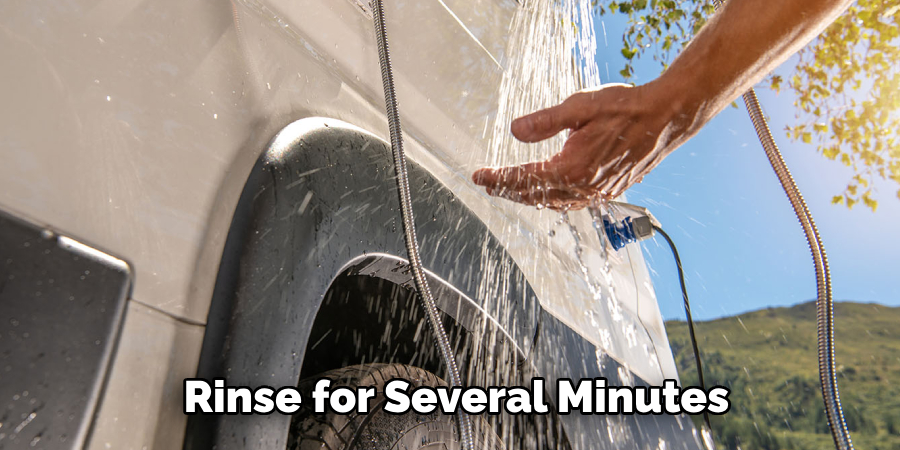
After allowing the tank cleaning solution to sit, it’s time to rinse the tank thoroughly. Reconnect the garden hose to the flush inlet or drain opening, ensuring the connection is secure. Turn on the water and allow it to flow into the tank. Rinse for several minutes, filling and draining the tank multiple times to remove all remnants of the cleaning solution and dislodged waste. This step is crucial for preventing any leftover odors and maintaining a clean environment within your RV’s system.
Step 6. Inspect the Tank
Once you’ve rinsed the tank thoroughly, it’s essential to inspect the interior for any remaining debris or damage. Use a flashlight to look inside the tank through the drain opening, checking for waste clumps or signs of wear. If you notice any stubborn residues, you may need to repeat the previous steps, particularly applying the cleaning solution, to ensure everything is cleared out. Additionally, take this time to inspect any seals or fittings for wear that may require replacement. A thorough inspection helps to ensure your tank is in good condition and ready for use on your travels.
Step 7. Add Fresh Water and Antifreeze
After cleaning and inspecting the tank, adding some fresh water back into the tank is a good idea to keep the seals moist and avoid any potential drying out during storage. Pour a few gallons of clean water into the tank and, if applicable, add a tank antifreeze solution to protect it from freezing in colder climates. This step prepares your RV for its next adventure and helps maintain a healthy environment in your holding tank.
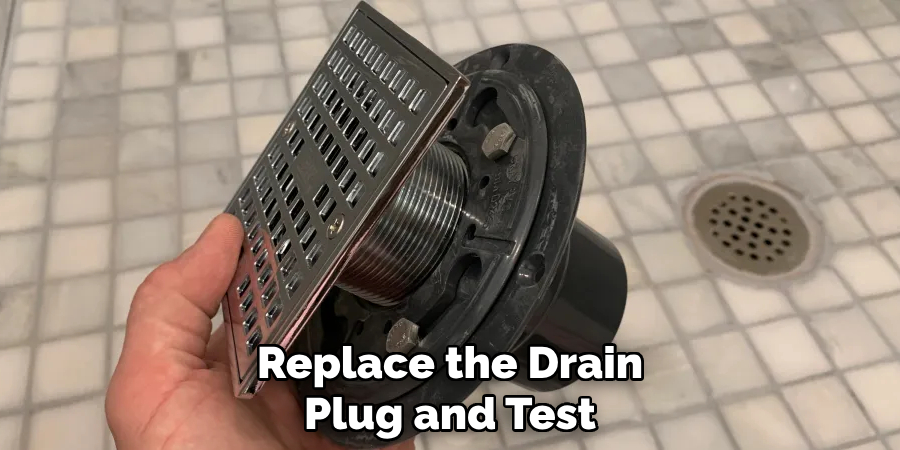
Step 8. Replace the Drain Plug and Test
Once you have added fresh water and any necessary antifreeze, the next step is to replace the drain plug securely. Ensure it’s tightly sealed to prevent leaks that could cause unpleasant odors or messes. After replacing the plug, it’s essential to test the system to confirm everything is functioning as expected. Turn on the RV’s water system and check for any signs of leaks around the tank’s fittings and connections.
Additionally, if your RV is equipped with a sensor system for the holding tank, observe the readings to ensure they accurately reflect the tank’s waste level. This testing phase is crucial for ensuring your RV is ready for your next trip, as it helps identify any potential issues before you hit the road. Regular checks and maintenance will prolong the life of your RV’s holding tank and enhance your overall travel experience by ensuring a clean and efficient system.
Step 9. Maintain a Cleaning Schedule
Establishing a regular cleaning schedule for your RV’s holding tank is vital for ensuring long-term health and efficiency. Depending on your usage frequency, consider creating a cleaning routine that fits into your travel plans.
For those frequently using their RV, a monthly cleaning may be necessary to prevent build-up and odors. In contrast, occasional users might find it sufficient to clean the tank after every several trips. Keep a log or checklist in your RV to record cleaning dates and tasks completed, which will help you stay on track.
Additionally, integrating preventative measures can significantly enhance your cleaning routine. Using enzyme-based cleaners after each use can help break down waste more effectively and mitigate foul smells.
Always check the tank’s levels before and after trips, and be mindful of the signs indicating that cleaning is due, such as unpleasant odors or slow drainage. By being proactive and consistent with your maintenance, you’ll ensure a more pleasant RV experience and prolong the life of your holding tank system.
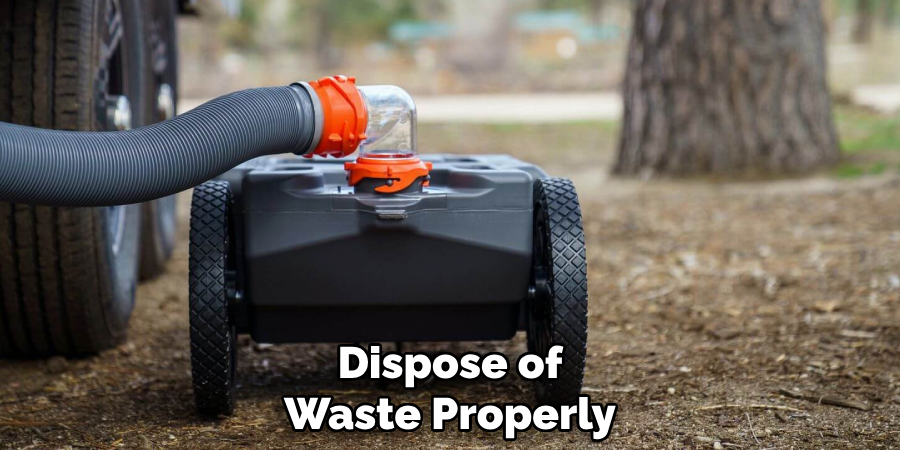
Step 10. Dispose of Waste Properly
Disposing of waste from your RV’s holding tank requires attention to local regulations and environmental considerations. It’s crucial to locate designated dumping stations that are designed for RV waste, as these facilities ensure safe and environmentally friendly disposal.
Most public campgrounds, rest areas, and RV parks feature dumping stations, but it’s wise to plan ahead to avoid any issues during your travels.
When you arrive at the dumping station, carefully position your RV to ensure easy access to the waste outlet. Always wear protective gloves and use a hose designated explicitly for waste disposal to prevent cross-contamination. Remove the drain plug or cap from the holding tank, allowing the waste to flow into the designated sewer inlet. It’s essential to do this slowly and steadily to avoid splashing or creating a mess.
After emptying the tank, flush it with clean water to help clear any residual waste that may cling to the sides, ensuring that your tank remains clean for future use.
By following these steps and taking preventive measures, you can keep your RV’s holding tank clean and functioning efficiently.
Conclusion
In conclusion, how to get dried poop out of RV tank requires a blend of the proper techniques and regular maintenance practices.
Start by using a high-quality cleaning solution designed to break down stubborn waste and ensure that the tank is rinsed thoroughly to eliminate any remnants. Regular inspections and a proactive cleaning schedule will keep your tank in optimal condition, preventing the build-up of waste and unpleasant odors. Always remember to dispose of waste properly at designated dumping stations and maintain a clear record of your cleaning activities to ensure you stay ahead of potential issues.
Following these guidelines ensures a clean, efficient, and hassle-free experience with your RV’s holding tank, allowing you to focus on enjoying your travels.

