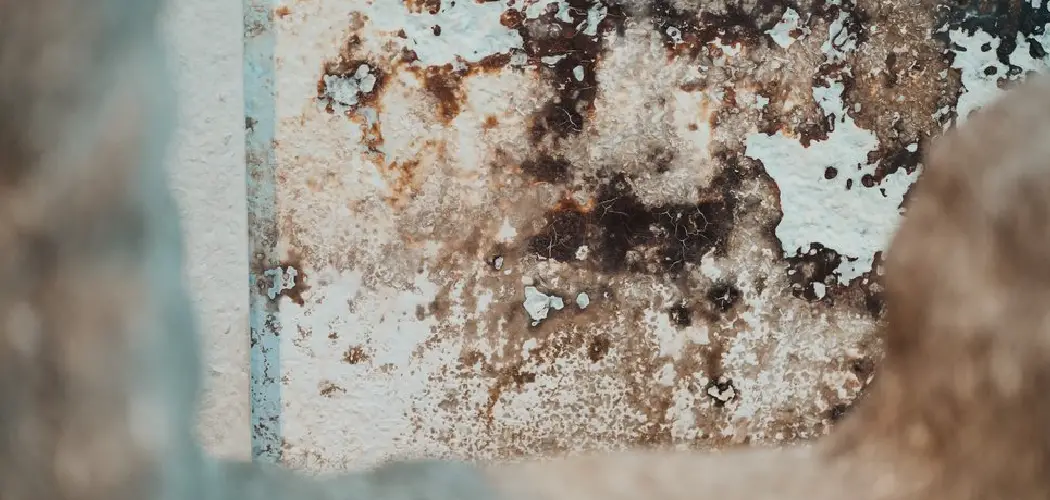
Getting rid of mold in shower silicone is a crucial task for maintaining a clean and healthy bathroom environment. Mold thrives in the damp, warm conditions of a shower, often embedding itself in the silicone sealant used around tiles, fixtures, and the shower enclosure. Not only is mold unsightly, but it can also pose health risks, such as respiratory issues and allergic reactions.
Tackling mold effectively requires a combination of thorough cleaning, the right cleaning agents, and preventive measures to inhibit future growth. Common household solutions, such as a mixture of bleach and water, can be highly effective, while specialized commercial mold removers offer potent alternatives for stubborn infestations.
This guide will walk you through the necessary steps of how to get rid of mould in shower silicone, ensuring your bathroom remains a hygienic and mold-free space. From preparation and application to cleaning techniques and preventive tips, you’ll learn how to reclaim the cleanliness and safety of your shower area.
Understanding Mold Growth in Shower Silicone
Mold growth in shower silicone is primarily driven by the constant exposure to moisture, warmth, and organic matter—conditions that are prevalent in most bathroom environments. Silicone, though designed to be water-resistant, can accumulate soap scum, body oils, and other organic residues that serve as nutrients for mold spores. These spores are omnipresent in the air and can quickly colonize the silicone once they find a hospitable environment.
Poor ventilation exacerbates the problem by prolonging the drying time of these surfaces, thus giving mold the perpetual dampness it requires to flourish. Furthermore, any cracks or gaps in the silicone sealant can trap moisture, creating micro-environments ideal for mold proliferation. Understanding these factors is crucial in effectively targeting and preventing mold growth in your shower silicone.
Safety Precautions
When dealing with mold removal, particularly in a confined space such as a bathroom, it is essential to take proper safety precautions to protect your health. Mold spores can become airborne during the cleaning process and pose respiratory risks, so wearing appropriate protective gear is paramount. Always wear rubber gloves to protect your hands from both mold and the cleaning agents, which can be harsh on the skin. A long-sleeve shirt and long pants will minimize skin exposure. To protect your lungs, use a mask or respirator designed to filter out mold spores and chemical fumes. Additionally, safety goggles will shield your eyes from any splashes of cleaning solutions.

Ensure the bathroom is well-ventilated by opening windows and running an exhaust fan to help disperse any fumes and reduce the concentration of mold spores in the air. If your bathroom lacks sufficient ventilation, consider employing a portable fan to circulate the air. Be cautious when using chemical cleaners, and always follow the manufacturer’s instructions for safe use.
10 Methods How to Get Rid of Mould in Shower Silicone
1. Using White Vinegar
White vinegar is a natural and effective mould remover due to its acidic properties. To begin, pour white vinegar into a spray bottle without diluting it. Spray the vinegar generously onto the mouldy silicone, ensuring all affected areas are thoroughly covered. Allow the vinegar to sit for at least one hour to penetrate and kill the mould spores. After the waiting period, scrub the silicone with a soft brush or an old toothbrush to remove the loosened mould. Rinse the area with warm water and dry it with a clean cloth. Regular application of vinegar can help prevent mould from returning.
2. Applying Baking Soda Paste
Baking soda is a gentle abrasive that can help remove mould without damaging the silicone. To make a cleaning paste, mix baking soda with enough water to form a thick consistency. Apply the paste to the mouldy areas using a cloth or a brush, ensuring it covers all affected spots. Let the paste sit for about 15-20 minutes. Scrub the silicone with a brush to remove the mould, then rinse with warm water. Baking soda is safe to use regularly and can be an excellent preventive measure when applied periodically.
3. Using Hydrogen Peroxide
Hydrogen peroxide is a powerful disinfectant that can effectively kill mould spores. Fill a spray bottle with 3% hydrogen peroxide and spray it directly onto the mouldy silicone. Let it sit for at least 10 minutes to allow the peroxide to break down the mould. After the waiting period, scrub the silicone with a brush to remove the mould. Rinse thoroughly with warm water and dry the area. Hydrogen peroxide not only removes mould but also helps to bleach and brighten the silicone, restoring its original appearance.
4. Applying Bleach Solution
Bleach is a potent mould killer and can be highly effective on stubborn mould stains. Mix one part bleach with ten parts water in a spray bottle. Spray the solution onto the mouldy silicone, ensuring complete coverage. Let it sit for about 15-20 minutes to allow the bleach to kill the mould spores. Scrub the silicone with a brush, then rinse thoroughly with warm water.
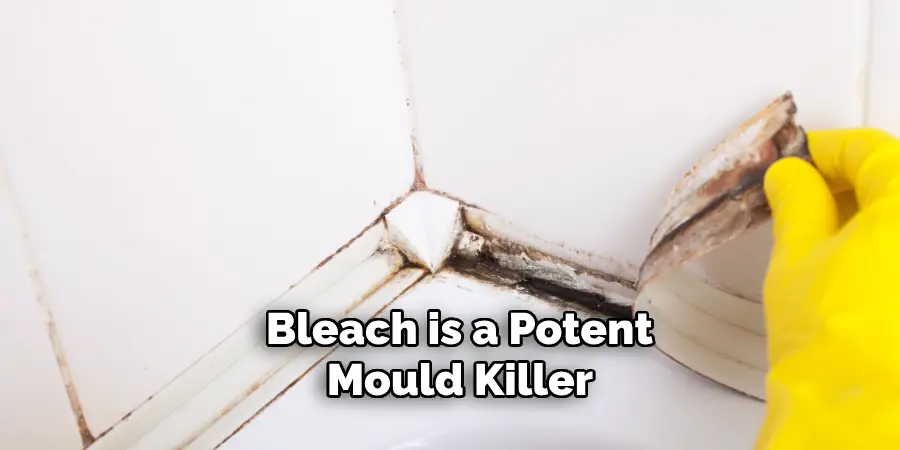
Be sure to wear gloves and ensure proper ventilation when using bleach to protect your skin and lungs from its harsh fumes.
5. Using Tea Tree Oil
Tea tree oil is a natural antifungal agent that can effectively remove mould. Mix one teaspoon of tea tree oil with one cup of water in a spray bottle. Shake well to combine. Spray the solution onto the mouldy silicone, covering all affected areas. Let it sit for at least 10 minutes. Scrub the silicone with a brush to remove the mould, then rinse with warm water. Tea tree oil has a strong scent, but it dissipates quickly and leaves a fresh, clean aroma. Regular application can help prevent mould from recurring.
6. Applying a Commercial Mould Remover
Commercial mould removers are specifically formulated to tackle mould and mildew. Choose a product designed for use on silicone and follow the manufacturer’s instructions carefully. Typically, this involves spraying the cleaner onto the mouldy areas and letting it sit for a specified amount of time. Scrub the silicone with a brush, then rinse thoroughly with warm water. Commercial products often contain powerful chemicals, so wear gloves and ensure good ventilation during use. These products can be particularly effective for severe or persistent mould infestations.
7. Using Lemon Juice
Lemon juice is a natural acid that can help break down mould and mildew. Squeeze fresh lemon juice or use bottled lemon juice and apply it directly to the mouldy silicone. Allow the juice to sit for at least 10 minutes to penetrate and loosen the mould. Scrub the silicone with a brush to remove the mould, then rinse with warm water. Lemon juice not only removes mould but also leaves a pleasant, fresh scent. This method is best suited for lighter mould stains and regular maintenance.

8. Making a Borax Solution
Borax is a powerful cleaner and disinfectant that can effectively remove mould. Mix one cup of borax with one gallon of water to create a cleaning solution. Apply the solution to the mouldy silicone using a cloth or a spray bottle. Let it sit for at least 15 minutes. Scrub the silicone with a brush to remove the mould, then rinse with warm water. Borax not only cleans but also helps to prevent mould from returning due to its antifungal properties. Regular application can help maintain a mould-free bathroom.
9. Using a Steam Cleaner
A steam cleaner can effectively remove mould without the need for harsh chemicals. Fill the steam cleaner with water and allow it to heat up according to the manufacturer’s instructions. Direct the steam nozzle at the mouldy silicone, moving it slowly to allow the steam to penetrate and kill the mould spores. Use a brush to scrub away the loosened mould. The high temperature of the steam disinfects the surface and helps break down the mould. Rinse the area with warm water and dry it with a clean cloth. This method is eco-friendly and safe for regular use.
10. Replacing the Silicone
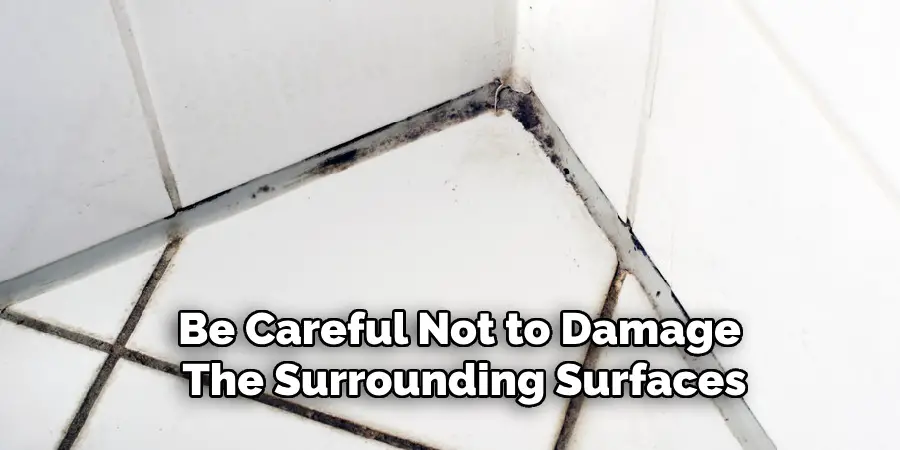
In cases of severe mould infestation where cleaning methods are ineffective, replacing the silicone may be necessary. Begin by cutting away the old silicone using a utility knife or a silicone remover tool. Be careful not to damage the surrounding surfaces. Once the old silicone is removed, clean the area thoroughly with a mould-killing solution to eliminate any remaining spores.
Allow the area to dry completely before applying new silicone. Use a high-quality, mould-resistant silicone sealant to reseal the joints. Smooth the silicone with a finishing tool or a wet finger for a neat finish. Allow the new silicone to cure according to the manufacturer’s instructions before using the shower.
Conclusion
Removing mould from shower silicone requires a combination of effective cleaning methods and preventive measures. Each method described above offers a detailed approach to tackling mould, ensuring your bathroom remains clean and hygienic. From natural solutions like white vinegar and tea tree oil to more intensive methods such as steam cleaning and silicone replacement, these comprehensive guidelines provide a robust toolkit for managing mould in your shower.
By following these steps, you can enjoy a mould-free shower environment and maintain the integrity of your silicone seals. Thanks for reading our blog post on how to get rid of mould in shower silicone! We hope you found it helpful and informative.

