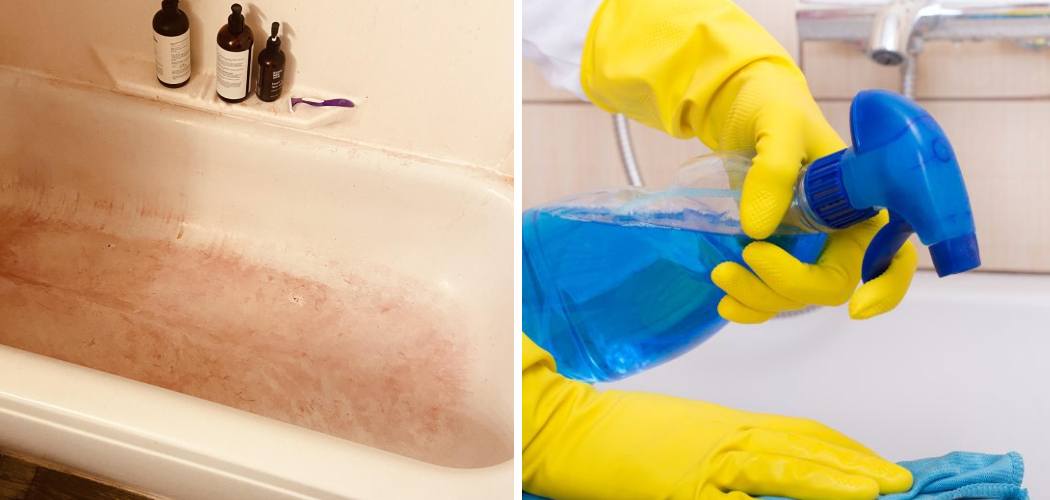
Rit dye is a popular fabric dye known for its vibrant colors, but it can become frustrating when it stains your bathtub. The porous surfaces of materials like acrylic, porcelain, and fiberglass often absorb the dye, leaving behind unsightly marks. Understanding why these stains occur is key—Rit dye’s pigmentation clings to imperfections on the tub’s surface, especially if left for prolonged periods.
This makes quick action crucial in preventing the stain from becoming permanent. Fresh stains are significantly easier to address than dried or set-in dye marks, which often require more intensive cleaning. The purpose of this article is to provide a clear and detailed guide on how to get Rit dye out of bathtub surfaces safely and effectively. With the right tools and methods, you can restore your tub’s cleanliness without causing damage to the material.
Precautions Before Cleaning
Before attempting to remove Rit dye stains, it’s essential to take proper precautions to ensure your safety and your bathtub’s protection.
Determine the Tub Material
The first step is identifying what material your tub is made of—acrylic, porcelain, or fiberglass. Each of these materials reacts differently to cleaning solutions, so selecting the right approach is critical to prevent scratching, discoloration, or other damage.
Test Cleaning Solutions in a Small Area
Never apply cleaning agents to the entire stained area without testing them first. Choose a small, inconspicuous spot on the tub to ensure the solution doesn’t harm the material before proceeding. This step can save you time and effort and prevent costly damage.
Wear Protective Gear
Some cleaning agents, especially those with strong chemicals, can irritate your skin. Protect your hands by wearing gloves, and consider using safety goggles if the cleaner is particularly harsh.
Ventilate the Bathroom
Many cleaning solutions emit strong fumes that can be hazardous if inhaled. Open windows, turn on exhaust fans, or prop the door open to ensure proper airflow during cleaning. Taking these precautions will help create a safe and effective cleaning environment.
How to Get Rit Dye out Of Bathtub: Using Baking Soda and Vinegar
Why It Works

Due to their chemical reaction, the combination of baking soda and vinegar is a tried-and-true cleaning method. When mixed, these ingredients create a fizzing reaction that helps to lift stubborn dye stains by breaking them down and loosening them from the surface. This natural approach is effective and safe for most tub materials.
Step 1: Make a Baking Soda Paste
Mix baking soda with a small amount of water to form a thick, spreadable paste. The consistency should be similar to toothpaste, allowing it to stick easily to the stained areas without sliding off. Adjust the amount of water as needed to achieve the right texture.
Step 2: Apply and Let Sit
Spread the baking soda paste generously over the stained area of the tub. Be sure to cover the stain completely. Allow the paste to sit for 15 to 30 minutes. This resting period gives the baking soda time to work on the dye particles, loosening their grip on the tub’s surface.
Step 3: Scrub and Rinse
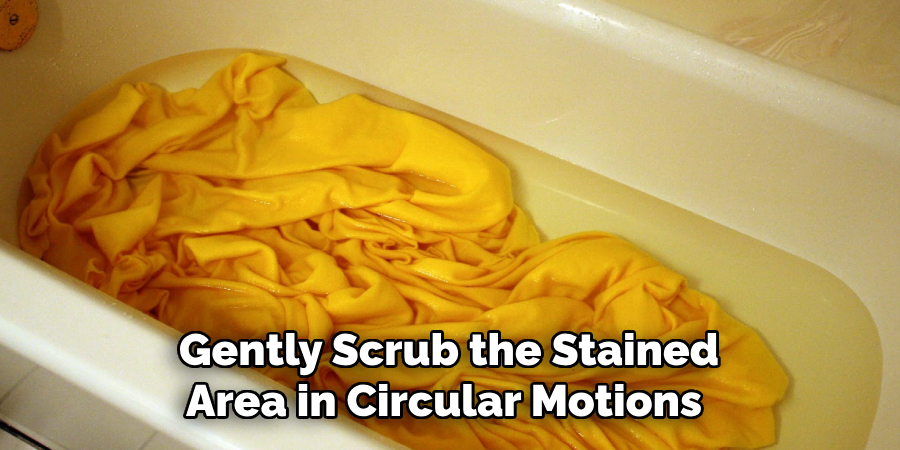
Using a non-abrasive sponge or brush, gently scrub the stained area in circular motions. Avoid using harsh scrubbing tools that could damage the surface of the tub. Once you’ve scrubbed thoroughly, rinse the area with warm water to remove the baking soda residue.
Step 4: Rinse with Vinegar and Warm Water
Pour vinegar over the stained area to create a final fizzing reaction, which further helps to break down and lift any remaining dye particles. Follow this with a thorough rinse using warm water, ensuring all remnants of the cleaning solution are washed away. Repeat the process if necessary for particularly stubborn stains.
Using Hydrogen Peroxide and Dish Soap
Why It Works
Hydrogen peroxide acts as a mild bleaching agent, effectively breaking down dye particles without being overly harsh on surfaces. Combined with dish soap, which cuts through grease and grime, it is a powerful cleaning solution to tackle tough stains.
Step 1: Mix the Cleaning Solution
Start by combining equal parts hydrogen peroxide and dish soap in a small bowl or container. Stir the mixture gently to create a homogenous solution. The dish soap helps enhance the peroxide’s effectiveness by loosening any residue around the stain.
Step 2: Apply to the Stained Area
Using a sponge or soft cloth, apply the cleaning solution generously to the stained area of the tub. Make sure the stain is completely covered. Allow the mixture to sit on the stain for 10 to 15 minutes. This resting time allows the hydrogen peroxide to penetrate and begin lifting the dye particles.
Step 3: Scrub Gently
Once the solution has had time to sit, take a soft brush and gently scrub the stained area using circular motions. Avoid excessive pressure, as scrubbing too hard can damage the tub’s surface. Focus on working the solution into all areas of the stain to break it down effectively.
Step 4: Rinse Thoroughly
After scrubbing, rinse the treated area thoroughly with warm water to remove all traces of the cleaning solution. Check to ensure the stain has been lifted. Repeat the process as needed for particularly stubborn stains until the area is clean.
Using a Magic Eraser for Stubborn Stains
If the previous method does not completely remove the stain, a Magic Eraser can effectively tackle more persistent discoloration. Its unique material, melamine foam, acts as an abrasive cleaner that can help break down dye particles stuck on the tub’s surface.
Why It Works
The melamine foam in a Magic Eraser works on a micro level, penetrating tiny grooves and imperfections in the surface to lift and remove stains. This makes it particularly suitable for dealing with tough stains that standard cleaning methods cannot fully eliminate.
Step 1: Wet the Magic Eraser
Before use, slightly dampen the Magic Eraser with water. Ensure it is not overly soaked, as a lightly dampened eraser provides the best cleaning performance.
Step 2: Scrub the Stained Area
With the Magic Eraser moistened, use firm, circular motions to scrub the stained area. Apply consistent, moderate pressure for efficient stain removal while carefully not damaging the tub’s surface.
Step 3: Rinse and Repeat If Necessary
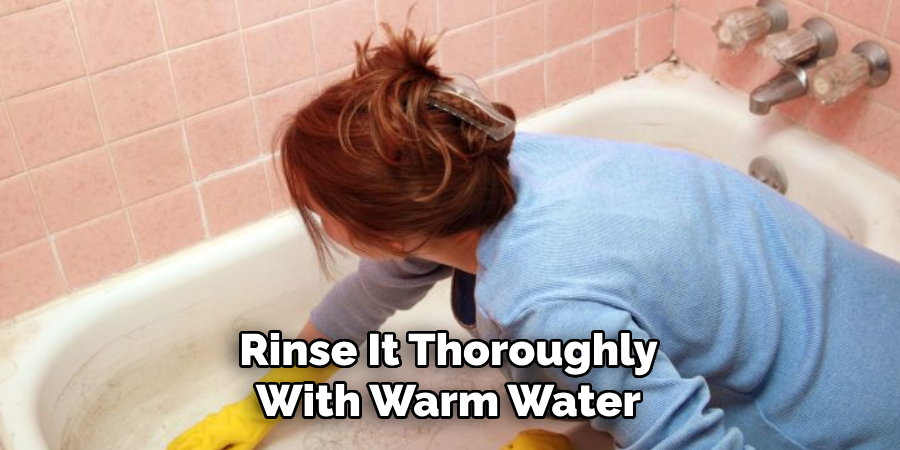
Once you have scrubbed the area, rinse it thoroughly with warm water to remove any residue. Assess the results and, if needed, repeat the process to eliminate deeper stains fully. Multiple passes may be required for older or more stubborn discoloration.
Preventing Future Rit Dye Stains
Use a Tub Liner or Plastic Sheet
One of the easiest ways to prevent future stains from Rit dye is by lining the tub with a protective barrier, such as a tub liner or a large plastic sheet. This layer acts as a shield, preventing the dye from directly contacting the tub’s surface. Not only does this save time during cleanup, but it also ensures the integrity of the tub’s finish over repeated dyeing sessions.
Clean the Tub Immediately After Use
After completing your fabric dyeing project, cleaning the tub promptly is essential. Start by rinsing it with hot water to remove as much of the dye residue as possible. Follow this with a thorough scrubbing using mild soap or a non-abrasive cleaner to eliminate any lingering stains before they set in. Acting quickly reduces the chances of permanent discoloration.
Use a Non-Staining Dye Alternative
Consider opting for non-staining or washable dye alternatives to minimize the risk of tough stains. Some dyes are specifically designed to rinse out more easily, making them ideal for use in shared household spaces like a bathtub. Researching less stain-prone products is a proactive way to keep your tub pristine while achieving vibrant fabric colors.
Conclusion
Removing Rit dye stains from your bathtub is manageable with household items like baking soda, vinegar, hydrogen peroxide, or bleach. Acting promptly is crucial to prevent permanent discoloration, and testing cleaning methods on a small area first ensures the safety of your tub’s surface. Understanding how to get Rit dye out of bathtub effectively empowers you to confidently handle stains. To avoid future staining, take preventative steps such as lining the tub or using non-staining dye alternatives. With these strategies, your tub can remain spotless, even after creative dyeing projects.

