Rubber hoses are indispensable across a range of industries, including plumbing, automotive, and more, thanks to their remarkable flexibility and resilience. These hoses serve various functions, from transporting liquids to managing air flow, demonstrating their versatility. However, a perpetual challenge faced by many is how to get rubber hose on fitting securely without incurring damage or leaks.
Achieving a reliable connection requires understanding the correct methods and preparations, as improperly attached hoses can lead to significant inefficiencies and potential damage. This guide aims to demystify this process by detailing essential tools, effective techniques, and troubleshooting strategies to ensure a tight, steadfast fit. By following these guidelines, you can easily attach a rubber hose to a fitting, ensuring optimal performance and safety in your applications.
Whether you’re a seasoned professional or a DIY enthusiast, this guide will be your go-to resource for mastering rubber hose installation.
Tools and Materials Needed
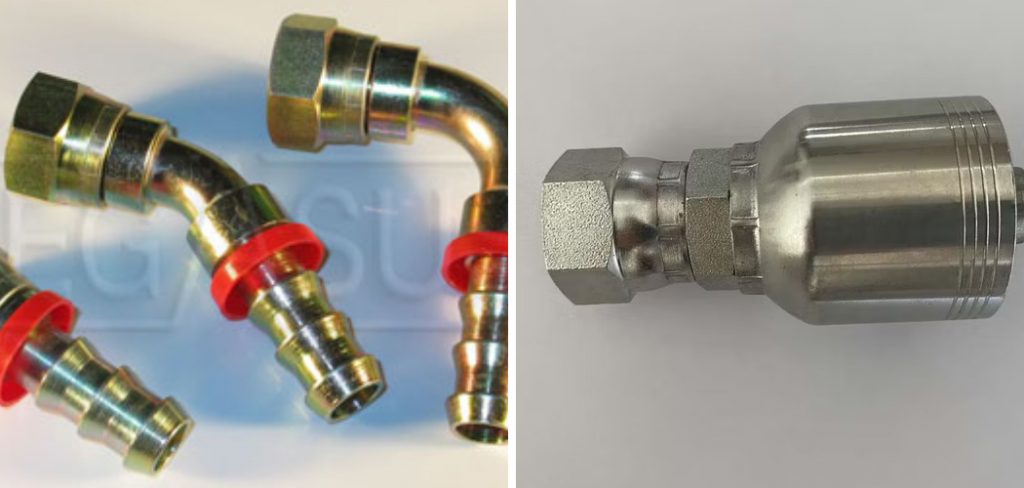
Gathering the right tools and materials is crucial to ensure a successful connection. The key component is the Rubber Hose, which must be the correct size for the fitting to prevent leaks and ensure stability. The right Fitting is equally important; it can be barbed, smooth, or threaded, depending on its intended application. Lubricant, such as water, soapy water, or silicone grease, is essential for reducing friction between the hose and fitting, facilitating a smoother installation process.
Hose Clamps are necessary to secure the hose once fitted, ensuring it stays in place under pressure. Using a Heat Gun or Hot Water can help soften the rubber hose, making it easier to manipulate during fitting. Lastly, Gloves are recommended to protect your hands, especially when dealing with heated materials or firm fits, ensuring both safety and ease of handling during the process. By assembling these materials, you’ll be well-prepared to confidently tackle the installation.
Preparing the Hose and Fitting
Inspect and Clean
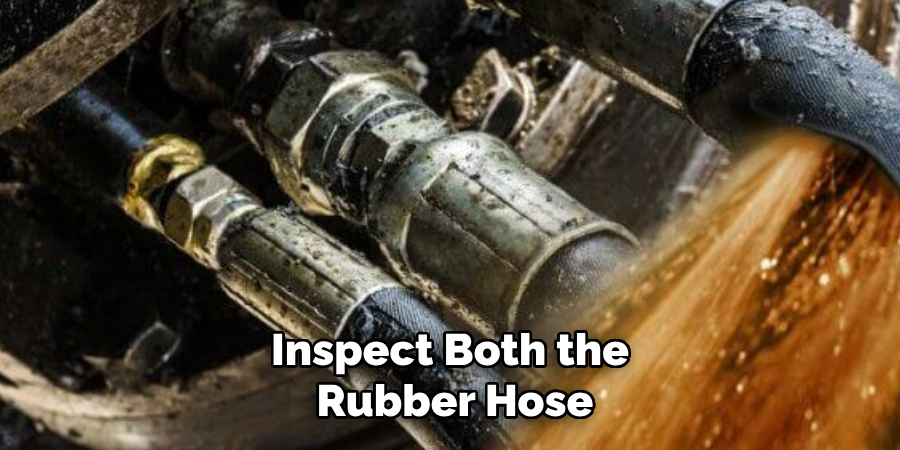
Before commencing the attachment process, it is imperative to thoroughly inspect both the rubber hose and the fitting for any debris, damage, or residue that could compromise the quality of the seal. Debris or rough edges can prevent proper seating, leading to leaks or damage over time. Carefully wipe down both components with a clean cloth to ensure they are free from any contaminants. This initial cleaning step is crucial in establishing a strong, reliable connection.
Trim the Hose
The end of the hose should be trimmed straight and even to ensure it fits securely onto the fitting. An uneven or jagged edge can cause gaps and permit leaks. Using a utility knife or pipe cutter, carefully trim the hose to achieve a clean, straight edge. This precision in cutting the hose end plays a significant role in ensuring a snug fit and preventing future issues with the connection.
Choose the Right Lubricant
Once the hose and fitting have been prepared, select an appropriate lubricant to facilitate the attachment process. Lubricants such as water, soapy water, or silicone grease can be applied to the inside of the hose or directly onto the fitting. The purpose of the lubricant is to reduce friction, enabling the hose to slide smoothly onto the fitting without excessive force.
Applying a small amount is sufficient; too much lubricant could prevent the hose from staying firmly in place. With these preparations complete, the hose will be ready for a secure and efficient fit onto the fitting.
How to Get Rubber Hose on Fitting: Step-by-Step Guide
Step 1: Position the Hose
Begin by aligning the hose with the fitting at a slight angle. This positioning allows for an easier start to the attachment process, minimizing resistance as you push the hose onto the fitting. Ensure that the hose and fitting sizes are compatible to avoid excessive force during installation, which could damage the components.
Step 2: Heat the Hose (Optional)
If the hose is particularly stubborn or rigid, consider warming it up with a heat gun or soaking it in hot water for 1-2 minutes. This softens the rubber, making it more pliable and easier to handle. However, exercise caution to prevent overheating, which could weaken the rubber and compromise the durability of the connection.
Step 3: Push the Hose Onto the Fitting
With the hose properly aligned and possibly softened, apply firm, steady pressure to slide the hose onto the fitting. Employ a slight twisting motion as you push to help gradually wedge the hose onto the fitting. This maneuver facilitates smoother installation and ensures that the hose fits snugly over any barbs or irregularities on the fitting.
Step 4: Secure the Hose with a Clamp
Finally, position a hose clamp around the end of the hose where it covers the fitting. Tighten the clamp using a screwdriver or wrench, making sure it’s secure enough to prevent leaks but not so tight that it crushes or damages the hose. Double-check the clamp’s placement to confirm it’s correctly positioned on the hose for the best sealing effect. Inspect the overall setup once the clamp is secure to ensure a firm and leak-proof connection.
Troubleshooting Common Issues
When installing a rubber hose on a fitting, you may encounter several common issues that can hinder a secure and efficient connection. Below are some troubleshooting tips to address these challenges effectively:
Hose Too Tight
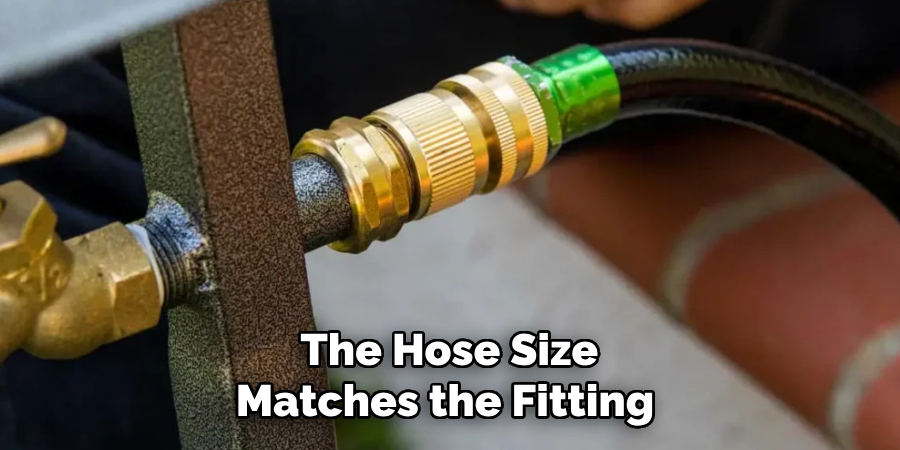
If the hose feels too tight and difficult to install, first verify that the hose size matches the fitting diameter. A mismatch can lead to extreme difficulty in securing the hose. If the size is correct and tightness persists, try reheating the hose to increase flexibility. Apply additional lubricant, such as soapy water or silicone grease, to ease the process without compromising the integrity of the seal.
Leaks After Installation
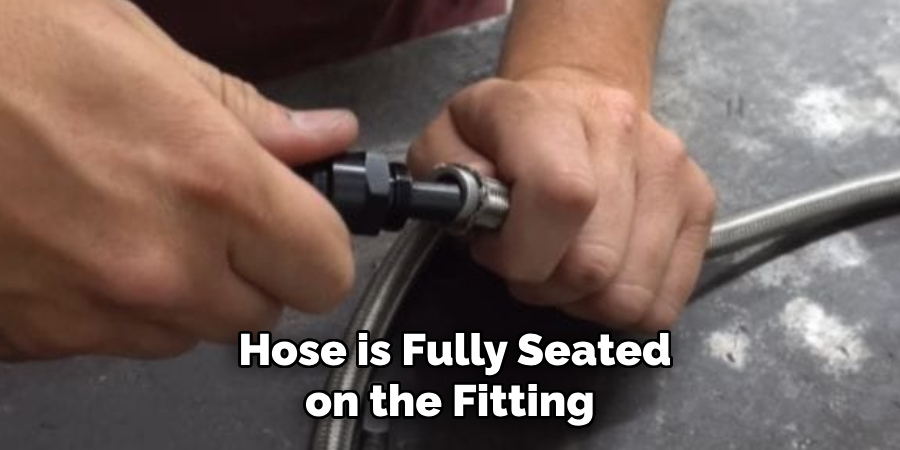
If leaks occur after the initial installation, the hose may not be fully seated on the fitting. Carefully push the hose further onto the fitting, ensuring a complete and snug fit. Additionally, check that the hose clamp is tightened appropriately. If the leak persists, consider adding a second clamp for added security, which can provide an extra layer of sealing to prevent fluid escape.
Damaged Hose
A hose showing signs of damage, such as torn or frayed edges, can prevent a secure fit and cause future leaks or failures. Begin by trimming any damaged portion to create a clean, even hose end. If the damage extends beyond a simple trim, it may be necessary to replace the hose entirely to ensure a reliable connection. Using a new hose eliminates the risk of further issues attributed to compromised material integrity, ensuring optimal performance.
Tips for Success
Choose High-Quality Materials
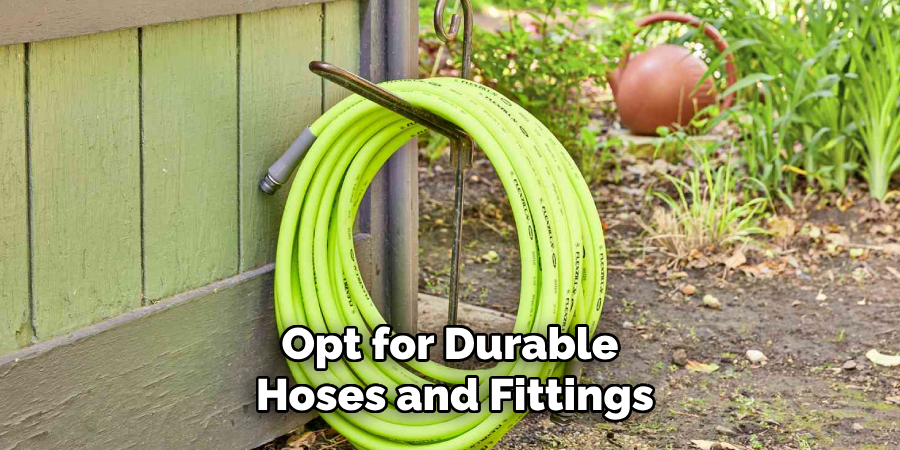
Selecting high-quality materials is fundamental to ensuring a robust and efficient hose installation. Opt for durable hoses and fittings that are specifically designed for your application. This ensures compatibility and reduces the risk of inadequate performance or premature wear issues. Investing in high-quality components not only improves the reliability of the connection but also minimizes the need for frequent replacements, saving you time and money in the long run.
Regular Maintenance
Conduct regular inspections to maintain the integrity of your hose assembly. Periodically check the connection for any signs of wear, such as cracks or fraying, and ensure the clamps remain tight and secure to prevent leaks. Regular maintenance helps identify potential issues before they escalate, allowing for timely repairs and adjustments. This proactive approach extends the lifespan of your hose system and ensures safe and efficient operation.
Work in a Comfortable Environment
Setting up a comfortable workspace is essential for effective hose installation. Ensure your work area is well-lit and spacious enough to handle the components without strain. Adequate lighting allows for careful inspection and installation, while ample space provides ease of movement and reduces the risk of errors. A conducive environment enhances your focus and precision, leading to a successful and hassle-free installation.
Frequently Asked Questions (FAQs)
1. Can I Use Any Type of Lubricant for Installing Rubber Hoses?
While several lubricants can ease the installation process, it’s important to choose ones that won’t degrade the rubber material. Suitable options include soapy water or silicone grease. Avoid petroleum-based lubricants, as they can weaken the rubber over time.
2. What Should I Do if I Encounter a Persistent Leak After Securing the Hose with A Clamp?
First, ensure that the hose is fully seated on the fitting and that the clamp is tightened properly. If the leak persists, try adding a second clamp for added security. Additionally, inspect the hose for any signs of damage that might contribute to the leak; replacing a damaged hose may be necessary.
3. How Can I Ensure the Durability and Longevity of My Hose Connections?
Choosing high-quality materials and conducting regular maintenance is key to ensuring the durability of your hose connections. Regularly inspect the hoses and clamps for any signs of wear and promptly attend to any required repairs or replacements. This helps prevent unexpected failures and extends the lifespan of your hose system.
Conclusion
As outlined in this guide, successfully attaching a rubber hose to a fitting requires careful preparation and the right tools. Following the step-by-step procedure ensures an effective and leak-free connection. Key techniques include using heat and lubrication to ease fitting and securing clamps for a tight seal. By implementing these methods, you’ll achieve a durable and reliable connection that withstands pressure and maintains performance in any application. Remember, understanding “how to get rubber hose on fitting” is essential for efficient installations and avoiding common issues in hose setups.
