Hand-digging a well is a time-honored technique that not only provides access to groundwater but also empowers individuals and communities to source their own water sustainably.
This method requires careful planning, appropriate tools, and a solid understanding of the geological conditions in the area.
Whether for agricultural purposes, personal use, or emergency situations, knowing how to hand dig a well can be an invaluable skill.
This guide will walk you through the essential steps and considerations involved in creating a well by hand, ensuring a safe and effective process.
What is a Well?
A well is a structure that is dug or drilled into the ground to reach and extract water from underground sources. These sources can include aquifers, underground rivers, lakes, and other natural reservoirs. Wells have been used for thousands of years as a means to access clean and safe drinking water.
It’s important to note that not all wells are created equal. The type of well you dig will depend on the specific geology and hydrology of the area, as well as your intended use for the water. Some common types of wells include hand-dug wells, drilled wells, and driven wells.
Why Hand Digs a Well?
Hand-digging a well may seem like an arduous and time-consuming task, especially when there are faster and more modern methods available. However, there are several reasons why someone may choose to hand-dig a well:
Cost-effective
Hand-digging a well requires minimal equipment and can be done by individuals or small groups, making it a cost-effective alternative to drilling machines. This can be particularly beneficial for communities or individuals with limited financial resources.
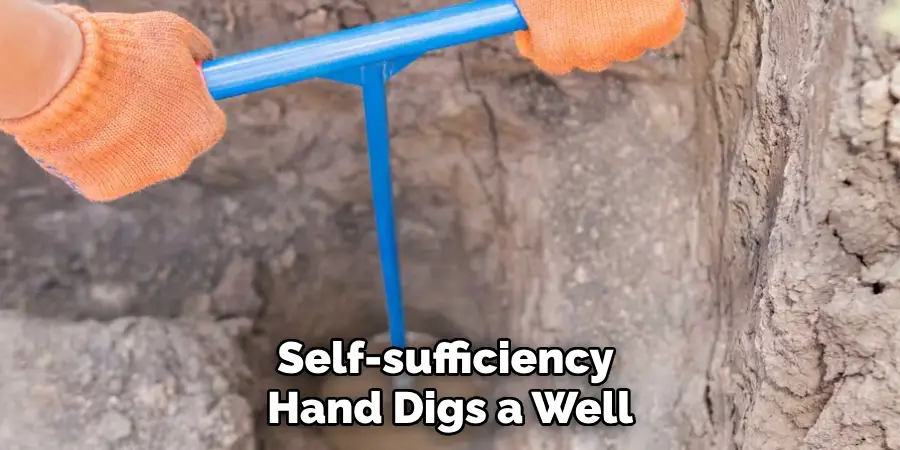
Self-sufficiency
By learning how to hand dig a well, you are acquiring a valuable skill that allows you to source your own water without relying on external sources. This can provide a sense of self-sufficiency and resilience in times of need.
Environmental impact
Hand-digging a well has minimal environmental impact compared to using heavy machinery. It does not require the use of fossil fuels, which contributes to reducing carbon emissions and protecting the environment.
Essential Tools
Before embarking on hand digging a well, it’s important to gather all the necessary tools and equipment. Some essential tools for hand-digging a well include:
Shovel
A shovel is the primary tool for digging and removing soil during the well-digging process. It’s recommended to have both a square-point and round-point shovel for different types of soil.
Pickaxe
A pickaxe is useful for breaking through tough layers of soil and rocks. It also helps to loosen compacted soil, making it easier to dig.
Bucket and rope
Once you have dug a certain depth, you will need a bucket and rope to remove the loose soil from the well. The bucket can either be lowered by hand or attached to a pulley system for easier lifting.
Well, screen
If your well is going to be used for drinking water, it’s essential to install a well screen at the bottom. This prevents debris and sediment from entering the well and contaminating the water.
8 Step-by-step Guidelines on How to Hand Dig a Well
Step 1: Choose the Location
Selecting the right location for your well is critical to ensure a steady and safe water supply. Begin by researching the local geology and hydrology, as these factors greatly influence the success of your well. Look for areas with a history of groundwater availability, avoiding regions close to potential contaminants such as septic systems, agricultural runoff, or industrial sites. Ideally, the location should be on elevated ground to minimize the risk of surface water infiltration.
Also, accessibility should be considered for both the digging process and future maintenance. Once a suitable location has been identified, it may be beneficial to consult with local authorities or water resource professionals to confirm the site’s viability.
Step 2: Mark the Area
Once you have chosen a suitable location for your well, the next step is to clearly mark the area where you will be digging. This helps to prevent accidental digging in other parts of the vicinity and ensures that you maintain a focused workspace. Use stakes or markers to outline the circumference of the well, typically a diameter of about 3 feet is recommended for hand-dug wells.
Additionally, consider using string or rope to connect the stakes, creating a clear visual guide for your digging boundaries. This marked area will also help you assess the depth as you progress, allowing you to keep track of your digging efforts efficiently.
Step 3: Begin Digging
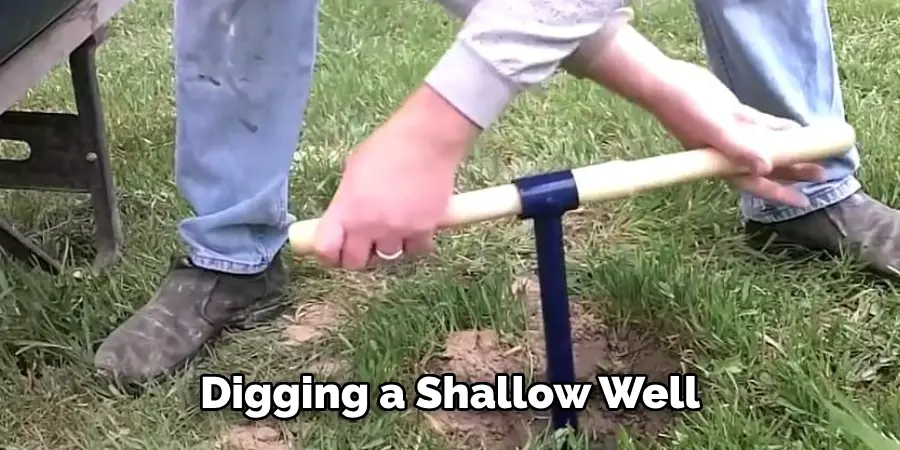
Using a shovel and pickaxe, begin digging within the marked area. Start by removing the topsoil layer and continue to dig until you hit the water table. Be aware of any signs of potential hazards, such as changes in soil color or texture, rocks, or other obstructions that may impede your progress.
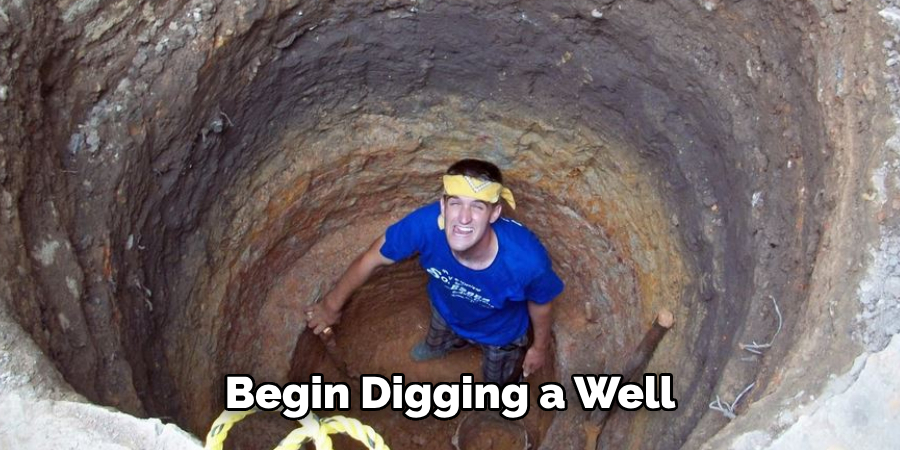
As you dig deeper, it’s essential to periodically check for groundwater seepage by observing any changes in soil moisture or using a hand auger to confirm the presence of water. This will help determine when you have reached a viable depth for your well.
Step 4: Install Well Casing
Once you have reached an appropriate depth, the next step is to install a well casing. This serves as a protective barrier between the well and surrounding soil, preventing contamination from surface water or debris. The size of the casing will depend on the diameter of your well and should extend at least 1-2 feet above ground level.
It’s crucial to ensure that the casing is level and secure before proceeding with further digging. This can be achieved by adding a layer of gravel or sand at the bottom of the well, providing a stable base for the casing to rest on.
Step 5: Keep Digging
After installing the well casing, continue digging until you reach your desired water yield. It’s recommended to add a screen at least one foot above the water table to prevent sediment and debris from entering the well.
As you dig deeper, it may become more challenging to remove soil from the well without causing cave-ins. Consider using a temporary support structure such as wooden boards or metal rings for added safety.
Step 6: Install a Cap
Once you have reached your desired depth, the next step is to install a cap or seal on top of the well casing. This helps to prevent foreign objects from entering the well and also serves as a safety measure to prevent accidents.
You can purchase a well cap or seal from hardware or plumbing supply stores and follow the manufacturer’s instructions for installation. For added protection, consider installing a lock on the cap to prevent unauthorized access to your well.
Step 7: Test the Well Water
Before using the water from your hand-dug well, it’s essential to test it for quality and safety. It’s recommended to have your water tested by a certified laboratory for potential contaminants such as bacteria, nitrates, and other harmful substances.
If any issues are identified, consult with a professional on how to remedy them before using the water. Regular testing should also be conducted periodically to ensure continued water safety.
Step 8: Maintain the Well
To ensure that your well continues to provide a reliable water supply, it’s crucial to conduct regular maintenance and inspections. This includes checking for any leaks or damages to the casing and ensuring proper functioning of the cap or seal.
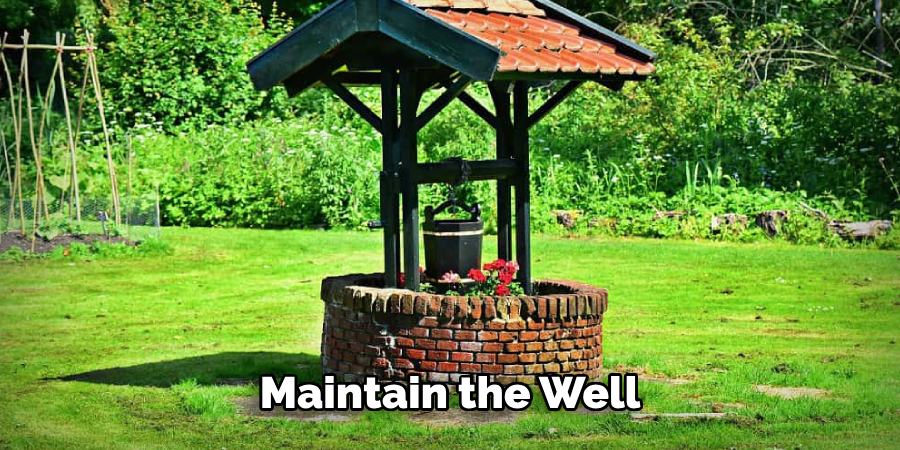
Additionally, monitor the area around the well for any potential sources of contamination such as chemical spills, animal waste, or fertilizers. It’s also recommended to keep a detailed record of all maintenance and testing performed on your well.
By following these guidelines on how to hand dig a well and taking necessary precautions, you can successfully hand dig a well that will provide clean and safe water for your needs. Remember to always prioritize safety and consult with professionals if needed during the digging process.
Frequently Asked Questions
Q: How Long Does It Take to Hand Dig a Well?
A: The time it takes to hand dig a well can vary depending on factors such as soil type, depth of the water table, and the individual’s digging capabilities. It may take anywhere from a few days to several weeks. It’s important to take breaks and stay hydrated during the digging process.
Q: Do I Need Any Special Tools or Equipment?
A: While hand digging a well, you will need basic tools such as shovels, pickaxes, and a hand auger. Additionally, you may also require a well casing, screen, cap or seal for installation.
Q: Can I Dig a Well Anywhere on My Property?
A: No, it’s essential to consider factors such as geology, hydrology, and potential sources of contamination before choosing a location for your well. Consult with local authorities and professionals for guidance on suitable areas to dig a well on your property.
Q: How Deep Should My Well Be?
A: The depth of your well will depend on the water demand and the depth of the water table. It’s recommended to dig at least 10-20 feet below the water table to ensure a sustainable water supply.
Conclusion
Hand-digging a well can be a rewarding yet challenging endeavor, allowing you to create a sustainable water source for your property. By following the outlined steps on how to hand dig a well meticulously— from preparing the site to conducting regular maintenance—you can ensure the safety and effectiveness of your well. Always prioritize safety throughout the process and consult with professionals when necessary to address any concerns.
With careful planning and diligent effort, a hand-dug well can provide clean and reliable water for many years to come, supporting both personal needs and environmental stewardship.

