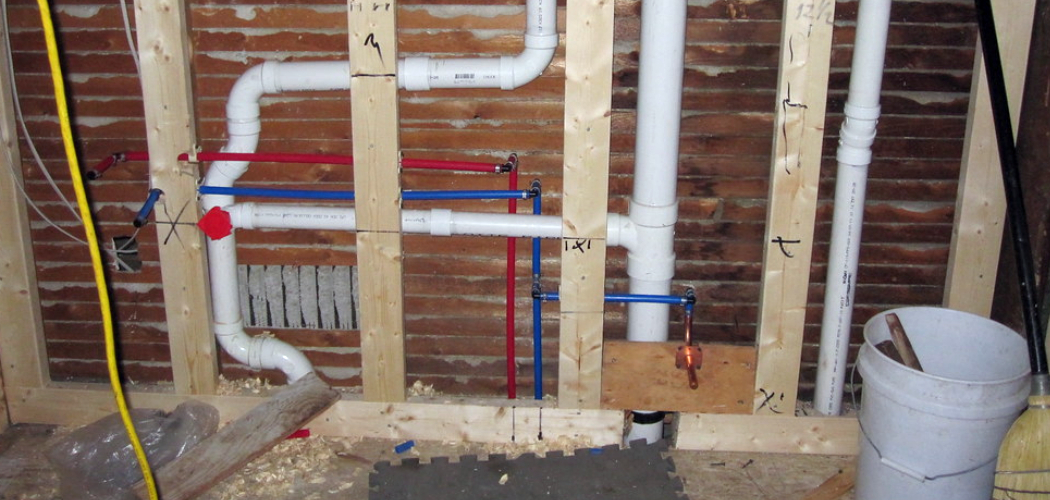
re you tired of looking at unsightly pipes in your bathroom? Pipes can be an eyesore and take away from the overall aesthetics of a well-designed space. Fortunately, several simple and affordable ways to hide pipes in your bathroom exist.
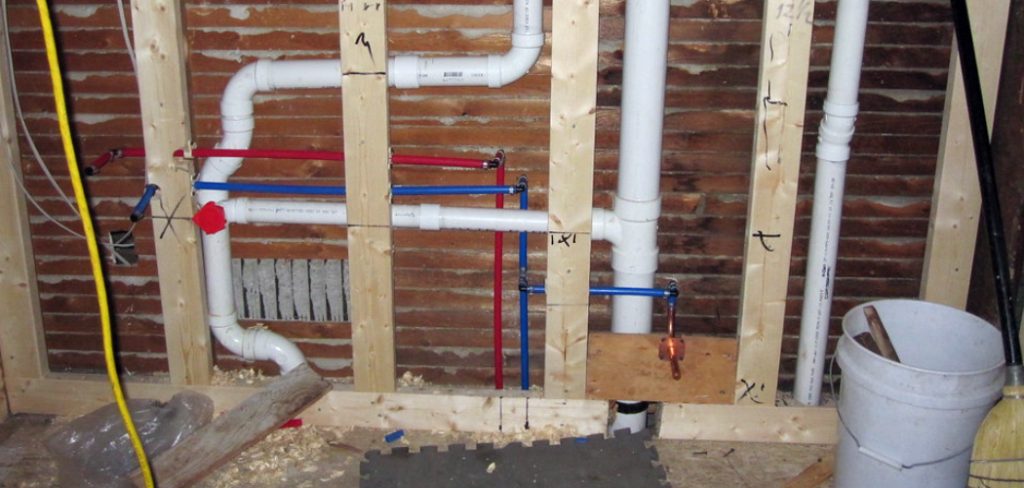
How to hide pipes in bathroom can transform the space, giving it a cleaner and more polished appearance. Exposed pipes, while functional, can often detract from the overall aesthetic of the room. Fortunately, there are various creative and practical methods to hide bathroom pipes, ranging from simple DIY solutions to more elaborate design approaches.
Whether you’re looking to revamp an older bathroom or enhance the look of a new one, learning how to skillfully conceal pipes can help you create a seamless and stylish environment.
What Are the Benefits of Hiding Pipes in the Bathroom?
There are several benefits to hiding pipes in the bathroom, including:
- Improved Aesthetics: As mentioned, exposed pipes can be unsightly and take away from the overall design of your bathroom. By hiding them, you create a cleaner and more polished look.
- Increased Functionality: In some cases, exposed pipes can interfere with storage space or limit your ability to install certain fixtures. By concealing them, you have more freedom in designing your bathroom layout.
- Easier Maintenance: Hidden pipes are easier to maintain as they are protected from dust and grime accumulating on exposed pipes.
- Enhanced Safety: Pipes can sometimes get hot, or sharp edges can be exposed, posing a potential safety hazard. By concealing them, you create a safer environment for yourself and others.
- Customization Options: Hiding pipes allows you to customize the look and design of your bathroom without being restricted by existing pipe placement.
What Will You Need?
Depending on the method you choose, you may need some or all of the following materials:
- PVC Pipes and Fittings: This is a popular option for hiding pipes as they are affordable, easy to work with, and come in various sizes.
- Wooden Panels: If you want a more natural look, wooden panels can conceal pipes. They can be purchased in different finishes or stained/painted to match your bathroom decor.
- Metal Screens: Metal screens can hide pipes while adding an industrial touch to your bathroom design.
- Decorative Curtains: For those looking for a budget-friendly option, decorative curtains can easily hide exposed pipes while also adding a pop of color and texture to the room.
- Wallpaper: Another affordable option is to use wallpaper to camouflage pipes. You can choose from a variety of designs to suit your bathroom style.
Once you have decided on a method and gathered the necessary materials, it’s time to start hiding those unsightly pipes in your bathroom.
8 Easy Steps on How to Hide Pipes in Bathroom
Step 1. Assess the Pipes

Before beginning any project, it’s crucial to evaluate the pipes you plan to conceal. Start by determining their size, shape, and placement within the bathroom. Are they running vertically, horizontally, or across corners? Note whether the pipes are attached to the wall, ceiling, or floor. This assessment will help you decide on the most effective method for concealing them. Additionally, ensure the pipes are in good condition and don’t require repairs to avoid future complications.
Take proper measurements and identify any valves or areas needing occasional access to ensure your chosen solution is both functional and visually appealing.
Step 2. Measure and Plan
Before proceeding, take precise measurements of the pipes you want to conceal. Use a tape measure to assess the length, diameter, and spatial clearance around the pipes. These measurements will help you determine how much material you need, whether it’s wood for panels, fabric for curtains, or enough wallpaper to cover the exposed area. Planning is also essential to identify how your chosen method will integrate with the existing layout and design of your bathroom.
Sketch a rough plan if necessary to visualize the project and ensure you have accounted for all factors, such as access to the pipes for maintenance or the impact on surrounding fixtures.
Step 3. Choose Your Materials and Tools
Select the materials and tools needed based on your chosen method to conceal your pipes. Common materials include wood or MDF for panels, fabric for curtains, adhesive wallpaper, or paint for a simple touch-up. Ensure the materials are moisture-resistant and durable, particularly in humid bathrooms. Gather the necessary tools, such as a saw, drill, screws, adhesive, or hooks, to properly secure your chosen solution. Having all materials and tools ready beforehand will streamline the process and help avoid delays.
Step 4. Install Your Chosen Solution
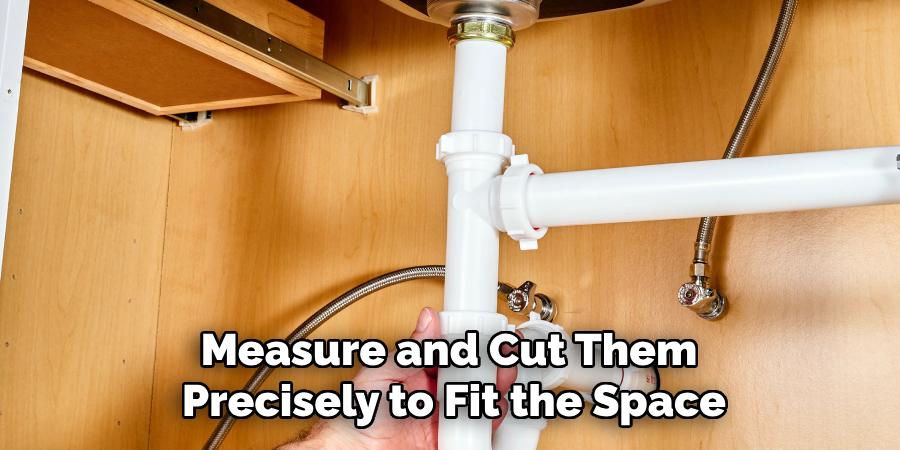
Carefully follow the installation steps for your selected solution to ensure a clean and professional finish. If using wood or MDF panels, measure and cut them precisely to fit the space around the pipes. Secure the panels firmly with screws or adhesive, making sure they are level and well-aligned. For fabric curtains, install a sturdy rod or hooks that can hold the weight of the fabric, then hang the curtain so it fully conceals the pipes without interfering with their functionality.
If you’ve chosen adhesive wallpaper, ensure the surface is clean and dry before applying, and work slowly to smooth out any air bubbles as you go. For a painted finish, prepare the area by sanding and priming the pipes or surrounding walls to ensure the paint adheres properly. During the installation process, take your time to check for any gaps or uneven edges, making adjustments as needed to achieve a seamless appearance.
Step 5. Add Finishing Touches
Once you’ve installed your chosen solution, consider adding finishing touches to enhance the appearance of your concealed pipes further. For example, if using wooden panels, you can paint or stain them to match the rest of your bathroom decor. You can also incorporate decorative elements such as trim or molding around the edges for a more polished look. If installing metal screens, consider painting them in a color that complements the rest of your bathroom design. These small details can make a significant difference in achieving a cohesive and aesthetically pleasing result.
Step 6. Access Points
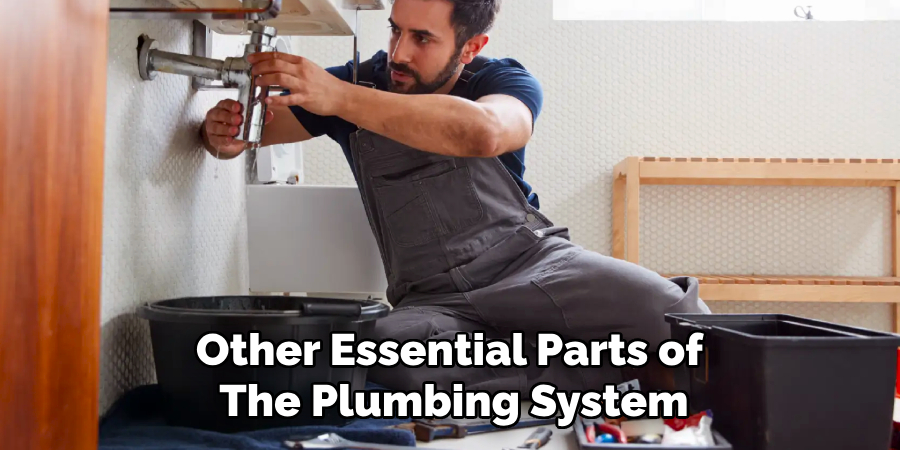
When concealing bathroom pipes, planning for easy access to critical areas for maintenance or future repairs is important. Ensure that removable panels, hinged doors, or snap-on covers are incorporated into your design to allow access to valves, joints, or other essential parts of the plumbing system. For instance, if you’re using wooden panels, consider attaching them with magnetic catches or screws that can be easily removed without damaging surrounding areas. Similarly, with drywall or tiles, you can create strategically placed access panels or doors that blend seamlessly with the rest of the surface.
Properly designed access points ensure that even with a concealed pipe system, you can perform essential maintenance tasks without requiring extensive demolition or costly repairs in the future.
Step 7. Keep it Clean
As with any home improvement project, cleanliness is key to achieving a polished and professional finish. Make sure the work area is clean and free of debris before beginning installation, as this can affect the adhesion of wallpaper or paint. Wipe down surfaces and pipes thoroughly to remove any dust or dirt hindering proper installation. During the process, periodically stop and clean up any excess materials or tools to avoid clutter. Once you’ve completed the project, thoroughly clean the entire area to remove any remaining residue or fingerprints from handling materials.
Step 8. Be Mindful of Safety
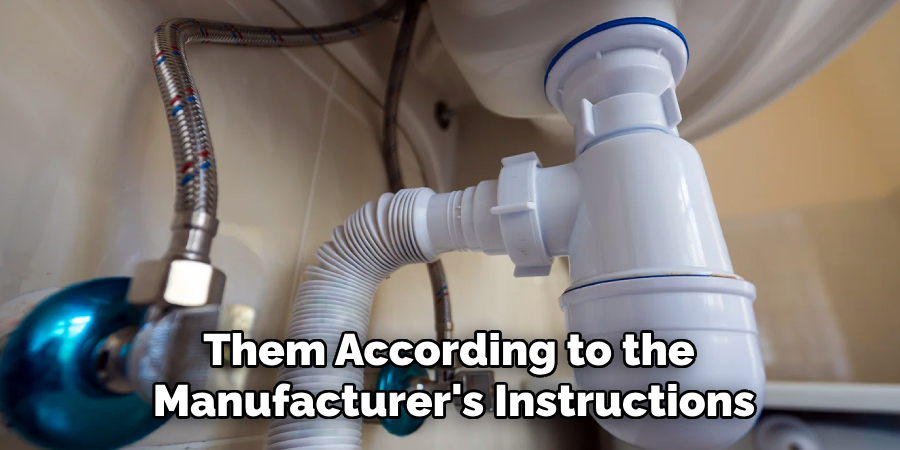
Safety should always remain a top priority during any home improvement project, especially when working with concealed pipe systems. Wear the appropriate protective gear, such as gloves, goggles, and masks, to shield yourself from hazards like sharp edges, dust, or harmful fumes. If power tools are required, ensure you are familiar with their operation and use them according to the manufacturer’s instructions. Keep your workspace well-ventilated and well-lit to reduce the risk of accidents.
By following these steps, you can quickly and effectively conceal unsightly bathroom pipes while maintaining functionality and safety.
5 Things You Should Avoid
1. Using Low-Quality Materials: Opting for cheap or low-quality materials when hiding bathroom pipes can lead to durability issues or water damage. Always invest in reliable materials that can withstand moisture and frequent usage.
2. Ignoring Proper Ventilation: Ensuring proper ventilation around concealed pipes can cause mold and mildew buildup, potentially leading to long-term damage and health hazards. It’s essential to allow adequate airflow.
3. Overcomplicating the Design: Creating overly complex solutions to hide pipes can make future repairs or maintenance challenging. Stick to simple, accessible designs that balance aesthetics and functionality.
4. Blocking Access to Pipes: Permanently sealing off pipes without creating access panels or removable features can cause significant headaches if plumbing repairs or inspections are required. Always keep access in mind.
5. Neglecting Professional Advice: Overlooking the value of consulting a plumber or professional designer can result in solutions that don’t meet plumbing codes or lead to future problems. Seek expert advice before making any significant changes to your bathroom layout.
Conclusion
How to hide pipes in bathroom effectively involves a careful balance between functionality and aesthetics.
By avoiding common mistakes such as neglecting ventilation, creating overly complex designs, or blocking access to necessary plumbing, you can ensure your solutions are both practical and visually pleasing. Always consider consulting with professionals for guidance and adhere to local plumbing codes to avoid potential issues in the future.
With thoughtful planning and execution, hidden pipes can enhance your bathroom’s appearance while maintaining essential accessibility and functionality.

