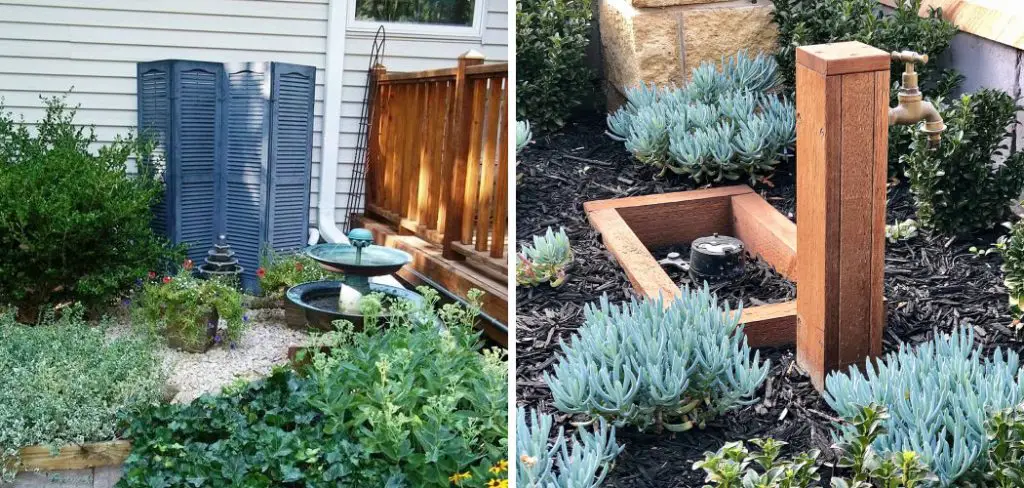
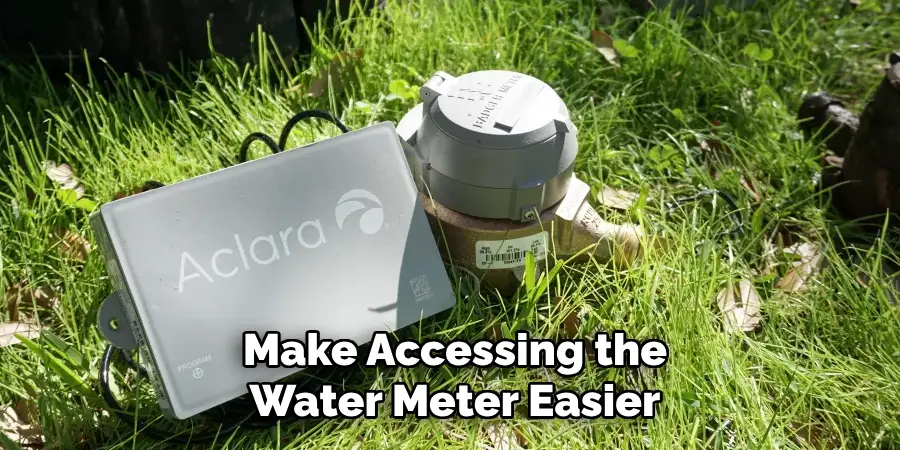
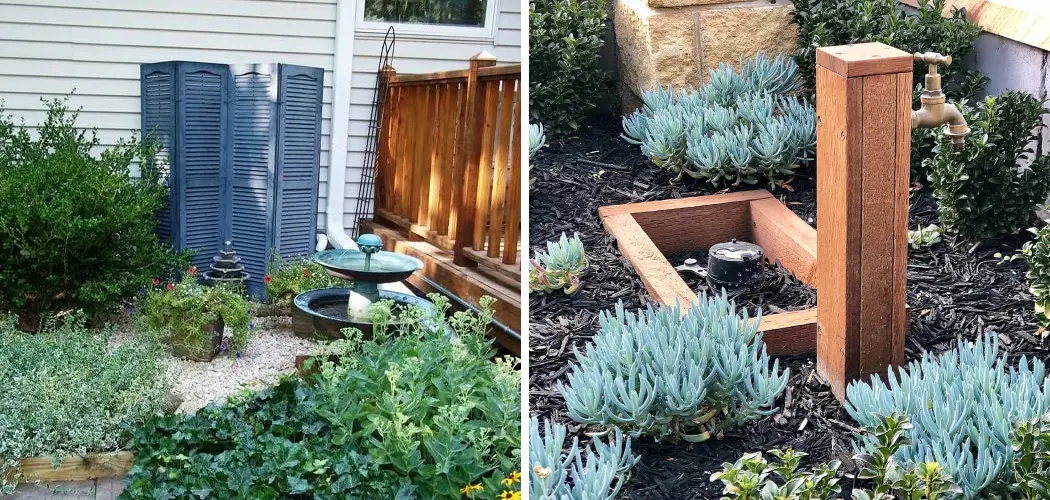
Hiding a water meter in your front yard can enhance the aesthetic appeal of your landscaping while still allowing access when needed. Many homeowners seek creative solutions to conceal these utilitarian fixtures, transforming them into seamlessly integrated elements of their outdoor design.

This guide on how to hide water meter in front yard will explore various techniques and materials that can be used to effectively disguise your water meter, ensuring it doesn’t detract from the overall beauty of your garden. Whether you prefer natural plantings, decorative covers, or innovative landscaping ideas, we will provide practical tips to help you choose the best method for your space.
Why Hide Your Water Meter?
Hiding your water meter serves several important purposes beyond mere aesthetics. Primarily, concealing this fixture can improve the overall look of your garden, making it feel more cohesive and inviting. An exposed water meter can disrupt the visual harmony of a well-designed landscape, drawing attention away from your plants and other decorative elements. Additionally, covering the water meter can protect it from potential damage caused by weather conditions or lawn maintenance activities.
Lastly, a hidden water meter can enhance safety by reducing the likelihood of accidental bumps or trips over the exposed unit, especially in homes with children or pets. By taking the time to camouflage this essential component, you can create a more pleasing and functional outdoor space.
Needed Materials
Before beginning any project, it’s essential to gather the right materials. The exact items required will vary depending on which method you choose and the size of your water meter. Some commonly used materials for hiding a water meter include:
Decorative Rocks or Stones:
One of the simplest ways to conceal your water meter is by using decorative rocks or stones. These can be arranged around the base of the meter, covering it while still allowing easy access for maintenance. Choose a size and color that complements your landscaping, creating a natural-looking cover that blends seamlessly with your garden.

Artificial Rocks:
If you want a more permanent solution, artificial rocks specifically designed to hide water meters are available on the market. These come in various sizes and styles to suit different needs and preferences. They may cost more upfront but offer long-term durability and ease of maintenance.
Plants or Trees:
Another popular option is to incorporate plants or trees into your design. This method allows you to add both beauty and functionality to your front yard while disguising the water meter. When selecting plants, make sure they won’t interfere with easy access to the meter or its ability to be read by utility workers.
Fence or Trellis:
For a more creative approach, consider building a small fence or trellis around your water meter. This method can provide added privacy and visual interest while effectively hiding the fixture. You can also incorporate climbing plants on the trellis for an added touch of greenery.
7 Simple Step-by-step Guidelines on How to Hide Water Meter in Front Yard
Step 1: Measure the Water Meter
Before you proceed with any hiding method, it’s crucial to first measure the dimensions of your water meter. This will ensure that your chosen concealment solution is appropriately sized for a perfect fit. Use a tape measure to record the width, height, and depth of the meter, as well as any additional features like pipes or valves that might need to remain accessible.
Accurate measurements will help you select the right materials and design to effectively cover the meter without compromising its functionality.
Step 2: Consider the Location
When deciding how to hide your water meter, it’s important to evaluate its location within your yard. Take into account factors such as sun exposure, proximity to existing plants, and the general flow of your landscaping. Choose a hiding solution that complements the surrounding environment while providing easy access for utility workers.

Ensure that whatever method you select does not obstruct the meter’s visibility for readings, and consider how the concealment will look from different angles throughout your yard. By thoughtfully considering the location, you can enhance your landscape’s cohesion and functionality while effectively disguising the water meter.
Step 3: Choose Your Materials
Once you have measured your water meter and evaluated its location, the next step is to select the materials that best suit your chosen method of concealment. Consider factors such as durability, maintenance, and how well the materials blend with your existing landscaping. If you’re opting for natural elements, native plants are an excellent choice as they typically require less maintenance and thrive in your local climate. For decorative options, think about the color and texture of rocks or stones that will complement your garden’s aesthetic.
If you prefer a more structured look, select wood or vinyl for fences and trellises, ensuring they withstand outdoor conditions. Always prioritize accessibility when choosing your materials, ensuring that they allow easy access to the water meter for maintenance or readings. By carefully selecting the right materials, you can create a beautiful and functional disguise for your water meter.
Step 4: Prepare the Area
Before implementing your chosen concealment method, it’s essential to prepare the area around the water meter. Start by clearing away any debris, overgrown plants, or grass that might obstruct your work. This will ensure a clean slate for your project and allow you to visualize how your selected materials will fit into the existing landscape. Next, mark the boundaries of your concealment method with stakes or outdoor chalk to define the space clearly.
This step will help you maintain a straight line and give a clear indication of where to place materials, whether you’re using rocks, plants, or structures like fences or trellises. Finally, if your chosen method involves planting, consider loosening the soil to promote healthy root growth and drainage. Taking the time to prepare the area will make the installation process smoother and result in a more polished final appearance.
Step 5: Install the Concealment
With your area prepared, it’s now time to begin installing your chosen method of concealment. If you’re using rocks or stones, start by arranging them in a way that covers the meter while still allowing easy access for utility workers. You may need to use a combination of sizes and shapes to achieve a natural-looking cover. For artificial rocks, follow the manufacturer’s instructions for installation.

If you’ve opted for plants or trees, start by digging holes at least twice the size of their root balls and carefully placing them around the water meter. Once they are planted, add mulch or decorative rocks around the base to create a seamless blend with the rest of your garden. If you’re using a fence or trellis, install it according to the manufacturer’s instructions and ensure that there is enough clearance for utility workers to access the meter easily. Fill in any gaps with additional plants or vines for added cover and visual interest.
Step 6: Add Finishing Touches
Once your concealment method is installed, take some time to add finishing touches to enhance its appearance. This could include adding decorative rocks or mulch around the base of plants, painting fences or trellises to match your existing landscape colors, or planting additional flowers or greenery around the area. These small details can elevate the overall look of your water meter cover and make it a seamless part of your yard.
It’s also essential to regularly maintain your concealment method by trimming plants, removing any debris, and ensuring that it remains in good condition. Proper maintenance will help your water meter cover look its best and continue to hide the fixture effectively.
Step 7: Maintain Regularly
To ensure that your water meter remains effectively hidden, it’s essential to maintain it regularly. This could include trimming plants or vines to prevent them from obstructing access, repainting fences or trellises as needed, and clearing away any debris or overgrowth that may occur. Regular maintenance will not only keep your water meter cover looking well-maintained, but it will also help to prevent any potential issues with the functionality of the meter itself.
With these steps on how to hide water meter in front yard in mind, you can effectively and aesthetically hide your water meter while maintaining its crucial role in tracking your household’s water usage. By thoughtfully choosing materials, preparing the area, and regularly maintaining your concealment method, you can create a functional and attractive solution for hiding this necessary fixture.
Additional Considerations
While the steps outlined above provide a general guide for hiding your water meter, there are several additional factors to consider when selecting a concealment method. These include budget, local regulations and restrictions, and the specific design of your water meter. Be sure to research any applicable rules or guidelines before beginning your project to ensure compliance with your area’s regulations.
Additionally, consider incorporating elements that will make accessing the water meter easier for utility workers, such as a removable panel or designated pathway. This will prevent any potential damage to your concealment method while allowing for efficient maintenance or reading of the meter.

Overall, hiding your water meter in the front yard is a simple and effective way to maintain a cohesive and aesthetically pleasing landscape. With careful planning and regular upkeep, you can successfully disguise this essential fixture while still ensuring its accessibility when needed.
Conclusion
In conclusion, effectively hiding your water meter can enhance the visual appeal of your yard while ensuring easy access for utility workers. By following the outlined steps on how to hide water meter in front yard—selecting appropriate materials, preparing the area, executing the installation, and committing to regular maintenance—you can create a solution that blends seamlessly into your landscape.
Additionally, considering local guidelines and incorporating practical elements for accessibility will ensure that your project is both aesthetically pleasing and functional. With thoughtful design and diligent upkeep, your water meter can remain discreetly concealed, fostering a refined and polished outdoor environment.

