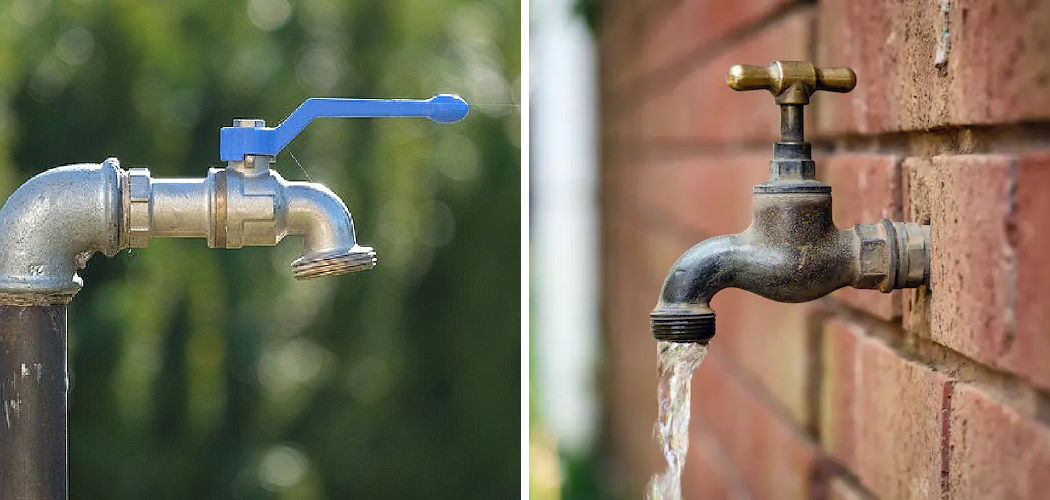
Low water pressure from an outside faucet can be frustrating, especially when trying to water your garden, fill a pool, or complete other outdoor tasks efficiently. Fortunately, there are several methods to diagnose and improve the water pressure so you can maximize the functionality of your outdoor faucets.
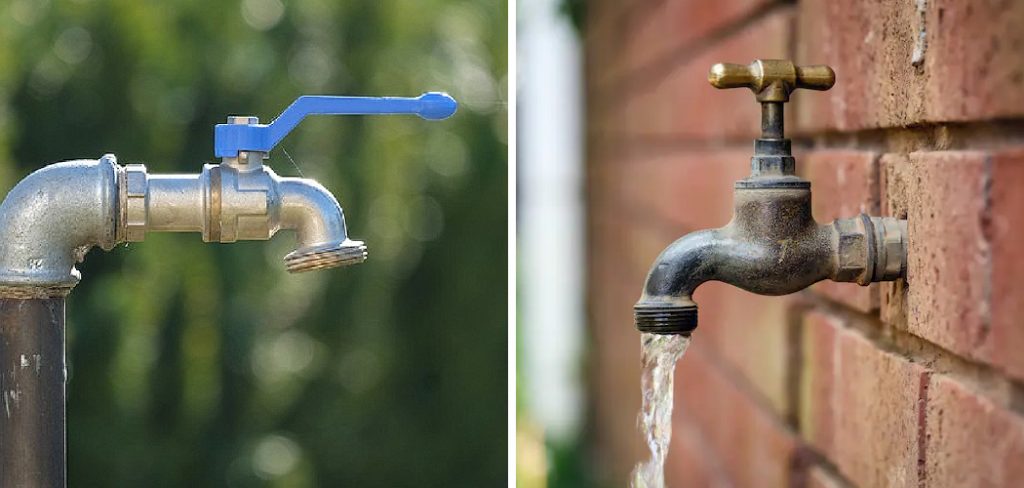
This guide on how to increase water pressure on outside faucet will walk you through the possible causes and practical solutions to enhance water flow effectively.
Why is the Water Pressure on the Outside Faucet Low?
There are several factors that can contribute to low water pressure from an outside faucet. Some of the most common causes include:
Clogged Pipes or Filters:
Over time, minerals and debris can build up in the pipes or filters, leading to reduced water flow. This can be particularly common in older homes with outdated plumbing systems.
Water Source:
The water pressure from your outside faucet may also be affected by the source of your water supply. If you are connected to a well, for example, fluctuations in the water table can impact water pressure.
Faulty Valves or Regulators:
Broken or malfunctioning valves and regulators can also cause low water pressure on outside faucets. These components are responsible for controlling the flow of water and if they are damaged, it can affect the overall water pressure.
Seasonal Changes:
During colder months, pipes can freeze and expand, causing blockages that limit water flow. In warmer months, increased usage across the neighborhood can also contribute to low water pressure. Additionally, changes in temperature and humidity levels can cause pipes to contract or expand, affecting the water flow.
Needed Materials
- Pliers or a Wrench to Tighten Loose Parts and Connections.
- Plumber’s Tape to Seal Any Leaks in Pipes or Fixtures.
- Pipe Cutter for Any Necessary Pipe Replacements.
- Pressure Gauge to Measure Water Pressure.
- Replacement Valves, Connectors, and Washers if Needed.
8 Steps on How to Increase Water Pressure on Outside Faucet
Step 1: Check for Any Obstructions or Blockages
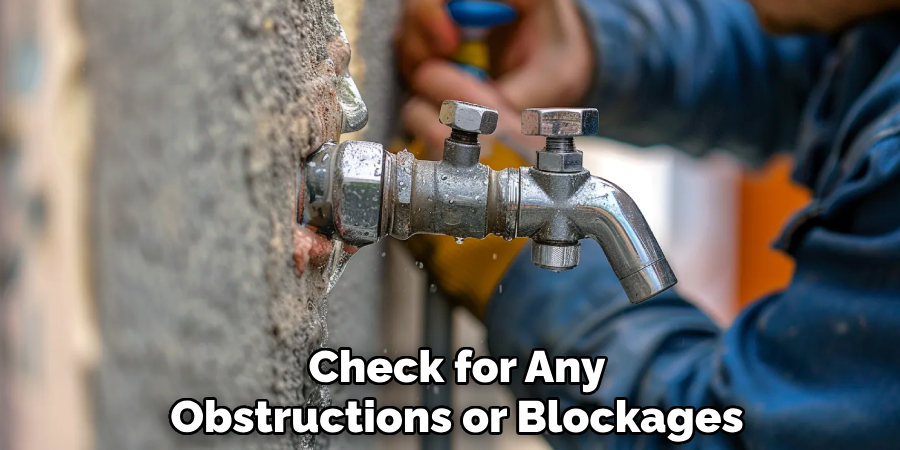
- Inspect the outside faucet and make sure there are no obstructions or debris blocking the water flow.
- Clean out any dirt, leaves, or other debris that may be clogging the faucet.
- Check the water hose for any kinks or blockages as well.
- If there are any visible blockages, remove them and test the water pressure again.
Step 2: Check Water Shutoff Valve
- Make sure the water shutoff valve for the outside faucet is fully open.
- If the valve is partially closed, it can restrict the flow of water and decrease water pressure.
- Turn it all the way counterclockwise to ensure it is fully open.
- If the valve is fully open and you are still experiencing low water pressure, it may be time to replace the valve.
- Contact a professional plumber for assistance.
Step 3: Inspect Pipes
- Examine the pipes leading to your outside faucet.
- Look for any visible signs of damage, such as cracks or leaks.
- If you notice any issues, it may be necessary to replace the pipes.
- Again, it’s best to contact a professional plumber for this task.
Step 4: Clean or Replace Faucet Aerators
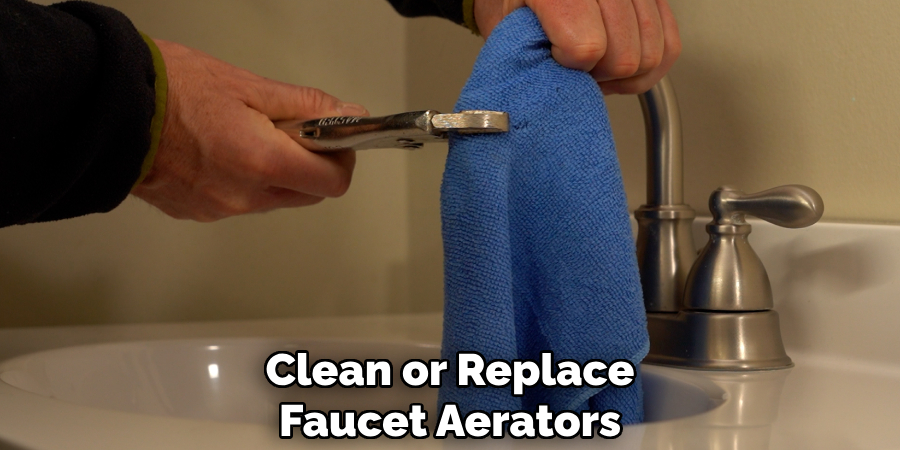
- Over time, mineral deposits can build up in a faucet aerator, restricting water flow.
- Remove the aerator from your outside faucet and clean it with a mixture of water and vinegar.
- If the aerator is damaged, it may need to be replaced.
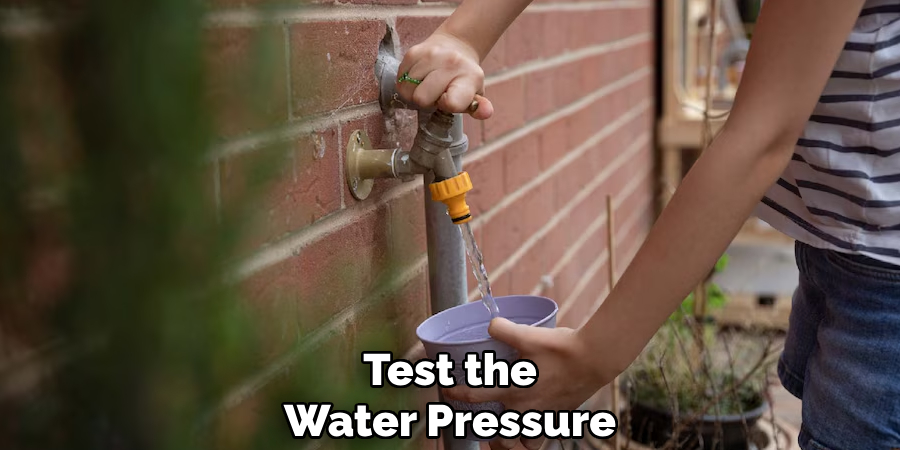
Step 5: Test the Water Pressure
- Turn on your outside faucet and check the water pressure.
- If the pressure seems low, there may be an issue with the pipes or valves leading to your faucet.
- Contact a professional plumber for assistance in identifying and fixing the problem.
- It is important to address any issues with water pressure as it can cause problems with watering your lawn or garden efficiently and effectively.
- Low water pressure can also indicate a larger issue with your plumbing system, such as leaks or clogs, so it’s best to have it checked by a professional.
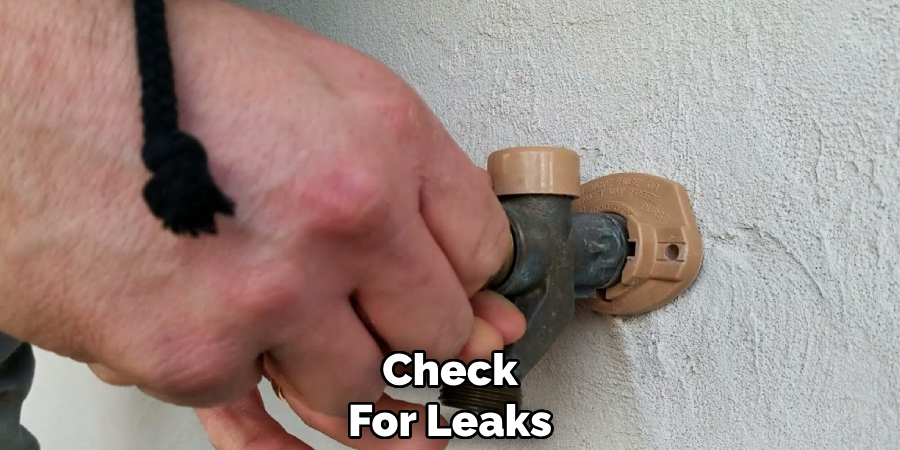
Step 6: Check for Leaks
- While testing the water pressure, keep an eye out for any leaks from the faucet itself or around the connecting pipes.
- Even small leaks can waste significant amounts of water over time, so it’s important to address them promptly.
- Tighten any loose connections or replace damaged pipes to prevent further leaks.
- If the leak is coming from the faucet, it may be a simple fix such as replacing a worn-out washer or O-ring.
- However, if the issue persists, it’s best to call a professional plumber to assess and fix the problem.
Step 7: Clean or Replace Aerators
- Another common cause of low water pressure is clogged aerators on faucets.
- Over time, sediment and mineral deposits can build up in the aerator, restricting water flow.
- Try removing and cleaning the aerator with a mixture of equal parts water and vinegar.
- For stubborn buildup, you may need to replace the aerator altogether.
Step 8: Check for Leaks
- Finally, if none of the above steps solve the issue, it’s important to check for any leaks in your plumbing system.
- Leaks can cause a decrease in water pressure and also lead to costly water damage.
- Look for any visible leaks under sinks, around toilets, or on exposed pipes.
- If you suspect a hidden leak, turn off all water sources in your home and check your water meter. If it continues to run when all water is off, there may be a leak that needs to be addressed by a professional plumber.
Following these steps on how to increase water pressure on outside faucet and regularly maintaining your plumbing system can help prevent common issues and ensure that your home’s water supply is functioning properly. It’s important to address any problems as soon as they arise in order to avoid more costly repairs down the line. With proper care, your home’s plumbing should continue to work smoothly for years to come.
Additional Tips
- To prevent frozen pipes during colder months, insulate any exposed pipes leading to your outside faucet.
- Consider installing a frost-free spigot to avoid potential freezing issues.
- Regularly check your outside faucet for leaks or malfunctioning parts and address any issues promptly.
- Avoid putting anything other than water and human waste down your toilet to prevent clogs.
- Use mesh drain covers in sinks and showers to catch hair and debris and prevent them from going down the drain.
- Be cautious when using chemical drain cleaners, as they can be damaging to pipes and may not effectively solve the problem. Consider using natural alternatives like baking soda and vinegar instead.
Frequently Asked Questions
Q: How Often Should I Clean My Plumbing Pipes?
A: It is recommended to have your plumbing pipes professionally cleaned every 1-2 years to prevent buildup and clogs. However, you can also regularly maintain your pipes by using natural cleaning solutions and drain covers to prevent debris from accumulating.
Q: Can I Use Hot Water to Clear a Clog?
A: It is not recommended to use hot water on clogged drains. Hot water can actually cause certain materials, like grease or wax, to melt and create an even bigger blockage. Instead, try using a plunger or natural cleaning solutions before resorting to hot water.
Q: Is There Anything I Should Never Put Down My Drain?
A: Yes, there are several items that should never be put down your drain, including:
- Grease and oil
- Coffee grounds
- Eggshells
- Paper products (such as paper towels and napkins)
- Medications
- Harsh chemicals
These items can cause clogs, damage to your pipes, and harm the environment. It is important to properly dispose of them in the trash or through designated recycling/medication disposal programs. Additionally, avoid pouring any hot oil or grease down your drain as it will eventually solidify and create a blockage.
Q: How Can I Prevent Clogs from Forming?
A: There are several preventative measures you can take to avoid clogged drains:
- Use a drain stopper to catch food particles and hair before they go down the drain.
- Run hot water down your sink or shower drain after each use to help flush out any buildup.
- Regularly clean your drains with a mixture of baking soda and vinegar, followed by hot water. This can help break down any grease or debris that may be causing clogs.
- Consider using a hair catcher in your shower or bathtub drain to prevent hair from going down the drain.
- Avoid putting items like coffee grounds, eggshells, and fruit peels into your garbage disposal as they can easily cause clogs.
By taking these preventive measures, you can greatly reduce the risk of clogged drains and keep your plumbing system functioning properly.
Conclusion
Maintaining a clear and efficient plumbing system is essential for a well-functioning home. By incorporating simple preventive measures into your routine, such as using natural cleaning solutions, installing hair catchers, and being mindful of what goes into your drains, you can avoid the hassle and expense of dealing with clogs.
Taking proactive steps today ensures your plumbing remains in optimal condition for years to come. Thanks for reading this article on how to increase water pressure on outside faucet.

