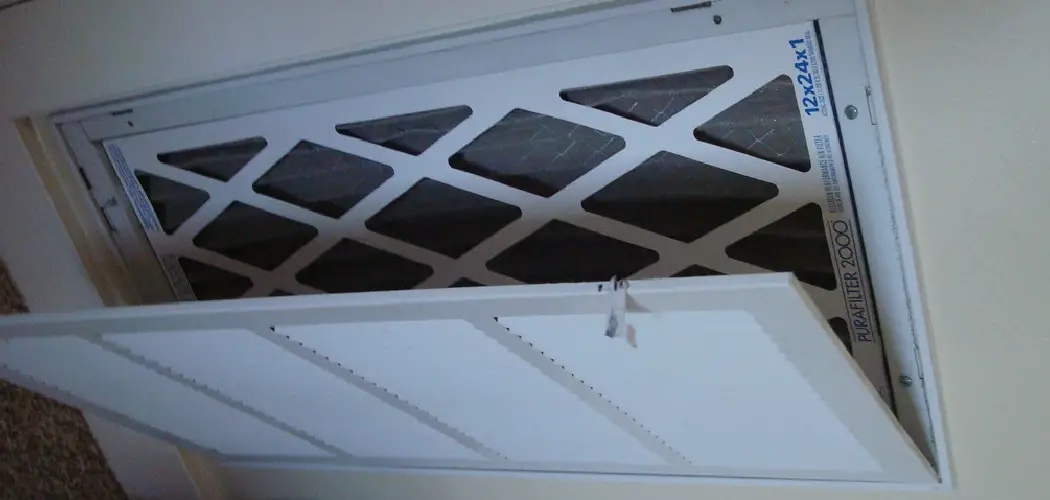
Maintaining a clean furnace filter is crucial for ensuring optimal performance of your HVAC system and maintaining high-quality indoor air. Regularly replacing your furnace filter is one of the simplest yet most effective ways to prevent dust buildup, maintain airflow, and ensure your system operates efficiently.
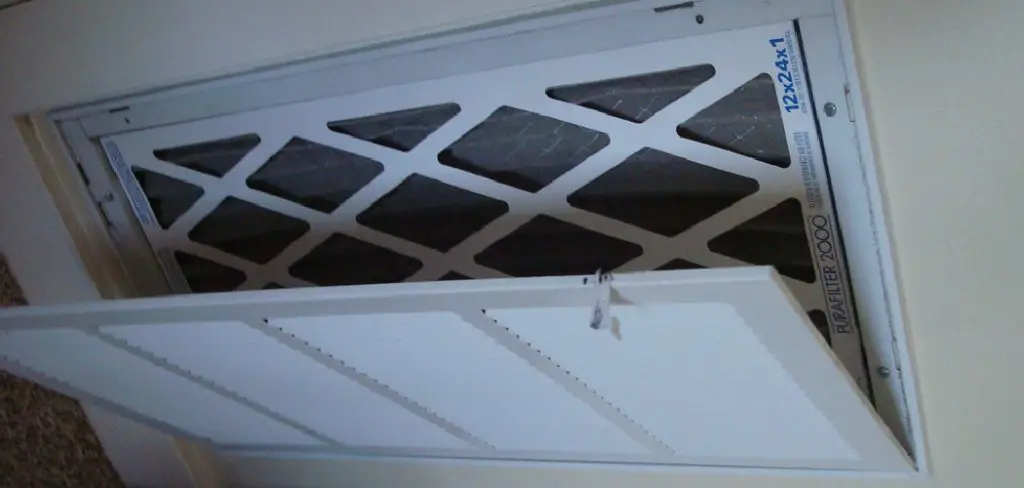
Not only does this practice contribute to a healthier living environment by reducing allergens and pollutants, but it also extends the lifespan of your furnace by preventing unnecessary strain on its components.
Proper filter insertion is key to this process; knowing how to insert a furnace filter correctly can make a significant difference in the system’s efficiency and help avoid potential damage to your furnace. This guide aims to demystify the process, ensuring that homeowners can confidently maintain their furnace filters for a healthier, more comfortable home environment.
The Role of Furnace Filters
Furnace filters are more than just a component of your HVAC system; they serve as the frontline defense against indoor air pollution. By trapping dust, allergens, pollen, pet dander, and other airborne particles, these filters prevent harmful contaminants from circulating in your home. This filtration process plays a crucial role in maintaining indoor air quality, directly impacting your health and comfort.
Residents who suffer from allergies or asthma can experience significant relief when filters efficiently remove irritants from the air. Beyond health benefits, clean furnace filters also contribute to the overall efficiency of your HVAC system. A filter free of significant dirt and debris allows air to flow freely, reducing the strain on your system and leading to lower energy consumption and bills.
Furthermore, by preventing dust buildup on essential components, clean filters extend the lifespan of your furnace, saving homeowners on costly repairs or premature replacement. Essentially, the regular replacement and maintenance of furnace filters are a small task with significant, far-reaching benefits.
Types of Furnace Filters
When it comes to selecting a furnace filter, homeowners have several options, each with its own set of advantages and considerations. The most common types include:
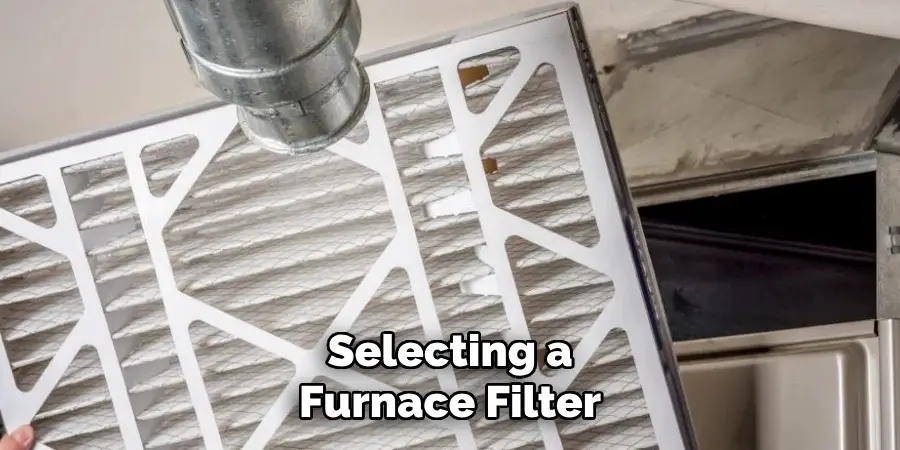
- Fiberglass Filters: These are the most basic and cost-effective choice, designed to protect your furnace from larger dust and lint particles. However, they offer limited efficiency in improving air quality.
- Pleated Filters: Made from polyester or cotton folds, pleated filters offer better efficiency by trapping smaller particles without significantly impeding airflow. They also have a longer lifespan than fiberglass options.
- HEPA Filters: HEPA stands for High-Efficiency Particulate Air filters. These options provide the highest level of filtration, capable of capturing even the tiniest pollutants. This makes them ideal for households with allergy sufferers or those seeking to achieve the best air quality possible.
Choosing the right filter type involves balancing your needs for air quality improvement with your HVAC system’s requirements and your budget. While premium options like HEPA filters provide superior air purification, they may not be necessary for every household. Conversely, while fiberglass filters are budget-friendly, they may not offer the protection and efficiency needed by those with respiratory concerns or high-dust environments.
Locating Your Furnace
In many homes, the furnace is tucked away in locations that are out of sight and not part of the daily living area, such as the basement, utility closet, or attic. These locales are chosen to maximize living space while allowing easy maintenance access. A furnace can typically be identified by its large metal cabinet structure, visible vents directing airflow, and connections to gas lines (if it is a gas furnace).
If you’re unsure of where your furnace is located, start by consulting your home’s blueprints or the owner’s manual, which should provide a clear indication of its location. Another practical tip is to trace the air vents throughout your home as they directly connect to the furnace.
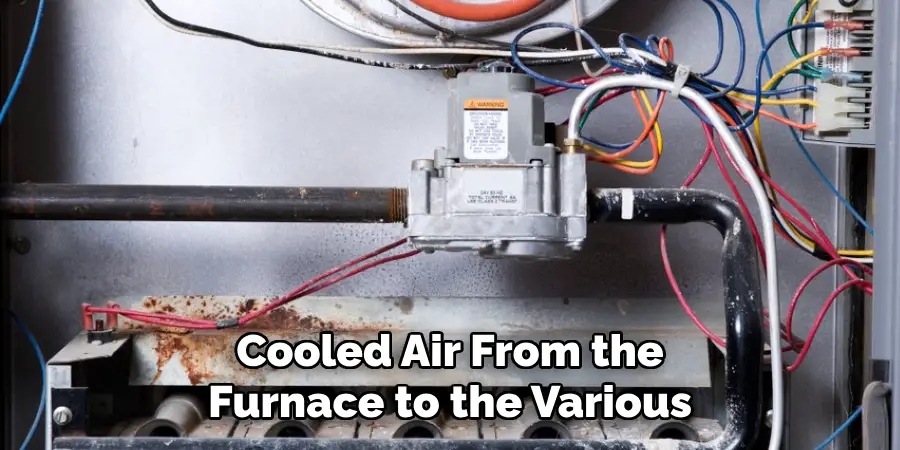
Following these ducts can guide you to the furnace’s location, as they need to transport heated or cooled air from the furnace to the various rooms in your home. These straightforward steps can help any homeowner familiarize themselves with the key components of their HVAC system, ensuring they are prepared for proper maintenance and troubleshooting.
Understanding Furnace Design and Filter Access
Understanding your furnace’s design is crucial for proper maintenance, especially when it comes to replacing the furnace filter. Furnace designs mainly fall into two categories based on the direction of airflow: upflow and downflow. Each design has specific characteristics that influence the location of the filter access panel, which is vital knowledge for homeowners when it comes to performing maintenance tasks like filter replacement.
Upflow Furnaces
Upflow furnaces are designed to heat air and distribute it upward through the ductwork. This design is common in homes with basement or ground-level HVAC installations, where the ductwork is routed upwards to reach living spaces. The heated air rises naturally, making this design efficient for heating.
In upflow furnace systems, the filter access panel is typically located at the bottom of the furnace or near the blower compartment. This placement allows for easier access to change or clean the filter, ensuring that the upflow system works efficiently by preventing dust and debris from entering the heating element and ductwork. Homeowners should regularly check and replace these filters to maintain air quality and furnace efficiency.
Downflow Furnaces
Conversely, downflow furnaces work by drawing air in at the top of the unit and pushing heated air downward, making them ideal for installations in attics or upper levels of a house. This design directs warm air down into the living spaces through ductwork on the floors or lower walls.
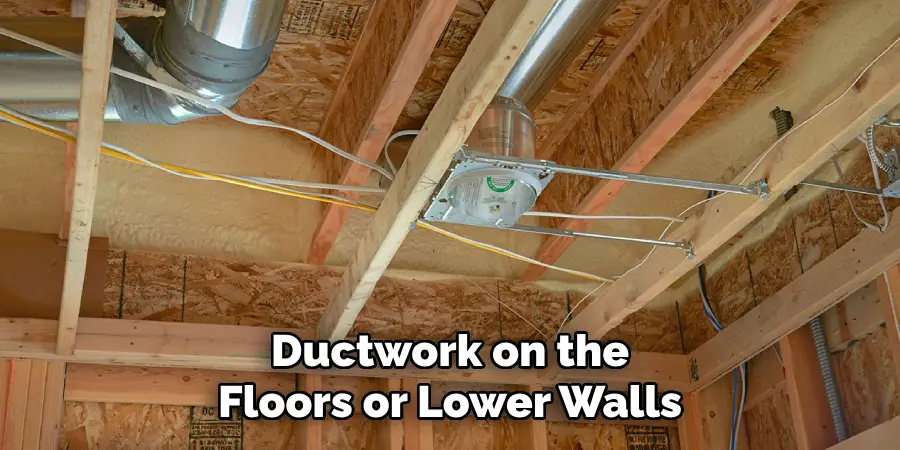
The filter access panel in downflow furnaces can vary in location but is often found on the bottom door, top door (especially if the blower is located at the top), or on the side of the furnace.
This positioning is designed to capture particulates before they can enter the heating element, preserving both the home’s air quality and the heating system’s efficiency. Like with upflow furnaces, regular filter checks and replacements are essential to maintain the system’s performance and the home’s air quality.
For both furnace types, understanding how to insert a furnace filter correctly according to the furnace’s design ensures that the system operates effectively, maintaining a comfortable and healthy home environment.
Signs You Need to Replace Your Furnace Filter
Regular HVAC system maintenance includes prompt replacement of the furnace filter, a crucial task for ensuring both system efficiency and the health of your home’s environment. The recommended frequency for replacing furnace filters varies depending on the type of filter you are using.
High-efficiency filters, such as HEPA, generally require replacement every month due to their fine meshes capturing more particulates. In contrast, standard filters, like fiberglass or basic pleated options, are typically replaced every three months. However, these timelines can be affected by factors such as the presence of pets, the level of outdoor pollution, and the overall usage of the system.
There are clear signs that indicate a furnace filter needs to be replaced:
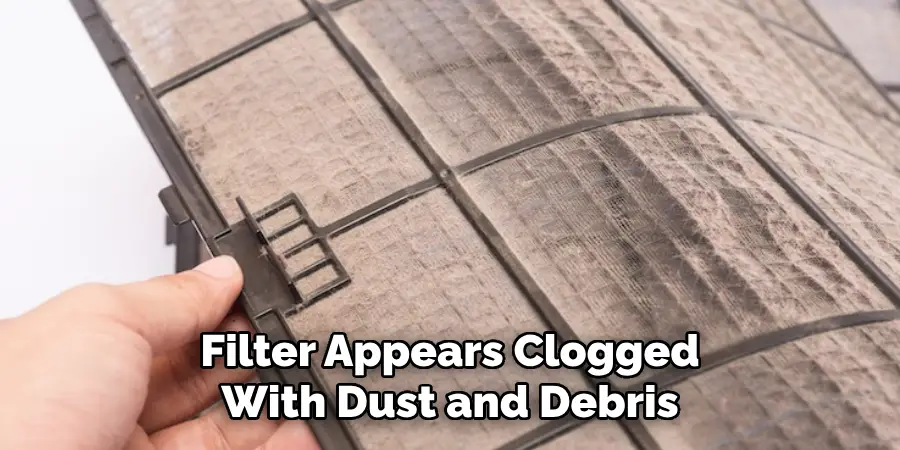
- Visible Dust Buildup on the Filter: When the filter appears clogged with dust and debris, it’s a clear sign that air cannot pass through as efficiently as it should. This restriction can force your HVAC system to work harder, reducing its lifespan and efficiency.
- Reduced Airflow from Vents: If you notice less air coming through your home’s vents, a dirty furnace filter could be to blame. A clogged filter restricts airflow through the system, which can also lead to discomfort in the home due to uneven heating or cooling.
- Increased Dust and Allergens in the Home: An uptick in dust accumulation or allergy symptoms among household members can signal that the current filter is not effectively removing particulates from the air. This reduction in indoor air quality is a strong indication that the filter requires immediate attention.
- Higher Energy Bills: An unexplained increase in energy bills can sometimes be traced back to a clogged furnace filter. When airflow is obstructed, your HVAC system must expend more energy to maintain your desired temperature, leading to higher operational costs.
Monitoring these signs closely will allow you to maintain your home’s air quality and comfort while ensuring your HVAC system operates efficiently. Remember, regular checks and timely replacement of the furnace filter are small tasks that can lead to significant benefits, including prolonging the life of your furnace and reducing the risk of costly repairs or replacements down the line.
Preparing for Filter Replacement
Prior to commencing any form of filter replacement, it is crucial to ensure the safety and efficiency of the process by first turning off your furnace and thermostat. This precautionary measure prevents the system from activating while you are working, reducing the risk of injury or inadvertent damage to the system.
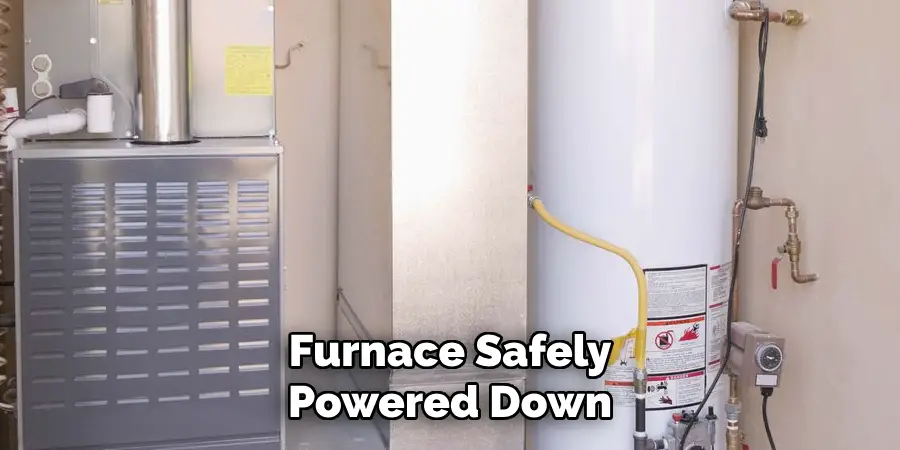
With the furnace safely powered down, gather the necessary materials for the task, including a new filter that matches the specifications of your system and any tools that may be required to access the filter compartment. Some furnace models may have latches or screws securing the filter access panel, necessitating the use of a screwdriver.
It is also advisable to wear protective gloves during the replacement process. Handling the old filter can expose you to accumulated dust and allergens, posing a risk to your health. Gloves help minimize direct contact with these substances, safeguarding you from potential allergic reactions or skin irritation.
Taking these simple but important preparatory steps ensures a smoother, safer filter replacement experience, contributing to the overall well-being of your household and the optimal functioning of your HVAC system.
Identifying and Accessing the Filter Access Panel
Most furnace filter access panels are straightforward to identify and remove, designed with the homeowner’s convenience in mind. Depending on its design, these panels are typically located on the bottom, top, or side of the furnace.
To secure the panel, manufacturers often use latches, screws, or clips, which can easily be undone to access the filter. Additionally, many panels are clearly labeled with “Filter” or “Air Filter” to aid in quick identification.
A. Tips for Identifying the Filter Access Panel
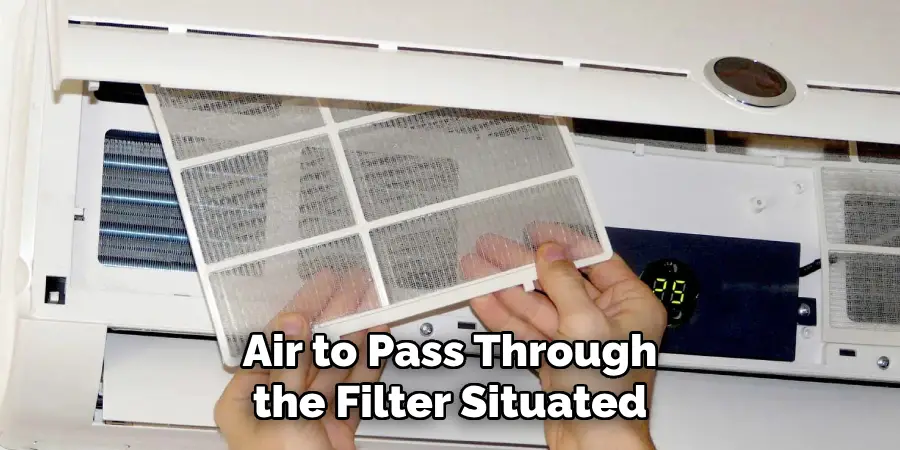
To locate the filter access panel, begin by looking for a rectangular panel on the furnace that seems distinctively different in appearance from its main body. This panel might also feel cooler to the touch, as it allows air to pass through the filter situated behind it.
If the panel’s location isn’t immediately apparent, consult your furnace’s manual or the manufacturer’s website, which can provide specific instructions and diagrams. These resources are especially helpful when dealing with less conventional furnace designs where the panel might be less conspicuously placed.
B. Removing the Access Panel
Once the filter access panel has been identified, homeowners should locate and carefully remove any latches, screws, or clips that hold the panel in place. This step usually requires nothing more than a basic screwdriver or, in some cases, just your fingers for latches and clips.
After these fasteners have been removed or disengaged, the panel should come away from the furnace with minimal effort. It’s important to carefully remove and set aside the panel in a safe location to prevent damage or loss of the securing hardware.
This exposure grants access to the furnace filter, allowing for its inspection, maintenance, or replacement. Remember to approach this task with care to avoid bending or damaging the panel, ensuring it can be securely reattached once the filter maintenance is completed.
How to Insert a Furnace Filter: Removing the Old Filter and Installing the New One
A. Removing the Old Filter
To safely remove the old filter, it’s essential to carefully grasp its frame without directly touching the filter media to reduce your exposure to accumulated dust and allergens. Gently pull the filter out of its compartment, being mindful of its condition and any excess debris that may dislodge during removal.
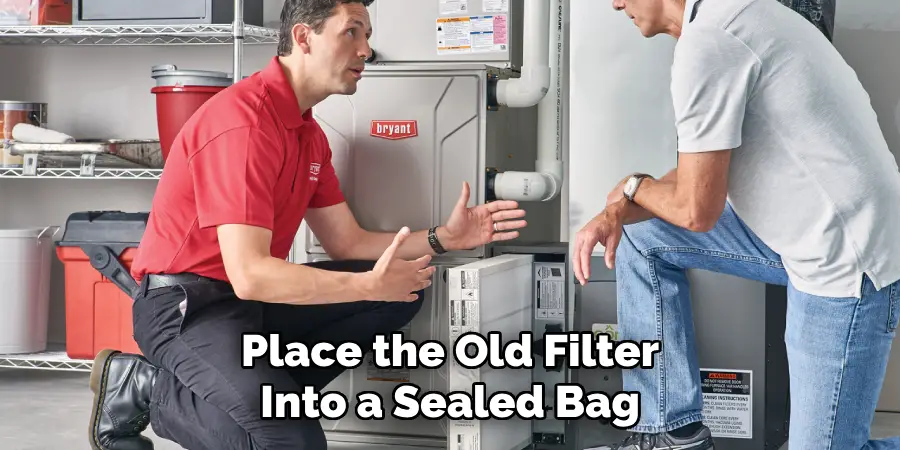
Once removed, immediately place the old filter into a sealed bag, such as a trash bag, to minimize the spread of dust and particulates into your living space. Disposing of the old filter promptly and responsibly ensures a cleaner, healthier environment during the filter replacement process.
B. Preparing the New Filter
Before installing the new filter, remove any plastic wrapping or packaging materials. This step is crucial to ensure that the filter can perform its function without obstruction. The removal of the packaging also prevents any potential hazards or malfunctions within the furnace due to inadvertently overlooked materials. Ensure that the filter is clean and undamaged, ready for installation.
C. Installing the New Filter
The correct size and orientation of the new filter are paramount for your furnace’s optimal functioning. Refer to the existing filter’s dimensions or the markings on the furnace itself to select the appropriate size. When installing the new filter, pay close attention to the airflow arrow on the frame, which indicates the direction in which the air should flow through the filter.
This arrow should point toward the furnace. Ensuring the filter is correctly oriented and fits snugly within the compartment without any gaps around the edges is essential for effectively filtering the air circulating through your HVAC system.
Securing the Access Panel and Turning the Furnace Back On
The next critical step after carefully installing the new filter is replacing the filter access panel to its original position. Carefully align the panel with the furnace body, ensuring it fits perfectly as it was before removal. Reattach the panel using the latches, screws, or clips you removed earlier.
It’s important to secure the panel firmly to prevent any air leaks, which can reduce the efficiency of your HVAC system. Double-check that the panel is securely fastened, feeling around the edges for any signs of misalignment or looseness that could indicate improper installation.
Once confident that the access panel is secure and there are no gaps, it’s time to turn the furnace back on. Return to your thermostat and reactivate the furnace. It may take a few minutes for the system to restart fully and begin heating your home again. This delay is normal as the furnace goes through its start-up sequence.
During this time, listen for any unusual noises that might indicate an issue with the recent maintenance. If everything sounds normal, you have successfully completed the filter replacement process, ensuring cleaner air and efficient operation of your HVAC system.
Additional Tips for Furnace Filter Maintenance
A. Labeling Replacement Dates
To help maintain a timely filter replacement schedule, it’s highly recommended to write the replacement date directly on the new filter before installation. This simple action serves as a useful reminder for the next scheduled change, ensuring your HVAC system operates with peak efficiency. By keeping track of when a filter was last replaced, you can avoid the guesswork and ensure your air stays clean.
B. Scheduling Filter Changes
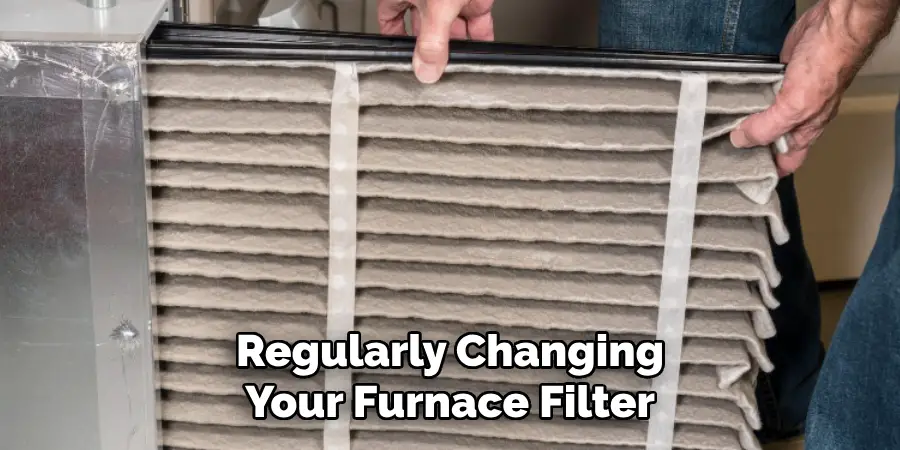
Regularly changing your furnace filter is crucial for maintaining air quality and the efficiency of your HVAC system. To prevent overlooking this important task, setting calendar reminders or subscribing to a filter replacement service can be incredibly helpful. These services or reminders will prompt you when it’s time to replace your filter, making it easier to maintain a consistent schedule without having to remember the last change date.
C. Choosing the Right Filter Type
Selecting the right filter type is a delicate balance between efficiency, your specific needs, and your budget. While higher MERV ratings capture smaller particles, they can also restrict airflow if not suited to your system. Consult an HVAC professional to identify the filter that provides the best balance for your home, ensuring optimal air quality and system performance without unnecessary expenditure.
D. Addressing Underlying Air Quality Issues
If you find yourself changing filters more frequently than recommended, it might be a sign of underlying air quality issues in your home. High levels of dust and other particulates can not only reduce the efficiency of your HVAC system but also impact your health.
Consulting an HVAC professional to evaluate your system and recommend solutions can help address these issues, improving both air quality and the longevity of your HVAC system.
Troubleshooting Common Filter Insertion Issues
Encountering issues during the filter insertion process can be a common frustration for many homeowners. Addressing these problems effectively is crucial for maintaining the efficiency and longevity of your HVAC system. Here are some potential issues and their solutions:
A. Incorrect Filter Size
One of the most prevalent issues is inserting a filter that doesn’t fit correctly. Using a filter size that is not specifically designed for your furnace can lead to reduced air quality and system efficiency.
If the filter is too small, air can bypass it completely, leading to unfiltered air circulating through your home. Conversely, a filter that is too large can be impossible to install without bending or damaging it. Always ensure that you use the exact size specified for your furnace to avoid these problems.
B. Misplaced Airflow Direction
Another critical issue is installing the filter with the airflow arrow pointing in the wrong direction. The arrow on the filter should always point toward the furnace, indicating the direction of the airflow.
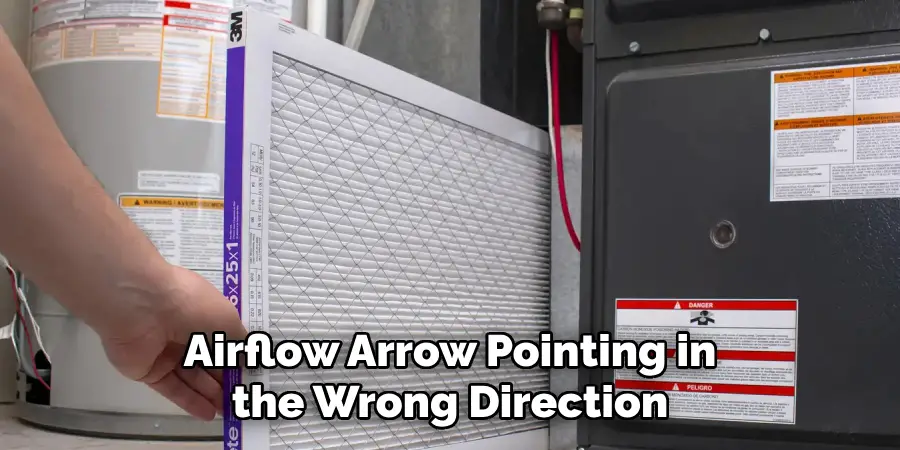
Installing the filter backward can significantly reduce your system’s efficiency and potentially cause damage over time. It may lead to increased resistance in airflow, forcing your furnace to work harder, which can escalate wear and tear.
C. Difficulty Removing or Inserting the Filter
Sometimes, homeowners may find it challenging to remove an old filter or install a new one due to it being stuck or seemingly too tight. This can occur for several reasons, including an incorrect size or an accumulation of dirt and debris.
If you face difficulty removing or inserting the filter, double-check the size and type against your furnace’s specifications. If the issue persists, consult your furnace’s manual for tips or contact a professional. It’s crucial not to force the filter into place, as this can damage both the filter and the furnace.
Addressing these issues promptly and effectively ensures that your furnace operates efficiently, maintaining clean and healthy air in your home.
Conclusion
Regularly replacing your furnace filter is more than a routine maintenance task; it’s a crucial practice for ensuring optimal performance of your HVAC system and maintaining superior indoor air quality.
The process, as detailed in earlier sections, including tips on “how to insert a furnace filter,” underscores the simplicity and importance of this task. Armed with the right information and techniques, homeowners can easily replace their furnace filters, contributing significantly to a healthier, more efficient home environment.
Proper furnace filter maintenance has a profound impact on your health by removing potentially harmful particulates from the air you breathe. Additionally, it helps reduce energy bills by enabling your HVAC system to operate at peak efficiency and extends the lifespan of your furnace by preventing unnecessary wear and tear.
By taking proactive steps in maintaining your HVAC system, including the regular changing of your furnace filter, you contribute to a healthier, more comfortable living environment. This guide aims to empower homeowners with knowledge and confidence in their ability to perform this essential task. Remember, a little maintenance goes a long way in ensuring your home remains a sanctuary for you and your loved ones.

