Are you tired of constantly switching between the shower head and the handheld shower wand? A 3-way shower diverter valve might just solve your problem.
How to install a 3 way shower diverter valve is a great way to upgrade your bathroom by allowing you to switch water flow between multiple showerheads or other fixtures. Whether you’re adding a handheld shower, a rain showerhead, or a tub spout, a diverter valve provides the flexibility and functionality you need. While the process may seem intimidating initially, it can be a manageable DIY project with the right tools and a clear understanding of the steps involved.
This guide will walk you through installing a 3-way shower diverter valve safely and effectively, ensuring proper functionality and a professional finish.
What Are the Benefits of a 3-Way Shower Diverter Valve
There are many benefits to installing a 3-way shower diverter valve in your bathroom. Here are some of the advantages you can expect:
- Increased Functionality: A 3-way shower diverter valve allows you to switch between multiple showerheads or other fixtures, providing more options for your daily showers.
- Cost-effective: Instead of installing separate plumbing for each fixture, a diverter valve allows you to use existing pipes and outlets, saving time and money.
- Space-saving: With a 3-way shower diverter valve, you won’t have to clutter your space with multiple fixtures. You can easily switch between them without taking up extra room.
- Versatility: Depending on your needs, you can choose from various types of 3-way shower diverter valves, including manual, thermostatic, and digital options. This allows you to customize your shower experience even further.
- Easy to use: Once installed, a three-way shower diverter valve is straightforward and requires minimal maintenance.
What Will You Need?
Before you begin the installation process, it’s essential to gather all the necessary tools and materials. Here’s a list of items you’ll need:
- 3-way shower diverter valve kit (includes valve body, trim plate, handle, and any additional parts)
- Pipe wrench
- Adjustable pliers
- Teflon tape
- Plumber putty or silicone sealant
- Screwdriver
- Measuring tape
- Level
- Safety glasses
Make sure to read the manufacturer’s instructions carefully before starting the installation process. It’s also a good idea to turn off the main water supply before beginning any plumbing work.
8 Easy Steps on How to Install a 3 Way Shower Diverter Valve
Step 1: Turn Off the Water Supply
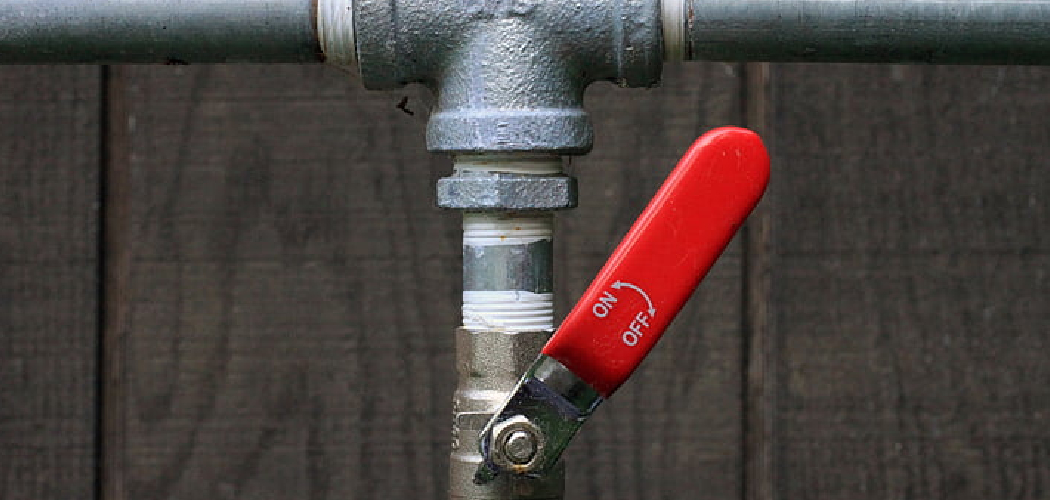
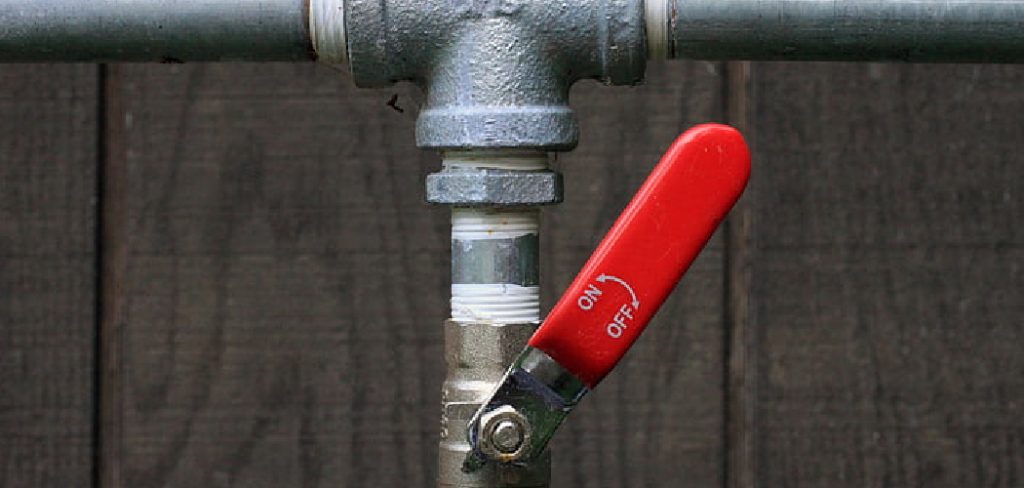
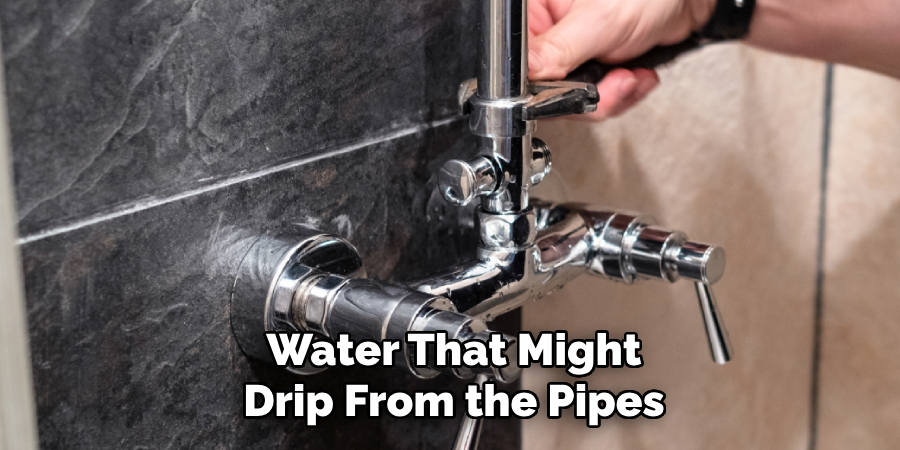
Before installing, locate your home’s main water shut-off valve and turn it off completely. This step is crucial to prevent any accidental water flow that could lead to flooding or damage during the installation. Once the water supply is off, open the faucets in your bathroom or nearby areas to drain any remaining water from the pipes. This will ensure a dry working environment and make it easier to handle the plumbing. For added safety, consider placing a bucket or towel underneath the work area to catch any residual water that might drip from the pipes. Double-check that no water is running before moving on to the next step.
Step 2: Gather Your Tools and Materials
Before proceeding with the installation, ensure you have all the necessary tools and materials ready. Standard tools include an adjustable wrench, plumber’s tape, a screwdriver, and a pipe cutter if alterations to existing pipes are needed. Additionally, ensure you have the 3-way shower diverter valve, appropriate fittings, and any sealing components provided in the package. Having everything on hand before you start will help minimize interruptions and ensure a smooth installation process. Organize your tools within easy reach to save time and effort during the work.
Step 3: Remove the Existing Showerhead
To install the 3-way shower diverter valve, start by removing the existing showerhead from the shower arm. Use an adjustable wrench to gently loosen the connection by turning it counterclockwise. Be careful not to apply too much force, which could damage the shower arm or the threads. If the connection is tight, using penetrating oil can help loosen it. Once the showerhead is removed, clean the threads on the arm with a cloth to remove any debris or old plumber’s tape. This will ensure a secure and leak-free connection for the new diverter valve.
Step 4: Attach the 3-Way Shower Diverter Valve
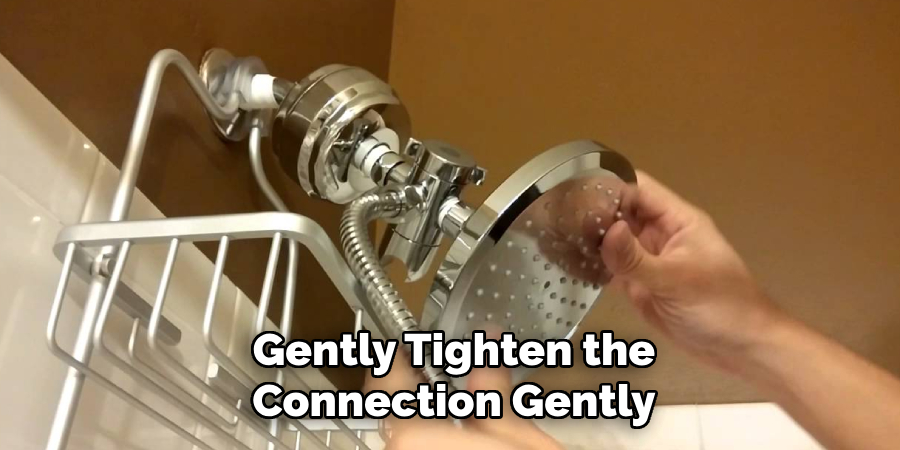
Take the 3-way shower diverter valve and screw it onto the shower arm by hand. Turn it clockwise until it feels snug, but avoid overtightening to prevent damage to the threads. Make sure the diverter valve’s outlets are positioned correctly to accommodate the showerhead and any additional shower attachments you plan to install. If needed, apply the plumber’s tape to the threads of the shower arm before attaching the diverter valve to enhance the seal and reduce the risk of leaks. Finally, use an adjustable wrench to gently tighten the connection gently, ensuring a secure fit without over-tightening.
Step 5: Attach the Showerhead and Additional Attachments
Secure the showerhead to one of the outlets on the 3-way diverter valve by screwing it on by hand. Turn it clockwise until it is snug, but again, avoid over-tightening. If you add additional attachments, such as a handheld shower, connect it to the designated outlet on the diverter valve, following the manufacturer’s instructions. Use the plumber’s tape on the threads of these connections to ensure a tight seal and prevent leaks. Once all components are attached, verify that everything is aligned correctly and securely fitted.
Step 6: Test the Installation
Turn on the water supply and check the functionality of the showerhead and any additional attachments. Rotate the diverter valve to ensure each outlet operates correctly and water flows smoothly through the selected component. Inspect all connections for leaks, and if any are detected, gently tighten the problematic connection or apply more plumber’s tape as needed. Your installation is complete once you are satisfied that everything is working properly and there are no leaks!
Step 7: Clean Up and Finalize
After ensuring the showerhead is functioning properly and no leaks are present, it’s time to clean up and complete the installation process. First, remove any tools, packaging materials, and debris from the workspace. Wipe down the showerhead and any surrounding fixtures with a clean, damp cloth to remove smudges, dust, or fingerprints that may have accumulated during the installation process. If plumber’s tape or sealant residue is visible on the fittings, carefully clean those areas to maintain a polished and professional appearance.

Additionally, take one final look around to confirm that all connections are secure, water pressure is consistent, and no additional adjustments are necessary. If you installed any attachments, such as a handheld showerhead or hose, arrange them neatly in their designated holders or positions for easy access during use.
Step 8: Maintenance Tips
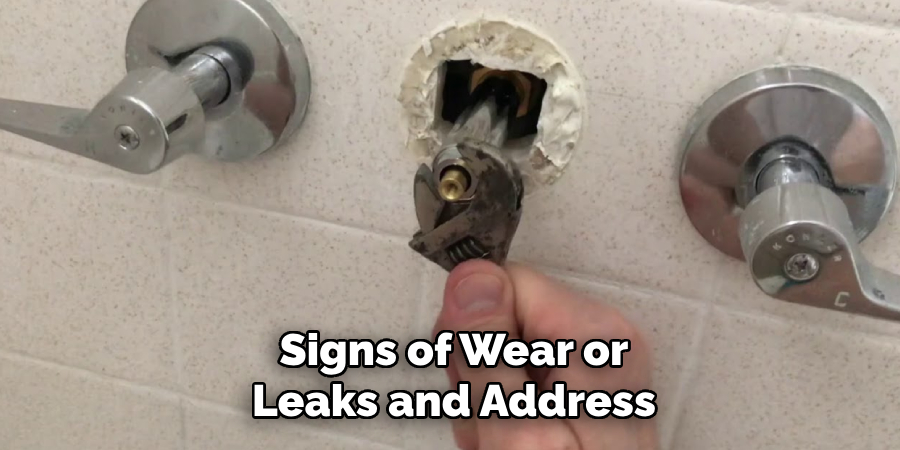
To ensure your shower system’s longevity and optimal performance, perform routine maintenance. Clean the showerhead and diverter valve periodically to prevent mineral buildup by soaking them in vinegar and water. Check connections for any signs of wear or leaks and address issues promptly to avoid potential damage. Additionally, inspect hoses and attachments for any cracks or defects, replacing them as needed. Regular care will help keep your shower system in excellent condition for years.
By following these steps and tips, you can easily install a 3-way shower diverter valve and enhance your shower experience.
5 Things You Should Avoid
- Skipping the Instructions: Avoid neglecting the manufacturer’s instructions. Each valve may have unique installation requirements; ignoring these can lead to improper installation or even damage to the component.
- Using the Wrong Tools: Always ensure you are using the correct tools for the job. Using the wrong tools can damage the valve or other plumbing fixtures, leading to costly repairs.
- Forgetting to Turn Off the Water Supply: Never install the valve without first shutting off the water supply. Failing to do so can result in water flooding the area and possibly causing significant damage.
- Neglecting to Check for Leaks: Avoid bypassing the leak test after completing the installation. Running water through the diverter without checking for leaks could lead to undetected problems that worsen over time.
- Improper Alignment of the Valve: Ensure the valve is aligned correctly during installation. Misalignment can disrupt the functionality of the diverter, causing difficulty in switching between water sources or uneven water flow.
By avoiding these common mistakes, you can successfully install a 3-way shower diverter valve and enjoy a more versatile and enjoyable shower experience.
Conclusion
How to install a 3 way shower diverter valve may seem intimidating at first, but with the right tools, careful planning, and attention to detail, it can be accomplished successfully.
Start by thoroughly preparing and understanding the steps involved, ensuring that the water supply is turned off before beginning the installation. Pay close attention to aligning the valve properly, using the correct tools for the job, and conducting a careful leak test once the installation is complete.
By following these guidelines and avoiding common mistakes, you can enhance your shower’s functionality and create a seamless experience tailored to your needs. Investing time in a proper installation will ensure long-lasting performance and satisfaction.

