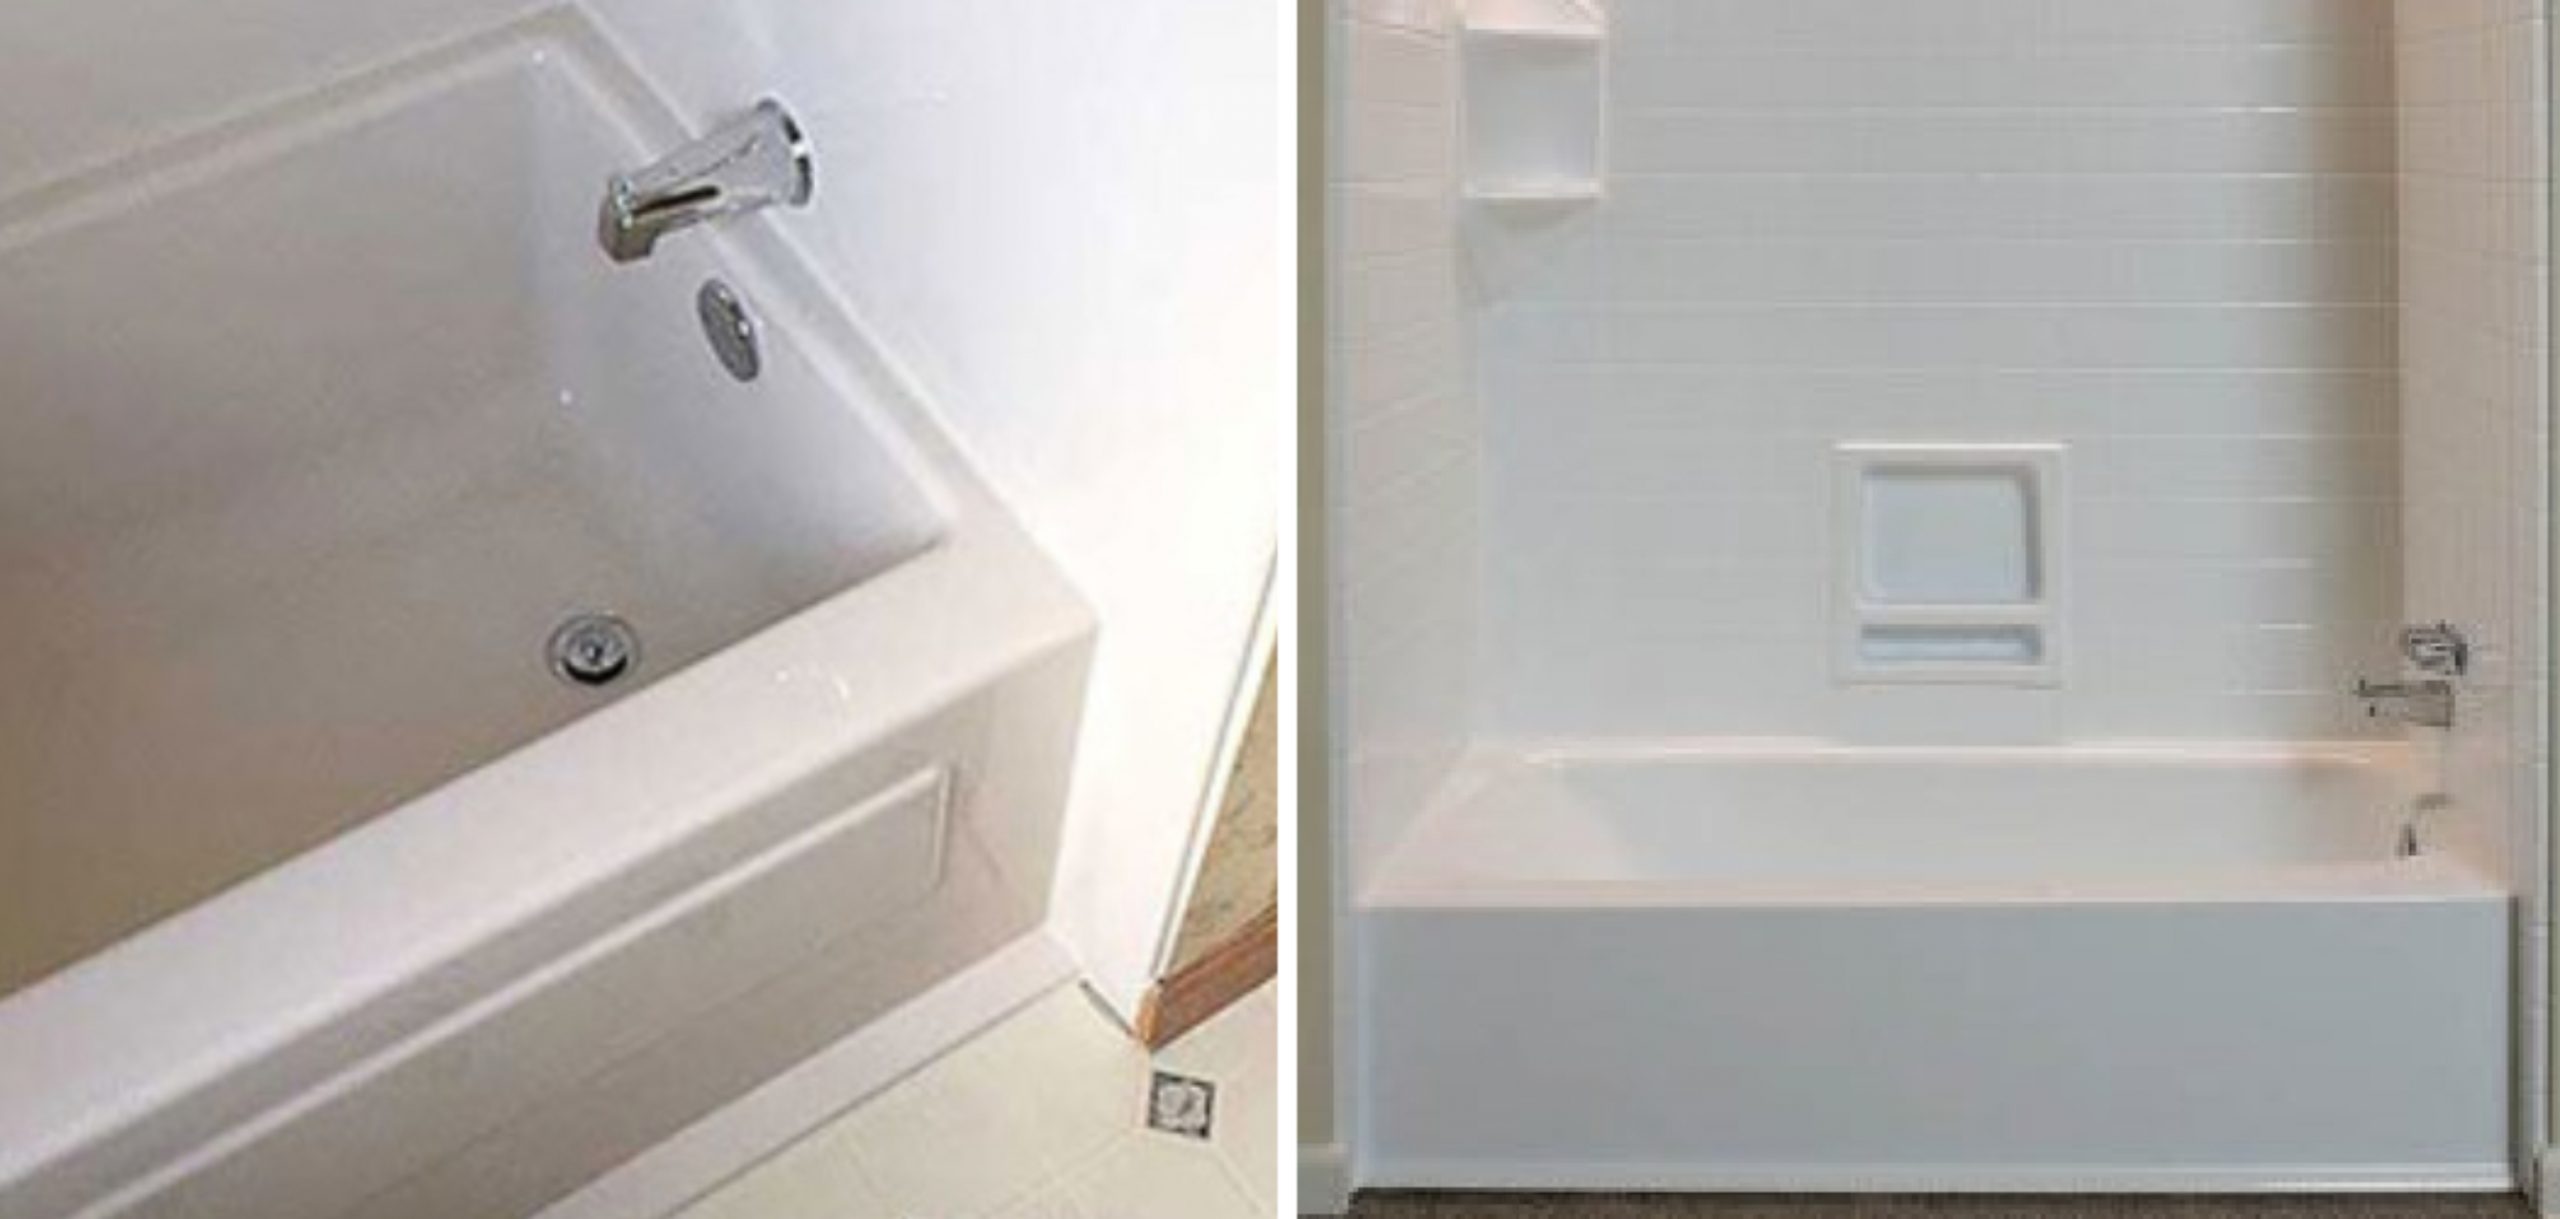
Are you tired of looking at your old, stained bathtub? Maybe it’s cracked or chipped, making it uncomfortable to use. Or you’re ready for a change in your bathroom’s appearance.
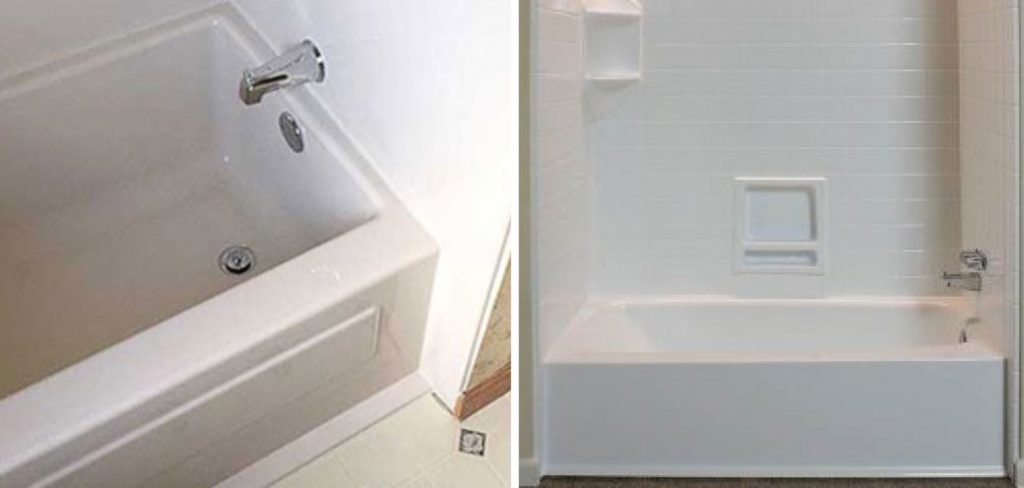
How to install a bathtub liner is a practical and effective way to rejuvenate an old, worn-out tub without the need for a complete replacement. This straightforward process not only enhances the bathroom’s appearance but also adds a layer of protection to the underlying surface. By following a few simple steps, you can achieve a professional-looking finish that is both durable and easy to maintain.
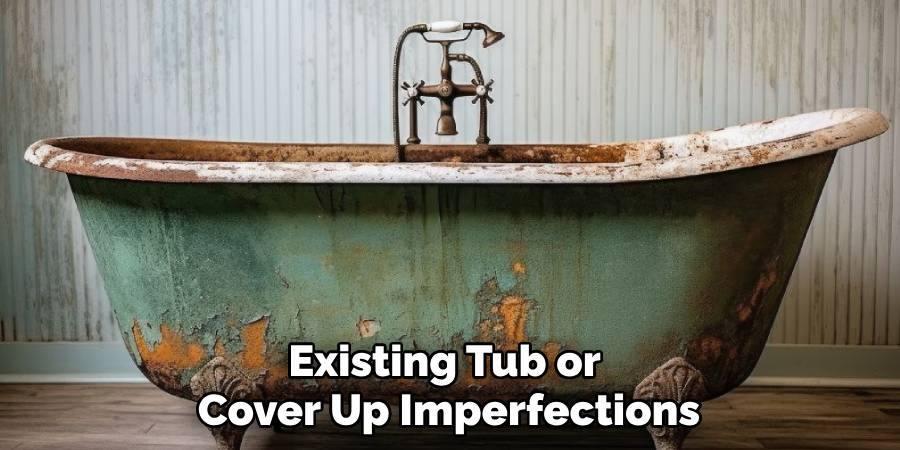
Whether you’re looking to upgrade your existing tub or cover up imperfections, this guide will walk you through the essential tools, materials, and techniques needed for a successful installation.
What Will You Need?
Before you begin, gather all the necessary tools and materials to ensure a smooth installation process. Here’s what you’ll need:
- Bathtub liner kit (includes adhesive, drain cover, and overflow plate)
- Measuring tape
- Sandpaper
- Bucket
- Sponge or cloth
- Caulk gun
- Utility knife
- Silicone caulk
Once you have everything on hand, it’s time to get started!
10 Easy Steps on How to Install a Bathtub Liner
Step 1: Measure Your Bathtub
Accurate measurements are crucial for a successful bathtub liner installation. Start by measuring your existing tub’s length, width, and depth. Use the measuring tape to determine the longest points and note any irregularities or curves in the tub’s shape.
Measuring both the inside and outside dimensions is essential to ensure that the liner will fit properly. Once you have your measurements, double-check them to avoid any mistakes that could lead to an ill-fitting liner.
Keeping these dimensions handy will guide you in selecting the correct liner size from the kit, ensuring a snug and secure fit that will enhance your bath space’s aesthetics and functionality.
Step 2: Prepare the Bathtub Surface
Before installing the bathtub liner, it’s crucial to prepare the surface of your existing tub. Begin by cleaning the tub thoroughly with a sponge or cloth to remove any soap scum, dirt, or grime.
Pay special attention to any cracks or chipped areas, as these imperfections need to be sanded down to create a smooth substrate for the liner. Use sandpaper to gently roughen the surface, which will help the adhesive bond more effectively.
Once you’ve cleaned and sanded the tub, rinse it with water and dry it thoroughly using a clean cloth to ensure no moisture remains, which can interfere with the adhesion process. Proper surface preparation will significantly contribute to the longevity and appearance of your new bathtub liner.
Step 3: Apply the Adhesive
Once your bathtub surface is clean and dry, it’s time to apply the adhesive included in your bathtub liner kit. Begin by following the manufacturer’s instructions regarding the specific type and amount of adhesive needed.
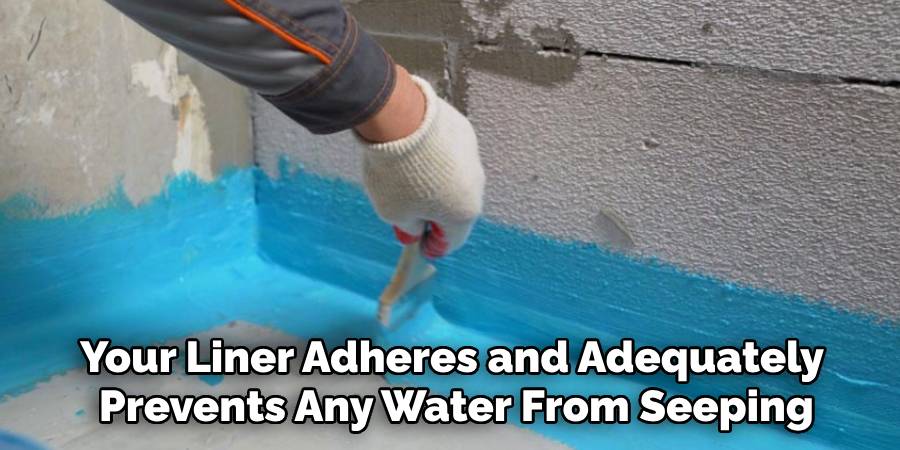
Using a caulk gun, apply a generous, even layer of glue around the edges of the bathtub, focusing on the areas where the liner will make contact with the tub. Working in small sections is essential to prevent the adhesive from drying out before you place the liner.
Make sure to apply glue in the middle of the tub, ensuring you create a secure bond for the entire surface. This critical step ensures that your liner adheres and adequately prevents any water from seeping underneath, which could lead to mold or damage over time.
Step 4: Position the Bathtub Liner
With the adhesive applied, carefully lift the bathtub liner out of its packaging and position it over the prepared tub. This may require assistance due to the size and weight of the liner.
Align the liner with the tub’s edges, ensuring it fits snugly into place. Start by pressing the liner down from the center and work outward to eliminate any air bubbles. It’s essential to take your time during this step to achieve a seamless look.
Once the liner is positioned correctly, apply pressure evenly across the surface to ensure a secure bond with the adhesive. If you notice any misalignment, gently lift the liner and re-position it before the adhesive sets. The proper placement is vital to achieving a professional finish and maximizing the durability of your bathtub liner.
Step 5: Secure the Liner
After positioning the liner firmly, it’s essential to secure it to ensure a strong bond with the adhesive. Begin by applying firm, even pressure across the entire surface of the liner, starting from the center and moving outward.
This process not only ensures that the liner makes full contact with the adhesive but also helps to eliminate any remaining air bubbles that can compromise the bond. Additionally, using a weighted object, such as a clean bucket filled with water, can help keep the liner pressed down while the adhesive cures.
Allow the adhesive to set as per the manufacturer’s instructions, usually a few hours, but confirming this timeframe will ensure optimal adhesion.
Step 6: Trim Excess Material
Once the adhesive has set and the liner is securely in place, it’s time to address any excess material. Using a utility knife, carefully trim any overhanging edges of the liner for a clean and polished finish. It’s essential to work slowly and precisely during this step, as you’ll want to avoid damaging the liner or the tub beneath it.
Cut along the tub’s edge, ensuring that you leave just enough liner for a tight fit without compromising the appearance. After trimming, be sure to clean up any debris to maintain a tidy work environment.
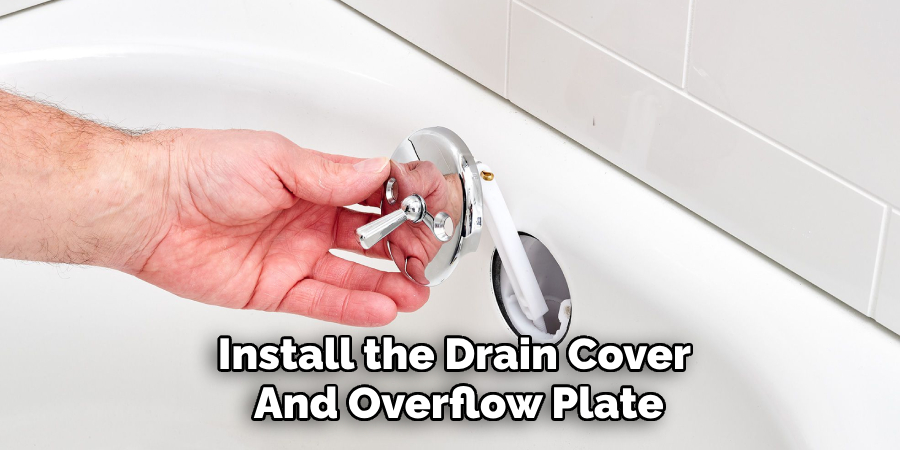
Step 7: Install the Drain Cover and Overflow Plate
With the liner installed and trimmed, the next step is to install the drain cover and overflow plate included in your bathtub liner kit. Begin by following the specific instructions in the kit, as installation may vary by product.
Typically, you must gently press the drain cover into place, ensuring it fits snugly against the liner. For the overflow plate, align it with the pre-cut hole in the liner and use the screws provided to secure it tightly. This step is crucial, as it ensures a finished look and prevents leaks that could cause damage over time.
Step 8: Caulk the Edges
To achieve a completely waterproof seal, it’s essential to apply silicone caulk around the edges of the bathtub liner where it meets the tub. Using a caulk gun, apply a steady bead of silicone caulk along these seams, ensuring that any gaps are filled thoroughly.
For a neat finish, smooth the caulk with your finger or a caulking tool. This step provides a professional look and helps eliminate water intrusion that could lead to mold and mildew growth. Once the caulk is applied, allow it to cure according to the manufacturer’s directions.
Step 9: Allow the Liner to Set
After completing the installation and caulking, allowing the newly installed bathtub liner ample time to set is essential. Generally, waiting at least 24 hours before using the bathtub is advisable.
This waiting period allows the adhesive to cure fully and the caulk to dry, ensuring that you have a secure, watertight installation. During this time, it’s best to keep the bathroom well-ventilated, which aids in drying.
Step 10: Enjoy Your New Bathtub
Once the waiting period has passed and everything is set, it’s time to enjoy your revitalized bathtub! Fill it with warm water and relax in your transformed space. The new liner enhances your bathroom’s aesthetics and provides a fresh and comfortable bathing experience.
Regular maintenance, such as proper cleaning, will help keep your bathtub liner looking new and extend its lifespan. Enjoy the fruits of your labor, knowing that you’ve successfully installed a bathtub liner that revitalizes your bathroom.
By following these ten steps, you can easily install a bathtub liner to give your bathroom a fresh new look.
5 Things You Should Avoid on how to install a bathtub liner
- Using the Wrong Adhesive: Different liners may require specific types of adhesive. Avoid using a general-purpose adhesive; stick to the manufacturer’s recommended products to ensure the best results.
- Overloading the Liner: Applying excessive pressure or weight onto the installed liner can cause it to shift or wrinkle. Be gentle during installation, and avoid placing heavy objects on the liner until the adhesive fully cures.
- Ignoring Drying Times: Patience is key to drying times for adhesives and caulk. Rushing into using the bathtub before everything is fully set can compromise the installation and lead to future issues.
- Neglecting Regular Maintenance: Once installed, it’s important to routinely clean and inspect the liner for wear or damage. Failing to perform regular maintenance can shorten the liner’s lifespan and increase the risk of leaks.
- Don’t Ignore Installation Instructions: It may be tempting to skip over the instructions, but this can lead to mistakes and a poor finished product. Take the time to thoroughly read and follow all instructions the manufacturer provides for optimal results.
By avoiding these common mistakes, you can ensure a successful and long-lasting bathtub liner installation.

Conclusion
In conclusion, how to install a bathtub liner can be a rewarding project that revitalizes your bathroom space.
By carefully following each step, from surface preparation to sealing the edges, you can achieve a professional-looking finish while enhancing the durability and aesthetics of your bathtub.
Remember to avoid common pitfalls, such as using incorrect adhesives or rushing the drying process, to ensure a successful installation. With proper maintenance and care, your new bathtub liner can provide a fresh bathing experience and remain beautiful for years to come.
Embrace the satisfaction of a DIY project well done and enjoy the benefits of your hard work!

