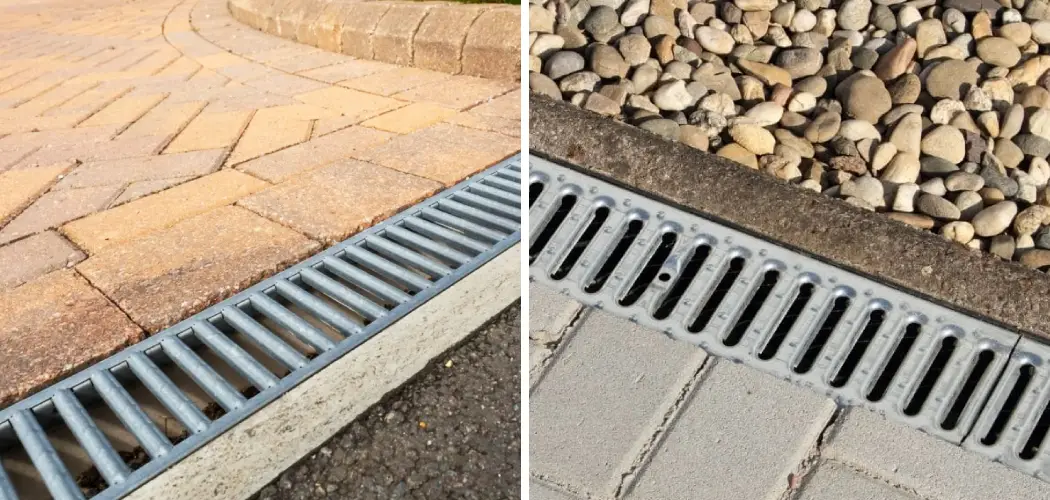
Are you looking for an easy solution to manage surface water runoff and drainage in or around your home? Installing a channel drain in concrete may be the solution for you. Installing a channel drain in concrete may seem like an intimidating project, but it is actually fairly straightforward.
With only some basic hand tools and materials, you can complete the installation quickly and efficiently. Channel drains are becoming increasingly popular as they provide an effective way of controlling rainwater on paved surfaces like driveways, patios, garden pathways, and pool decks.
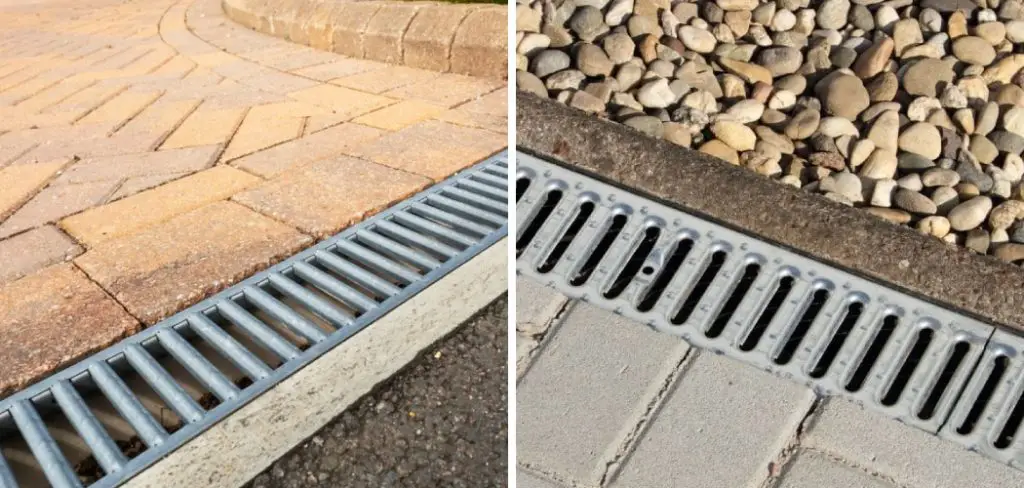
In this blog post, we’ll walk you through exactly how to install a channel drain in concrete and what you need to know for successful channel drain installation in concrete — from prepping the surface to completing your final step of securing the grates.
By following this step-by-step guide, you’ll be able to effectively install your channel drain system with confidence! So if you’re ready to get started on this project, read on!
What is Channel Drain?
A channel drain is a type of trench drain that uses sloped channels to collect and disperse water efficiently. It is made from a variety of materials, including concrete and polyethylene, and can be installed in several ways. Channel drains are ideal for areas where there is limited space or where surface water runoff must be managed.
The Benefits of a Channel Drain in Concrete
1. Durable
Installing a channel drain in concrete provides several benefits. Firstly, they are durable and can withstand heavy traffic. Secondly, they provide an effective way of controlling rainwater on paved surfaces like driveways, patios, garden pathways, and pool decks.
Additionally, since the channels are sloped to direct water away from the surface it is installed on. They help reduce the risk of flooding and water damage.
2. Easy to Install
Channel drains are also relatively easy to install in concrete. With the right tools and materials, you can have your channel drain system up and running in no time!

3. Low Maintenance
Once installed, channel drains require minimal maintenance. You may need to occasionally remove debris or clean out the channels, but overall they are a low-maintenance drainage solution.
Now that you know the benefits of installing a channel drain in concrete, let’s go over how to get it done!
Required Items
- Concrete Channel Drain System
- Level
- Hammer or Mallet
- Masonry Saw
- Trowel
10 Steps How to Install a Channel Drain in Concrete
Step 1: Prep the Surface
The first step in installing a channel drain in concrete is to remove any existing debris, dirt, or vegetation from the area. Once cleared, use a level and trowel to ensure the surface is level and smooth.
Step 2: Mark the Drains
Next, mark out the drains with a marker or chalk line. Ensure that there is at least one foot of space between each drain for optimal drainage efficiency. Mark the entire length of the channel drain to be installed.
Step 3: Cut Out the Drainage Channels
Using a masonry saw, cut out the drainage channels according to your marked lines. The cuts should be straight and as accurate as possible. Cutting out the channels may take some time and effort, so make sure to go slow and steady.
Step 4: Place Drainage Bases
Once you have cut out your drainage channels, place the drainage bases inside them according to the instructions provided by the channel drain manufacturer. This helps ensure proper water flow through the drains.
Step 5: Secure Bases with Cement
Mix cement according to the manufacturer’s instructions, and pour it into the drainage channels. Use a trowel to spread the cement evenly around each base. Allow the cement to dry before continuing with the installation.

Step 6: Place Drainage Grates
Once the bases are secured with cement, place the drainage grates on top. Make sure they are secure and level before moving on to the next step.
Step 7: Seal Around Grates
Using sealant, go around each grate and make sure they are sealed properly. This will help prevent water from seeping out of the channel drains. Allow the sealant to dry completely before continuing with the installation.
Step 8: Install Channel Drain Piping
Now, you can install the channel drain piping. For best results, use flexible piping, as it makes it easier to connect the drains together. Make sure all connections are secure and tight before continuing with the installation.
Step 9: Backfill with Soil
Once the pipes are installed, backfill the area around them with soil. This will provide additional support and help ensure the channel drain system is secure.
Step 10: Add Final Touches
Finally, add any final touches like gravel or mulch to complete your installation. This will help keep weeds from growing around the drains and also give the area a more finished look. Congratulations! You’ve successfully completed your installation of a channel drain in concrete.
Now that you’ve completed your channel drain installation be sure to test it out and make sure it is functioning properly. This will help ensure that your drainage system is working efficiently and effectively.
By following these steps, you can easily install a channel drain in concrete for effective water management around your home. This type of drain is becoming increasingly popular due to its durability and low maintenance requirements, so it is definitely worth considering if you’re looking for an efficient drainage solution.
8 Safety Precautions
When it comes to installing a channel drain in concrete, it is important to take proper safety precautions. Here are 8 of the most important ones:
1. Wear the right attire. Be sure to wear safety glasses, gloves, and other protective clothing when working with concrete and any tools you may need for installation. This will help protect you from getting injured.

2. Use the right tools. Choose the correct type of hammer drill, drill bit, and other tools for drilling into concrete. Be sure to read the instructions on how to use these tools properly to avoid any potential hazards.
3. Keep your hands away from sharp edges. When cutting concrete, be sure to keep your hands away from any sharp edges to prevent accidental cuts.
4. Prepare the area beforehand. Make sure that the area around where you’ll be installing the channel drain is free of any debris or other items that could interfere with the installation process. Preparing the area beforehand will also help keep you and your tools safe.
5. Wear a dust mask. Concrete can release dust when it is drilled or cut, so it’s important to wear a dust mask to protect yourself from breathing in any of these particles.
6. Use a level and measure twice before drilling. Before drilling into concrete, use a level to ensure you are drilling in a straight line. Take measurements twice to double-check that you are drilling in the right spot.
7. Use a protective covering over the channel drain opening. This will protect it from any debris or water that could get into the opening and potentially cause damage.
8. Follow all instructions carefully when installing the channel drain. Read and follow all instructions on how to install the drain correctly to ensure that it is placed safely and securely.
Following these 8 safety precautions when installing a channel drain in concrete will help keep you safe and ensure that your installation goes smoothly. Remember to take all of the necessary steps beforehand, such as measuring twice and wearing protective gear, so that you can complete the job successfully.
Frequently Asked Questions
How Long Will It Take to Finish the Project?
The time it takes to install a channel drain in concrete will depend on the complexity of the project, as well as your experience level. If you’re an experienced DIYer or contractor, you can expect installation to take around 4-6 hours for a standard 8 foot long channel drain with one grate. However, larger drains and projects that require additional components may take significantly longer.
Are There Any Safety Tips I Should Be Aware Of?
Yes, it is important to practice safety when installing a channel drain in concrete. Before you begin, make sure you have the necessary protective equipment, such as eyewear and dust masks. Additionally, pay attention to any power tools you are using and ensure that they are in good working condition.
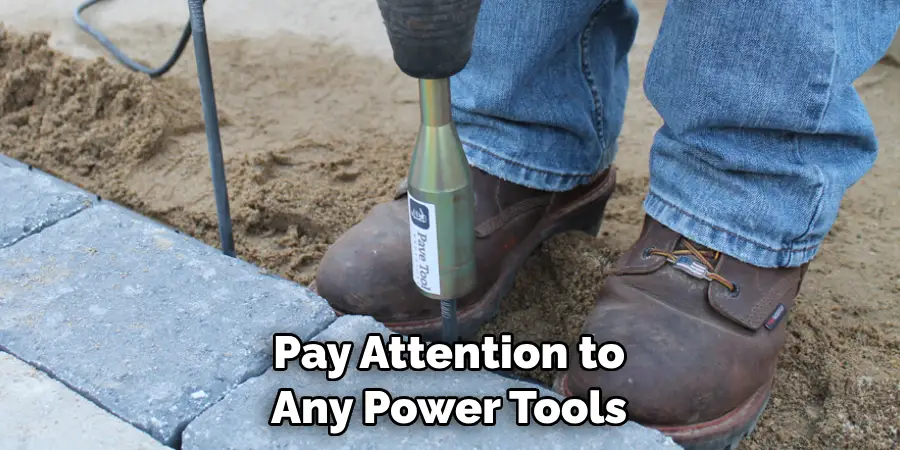
It is also important to wear gloves when handling concrete, as it can be irritating to your skin. Finally, make sure the area you are working in is well-ventilated and that you have a plan for dealing with any debris created during installation.
Conclusion
Installing a channel drain is not an overly difficult job, but it should be done carefully and correctly. It requires patience and precision to ensure that the channel drain is securely installed into the concrete. This task may seem daunting, but when you break it up into easy-to-follow steps, like we presented today in this blog post, you are guaranteed to achieve success in the end.
Once you have successfully installed your channel drains, you can rest assured that they will perform as they were designed. Not only will they effectively manage water runoff and reduce flooding, they will add a modern aesthetic to any area in which they are installed.
We hope that our tips on how to install a channel drain in concrete have been helpful and guide you along the way as you complete this project.

