A coupler is a crucial plumbing component designed to connect two piping pieces or link a faucet securely to a water supply. This small yet essential item ensures that water flows smoothly and without leaks, making it integral to the functionality of your plumbing system. Installing a coupler on a bathtub faucet can be necessary for several reasons. For instance, you might need to replace a damaged faucet, upgrade your plumbing system, or add a new fixture to improve efficiency or aesthetics.
Regardless of the reason, understanding how to install a coupler on bathtub faucet is important for ensuring a reliable and leak-free connection. The process typically involves identifying the faucet location, carefully removing any old fittings, and securely attaching the new coupler. With attention to detail, this task can be completed efficiently, enhancing the overall performance of your bathtub faucet.
Tools and Materials Needed
Before beginning the installation of a coupler on a bathtub faucet, it’s important to gather the necessary tools and materials to ensure a smooth process. Here’s what you’ll need:
Essential Tools
- Adjustable wrench – For tightening and loosening connections.
- Pliers – Useful for gripping pipes and fittings tightly.
- Pipe cutter – To accurately cut pipes to the required length.
- Pipe thread tape (Teflon tape) – To create watertight seals on threaded connections.
- Screwdriver – For removing or tightening screws.
- Basin wrench – Designed to reach and tighten connections in hard-to-reach spaces.
Materials for the Job
- New coupler – The specific type should match your plumbing needs.
- Faucet – Either a replacement faucet or the one already in place.
- Rubber washers – To provide a sturdy and leak-proof seal.
- Teflon tape – Ensures tight, leak-free threaded connections.
Safety Precautions
- Protective gloves – Keep your hands safe from injuries or sharp edges.
- Safety goggles – Protect your eyes from debris during the installation.
- Water supply off – Always turn off the water supply before starting to prevent flooding and ensure a safe work environment.
Gathering these tools and materials ahead of time will make the process efficient and stress-free.
Turning Off the Water Supply
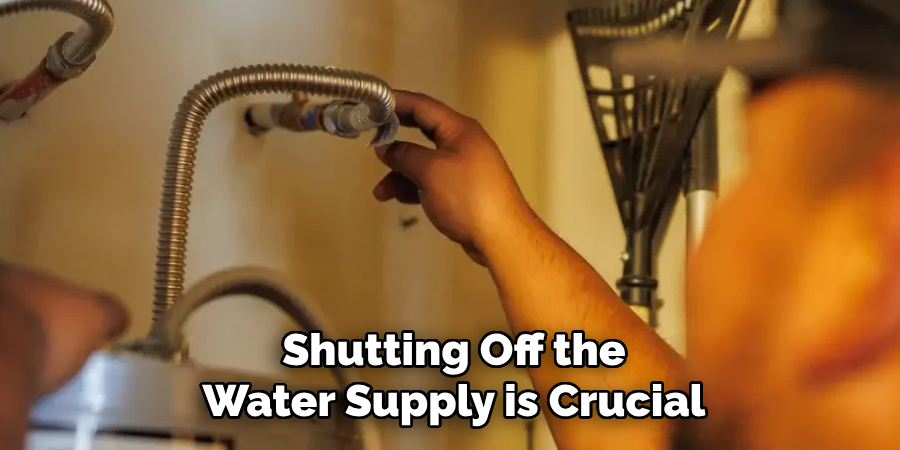
Before beginning any plumbing project, shutting off the water supply is crucial to prevent leaks, spillage, or potential flooding. This step ensures a safe and hassle-free installation process. There are two common methods for turning off the water supply, depending on the scope of the job.
Locating the Main Water Shutoff Valve
If the repair or installation affects more than one fixture, or if you want to ensure no water flows anywhere in the house, locate the main water shutoff valve. It is typically found near the water meter, possibly in the basement, crawl space, or an external utility box. Turn the valve clockwise to shut off the entire house’s water supply.
Check if the bathroom has dedicated shutoff valves for smaller jobs, such as working on a particular faucet. These are usually located beneath the sink or behind the toilet. Turn these valves clockwise to stop water flow to that specific fixture.
Checking the Water Supply is Off
After turning off the respective shutoff valve, confirm that the water supply is completely off. Do this by opening the faucet where the work will occur. If water no longer flows, the supply is successfully turned off.
Safety Considerations
This precaution prevents accidental spills and potential water damage during installation. Be diligent about this step to ensure both safety and efficiency throughout the project.
Removing the Old Faucet or Coupler
Using a Wrench to Loosen the Faucet Connections
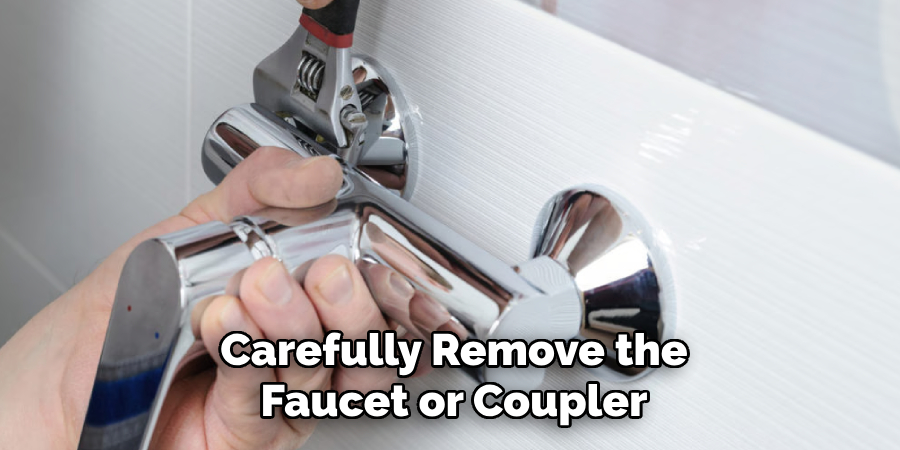
Use an adjustable wrench to loosen the connections to remove the old faucet or coupler. Locate the nuts securing the faucet to the sink or countertop, usually positioned underneath, behind the basin. Hold the faucet firmly in place while turning the nuts counterclockwise to ensure a smooth removal process. If you encounter resistance, avoid forcing the connections, as this might cause damage; instead, consider using a penetrating oil to help loosen stubborn or corroded parts.
Detaching the Old Faucet or Coupler from the Supply Lines
Once the connections to the sink are loosened, detach the supply lines by unscrewing the coupling nuts that connect them to the faucet or coupler. Have a bucket or towel handy to catch any remaining water in the lines. Carefully remove the faucet or coupler, ensuring you do not damage the surrounding areas or any remaining components.
Removing Any Rust or Mineral Build-Up
Over time, rust or mineral deposits may accumulate on the connection areas, making it crucial to clean these surfaces before installing the new faucet. Use a mixture of vinegar and water or a specialized cleaning solution to dissolve any build-up. Apply the solution with a soft cloth or brush, gently scrubbing the areas affected. Wipe the surfaces clean and dry with a clean rag to create a smooth, debris-free base for the new installation.
Disassembling the Faucet and Coupler
Carefully disassemble if the old faucet or coupler includes additional components such as washers, gaskets, or mounting hardware. Use a screwdriver, pliers, or your hands as needed to remove these parts. Pay attention to how the components are arranged, as this will help you better understand how to install the new fixture. Ensure all old gaskets and sealants are removed from the sink or countertop to prepare for a proper seal during installing the new faucet.
By following these steps, you ensure that the connection points are clean, clear, and ready to accommodate the new faucet or coupler, setting the stage for a smooth and secure installation process.
Preparing the New Coupler and Faucet
Inspecting the New Coupler and Faucet Parts
Before proceeding with the installation, carefully inspect the new coupler and faucet parts to ensure they are compatible with your existing plumbing setup. Verify that the dimensions of the coupler and faucet align with the measurements of the sink or countertop openings, and check that the connections match the size of your supply pipes.
It’s important to review the manufacturer’s specifications and instructions included with the new hardware for any unique installation requirements. Look for any visible defects that could compromise functionality, such as cracks or irregularities in the parts. Ensuring compatibility and quality at this stage prevents potential issues during installation.
Wrapping Threads with Teflon Tape
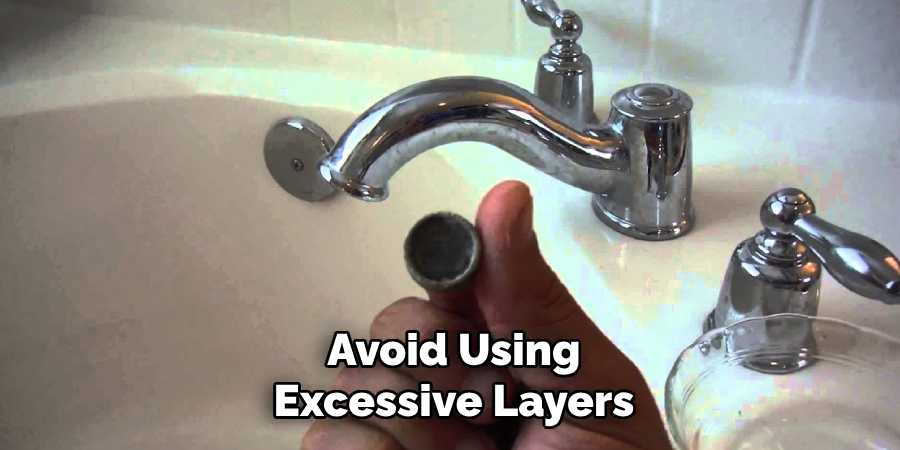
To create a watertight seal and prevent future leaks, wrap the threaded connections of the new coupler and faucet with Teflon tape. Start by holding the tape firmly at the base of the threads and wrapping it clockwise, overlapping slightly with each turn. Cover the threads fully, but avoid using excessive layers, as this could make it difficult to attach the parts securely. The Teflon tape serves as an additional barrier, sealing the connection points while allowing for easy tightening during installation. Wrapping the threads properly ensures a tight, leak-free fit once the components are screwed together.
Checking Washer and Gasket Installation
Proper washer and gasket placement is crucial for ensuring a secure and stable fit during the installation process. Examine the new faucet and coupler to confirm that all necessary washers and gaskets are included and correctly positioned. Place gaskets or rubber rings at the base of the faucet and coupler, where they will sit against the sink or countertop. Additionally, check the alignment and cleanliness of these sealing components to avoid gaps that could lead to leaks. If needed, apply a small amount of plumber’s grease to the washers to facilitate a smooth installation. Properly preparing these seals ensures stability and helps maintain the integrity of the plumbing over time.
How to Install a Coupler on Bathtub Faucet: Installing the New Coupler
Attaching the Coupler to the Water Supply Line
Begin by positioning the new coupler onto the water supply line. Carefully align the coupler threads with the supply line and hand-tighten it into place. This step requires precision to avoid cross-threading, which could damage the components and compromise the seal. Ensure the coupler is seated properly for a snug fit.
Securing the Faucet to the Coupler
Once the coupler is in position, attach the faucet to the coupler. Use an adjustable wrench to tighten the connection securely, but avoid over-tightening, which can strip the threads or crack the plumbing components. A firm and steady tightening motion ensures a durable and leak-free connection.
Ensuring Proper Alignment
After securing the faucet, ensure it is properly aligned and positioned over the sink or countertop. Avoid any strain on the plumbing by adjusting the alignment to ensure smooth operation. Taking the time to confirm proper placement helps prevent future issues with functionality or leaks.
Testing for Leaks and Ensuring Proper Function
Turning On the Water Supply
Gradually turn the water supply back on to prevent sudden pressure surges that could stress the new connections. Open the supply valve slowly while observing the faucet and coupler areas.
Inspecting for Leaks
Carefully inspect the faucet and coupler connections once the water supply is fully restored. Look closely for any signs of dripping or pooling water, as even minor leaks can lead to more significant problems over time. Perform this inspection while hot and cold water is running to fully test the connections.
Making Adjustments if Necessary
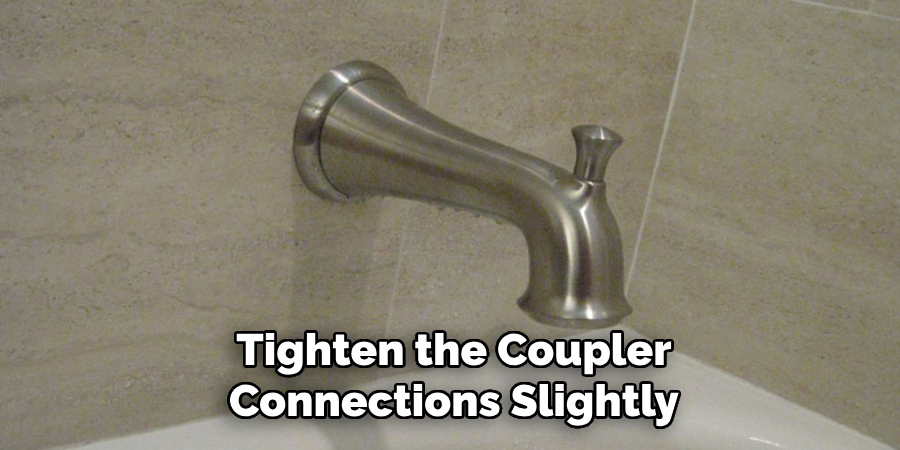
If any leaks are detected, turn off the water supply and address the issue immediately. Tighten the coupler connections slightly using an adjustable wrench, or reseal the threads with Teflon tape for a more secure seal. Once adjustments are made, repeat the process of turning the water back on and inspect again to ensure a fully leak-free system.
Conclusion
Installing a coupler on a bathtub faucet involves several important steps to ensure a secure and reliable connection. Key steps include turning off the water supply, removing old connections carefully, preparing the new coupler with Teflon tape, and thoroughly inspecting the installation for leaks. An adequately installed coupler guarantees consistent water flow while preventing leaks that could lead to costly water damage.
For the best results, periodically check the connections for wear and tear over time, and always prioritize safety during each process step. Following this guide on “how to install a coupler on bathtub faucet” ensures a long-lasting and efficient setup.

