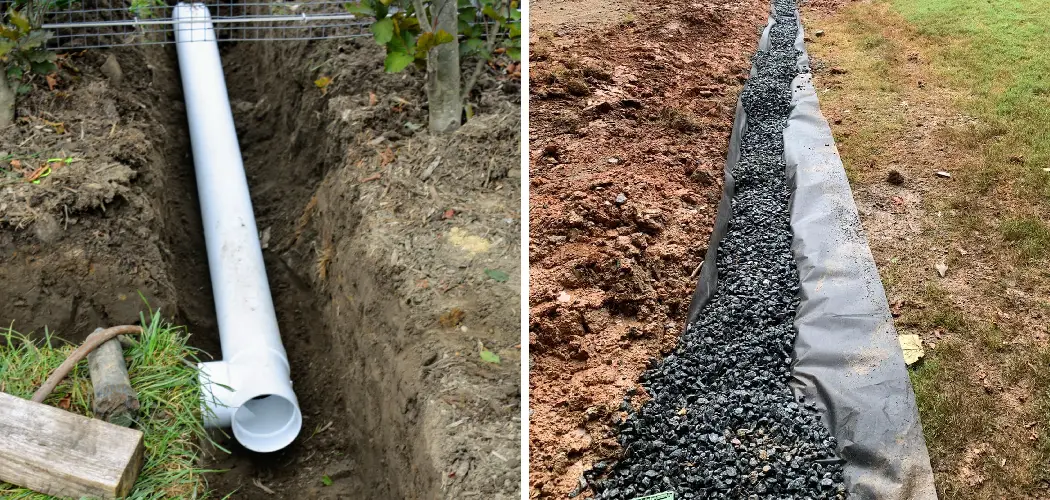
Do you have an area in your yard that’s prone to pooling water after heavy rains? Don’t let this standing water damage your property. The solution is to install a curtain drain, a type of drainage system that can effectively manage large amounts of surface and groundwater before it causes any problems.
If you’re looking for an effective way to prevent water from collecting on the land around your home, a curtain drain may be the solution.
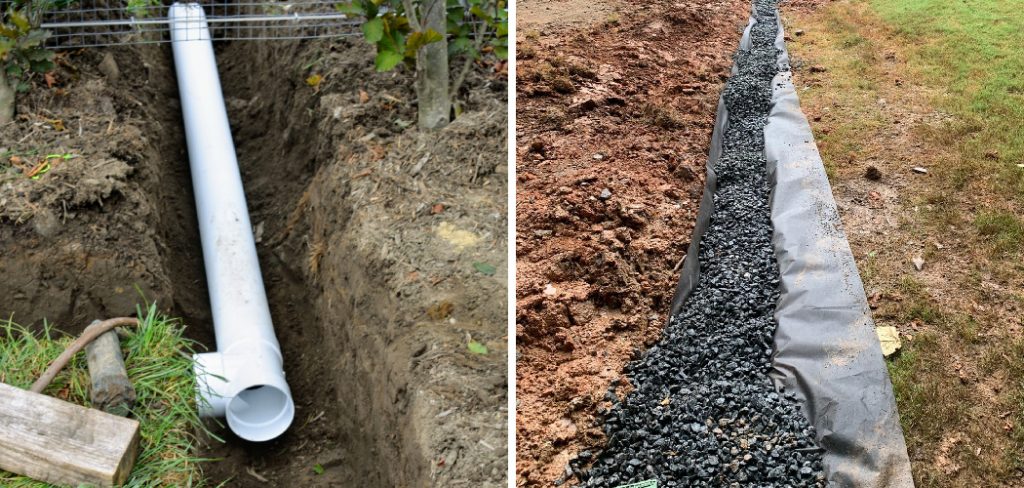
Curtain drains can direct surface runoff away from buildings and low-lying areas, preserving the quality of your soil and preventing potentially expensive damage to structures caused by excess moisture. While installing a curtain drain might seem intimidating, it is possible for homeowners with some basic knowledge and preparedness.
In this blog post, we’ll provide simple step-by-step instructions on how to install a curtain drain.
What is a Curtain Drain?
A curtain drain is a type of drainage system that runs along the contour of a sloped area, collecting and redirecting surface water away from buildings or other low-lying areas.
Unlike traditional French drains, which are typically installed in a straight line, curtain drains follow the natural curves of a slope to ensure optimal runoff. This makes them highly effective in controlling large amounts of surface water.
Additionally, curtain drains can be installed quickly and with minimal excavation. This makes them an ideal solution for homeowners looking to protect their property from water damage without undertaking a major excavation project.
What are the Benefits of Installing a Curtain Drain?
Installing a curtain drain offers numerous benefits, including:
1. Protection from water damage. Curtain drains can effectively direct surface runoff away from buildings and other areas prone to excess moisture. This prevents potential water damage to your home or property.
2. Improved soil quality. By preventing standing water, curtain drains help preserve the existing soil without requiring excavation or land disruption.
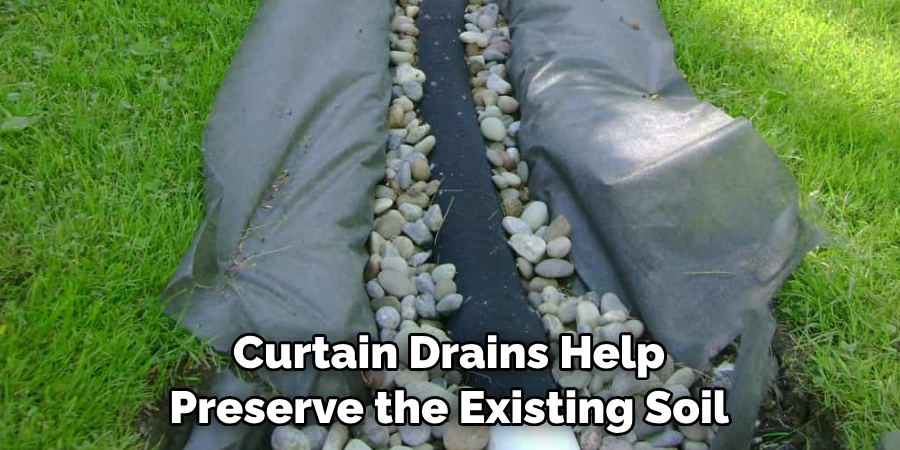
3. Cost-effectiveness. Because they involve minimal excavation, curtain drains typically require less time and cost than traditional French drains or other types of drainage systems.
4. Easy installation. With some basic knowledge and preparation, you can easily install a curtain drain on your own in just a few steps!
Now that you know what a curtain drain is and its many benefits let’s look at how to install one.
What Will You Need?
Before starting the installation process, make sure you have the following materials:
- Perforated drain pipe
- Aggregate
- Level or a laser level
- Tape measurer
- Shovel and rake
- Tamper (optional)
Once you have all materials gathered, it’s time to get started.
10 Easy Steps on How to Install a Curtain Drain
Step 1: Establish Your Drainage Plan
The first step is to plan out your drainage system. Determine where the water will go and how you will route the perforated pipe from point A to point B once you have an idea of the layout of the drainage system, mark where the drain will go.
Step 2 Dig a Trench
Using your shovel or post-hole digger, begin to excavate a shallow trench along the line you have marked out. Be sure to make it wide enough and deep enough for the pipe and aggregate material. If you need help estimating these measurements, consult professionals who specialize in this work.
Step 3: Layer Aggregate
Now it’s time to add some aggregate into the trench. Spread some of the material evenly along its bottom before laying down the pipe. This layer should be thick enough that when covered with soil, there is still space between it and your home’s foundation wall for proper drainage.
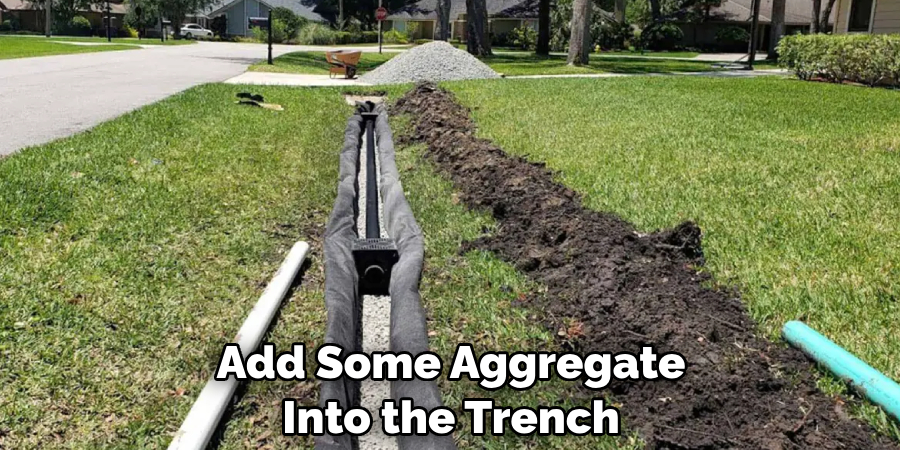
Step 4: Lay Perforated Pipe
Once you have the layer of aggregate, it’s time to lay down your perforated pipe. Place the pipe in the trench and ensure that it is level with an appropriate level or laser level device. If any small slope adjustments are needed, make them now before moving on to the next step.
Step 5: Cover Aggregate & Pipe
Now that the pipe is laid out correctly begin covering it with more aggregate material. Make sure to cover the length of the pipe completely and do not leave any gaps where water can seep in. Also, be sure you’re using a tamping tool to compact and secure the aggregate for maximum protection against water infiltration.
Step 6: Place Topsoil
Once the pipe and aggregate have been covered, it’s time to put the topsoil back in place. Spread the soil over the area evenly, ensuring no gaps between them or any exposed pipe. Don’t forget to make sure that the topsoil is level with your lawn or landscape.
Step 7: Make Sure Drainage is Working Properly
Before you move on to the next step, it’s important to make sure that your drainage system is working properly. Fill a bucket with water and pour it into different areas of your yard near the drain line to test for efficient drainage. If all appears well, then you can move on.
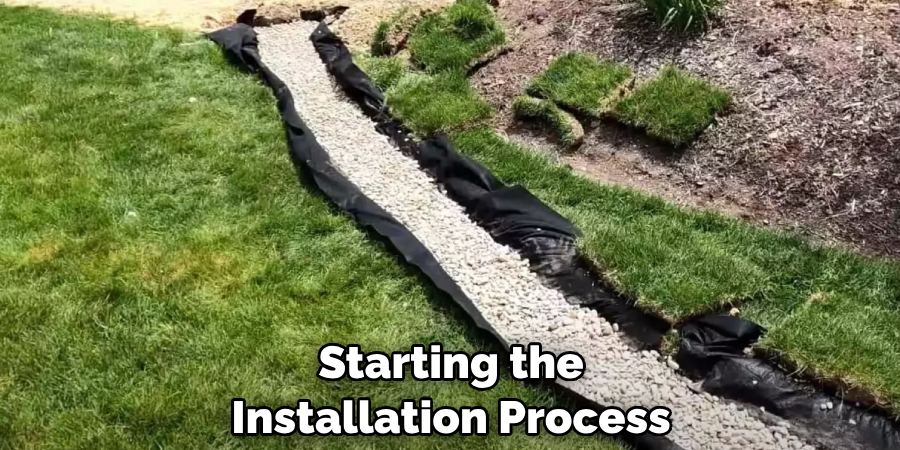
Step 8: Cover With Sod
Now it’s time to make your drainage system look pretty. Cover the area with sod and soil to blend into the landscape and give it a finished appearance. Try not to disrupt the drainage system when doing this.
Step 9: Tamp Down Sod
Once you’ve installed the sod, use a tamper or other device to tamp down the turf grass in order to adhere it to the ground better. This will help ensure that water drains away properly and that your entire curtain drain system is functioning as intended. You may also want to fertilize the sod in order to promote healthy growth.
Step 10: Monitor Your System for Leaks
Once all of these steps have been taken, regularly monitor your installation for any potential leaks or other problems over time. If you find any issues, take action right away by making adjustments to the system or consulting with professionals for assistance. Remember, a well-installed curtain drain is the best way to protect your property from water damage.
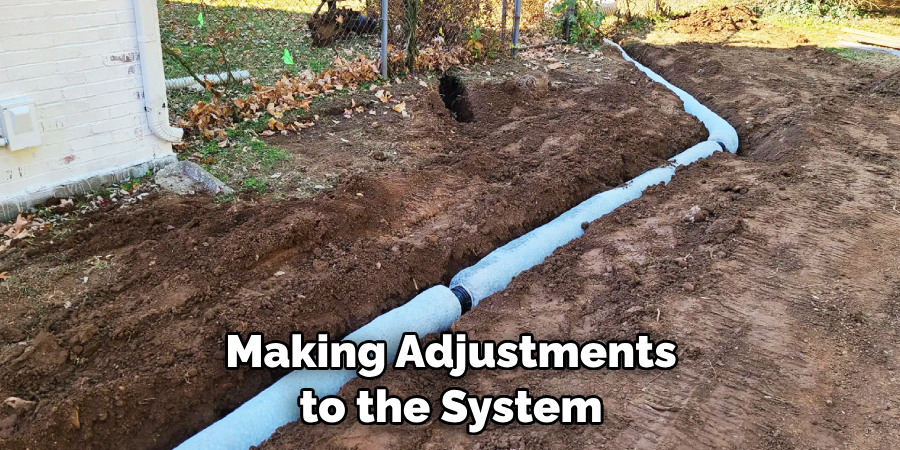
Installing a curtain drain is a relatively easy process that can save you time, money, and hassle down the road. By following these steps, you’ll be on your way to improving drainage in your yard and preventing potential damage from water pooling on the surface.
5 Additional Tips and Tricks
- Make sure to install the curtain drain at least three feet away from any structures on your property.
- Install the curtain drain in a location that allows for easy access should you need to return and make any repairs or adjustments.
- Take time to grade the soil in an even manner around the curtain drain so that it can effectively capture water runoff from higher elevations.
- If you have a septic tank system, be sure to install the curtain drain at least 20 feet away from it since this will help reduce potential contamination of your groundwater.
- Make sure to consult with a professional if you have any questions about properly installing your curtain drain, as this can save time and money in the long run!
By following proper installation procedures, you can ensure that your curtain drain works as intended for many years down the line.
5 Things You Should Avoid
- Avoid installing the curtain drain too close to your home or any other structure, as this can cause water to flow onto your property.
- Don’t forget to grade the soil around the drain in an even manner since this is essential for proper drainage.
- Refrain from placing it too close to a septic tank system, as this can contaminate your groundwater with pollutants from the tank.
- Don’t attempt to install your own curtain drain if you are unsure of what you are doing, as it could lead to problems down the line and cost more money than necessary.
- Never overlook consulting with a professional before starting the installation process – they can help answer questions and point out potential issues that might arise.
By avoiding these mistakes, you can save yourself time and money in the long run!
What is the Difference Between a Drain and a Pipe?
The main difference between a drain and a pipe is that it is designed to remove excess water from an area while a pipe supplies it. A drain has an open top and bottom, allowing water to pass through freely without any obstructions or control of flow rate, whereas a pipe has a closed top and bottom, forcing the water out at a controlled rate.
Also, drains are typically made from gravel or crushed stone, which can filter out silt particles that tend to clog pipes over time. Pipes are typically made of plastic or metal and act as conduits for directed water flow.
Installing either type of system requires careful consideration and adherence to necessary safety protocols in order to ensure its efficient functioning. Understanding the differences between a drain and a pipe is key to a successful installation. Knowing when to use which type of system will allow you to manage water runoff on your property properly.
With proper installation, maintenance, and monitoring, you can keep your drainage systems in good working order for years to come. By following these steps and tips for installing a curtain drain, you should be able to install one in your yard successfully. With the right materials and tools at hand, it’s not difficult at all!
Is Pvc Used for Drains?
Yes, PVC (polyvinyl chloride) is a common material used for drains. It is an affordable and durable material that can be easily shaped to fit any type of drainage system. Additionally, it is resistant to corrosion and does not require the use of sealants or adhesives for installation. This makes it ideal for outdoor applications such as curtain drains, downspouts, gutters, and more.
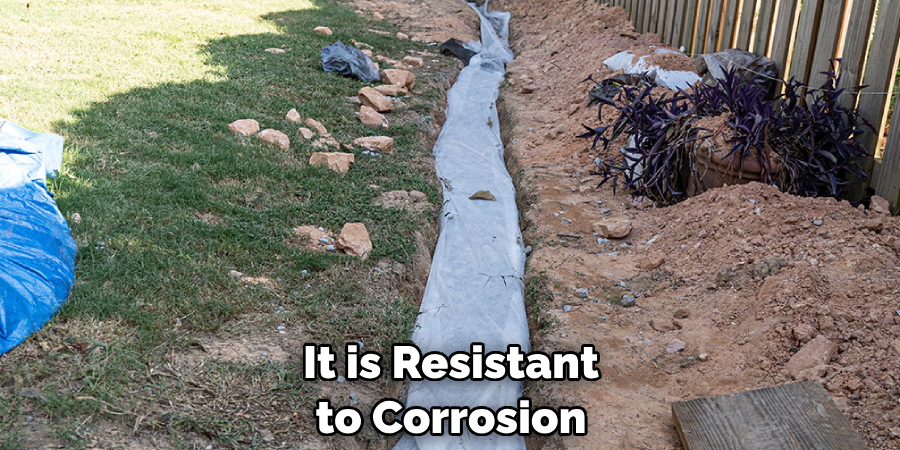
Ensure you follow all safety protocols when using PVC for drain installations. With proper installation practices and a bit of TLC, you can ensure that your PVC drains will last for years to come!
Overall, installing a curtain drain is a relatively straightforward process that requires some simple tools and materials.
Following the steps and tips, you can ensure that your drainage system is installed properly and will function effectively for years. Proper maintenance and monitoring can keep your curtain drain in top condition and protect your property from potential water damage.
What is the Most Common Type of Drainage System?
The most common type of drainage system is a stormwater or surface water management system. This is typically installed around a property to collect and manage excess runoff from large storms or heavy rains.
It usually consists of various components such as gutters, downspouts, French drains, catch basins, pipes, and more that work together to capture and divert the runoff away from home. If properly installed and maintained over time, this type of system can help prevent flooding and other water damage on your property.
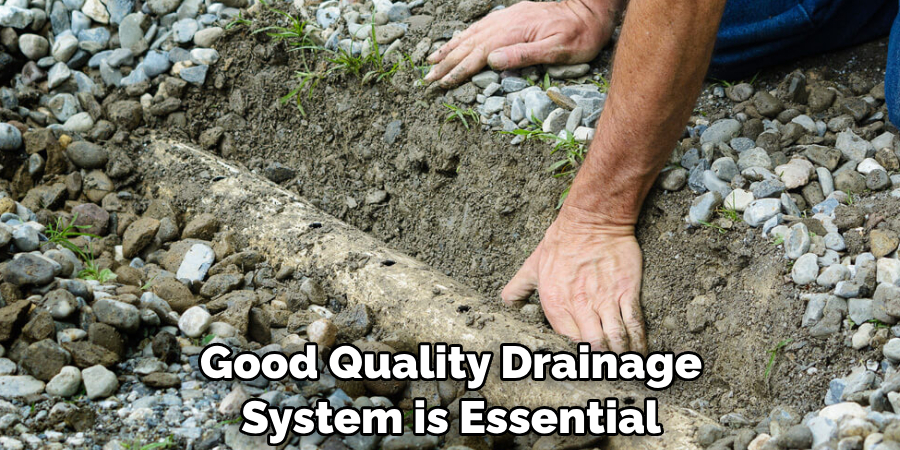
It can also help reduce pollution by filtering out contaminants before they reach nearby waterways. A good quality drainage system is essential for any homeowner who wants to protect their property from potential water damage!
Conclusion
Installing a curtain drain is an excellent way to protect your home from water damage and protect your property. Regardless of the size or length of pipe you need, there is something that fits your criteria.
If you are having difficulty locating the right materials for the job, know that there are plenty of resources to help. To ensure success, always follow local building codes and regulations that may be in place for your area.
Furthermore, it’s wise to consult a professional if you aren’t confident in successfully installing the drain yourself. In any case, being proactive in protecting your home and yard from water damage is well worth installing a curtain drain!
Hopefully, the article on how to install a curtain drain was helpful and gave you an understanding of the process! With proper installation and maintenance, your drain system should last many years. Good luck installing your curtain drain and enjoy its safe benefits!

