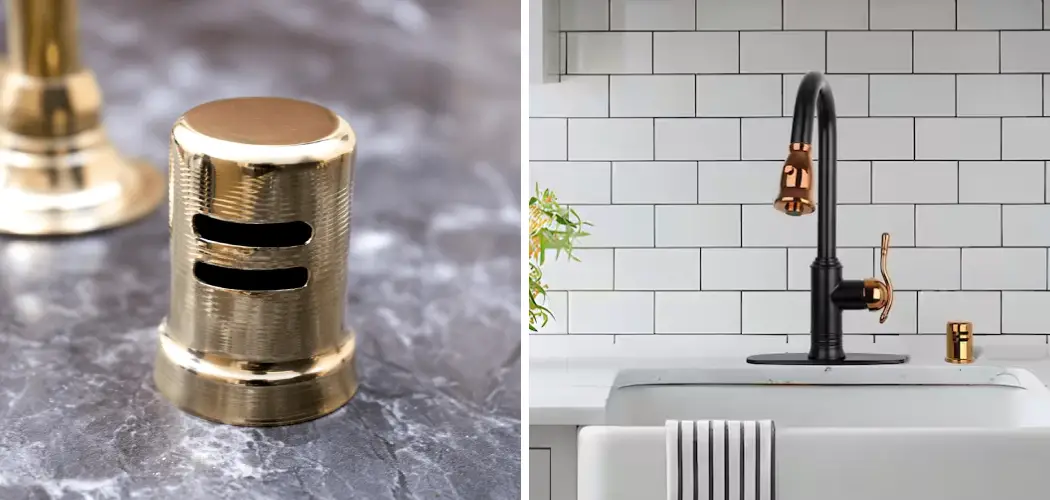
A dishwasher air gap is a vital device that prevents dirty water from backflowing into your dishwasher, ensuring that your appliance operates cleanly and safely. This small but crucial component acts as a barrier, keeping contaminants from entering the dishwasher, which is essential for maintaining hygiene. Installing an air gap is not just about keeping your dishwasher running smoothly; it’s also a requirement in many plumbing codes to ensure the safety and cleanliness of your home’s water supply.
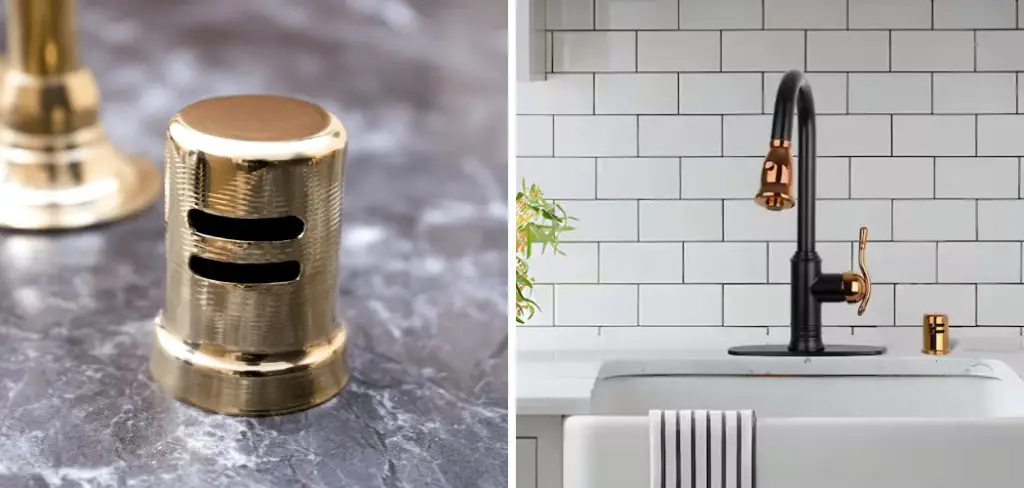
Learning how to install a dishwasher air gap involves a few straightforward steps. The process includes preparing the installation site, correctly positioning and securing the air gap, and finally connecting it to both the dishwasher and the sink drain. Proper installation can prevent potential health hazards and issues with your appliance, making it an indispensable part of your kitchen setup.
Gather Supplies
Before you begin the installation, it’s essential to gather all the necessary supplies to ensure the process goes smoothly. Here’s a checklist of what you’ll need:
- Dishwasher Air Gap Kit: This typically includes the air gap itself, rubber washers, and a mounting nut.
- Tubing: Make sure to have both 5/8-inch and 7/8-inch diameter tubing, as these will be required to connect the air gap to the dishwasher and the sink drain.
- Hose Clamps: These are crucial for securing the tubing and preventing leaks.
- Adjustable Wrench: Useful for tightening connections and fittings.
- Screwdriver: Needed to secure the mounting nut and attach hose clamps.
- Drill With Hole Saw Bit: This will be necessary if your sink or countertop does not already have a hole for the air gap. Choose a hole saw bit that matches the diameter of the air gap.
- Utility Knife or Tubing Cutter: These tools will help you cut the tubing to the required lengths.
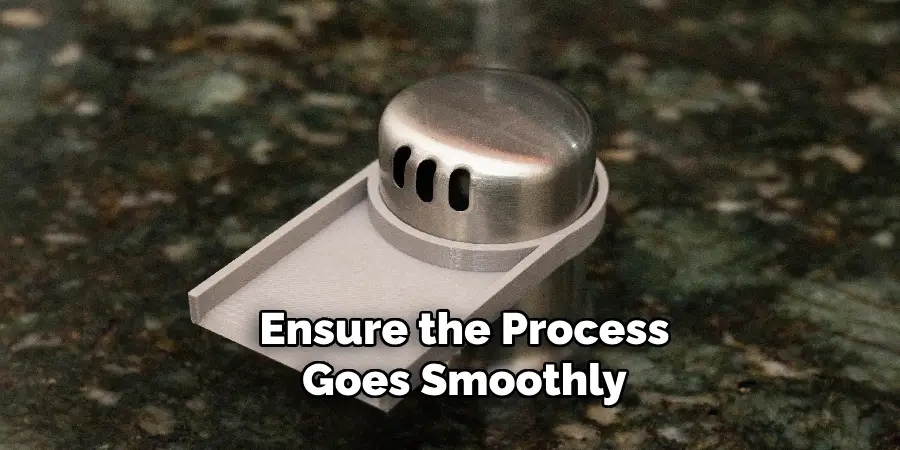
Having these supplies ready will save you time and ensure a smooth installation process.
Choose Location and Prepare
Location
Identify a suitable location on your sink or countertop near the dishwasher and drain. Most sinks have a pre-drilled hole for this purpose, often covered by a decorative cap. If your sink has this cap, simply remove it to expose the hole. The location should ideally be close enough to the dishwasher and the sink drains to facilitate easy connections.
Drill Hole (if necessary)
If there isn’t a pre-drilled hole, you will need to create one using a drill with a hole saw bit. Before you start drilling, mark the exact location where the hole will be situated, ensuring there are no obstructions underneath, such as pipes or structural brackets, that could interfere with the installation.
- Mark the Location: Use a marker to outline the spot where the hole will be drilled. Make absolutely sure it is positioned correctly to avoid any misalignment.
- Check for Obstructions: Inspect the area beneath the sink or countertop to confirm there are no pipes, braces, or other obstacles that could be damaged by the drill.
- Drill the Hole: Carefully position the drill with the hole saw bit (usually 1-1/4 to 1-1/2 inches in diameter) and drill straight down through the marked spot. Keep the drill steady to avoid chipping or cracking the surrounding material.
Clear the Area
After drilling the hole, clear away any debris or shards from the sink or countertop. Wipe the area clean to remove any dust, ensuring a smooth surface for the installation of the air gap. This step is crucial to make sure that the air gap will fit snugly and securely in place.

How to Install a Dishwasher Air Gap: Install the Air Gap
1. Insert Air Gap
- Insert the Air Gap Body Through the Hole: Begin by inserting the air gap body from above the sink or countertop, ensuring that it fits snugly into the hole you have prepared.
- Place the Rubber Washer: Slide the rubber washer onto the air gap body. This washer is essential as it creates a watertight seal between the sink or countertop and the air gap, preventing any leaks that could cause water damage to the surrounding area.
2. Secure the Air Gap
- Attach the Mounting Nut: From underneath the sink, take the mounting nut and thread it onto the air gap body. Tighten it by hand initially until it is firmly in place.
- Tighten With an Adjustable Wrench: Using an adjustable wrench, snug the nut to ensure the air gap is secure. Be cautious not to overtighten, as this could damage the sink or countertop material, leading to cracks or stress fractures.
3. Connect Dishwasher Hose
- Measure and Cut 5/8-inch Tubing: Measure the distance between the dishwasher discharge hose and the air gap inlet. Use a utility knife or tubing cutter to cut a length of 5/8-inch diameter tubing that comfortably fits this distance.
- Attach Tubing to Dishwasher Discharge Hose: Slide one end of the 5/8-inch tubing onto the dishwasher discharge hose. Secure this connection with a hose clamp.
- Connect the Tubing to the Air Gap Inlet: Attach the other end of the 5/8-inch tubing to the smaller inlet on the air gap body. Use another hose clamp to secure this connection.
- Tighten Hose Clamps: With a screwdriver, tighten all hose clamps securely to ensure that both ends of the tubing are properly fastened and there is no risk of leaks.
4. Connect Drain Hose
- Measure and Cut 7/8-inch Tubing: Next, measure the distance from the air gap outlet to the sink drain or garbage disposal inlet. Cut a length of 7/8-inch diameter tubing that will comfortably span this distance.
- Attach Tubing to Air Gap Outlet: Slide one end of the 7/8-inch tubing onto the larger outlet of the air gap body. Secure this connection with a hose clamp.
- Connect Tubing to Sink Drain or Garbage Disposal: Attach the other end of the 7/8-inch tubing to the inlet of the sink drain pipe or garbage disposal. Again, secure this connection with a hose clamp.
- Tighten Hose Clamps: Using a screwdriver, tighten the hose clamps securely to ensure a leak-free connection at both ends of the tubing.
By following these steps, you will have successfully installed the dishwasher air gap, secured it, and connected it properly to both the dishwasher and the kitchen sink drain system. This installation ensures that your dishwasher can operate safely, preventing contaminated water from backflowing into the appliance and maintaining the hygiene of your kitchen’s water system. Properly installed, the air gap will provide peace of mind, knowing that the plumbing in your kitchen adheres to necessary codes and safety standards.
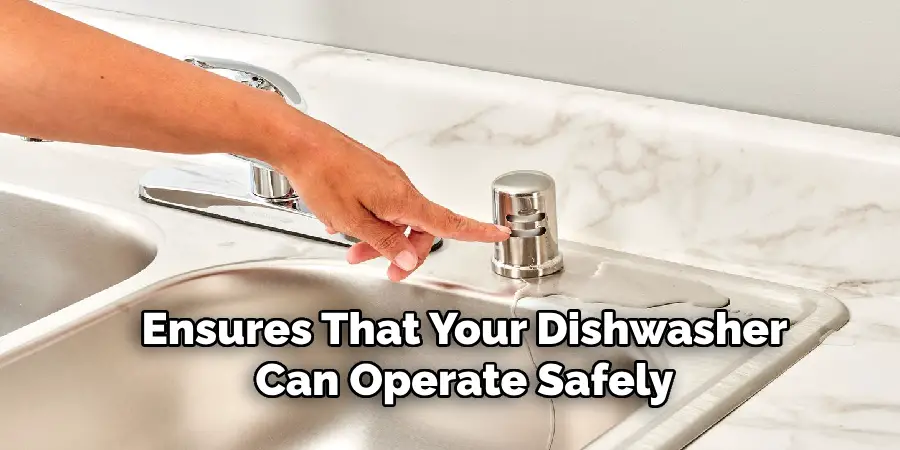
Test the Installation
Check Connections
Inspect all connections meticulously to ensure that the hoses are securely attached and the clamps are tightened. Give each connection a gentle tug to confirm that everything is firmly in place.
Run Dishwasher
- Turn on the Dishwasher: Set the dishwasher to run a short cycle.
- Observe the Air Gap: Pay close attention to the air gap during the drain cycle. Confirm that water is flowing correctly through the air gap without any backflow or splashing. This indicates that the system is functioning properly.
Inspect for Leaks
Check all hose connections for any signs of leaks once the dishwasher has completed its cycle. Look for any drips, moisture, or pooling water around the hose clamps and connections. If any leaks are detected, use a screwdriver to tighten the hose clamps further until no more leaks are evident. Inspect both the 5/8-inch and 7/8-inch tubing to ensure all connections are secure and watertight.
By following these steps, you can be confident that the air gap installation is both secure and functional, preventing any potential water damage or contamination in your kitchen. A thorough test will add to your peace of mind, knowing that the dishwasher and kitchen water system are operating safely and effectively.
Final Adjustments
Secure Tubing
To ensure optimal performance and longevity of your installation, it is essential to secure all tubing properly. Carefully check that all the tubing is routed neatly and is not in the way of other plumbing or kitchen fixtures. Try to avoid any kinks or sharp bends that could restrict water flow or cause undue stress on the tubing. If necessary, use zip ties or brackets to hold the tubing in place and maintain a tidy and organized setup. This not only prevents any potential damage but also makes future maintenance or adjustments easier.
Clean Up
After securing the tubing, take a moment to clean up the area around the air gap and sink. Use a damp cloth or sponge to wipe down any debris, dust, or water that may have accumulated during the installation process. Pay particular attention to the air gap itself and the surrounding sink area where any small shards or drilling residues may be present.
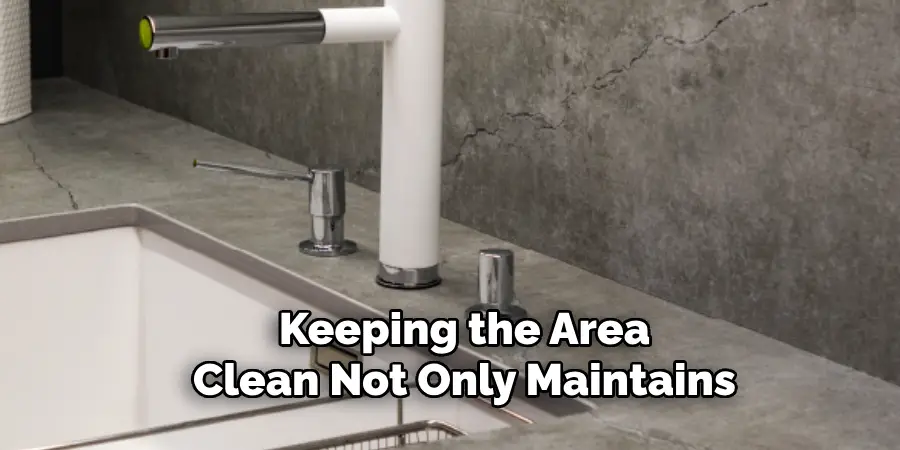
Keeping the area clean not only maintains the aesthetic of your kitchen but also ensures that the components are free of contaminants that could compromise their integrity over time. Once everything is cleaned and dry, step back and inspect your handiwork to ensure all elements are in place and looking neat.
Conclusion
Installing a dishwasher air gap involves several key steps, starting with gathering all necessary supplies and carefully choosing the optimal location on your sink or countertop. The installation process continues with securing the air gap body, connecting the dishwasher and drain hoses, and tightening all hose clamps to ensure leak-free connections.
After this, thorough testing of the setup by running the dishwasher and checking for leaks is crucial. Properly installing an air gap is vital as it prevents backflow, maintains the hygiene of your kitchen water system, and ensures compliance with local plumbing codes.
Understanding how to install a dishwasher air gap cannot be overstated. It delivers peace of mind by preventing contaminated water from re-entering your dishwasher. To keep your air gap functioning optimally, periodically inspect for any blockages and ensure that all connections remain tight. Regular maintenance will help avoid potential issues and prolong the lifespan of your dishwasher setup.

