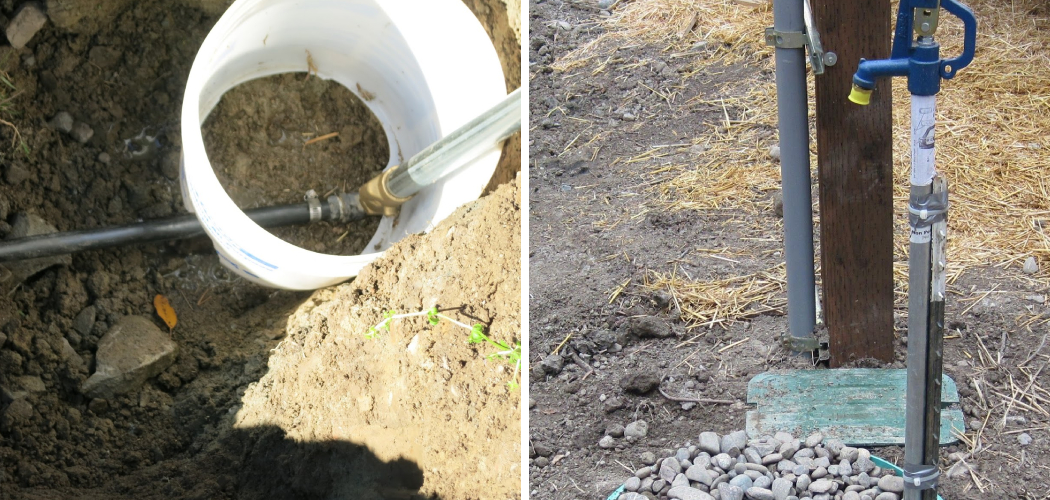
Do you want to access fresh water right in your backyard? You must know how to install a frost free yard hydrant. Installing a frost-free yard hydrant is an easy way to bring clean water close to your home. This type of hydrant does not need draining during the winter months as it sits below freezing levels for frost protection.
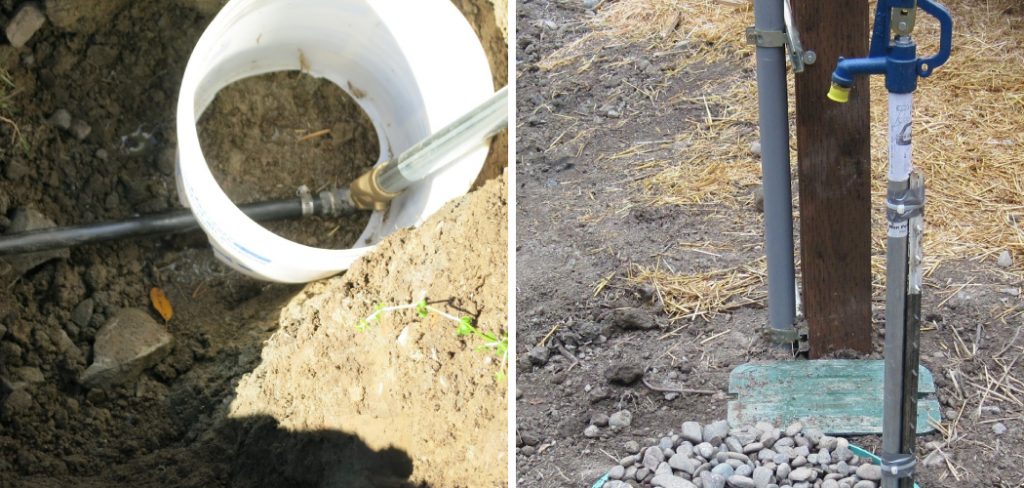
Making them more convenient than standard hydrants that require extra maintenance. Whether you are looking for better irrigation options or simply want a source of clean potable water, this guide will teach you how to correctly install and safely maintain a frost-free hydrant in your yard for years of reliable use!
Tools You Will Need
- Tape measure
- Shovel
- Sledgehammer
- Post hole digger or auger
- Level
- Pipe wrenches and adjustable wrench
- Wood chisel (optional)
6 Steps Guide on How to Install a Frost Free Yard Hydrant
1. Choose the Right Location:
Installing a frost-free yard hydrant is an important part of winterizing your outdoor plumbing system, as it prevents frozen pipes which can cause major damage. The most important factor to consider when deciding where to install the hydrant is how deep in the ground it should be and the type of soil. Ensure that the frost-free hydrant will remain operational no matter what temperatures and weather conditions you experience.
It must be installed at least 4 feet below ground level and positioned in slightly sandy or loamy soil for proper drainage. Additionally, the hydrant should also be placed far enough away from any trees or other vegetation to prevent roots from growing around or through your plumbing lines and interrupting service. Keep these considerations in mind and you’ll have a long-lasting working yard hydrant this winter season!
2. Dig the Hole:
Installing a frost-free yard hydrant is an easy way to make sure that you have access to water all year round! Before getting started, decide the location of your hydrant and dig the hole to accommodate it. The necessary size of the hole will vary depending on how deep you need the hydrant to go due to your local climate, but plan for it to be at least two feet in diameter and four and a half feet deep.
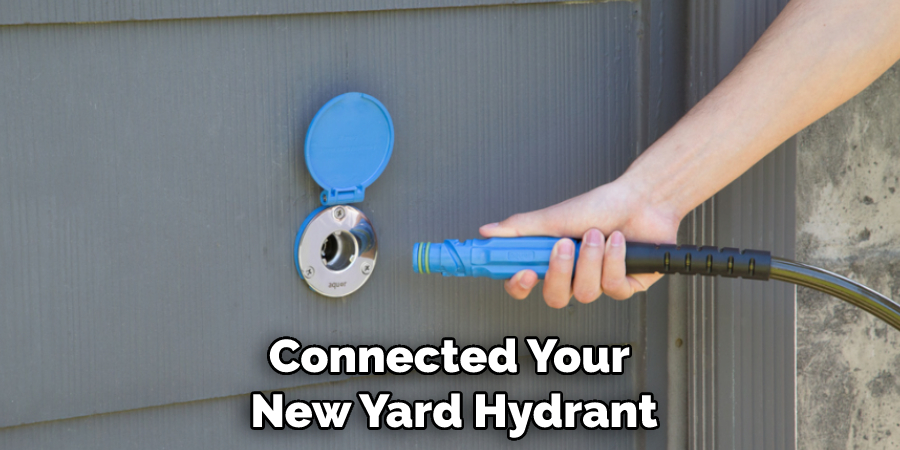
It’s also important to remember that this type of hydrant requires access to an underground water source – if you don’t have one, be sure to contact a professional before proceeding any further. Once you’ve dug the hole and securely connected your new yard hydrant, sit back and enjoy having reliable access to water whenever you need it!
3. Install the Sleeve:
Installing a Frost Free yard hydrant can be a great way to ensure your outdoor water sources are accessible no matter the weather conditions. It guards against ruptures in pipe systems due to freezing temperatures by keeping a steady flow of water provided by its shut-off valve, located above the frost line depth. Installing the sleeve should be the first step when setting up the hydrant as it is used to protect and support the pipe infrastructure.
After cutting out an area in the soil that measures two inches deeper than your desired frost line depth, choose a well-drained soil for installation stability, carefully slide the sleeve into place, ensuring a tight fit with caulking if necessary, and backfilling around it after assembly; you will be able to start reaping all of the benefits of having this amazing water system in your backyard.
4. Insert the Frost-free Yard Hydrant:
Installing a frost-free yard hydrant can be a great solution to your outdoor water supply needs. By using this type of hydrant, you can easily access the water stored underground without having to worry about freezing in cold weather. It is essential for areas prone to cold temperatures, especially when connected to irrigation systems or hose pipes.
To install a frost-free yard hydrant, begin by digging a hole slightly wider and deeper than the base of the hydrant. Place gravel around inside the bottom and sides of the hole and insert the “frost-free” extension of the hydrant below ground level as recommended by manufacturers.
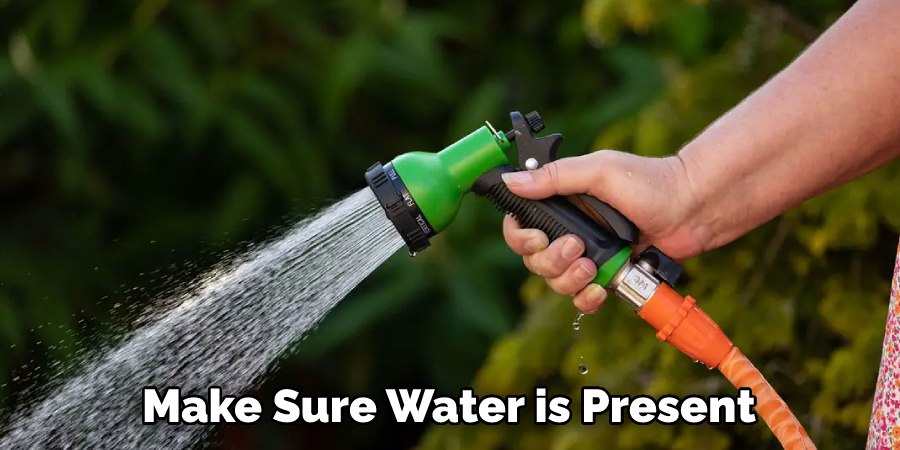
Connect your hoses and make sure water is present in all your connections then secure the riser with supports for extra stability before backfilling with soil and tamping down around it. Finally, turn on your faucet or valve at full pressure for half an hour to ensure that everything has been sealed properly. Enjoy access to a reliable outdoor water supply all year round!
5. Connect Pipes:
Installing a frost-free yard hydrant can improve the accessibility and convenience of gardening and yard work. To ensure it is working properly, connecting pipes correctly is essential. It is important to remember that when using a frost-free hydrant, different pieces of pipe like PVC or CPVC need to be glued together with pair-resistant primer and cement for a secure fit.
When attaching the nipple to the water line, make sure not only that it fits tightly and securely, but also check for any signs of damage or wear before installation. Additionally, before turning on the water supply, make sure all connections are correct by checking for drips or leaks in each — it’s always better safe than sorry!
Once everything is connected correctly and ready to go, open up supplies slowly and check if the hydrant works correctly.
6. Test and Enjoy:
Installing a frost-free yard hydrant can be simple and rewarding. By doing it yourself, you can enjoy the satisfaction of being able to give your outdoor plantings the hydration they need in any weather. It’s important to keep in mind that improper installation or maintenance can lead to freezing during cold winter months which could cause damage to your hydrant, so make sure you double-check everything.
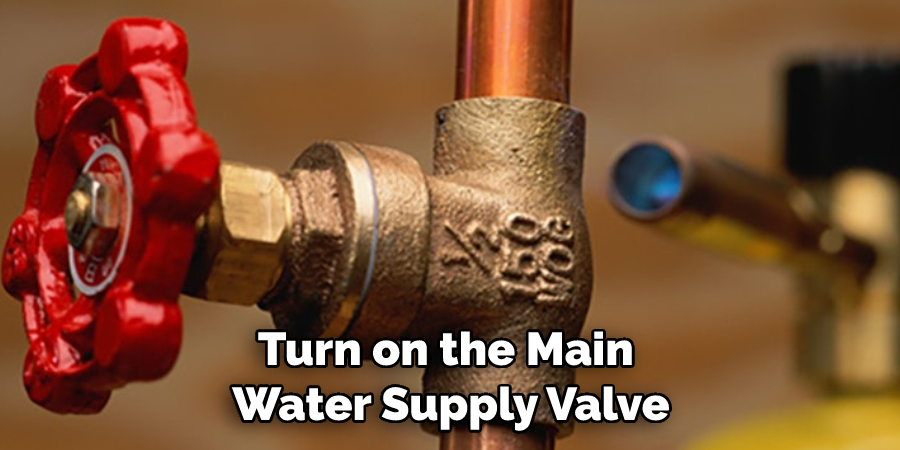
Before installing, be prepared with a shovel, pickaxe ¬– depending on the ground type – some basic plumbing tools, and a replacement handle if necessary. Once it’s installed, turn on the main water supply valve at the house and test it out! After ensuring it works properly, you’ll be ready to add beauty and life to your front yard with well-nourished plants – an enjoyable result of successfully setting up a frost-free yard hydrant.
After installation, remember to properly inspect and maintain your frost-free yard hydrant regularly to ensure it remains in good working condition. With the instructions above, you can now easily install a frost-free yard hydrant in your backyard for a reliable source of clean water! With proper care and maintenance, this product can last for years and provide easy access to fresh water without any extra hassle. Good luck and happy hydrant-ing!
Tips to Install a Frost Free Yard Hydrant
- Choose the right location for your hydrant. You’ll want to choose a spot that is close to a water source and is easily accessible. Make sure the area around the hydrant is clear of any debris or obstructions.
- Dig a hole for the hydrant. The hole should be about 2 feet deep and wide enough to accommodate the hydrant.
- Place the hydrant in the hole. Make sure the hydrant is level and secure it in place with cement or another type of waterproof adhesive.
- Connect the water supply line to the hydrant. If you’re using a flexible hose, make sure it is long enough to reach the water source without being too tight or kinked. If you’re using a rigid pipe, connect it to the hydrant using fittings and clamps as needed.
- Turn on the water supply and check for leaks. Once the water is turned on, open the valve on the hydrant and let it run for a few minutes to check for leaks. If there are any leaks, tighten all connections until they are secure.
- Insulate the hydrant to prevent freezing. Wrap the hydrant in insulation material such as foam or bubble wrap. This will help to keep it from freezing in cold weather.
- Cover the hydrant with a weatherproof cover. This will help to protect it from snow, ice, and other elements that could damage it.
- Check the hydrant regularly for any damage or leaks. Be sure to check it after any heavy rains or snowstorms to make sure it is still in good working condition.
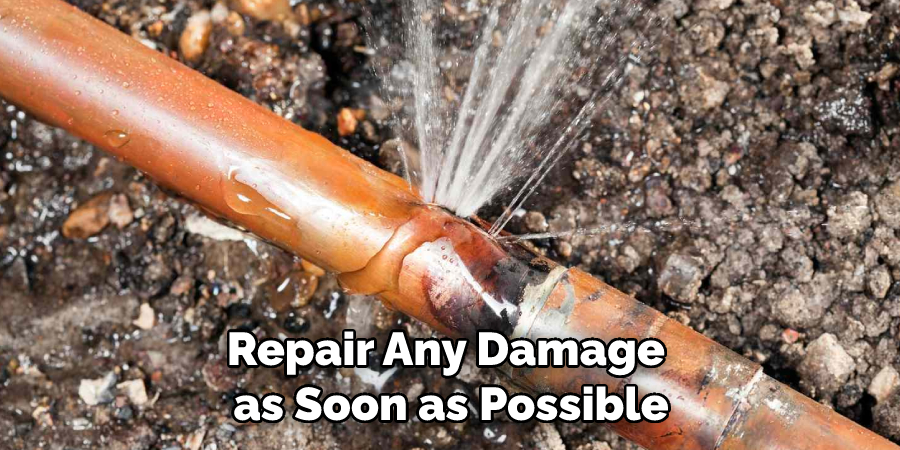
- Repair any damage as soon as possible. If you notice any cracks or other damage, repair them as soon as possible to prevent further damage from occurring.
How to Prepare for Installing a Frost-Free Yard Hydrant?
Installing a frost-free yard hydrant is an achievement that all DIYers should feel proud of. When it’s done correctly, your hydrant will be up and running for years, providing you with a reliable source of cold water even when the temperature starts to dip.
Before you get started with your installation project, however, it’s important to make sure that you’ve prepared accordingly. First, locate the best spot in your yard where the hydrant will easily access the main pipeline, then clear enough space around it so that you can access all parts of the equipment afterward.
Assemble all the components outside before installing them so that you can make sure everything fits together properly and functions as intended. Finally, don’t forget to seize this opportunity to check for leaks around the old pipework – if any are found, investigate further before continuing with installation!
Frequently Asked Questions
How You Can Save Money By Installing A DIY Frost-Free Yard Hydrant?
You can save a considerable amount of money by installing a DIY frost-free yard hydrant in your garden or yard. Rather than spending hundreds of dollars on store-bought systems, you can purchase materials online and assemble the hydrant yourself.
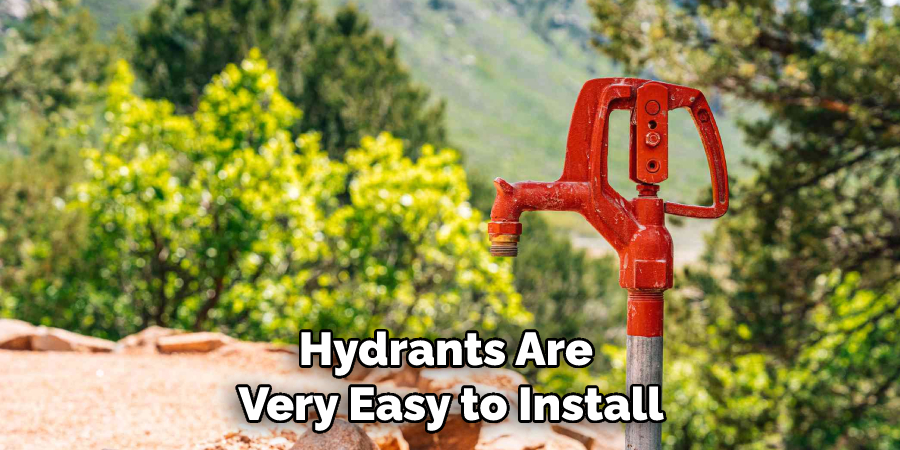
Hydrants are very easy to install, requiring basic tools such as wrenches, screwdrivers, and piping joints. Frost-free systems’ primary function is to prevent water from freezing in areas where sub-zero temperatures occur during winter; however, some components may be able to avoid ice blockage even in more moderate climates.
Ultimately, this type of installation will help reduce your water bills significantly since any water loss caused by frozen pipes won’t occur anymore. Installing a new yard hydrant is one of the most cost-effective ways to ensure that your home remains adequately supplied with clean drinking water throughout the year!
How To Keep Your Frost-Free Hydrant Running Smoothly All Year Long?
Winter weather can be harsh, and it’s important to make sure your frost-free hydrant is running as smoothly as possible all year long. To ensure that your hydrant passes any winter inspections with flying colors, first, you should check the pipes connected to your hydrant for any cracks or leaks. If any are present, repair them immediately.
Also, check that all nuts and bolts securing the hydrant are tightly secured. Additionally, check that the packing nut connected to the stem is free from leaks by doing a visual inspection. To lubricate this area, use a thin coat of non-petroleum-based greases such as silicone or Teflon grease.
Finally, make sure to clear any rubble away from around your hydrant and replace any metal covers over the valve box with insulated ones if possible to protect from excessive chilliness and ice buildup. Following these simple steps will ensure that your Frost Free Hydrant is well-maintained and ready for wintertime!
How to Properly Inspect and Maintain Your Frost-Free Yard Hydrant?
Regular maintenance of a frost-free yard hydrant is important to ensure it functions properly year-round, but inspecting it regularly is just as essential.
Checking the hydrant for any physical damage or rusting, and ensuring connections are secure can prevent unexpected leaks or malfunctions, keeping your yard safe. To inspect a frost-free yard hydrant, start by visually inspecting the exterior for any signs of damage, such as cracks in the stem or body of the assembly.
After this visual check, open up the valve and flush out old water from within. You’ll want to make sure all parts inside are functioning normally while looking for any loose fittings. Afterward, look over the seals to insure they will not allow any unwanted contaminants into your water supply.
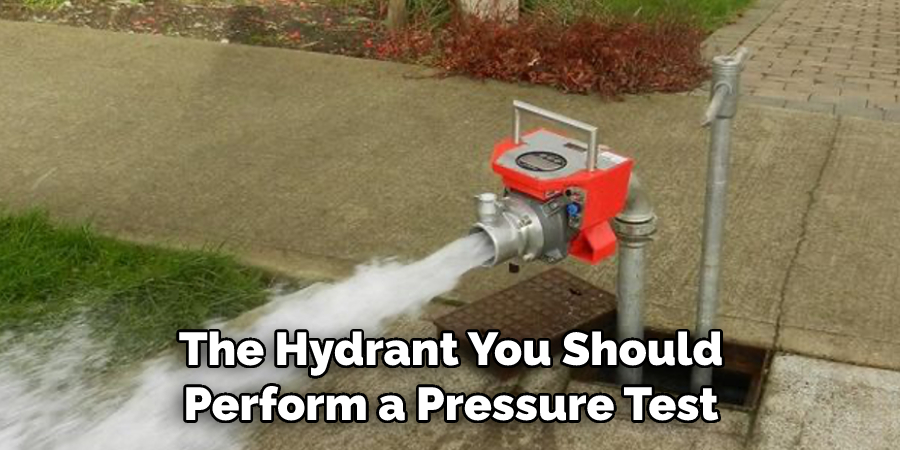
Finally, after reassembling the hydrant you should perform a pressure test to make sure sound connections were made and no leaks will occur when in use. With these few steps, you can ensure your frost-free yard hydrant gives efficient service for many years to come!
Conclusion
Overall, installing a frost-free yard hydrant is a great way to keep your garden and lawns well-watered during the hot summer months, and throughout the season. You should carefully determine how to install a frost free yard hydrant. Although it can seem like an intimidating task at first, with just a little bit of research and some basic DIY skills you’ll find that it’s not as difficult as it sounds.
Read up on installation instructions and step-by-step guides or even ask someone who has installed one before for help. With a few simple tools, the right location, and the correct assembly, you should have your frost-free backyard hydrant up in no time.

