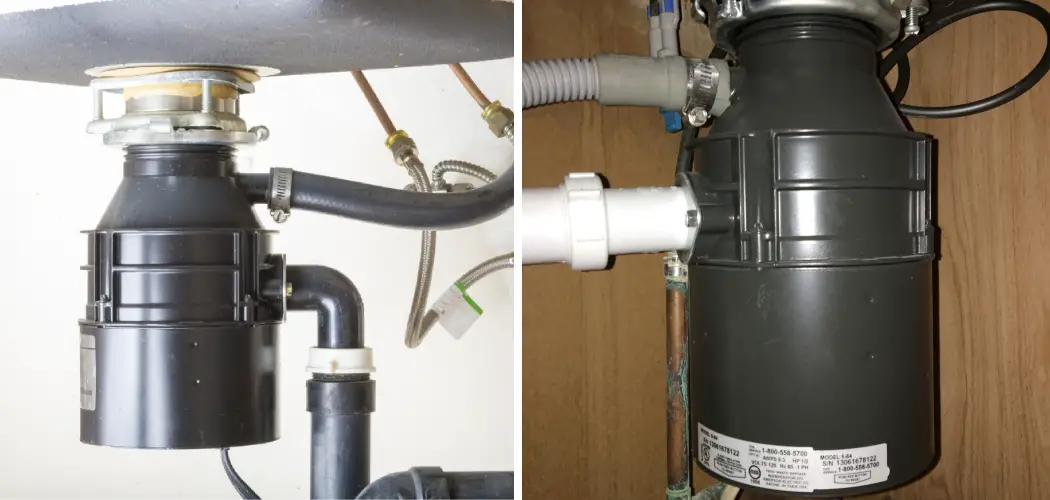
Are you tired of having to take the trash out each time your kitchen sink is full? Or are you worried about clogged drains due to food particles and other debris that have yet to be disposed of properly? If either situation applies to you, then it may be time for you to consider installing a garbage disposal in your single sink. It’s a relatively simple process that can save you time and money while keeping your kitchen clean.
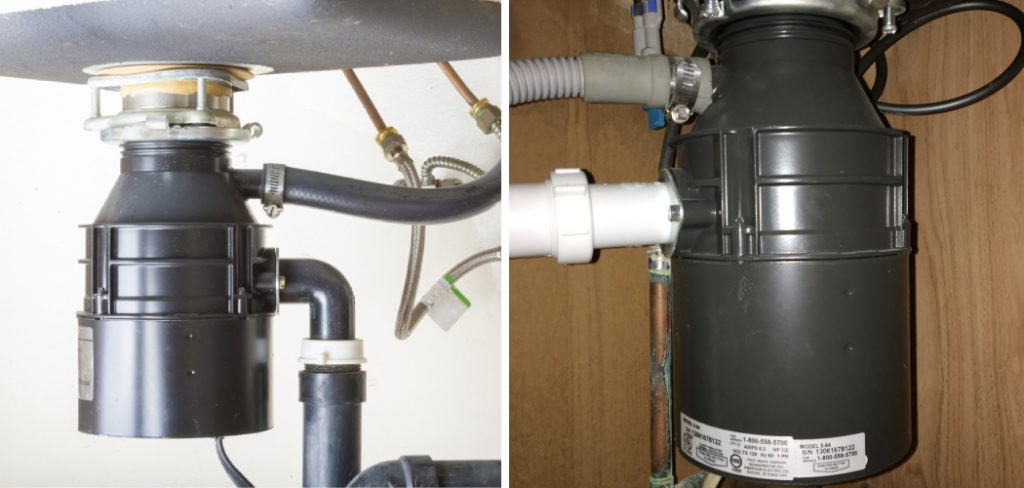
Installing a garbage disposal can not only save you from manual labor but also help prevent future plumbing problems caused by trapped or rotting food.
In this blog post, we’ll go through all the basics on how to install a garbage disposal in a single sink – from selecting the right model for your particular needs, making sure all safety precautions are taken into account, and even providing tips on troubleshooting any issues that may arise during installation. Now let’s get started!
12 Step-by-step Guidelines on How to Install a Garbage Disposal in a Single Sink
Step 1: Select the Ideal Model for Your Sink
There are a variety of types and sizes available, so be sure to choose one that suits your specific sink size and type. Keep in mind that a quality garbage disposal should come with a reliable motor, sharp blades, and durable construction. You will also want to make sure it comes with a reset button and overload protection.
Step 2: Turn off the Power and Water Supply
Before you begin working on the installation of your garbage disposal, make sure to turn off both the water and power supply to your sink. This is essential in order to ensure that no one gets injured while working with the disposal. You should also unplug the power cord from the outlet.
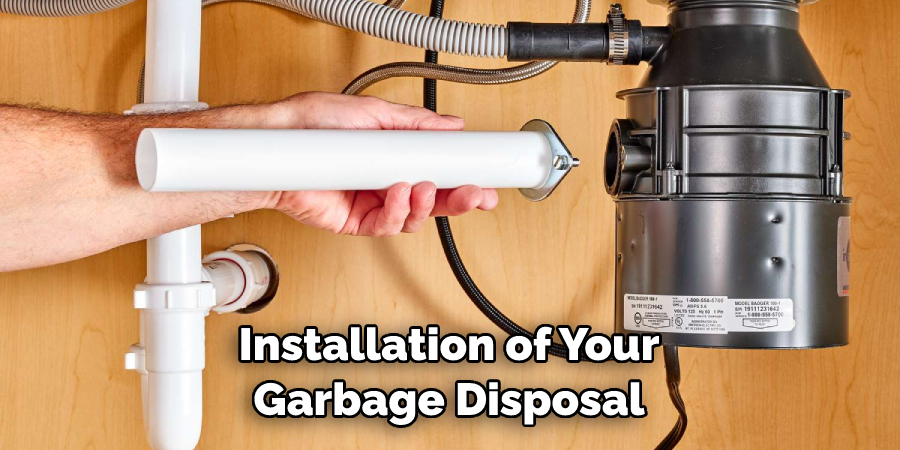
Step 3: Disconnect the Existing Drain
Unscrew the existing drain, then remove it from the sink. This should allow you to access the area where your garbage disposal will be installed. Do not forget to clean up any debris that may have accumulated around the drain before continuing with your installation. It is also important to check for any hidden pipes or other items that may be blocking the installation area.
Step 4: Install the Mounting Assembly
The mounting assembly is what holds the garbage disposal in place. Make sure to match the right size screw with the corresponding hole in your sink, and then tighten it with a wrench until it’s secure. You may need to use a plumber’s putty for a better seal.
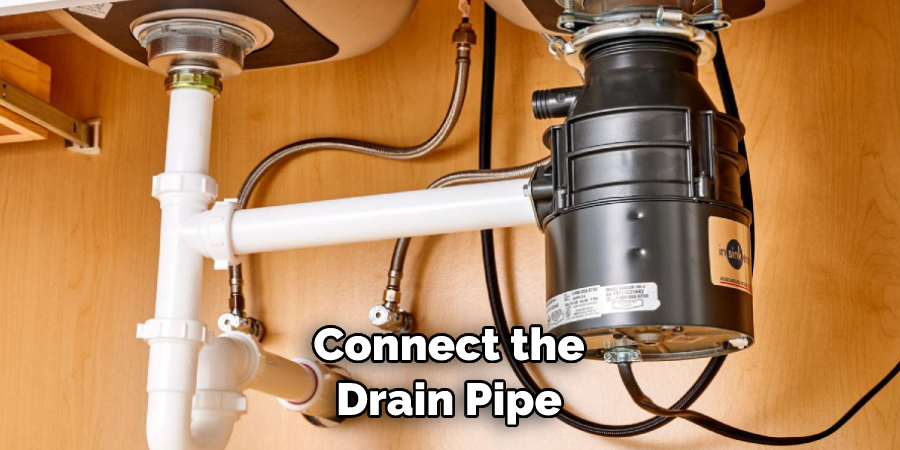
Step 5: Connect the Drainpipe
Once you have installed the mounting assembly, connect the drainpipe to it according to the instructions provided by your model of choice. You should then use a rubber gasket to ensure that the joint is sealed tightly. This will help keep your sink watertight. If necessary, you may need to use a pipe wrench or pliers to tighten the connection.
Step 6: Connect the Electrical Wires
Make sure all electrical wires are securely connected according to the manufacturer’s instructions, using a wire stripper or pliers if necessary. But before connecting the wires, make sure to check if you need to use a special adapter or connector. Ensure that there is no bare wiring exposed before moving on to step 7.
Step 7: Check for Leaks
Using a handheld mirror and a bright flashlight, check for any potential leaks around the sink’s plumbing. Make sure to tighten any loose connections as needed. If you find any leaks, go back to steps 4-6 and make sure everything is installed properly. You may also need to use special sealant or caulk in order to ensure a watertight connection.
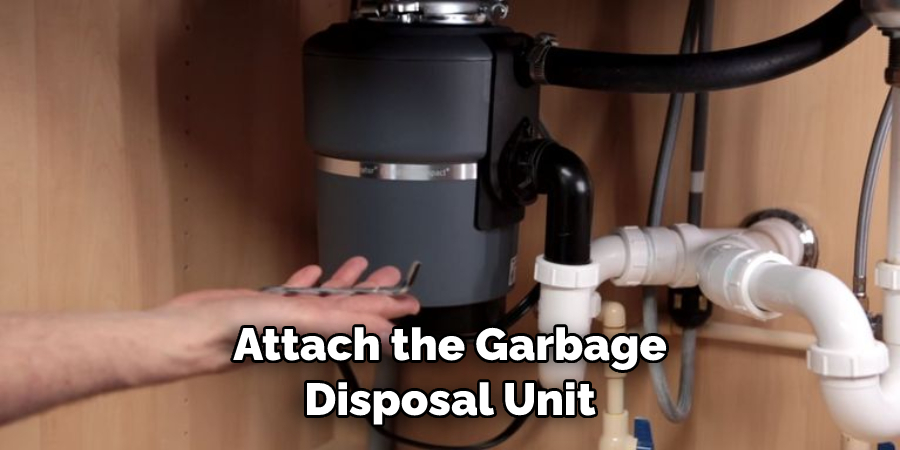
Step 8: Install the Garbage Disposal
Securely attach the garbage disposal unit to the mounting assembly before turning it on. Ensure that all screws and bolts are properly tightened before use. You may need a wrench or pliers for this. This will ensure that the disposal is safely connected. So now your disposal is ready to use.
Step 9: Test Your Garbage Disposal
Run water from the sink faucet into a bucket or cup placed directly beneath it, and then turn on the disposal to ensure everything is functioning correctly. If you hear any unusual sounds coming from your disposal, immediately turn it off and make necessary adjustments before continuing. It is also important to check if the reset button is functioning properly.
Step 10: Attach the Dishwasher Drain Line
If your garbage disposal has a dishwasher drain line, then attach it to the main sink drainpipe. You may need to use a plumber’s putty for a better seal. Make sure to double-check all your connections before moving on. That’s it! Now you know how to install a garbage disposal in a single sink. Have fun and enjoy your new kitchen appliance!
Step 11: Turn on the Water and Power Supply
Once you’ve double-checked that all components are securely connected, turn on both your water and power supply before running the disposal again. If all goes well, you’re ready to start using your garbage disposal. Remember to always follow the manufacturer’s instructions for operation and maintenance. Enjoy your new kitchen appliance!
Step 12: Enjoy Your New Garbage Disposal
You can now enjoy the convenience of having a garbage disposal in your single sink! Just keep in mind that regular maintenance will be necessary in order to avoid any potential problems down the line. Be sure to follow the manufacturer’s instructions carefully when cleaning or replacing parts as needed. After all, your garbage disposal is an important part of keeping your kitchen running smoothly.
And there you have it – twelve easy steps on how to install a garbage disposal in a single sink. With the right tools and knowledge, this can be a surprisingly simple process that will save you time and money in the long run. So don’t wait any longer – get started today!
Do You Need Professionals Help?
Of course, if you don’t feel comfortable with the process of installing a garbage disposal in your single sink, it is always wise to contact a professional plumber. They will have the skill and expertise to make sure your garbage disposal is installed correctly and safely.

A plumbing professional can also help you identify potential problems with your disposal before they become serious. This will save you time and money in the long run by avoiding costly repairs or replacements. So don’t hesitate to call a professional for help if needed.
With the right tools, some knowledge, and a bit of patience, you can easily install a garbage disposal in your single sink. And when you do, you’ll be able to enjoy the convenience of having a functional kitchen appliance.
Frequently Asked Questions
Q: Do I Need a Professional to Install My Garbage Disposal?
A: Not necessarily – as long as you have the right tools and follow instructions carefully, you can easily complete this process yourself. That being said, it’s always best to consult a professional if you feel uncertain.
Q: How Often Should I Clean My Garbage Disposal?
A: It’s recommended that you clean your garbage disposal at least once a month in order to maintain its performance and efficiency. Cleaning regularly will also help prevent any unpleasant odors from developing over time.
Q: How Can I Unclog My Garbage Disposal?
A: First, make sure to turn off the power supply. Then, you can use a wrench to manually unclog your disposal and remove any debris that may be causing the blockage. If this doesn’t work, seek professional help.
Q: What’s the Best Way to Maintain My Garbage Disposal?
A: Regularly clean it with a gentle detergent or baking soda and be sure to remove any hard objects that may become stuck inside. It’s also important to lubricate its seals every once in a while in order to keep them functioning properly.
Conclusion
We hope you found this guide on how to install a garbage disposal in a single sink helpful. Impactful results will be seen if each step of the process is done correctly and thoroughly. Just make sure to always turn off the electricity and shut off the water, wear safety goggles and gloves when working with electrical wiring and sharp objects, and purchase a garbage disposal unit of the correct size for your sink.
Follow the steps outlined in your owner’s manual, connect the dishwasher drain hose to the disposal unit before installation, use plumbing tape to seal connections properly, lay down protective covers for fixtures you need to remove during installation, connect the P-trap arm with a slip joint connection, plug it in and run water for five minutes after all connections are made.
Make sure to leave yourself at least half an hour from start to finish. Be careful not to cross-thread any screws so as not to cause damage. With these steps in mind, you should have no difficulty installing a garbage disposal in your single sink! Good luck!

