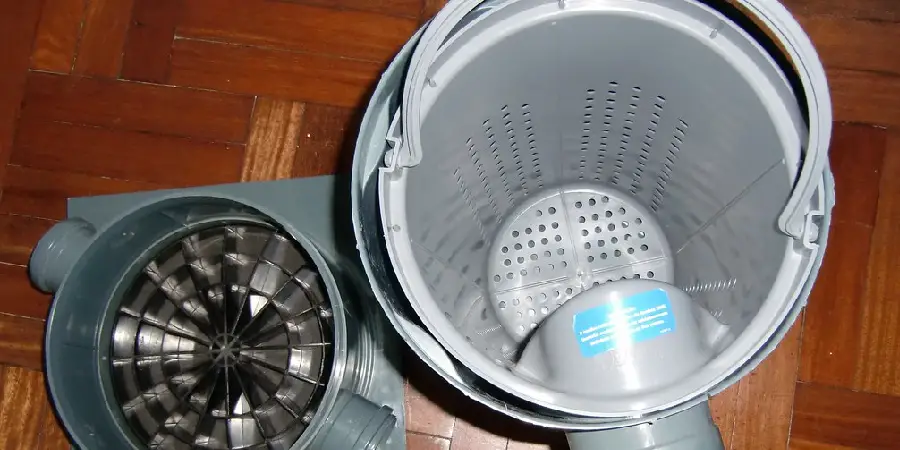
Installing a grease trap is an essential step for any commercial kitchen or food service establishment aiming to comply with health regulations and maintain efficient plumbing systems. Grease traps are designed to capture fats, oils, and grease (FOG) from wastewater before it enters the main sewage system, preventing blockages and costly plumbing issues. Understanding how to install a grease trap ensures its effectiveness and longevity, safeguarding both your operations and the environment.
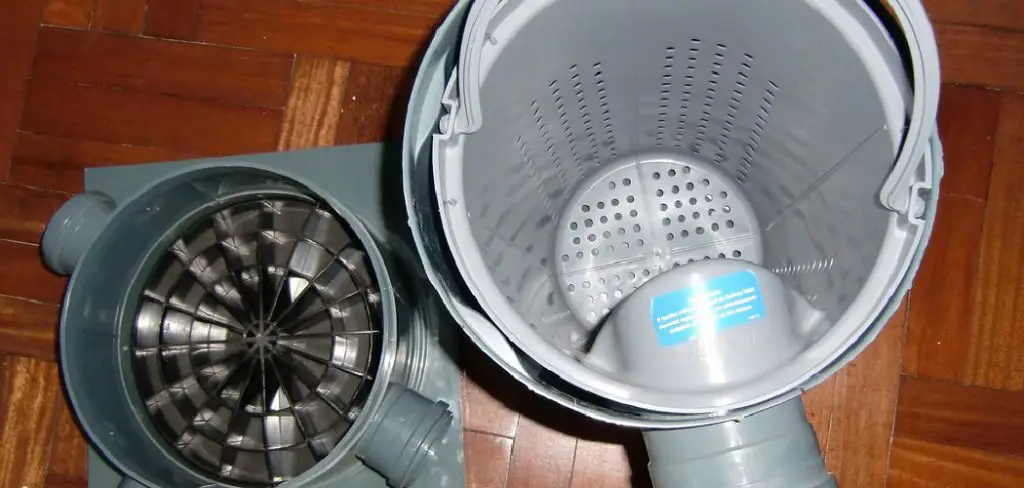
The installation process involves selecting the right size and type of grease trap based on your establishment’s needs, identifying the optimal location for installation, and following detailed plumbing procedures to ensure correct placement and connection. Key steps include measuring the flow rate of wastewater, ensuring adequate ventilation, and securing all connections to prevent leaks. By following a systematic approach to grease trap installation, you can ensure compliance with local regulations, protect your plumbing infrastructure, and contribute to sustainable waste management practices.
Importance of Grease Traps in Preventing Grease and Oil Buildup
Grease traps play a critical role in preventing grease and oil buildup in plumbing systems. Without a properly installed and maintained grease trap, fats, oils, and grease (FOG) can accumulate in the pipes, leading to severe blockages. These blockages can cause wastewater to back up into kitchens and other areas, creating unsanitary conditions and potentially resulting in costly repairs. Furthermore, excessive grease buildup can lead to foul odors and contribute to the growth of harmful bacteria, posing additional health risks.
By capturing FOG before it enters the sewage system, grease traps help maintain the efficiency of your plumbing infrastructure, reduce the frequency of maintenance interventions, and ensure compliance with environmental regulations. Ultimately, investing in a high-quality grease trap and adhering to proper installation and maintenance schedules is a proactive measure that protects your establishment and the environment.
Benefits of Installing a Grease Trap
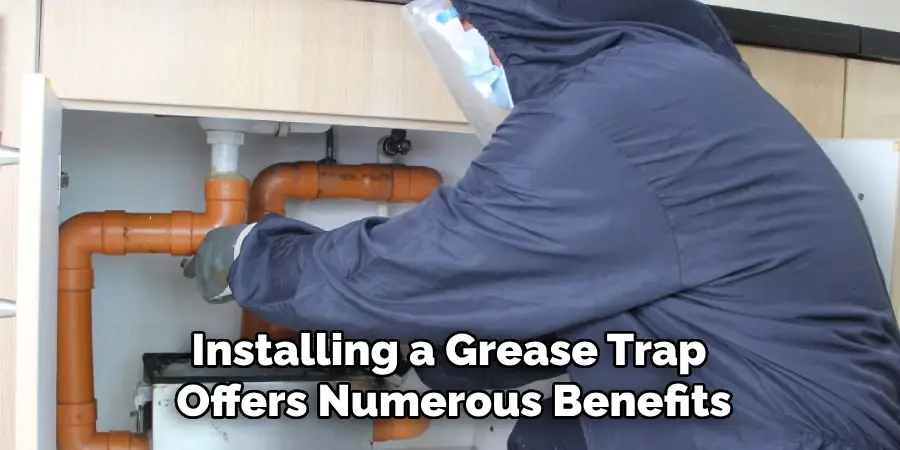
Installing a grease trap offers numerous benefits that can significantly impact both your business operations and environmental footprint. One of the primary advantages is the prevention of costly plumbing repairs. By capturing fats, oils, and grease (FOG) before they enter the sewage system, grease traps significantly reduce the likelihood of blockages and clogs that can lead to expensive repairs and downtime. This, in turn, enhances the longevity and efficiency of your plumbing infrastructure.
Additionally, grease traps help ensure compliance with local health and environmental regulations. Many jurisdictions have strict guidelines regarding the disposal of FOG to prevent sewage system overload and environmental contamination. A properly installed and maintained grease trap will keep your establishment in line with these regulations, avoiding potential fines and legal issues.
Another key benefit is the promotion of a healthier and cleaner kitchen environment. By preventing FOG from accumulating in pipes and drains, grease traps reduce the risk of foul odors and the growth of harmful bacteria, contributing to a more sanitary operational space. This enhances the overall safety and cleanliness of your kitchen, which is crucial for both staff and customer satisfaction.
Furthermore, grease traps contribute to sustainable waste management practices. Captured grease can often be recycled or repurposed, reducing the environmental impact associated with grease disposal. This not only supports eco-friendly initiatives but can also improve the public perception of your business as a responsible and environmentally conscious entity.
In summary, the installation of a grease trap offers significant economic, regulatory, sanitary, and environmental benefits, making it a smart investment for any commercial kitchen or food service establishment.
Understanding Grease Traps
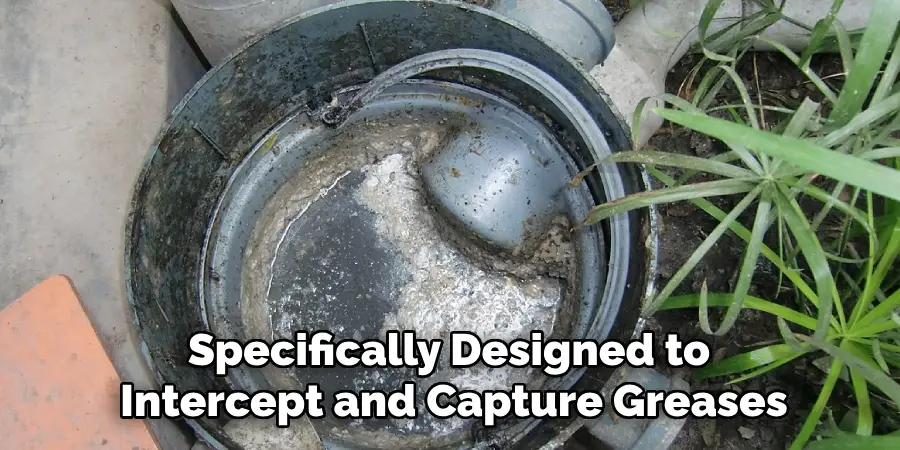
Grease traps, also known as grease interceptors, are devices specifically designed to intercept and capture greases and solids before they enter the wastewater disposal system. These units come in various sizes and capacities, suitable for a wide range of commercial kitchens and food service establishments. The primary function of a grease trap is to separate fats, oils, and grease (FOG) from the water that flows through the kitchen drains, ensuring that only water, free of harmful grease, continues to the main sewage system.
The working principle behind grease traps involves gravity and the natural buoyancy of fats and oils. As wastewater flows into the grease trap, the FOG particles float to the surface because they are less dense than water. The solid food waste particles sink to the bottom, while the cleaner water exits the trap through a series of baffles or barriers. This process effectively captures and isolates the grease and solids, reducing the risk of pipe blockages and promoting a more efficient wastewater management system.
Understanding the different types of grease traps is crucial for selecting the right one for your establishment. There are generally two main categories: passive (manual) grease traps and automatic grease removal units (AGRU). Passive grease traps are the most common and require manual cleaning, whereas AGRUs automatically separate and remove grease, making them more convenient but typically more expensive.
Proper installation and routine maintenance of grease traps are essential to their effectiveness. Regularly scheduled cleaning prevents the buildup of grease and solids, ensuring the trap functions optimally and prolonging its lifespan. Additionally, understanding local regulations and compliance requirements for grease trap installations helps in avoiding potential legal issues and environmental fines.
By gaining a thorough understanding of how grease traps work and the importance of routine upkeep, commercial kitchens can significantly reduce plumbing issues, comply with health and environmental standards, and contribute to a cleaner, more sustainable operation.
Definition and Function of Grease Traps
A grease trap, also known as a grease interceptor, is a plumbing device specifically designed to capture and separate fats, oils, and grease (FOG) from wastewater. This device plays a pivotal role in maintaining the efficiency and longevity of plumbing systems, particularly in commercial kitchens and food service establishments where FOG accumulation can be significant. The primary function of a grease trap is to intercept and trap FOG before it enters the main sewage system, thereby preventing potential blockages and related issues.
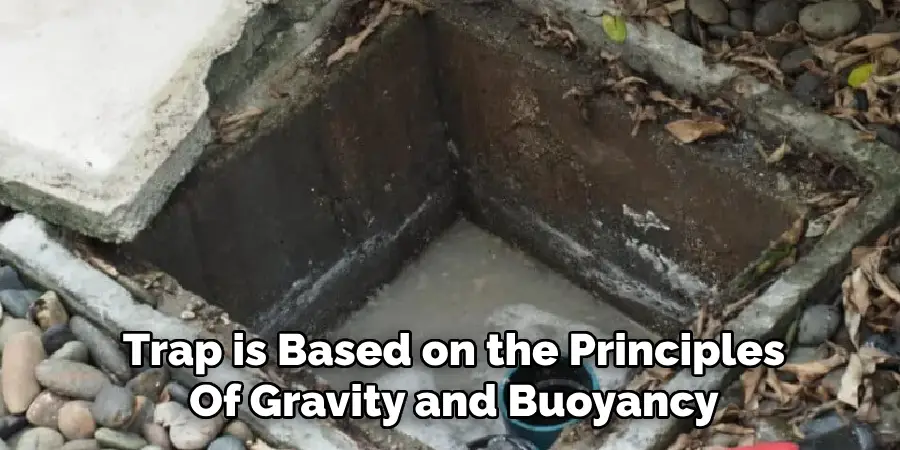
The operation of a grease trap is based on the principles of gravity and buoyancy. As wastewater laden with FOG flows into the trap, the lighter grease particles float to the surface while the heavier solid particles sink to the bottom. The relatively cleaner water is then allowed to pass through a series of baffles or barriers and exit the trap, leaving the grease and solids behind. This separation process effectively minimizes the amount of FOG entering the sewage system, which in turn reduces the risk of clogs, backups, and other plumbing complications.
Types of Grease Traps
Grease traps are essential tools in maintaining the hygiene and functionality of commercial kitchen plumbing systems. There are several types of grease traps designed to accommodate various operational needs and capacities. Understanding the differences between these types can help you select the most suitable option for your establishment.
Passive (Manual) Grease Traps
Passive grease traps, also known as manual grease traps, are the most traditional and commonly used type. These units are installed below sinks or floors and operate without any electrical components. As wastewater flows in, the FOG rises to the top while heavier food particles sink to the bottom. The cleaned water then exits through an outlet pipe. These traps require manual cleaning and maintenance to remove the accumulated grease and solids, typically on a weekly or monthly basis, depending on usage frequency.
Automatic Grease Removal Units (AGRU)
Automatic Grease Removal Units (AGRUs) are more advanced and convenient compared to their passive counterparts. These units automatically separate and remove grease from the wastewater, typically utilizing sensors and heating elements. The captured grease is then directed to a separate container, which can be easily emptied. Although AGRUs are more expensive to purchase and install, they offer significant labor savings and consistent performance, making them ideal for high-volume kitchens.
In-Ground Grease Traps
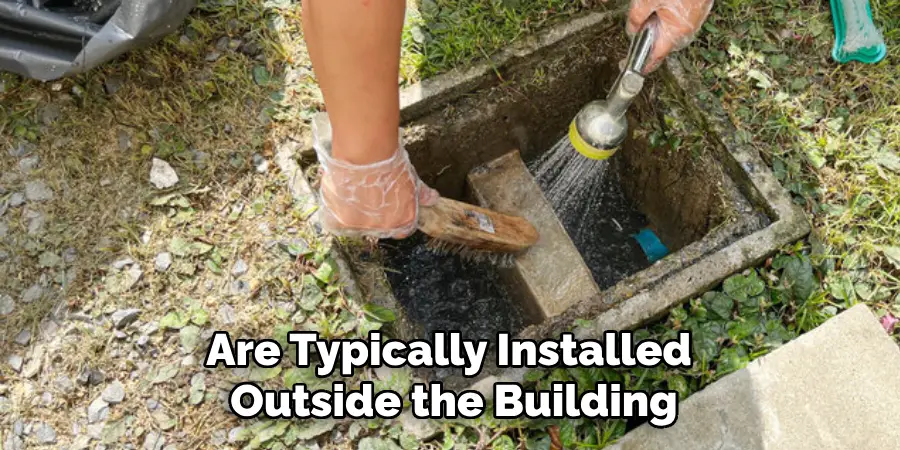
In-ground grease traps, also known as large-capacity grease interceptors, are typically installed outside the building, underground. These traps have a greater capacity to handle large volumes of wastewater and FOG produced by sizeable commercial kitchens. In-ground grease traps require access risers for cleaning and maintenance, which generally needs to be done by professional services due to their size and complexity.
Hydromechanical Grease Interceptors
Hydromechanical grease interceptors utilize flow control devices to regulate the rate at which wastewater enters the trap. By controlling the flow, these units can more effectively separate FOG from the water. Often installed indoors and above ground, hydromechanical interceptors are suitable for kitchens with moderate grease output. They combine the benefits of compact size and efficient FOG capture.
Gravity Grease Interceptors
Gravity grease interceptors are large, passive systems that rely on the natural separation of FOG from water as it slows down in the larger tank. Generally, these systems are installed underground and are efficient for high-volume operations. They require periodic pumping to remove the collected grease and solids, and are often utilized in conjunction with other grease management practices to ensure optimal performance.
10 Methods How to Install a Grease Trap
1. Assess Your Requirements
Before installing a grease trap, it’s crucial to assess your kitchen’s specific requirements. The size and type of grease trap needed depend on the volume of wastewater generated and the amount of grease produced. Start by evaluating your kitchen’s daily water usage and the type of food prepared. Commercial kitchens typically require larger grease traps compared to residential kitchens. Consulting with a professional plumber or a grease trap manufacturer can help determine the appropriate size and model for your needs. Proper assessment ensures that the installed grease trap will efficiently handle the FOG load, preventing frequent maintenance issues.
2. Choose the Right Location
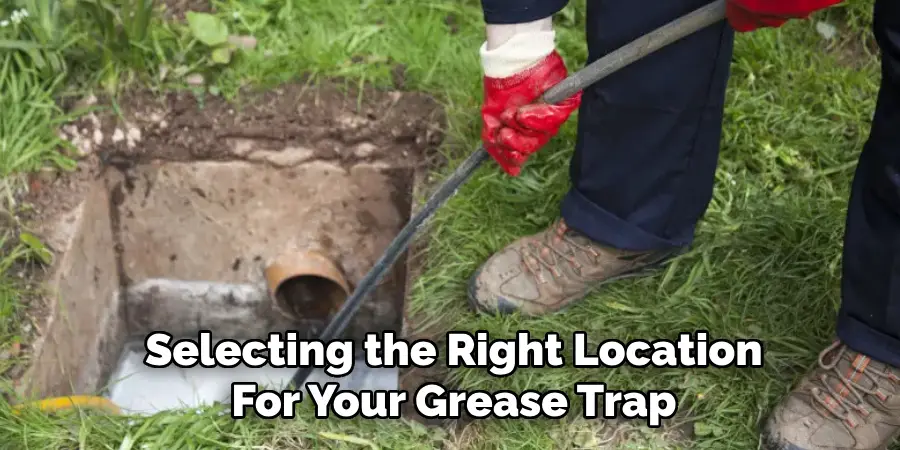
Selecting the right location for your grease trap is vital for optimal performance. The grease trap should be installed as close to the source of grease as possible, usually under the sink or near the kitchen fixtures that produce the most grease. Ensure that the chosen location is easily accessible for regular maintenance and cleaning. It should also comply with local plumbing codes and regulations. The grease trap should be positioned where it can effectively intercept grease before it enters the main drainage system, thereby preventing blockages and ensuring smooth wastewater flow.
3. Gather Necessary Tools and Materials
Having the right tools and materials on hand is essential for a smooth installation process. Common tools needed for installing a grease trap include pipe wrenches, adjustable wrenches, pipe cutters, pliers, Teflon tape, and a measuring tape. You will also need PVC pipes, fittings, and connectors that match your plumbing system. Additionally, ensure you have the grease trap unit, appropriate adapters, and any manufacturer-recommended accessories. Preparing all tools and materials beforehand minimizes delays and ensures that the installation process proceeds efficiently.
4. Turn Off the Water Supply
Before starting the installation, turn off the water supply to the area where you will be working. This step is crucial to prevent water from flowing through the pipes during the installation process. Locate the main water shutoff valve and turn it off. Open the faucet connected to the sink to drain any remaining water in the pipes. This precaution helps avoid any accidental leaks or water damage during the installation. Ensuring a dry working environment is essential for making precise connections and securing fittings.
5. Measure and Cut the Pipes
Accurate measurements are critical for fitting the grease trap correctly into the existing plumbing system. Measure the distance between the sink’s drain outlet and the inlet of the grease trap, as well as the outlet of the grease trap to the main drain line. Mark the pipes at the appropriate lengths and use a pipe cutter to make clean, straight cuts. Ensure that the cuts are precise to avoid any misalignment that could cause leaks. Properly cut and fitted pipes are essential for maintaining a secure and leak-free connection.
6. Connect the Grease Trap to the Sink
Begin the installation by connecting the grease trap to the sink’s drain outlet. Apply Teflon tape to the threads of the inlet pipe of the grease trap to ensure a watertight seal. Attach the inlet pipe to the sink’s drain outlet using an appropriate fitting, such as a slip-joint or a threaded adapter. Tighten the connection securely but avoid over-tightening, which could damage the threads or the pipe. Ensure that the inlet pipe is properly aligned with the grease trap to facilitate smooth wastewater flow into the trap.
7. Connect the Grease Trap to the Drain Line
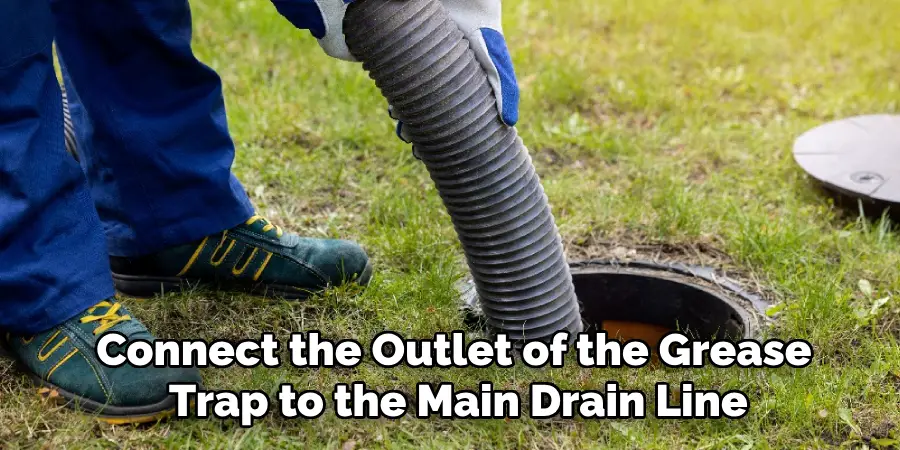
Next, connect the outlet of the grease trap to the main drain line. Again, apply Teflon tape to the threads of the outlet pipe for a secure seal. Attach the outlet pipe to the grease trap using the appropriate fitting and connect it to the main drain line. Ensure that the outlet pipe is slightly inclined downward to allow gravity to aid in the flow of wastewater. Secure all connections firmly and check for any potential leaks. Proper alignment and secure connections are vital for preventing leaks and ensuring efficient operation of the grease trap.
8. Seal and Test the Connections
Once all connections are made, it’s important to seal and test them to ensure there are no leaks. Use pipe sealant or Teflon tape on all threaded connections for added security. After sealing, turn the water supply back on and run water through the sink to test the system. Observe all connections for any signs of leaks. If any leaks are detected, turn off the water supply and tighten the connections as needed. Testing the system thoroughly ensures that the grease trap installation is leak-free and ready for use.
9. Install a Ventilation System
Proper ventilation is crucial for the effective operation of a grease trap. A vent allows air to enter the plumbing system, preventing vacuum formation and ensuring smooth flow of wastewater. Depending on your local plumbing codes, you may need to install a vent pipe connected to the grease trap’s outlet pipe. The vent pipe should extend above the roofline or connect to an existing vent stack. Installing a vent system helps maintain the trap’s efficiency and prevents issues such as slow drainage or unpleasant odors.
10. Schedule Regular Maintenance
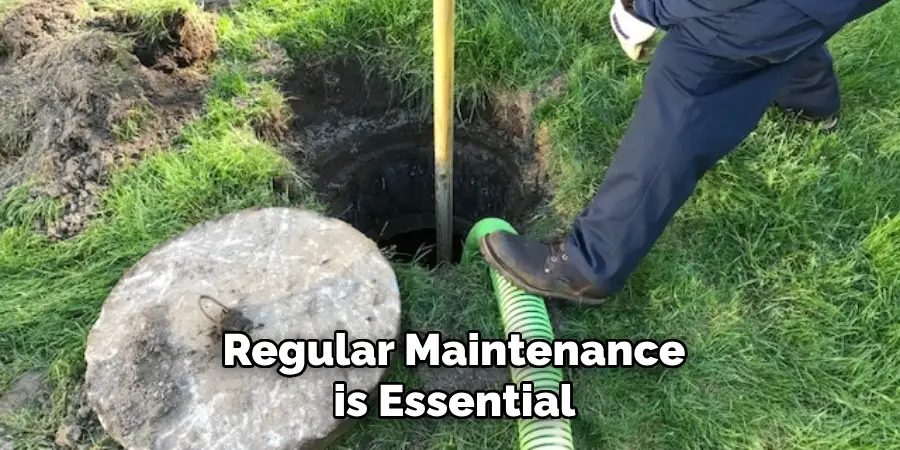
After installing the grease trap, regular maintenance is essential to ensure its continued efficiency. Schedule routine inspections and cleaning based on the grease trap’s size and the volume of grease produced. A professional plumber or a grease trap cleaning service can perform thorough cleanings, removing accumulated grease and preventing blockages. Regular maintenance not only extends the lifespan of the grease trap but also ensures compliance with local health and environmental regulations. Keeping a maintenance log can help track cleaning schedules and identify any potential issues early.
Conclusion
Proper installation and maintenance of a grease trap are essential steps in ensuring the longevity and efficiency of your plumbing system. By carefully selecting an appropriate location, gathering the necessary tools and materials, and following a methodical installation process, you can avoid common issues such as blockages, leaks, and inefficiencies.
Regular maintenance, including inspections and cleanings, is critical to keep the grease trap functioning optimally and to comply with local health and environmental regulations. Thanks for reading, and we hope this has given you some inspiration on how to install a grease trap!

