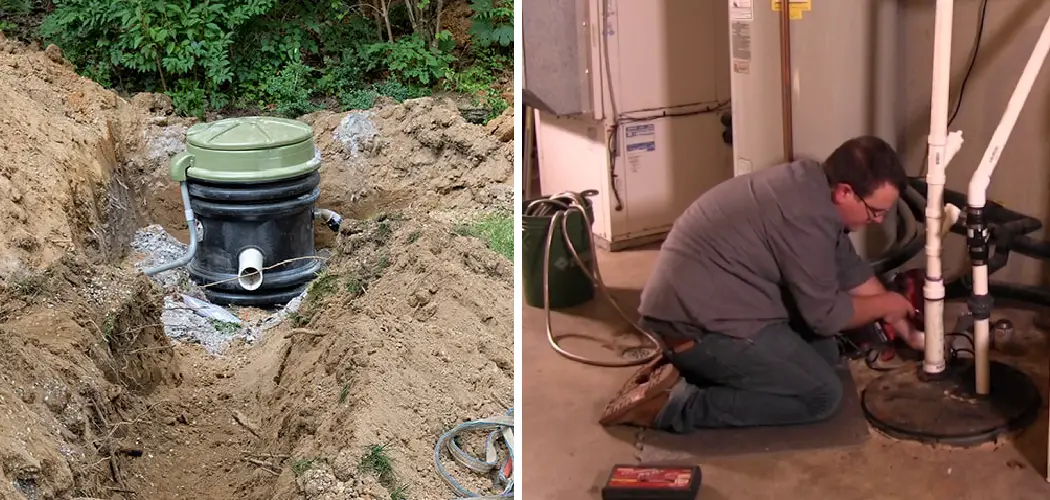
Installing a grinder pump can be a daunting task, especially for those unfamiliar with plumbing systems. However, with the right guidance and tools, it’s a manageable project that can save you time and money in the long run. A grinder pump is essential for homes or businesses located below the level of the main sewer line, as it grinds sewage into a slurry and pumps it uphill to the main sewer line.
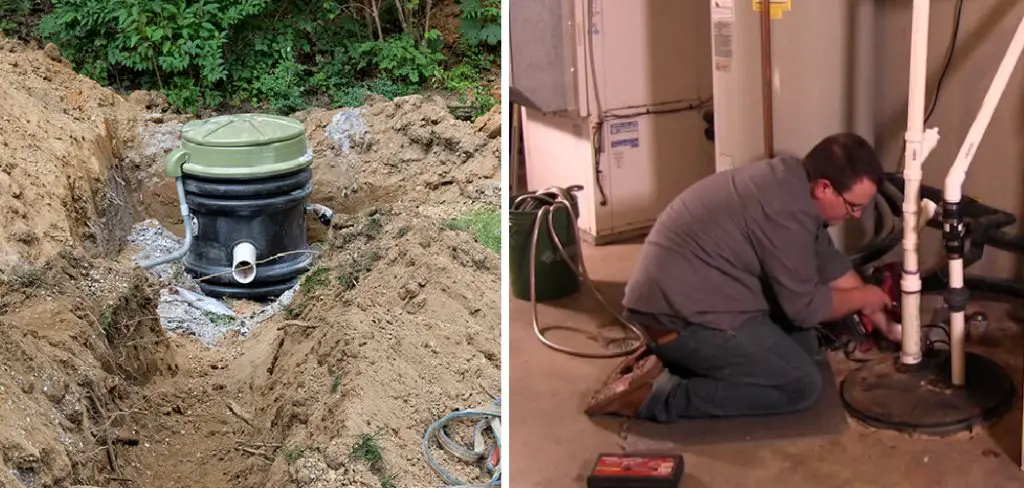
In this comprehensive guide, we’ll walk you through the step-by-step process of how to install a grinder pump, from selecting the right location to connecting it to your plumbing system.
We’ll cover everything you need to know, including safety precautions, necessary equipment, and troubleshooting tips. By following this guide, you’ll gain the confidence and expertise to successfully install a grinder pump and ensure the efficient disposal of sewage from your property.
Importance of Proper Installation
Proper installation of a grinder pump is critical for several reasons. Firstly, it ensures the efficient and reliable operation of the pump, which is vital for the effective disposal of sewage. A correctly installed grinder pump will minimize the risk of blockages and breakdowns, leading to fewer maintenance issues and a longer lifespan for the pump.
Secondly, proper installation is essential for the safety of both the property and its inhabitants. Incorrect installation could lead to sewage backups, environmental contamination, and potential health hazards. Lastly, adhering to local building codes and regulations is crucial during the installation process.
Failure to do so could result in fines, legal issues, and the need to reinstall the pump, incurring additional costs and effort. Consequently, taking the time to install a grinder pump correctly is an investment in the smooth and safe operation of your sewage disposal system.
Understanding Grinder Pump Systems
Before plunging into the installation process, it’s essential to have a clear understanding of grinder pump systems and how they operate. A grinder pump is a wastewater conveyance device. Waste from toilets, bathtubs, washing machines, and sinks flows through the home’s pipes into the grinder pump’s holding tank.
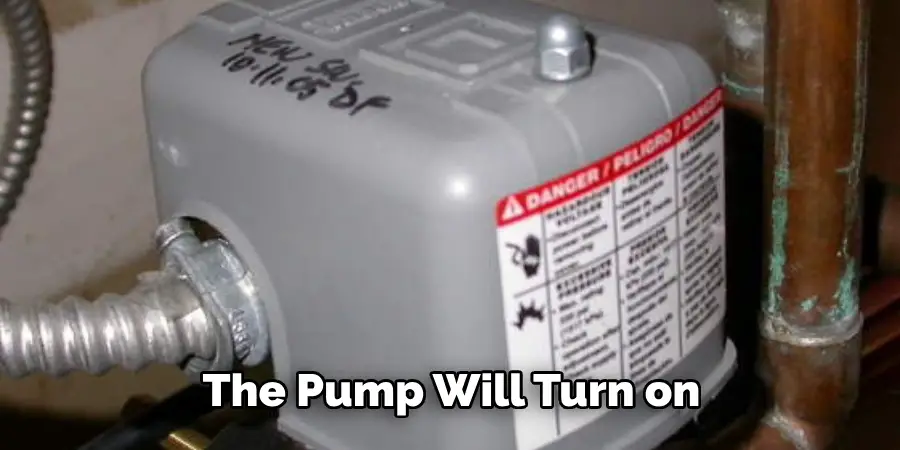
Once the wastewater inside the tank reaches a certain level, the pump will turn on, grind the waste into a fine slurry, and pump it to the local sewer system. Grinder pumps are typically installed in basements or low-lying areas where the sewage needs to be pumped up to the sewer line or septic tank.
Grinder pumps are an integral part of a sewer system, especially in areas where gravity cannot be relied upon to move wastewater. They are designed for various residential, commercial, and industrial applications.
Understanding the components of a grinder pump system, including the holding tank, pump, float switches, and control panel, is crucial for proper installation and operation. Recognizing the demands that different waste outputs can place on the system will help in selecting the right pump size and specifications for your needs.
Components of a Grinder Pump
A grinder pump system comprises several critical components that work together to manage and move wastewater efficiently. Understanding these components is essential for anyone looking to install, maintain, or troubleshoot a grinder pump system. Here is a breakdown of the key elements:
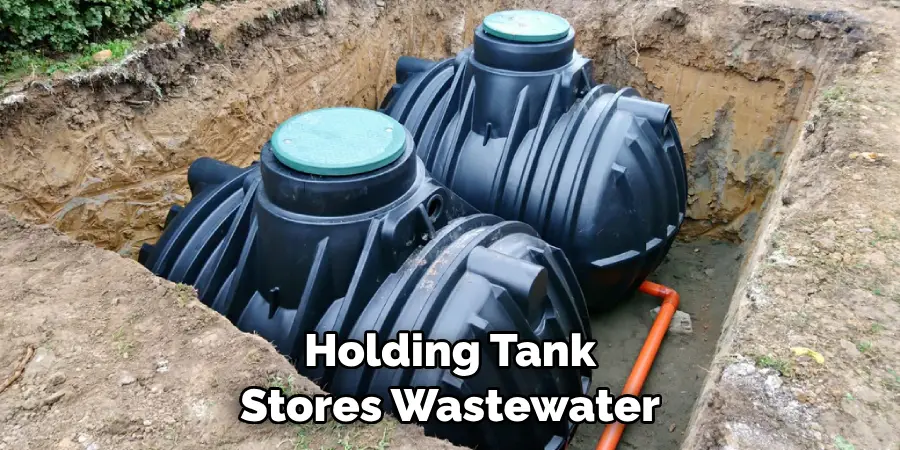
- Holding Tank: The holding tank stores wastewater from household appliances and fixtures until it reaches a preset level. Once this level is reached, the grinder pump is activated. The tank is typically buried underground and made from durable materials to withstand wastewater’s corrosive nature.
- Grinder Pump: The core of the system, the grinder pump, is responsible for grinding sewage and household waste into a fine slurry. This process significantly reduces the risk of clogs and blockages in the pipes leading to the main sewer or septic system.
- Float Switches: Float switches monitor the wastewater level in the holding tank. When the level reaches a certain point, these switches trigger the grinder pump to start. Some systems may have more than one float switch to provide backup and enhance system reliability.
- Control Panel: This component serves as the “brain” of the grinder pump system. It receives signals from the float switches to activate the pump at the appropriate times. The control panel can also include alarms and warning systems to alert homeowners of potential issues, such as high water levels or pump malfunctions.
- Check Valve: Located within the discharge line, the check valve prevents the backflow of ground materials and wastewater into the pump system after the pump cycle ends, ensuring efficient and unidirectional flow.
- Discharge Piping: This network of pipes transports the ground wastewater from the grinder pump to the sewer system or septic tank. It must be durable and correctly installed to handle the pressure and nature of the conveyed slurry.
- Electrical Supply: Grinder pumps require a continuous electrical supply to operate. This usually involves a dedicated circuit to handle the pump’s power needs and safeguard against electrical overload.

Types of Grinder Pumps
Grinder pumps can be classified into two main types based on their installation and operational characteristics: submersible grinder pumps and centrifugal grinder pumps. Each type has its specific applications, advantages, and considerations for use.
- Submersible Grinder Pumps: These pumps are designed to be submerged in the wastewater and can efficiently handle high volumes of effluents. The motor and grinder assembly is enclosed within a watertight casing, allowing it to operate under water. Submersible grinder pumps are highly efficient, have a compact design, and are usually installed directly in the wastewater holding tank. They are preferred for residential and light commercial applications due to their low noise levels and minimal space requirements.
- Centrifugal Grinder Pumps: Unlike submersible pumps, centrifugal grinder pumps are usually installed above ground or in a dry well. They operate using centrifugal force to pump the wastewater through the piping system. These pumps are suited for applications that require high head pressures and are often used in municipal and industrial settings. The main advantages of centrifugal grinder pumps include ease of maintenance and the ability to handle large volumes of wastewater.
Legal and Regulatory Considerations
When installing and operating a grinder pump system, it is vital to be aware of the local codes, regulations, and permits that may apply. Legal and regulatory considerations ensure that the system is installed and maintained in a manner that complies with public health standards and environmental protection guidelines. Here are key points to consider:
- Permits: Before installation begins, it’s crucial to obtain all necessary permits from local authorities. These permits ensure that the installation plan meets the local plumbing and building codes and that the system design is suitable for the specific location and its environmental conditions.
- Environmental Regulations: Grinder pump systems must comply with state and federal environmental regulations. This includes ensuring that the system does not contaminate local water bodies and adheres to guidelines for waste management and disposal. Some regions may have specific requirements for the treatment and discharge of wastewater, especially in environmentally sensitive areas.
- Health and Safety Codes: The installation and operation of grinder pump systems must adhere to public health and safety codes. These regulations are designed to prevent accidents and protect the community from potential hazards associated with sewage and wastewater management.
- Maintenance Guidelines: Many municipalities and local governments have regulations in place regarding the maintenance and inspection of sewer and grinder pump systems. Homeowners and property managers may be responsible for ensuring that their systems are regularly serviced and in good working order to prevent failures that could affect public health or the environment.
- Noise Regulations: In some areas, there may be regulations governing the noise levels permissible from mechanical equipment, including grinder pumps. Installers must ensure that the system’s operation does not exceed these limits, potentially necessitating the selection of specific pump models or the implementation of noise-reduction measures.
- Waste Disposal Standards: The processed waste material from grinder pump systems must meet certain standards before it can be discharged into sewage systems or septic tanks. These standards help to protect the sewage treatment process and ensure that the system does not introduce harmful materials into the ecosystem.

Pre-Installation Preparation
Before the installation of a grinder pump system begins, thorough preparation is essential to ensure a smooth process and successful operation. Here are critical steps to consider during pre-installation preparation:
- Site Assessment: Conduct a detailed assessment of the site where the grinder pump will be installed. This assessment should identify the location of existing utilities, soil type, water table level, and any potential obstructions. The chosen site should allow for easy access to the pump for maintenance and repair work.
- System Design: Based on the site assessment, design the grinder pump system to meet the specific needs of the property. This includes selecting the right type of grinder pump, determining the size of the holding tank, and designing the layout of the piping system.
- Regulatory Compliance: Ensure that the system design complies with all local codes, regulations, and permits as mentioned in the previous section. This step may require consultation with local authorities and may influence decisions on the system’s design and components.
- Budget Planning: Establish a budget for the grinder pump system installation, including the cost of the pump, additional components, labor, and any required permits. Consider future maintenance and operation costs in the overall budget.
- Hiring Professionals: Identify and hire qualified professionals for the installation. This can include plumbers, electricians, and contractors with experience in grinder pump systems. Their expertise is critical in ensuring the system is installed correctly and operates efficiently.
- Preparation of the Installation Area: Prepare the site where the grinder pump will be installed. This may involve excavation, grading, and preparing the foundation for the pump and its components. Ensure the area is accessible and safe for the installation team.
- Acquisition of Materials: Purchase or order all necessary materials, components, and tools for the installation. Having everything on-site before work begins can prevent delays and ensure the process proceeds smoothly.
- Communication with Stakeholders: Inform all stakeholders, including property owners, residents, and local authorities (if required), about the installation schedule, expected disturbances, and the benefits of the new system. Clear communication helps manage expectations and minimizes disruptions during the installation process.
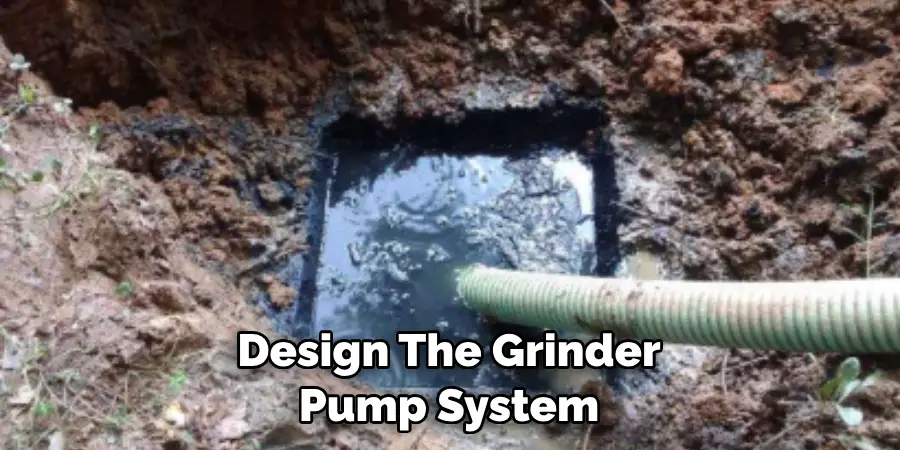
10 Methods How to Install a Grinder Pump
1. Assessing the Site:
Before beginning the installation process, conduct a thorough assessment of the site where the grinder pump will be installed.
Consider factors such as the location of the main sewer line, the elevation of the property, soil conditions, and any potential obstacles or obstructions. Additionally, familiarize yourself with local building codes, zoning regulations, and permitting requirements to ensure compliance throughout the installation process.
2. Obtain Necessary Permits:
Depending on your location, installing a grinder pump may require obtaining various permits and approvals from local authorities. These permits typically include excavation permits, plumbing permits, and electrical permits.
Contact your local building department or regulatory agency to determine the specific requirements for your project and obtain the necessary permits before proceeding with the installation.
3. Gather Equipment and Materials:
Once you have assessed the site and obtained the necessary permits, gather all the equipment and materials required for the installation process.
This includes the grinder pump unit, control panel, discharge piping, fittings, electrical wiring, conduit, concrete pad, and backfill material. Ensure that you have all the necessary tools and equipment on hand to complete the installation safely and efficiently.
4. Excavate the Pit:
The next step is to excavate a pit at the designated location for the grinder pump. The size and depth of the pit will depend on the specifications provided by the manufacturer and local building codes.
Use appropriate excavation equipment, such as a backhoe or excavator, to dig the pit to the required dimensions while ensuring proper safety measures are in place. Excavate the pit with sloping sides to facilitate drainage and prevent collapse during the installation process.
5. Install the Concrete Pad:
Once the pit has been excavated, prepare the bottom surface for the installation of the grinder pump unit by pouring a reinforced concrete pad. The pad should be thick enough to provide a stable base for the pump unit and adequately support its weight.
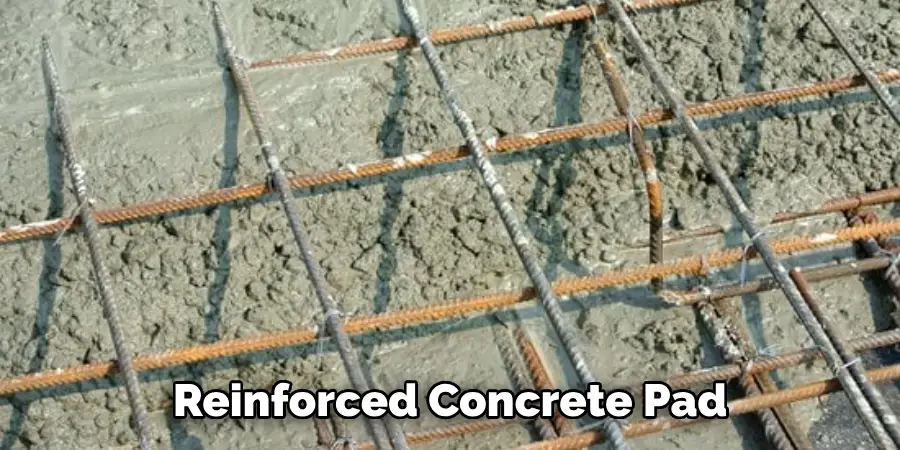
Use proper formwork and reinforcement materials to ensure the integrity and durability of the concrete pad. Allow the concrete to cure fully before proceeding with the installation of the pump unit.
6. Position the Grinder Pump Unit:
Carefully lower the grinder pump unit into the pit using appropriate lifting equipment, taking care to avoid damage to the unit or surrounding structures. Position the pump unit so that the inlet is aligned with the incoming sewer line and the discharge outlet is directed towards the main sewer line.
Ensure that the pump unit is level and securely anchored to the concrete pad to prevent movement during operation.
7. Connect the Discharge Piping:
Once the pump unit is in position, connect the discharge piping to the outlet of the grinder pump unit using suitable fittings and couplings. The discharge piping should be made of durable materials such as PVC or HDPE and properly sized to accommodate the flow rate of the pump.
Ensure that the piping is securely supported and sloped downward towards the main sewer line to facilitate proper drainage and prevent clogging.
8. Electrical Wiring:
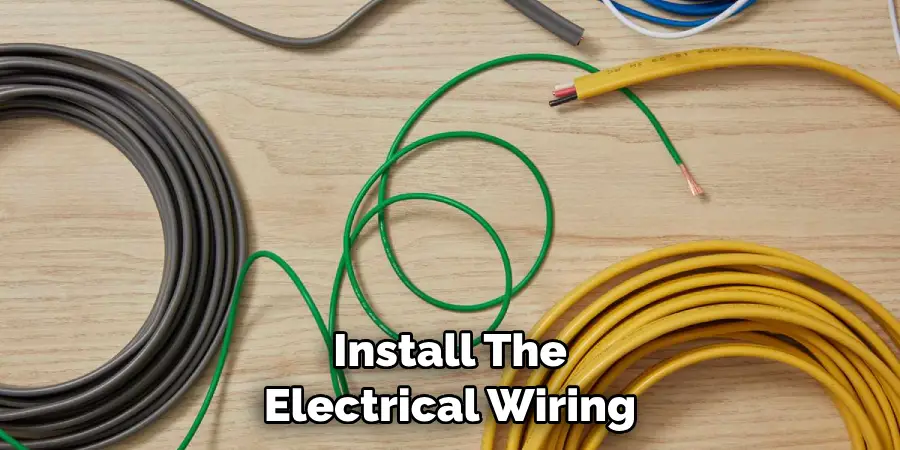
Install the electrical wiring and conduit according to the manufacturer’s instructions and local electrical codes. The electrical system for the grinder pump unit typically includes wiring from the control panel to the pump unit, as well as any necessary connections for power supply and monitoring devices.
Ensure that all electrical connections are properly insulated and protected from moisture to prevent short circuits or electrical hazards.
9. Backfilling and Compaction:
Once the pump unit and associated components have been installed and tested, backfill the excavation with the appropriate material, such as sand or gravel. Backfilling should be done in layers, compacting each layer thoroughly to ensure stability and prevent settling over time.
Pay special attention to compacting the backfill around the pump unit and discharge piping to provide adequate support and prevent damage during operation.
10. Final Inspection and Testing:
Before putting the grinder pump into operation, conduct a final inspection to verify that all components have been installed correctly and according to specifications.
This may include checking for proper alignment of the pump unit, inspecting electrical connections for tightness and insulation, and ensuring that the discharge piping is securely supported and sloped correctly.
Once the inspection is complete, test the system under load conditions to ensure proper functioning and address any issues that may arise.
Conclusion
In conclusion, installing a grinder pump is a critical process that requires careful planning, precise execution, and adherence to safety standards. By following the step-by-step guide outlined in this article, homeowners and professionals alike can ensure a successful installation that guarantees efficient wastewater management.
From assessing site suitability to testing the system post-installation, each stage demands attention to detail and adherence to best practices. Additionally, recognizing the importance of routine maintenance and troubleshooting potential issues can prolong the lifespan of the grinder pump and prevent costly repairs down the line.
Thanks for reading, and we hope this has given you some inspiration on how to install a grinder pump!

