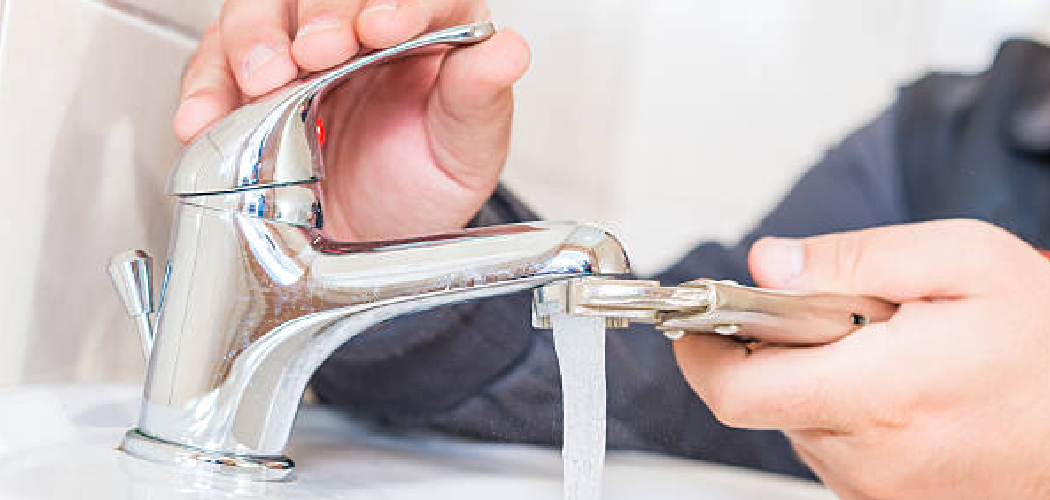
Installing a Moen kitchen faucet is a straightforward process that can enhance the functionality and aesthetics of your kitchen. Whether you’re upgrading your existing faucet or replacing a faulty one, this guide on how to install a moen kitchen faucet will walk you through the necessary steps to ensure a seamless installation.
With a few essential tools and some basic know-how, you can complete the task efficiently and enjoy the benefits of a sleek and reliable Moen faucet.
What is a Moen Kitchen Faucet?
A Moen kitchen faucet is a high-quality fixture that adds style and practicality to your kitchen sink. It is designed with a single or double handle for controlling hot and cold water, and some models also feature a pull-out or pull-down sprayer for added convenience.
Moen faucets come in various finishes, including chrome, stainless steel, and bronze, to match different kitchen designs.
Advantages of Using a Moen Kitchen Faucet
Durability:
As mentioned earlier, Moen uses top-quality materials to manufacture their kitchen faucets, making them highly durable. These faucets are built to withstand daily use and last for years without showing signs of wear or damage.
Style and Design:
Moen offers a wide range of styles and designs for their kitchen faucets, catering to different preferences and needs. Whether you want a traditional, modern, or transitional look, there is a Moen faucet that will complement your kitchen decor perfectly.
Easy Installation:
Installing a Moen kitchen faucet is relatively easy compared to other brands. Most models come with a detailed installation guide and all the necessary components for hassle-free installation. This saves you time and money from hiring a professional plumber.
Water Efficiency:
Moen faucets are designed with water efficiency in mind. Many models feature a flow rate of 1.5 gallons per minute, which is significantly lower than the industry standard of 2.2 gallons per minute. This not only saves water but also reduces your water bill.
Innovative Technologies:
Moen is constantly pushing the boundaries when it comes to faucet technology. Their MotionSense touchless technology allows you to turn on and off the faucet with just a wave of your hand, making it convenient for tasks like washing dishes or filling up a pot. They also have Spot Resist finish options that resist fingerprints and water spots, keeping your faucet looking clean and spotless.
Tools and Materials Needed
- Moen Faucet With MotionSense Technology (Optional)
- Water-saving Aerator
- Adjustable Wrench or Pliers
- Teflon Tape
- Bucket or Towel
9 Step-by-Step Guides on How to Install a Moen Kitchen Faucet:
Step 1: Turn Off the Water Supply
Before beginning the installation process, ensure that the water supply to the kitchen faucet is completely turned off. Locate the shut-off valves under the sink, typically found on the wall or connected to the water pipes.

Turn the valves clockwise until they are fully closed. If your home does not have individual shut-off valves, you may need to turn off the main water supply for the house. This step prevents any water leakage or spills during the installation process.
Step 2: Prepare the Sink
Before installing the new faucet, take a moment to prepare the sink area. Start by removing any old fixtures or hardware from the sink, including the previous faucet and mounting brackets, if applicable. Clean the surface around the faucet holes to remove any debris, old plumber’s putty, or buildup.
Use a mild cleaning solution or a damp cloth to ensure the surface is smooth and ready for the new installation. Proper preparation will help ensure a secure and leak-free fit for the new faucet. If your new faucet requires additional holes, confirm that they align with the sink configuration and make any necessary adjustments.
Step 3: Install Mounting Hardware
Begin by placing the mounting hardware that came with your new faucet onto the sink or countertop as directed by the manufacturer. This typically includes a gasket, trim plate, or both to ensure proper alignment and a watertight seal. Position the mounting hardware over the faucet holes, ensuring everything is centered and straight.
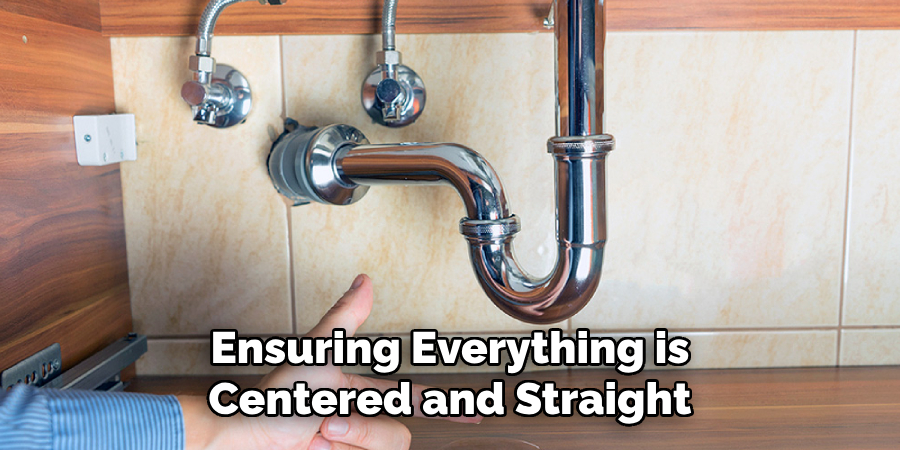
If your faucet includes an escutcheon plate, install it at this stage to cover any unused holes. Secure the hardware underneath the sink using the provided mounting nuts or brackets, tightening them by hand initially. Once in place, use a wrench or screwdriver to firmly secure the hardware, but be cautious not to overtighten, as this could damage the sink or faucet components. Confirm that the faucet is stable and aligned before proceeding to the next step.
Step 4: Attach Supply Lines
Once the faucet is securely mounted, it’s time to attach the supply lines. Begin by connecting the hot and cold water supply lines to the corresponding valves under the sink. Ensure the connections are tight, but do not overtighten to avoid damaging the threads.
If your supply lines are not pre-installed on the faucet, attach them to the faucet first, following the manufacturer’s instructions. After both lines are connected, double-check that the hot and cold connections are correctly matched to the appropriate valves to avoid switching their functions.
Step 5: Install Faucet
Now it’s time to install the actual faucet onto the mounting plate. Most faucets come with a rubber gasket that goes between the faucet and the sink to create a watertight seal. Place this gasket on the bottom of the faucet and then carefully push it through the mounting holes on top of your sink.
Once in place, secure the faucet by hand tightening or using a wrench if necessary. Make sure it is in a straight position before fully tightening.
Step 6: Connect Water Supply Lines
Next, you will need to connect the water supply lines to your new faucet. This is usually done with a compression fitting or a push-to-connect fitting.

If using a compression fitting, make sure to use Teflon tape on the threads for a secure seal. Tighten the nut onto the valve and then attach the other end to the corresponding inlet on your faucet. For push-to-connect fittings, simply push the line into place until you hear a click. Double-check that all connections are tight before moving on.
Step 7: Turn on the Water and Test
Once all the connections are secure, slowly turn on the water supply valves under the sink. Check for any leaks around the fittings or connections. If you notice any drips, turn off the water supply and ensure that all fittings are properly tightened. Gradually turn the faucet handles or activate the faucet to test the water flow.
Make sure both hot and cold water are functioning correctly. If everything is working as expected and no leaks are present, proceed to clean up the workspace and enjoy your newly installed faucet!
Step 8: Secure the Faucet to the Sink
Position the faucet base firmly onto the sink, aligning it with the mounting holes. From underneath the sink, thread the mounting nuts onto the faucet shanks or use the provided mounting bracket, depending on the faucet model.
Tighten the nuts or screws evenly and securely to ensure the faucet is stable, but avoid over-tightening, as this could damage the sink or the faucet components. Double-check the alignment of the faucet on top of the sink before finalizing the connections. A properly secured faucet will sit flush with the sink surface and remain steady during use.
Step 9: Install Decorative Pieces and Handles
Begin by attaching any decorative covers or escutcheons that came with the faucet. These pieces are designed to conceal the mounting hardware and provide a polished look. Align them carefully over the base of the faucet, ensuring they sit flush against the sink surface. Next, attach the faucet handles if they are not pre-installed.
Slide each handle onto the designated valve stem, following the manufacturer’s instructions for the correct orientation. Secure the handles in place using the screws or fasteners provided, and tighten them evenly. Once installed, test the handles to confirm they move smoothly and align properly in both the “on” and “off” positions. This step ensures your faucet not only functions effortlessly but also appears professionally finished.
Following these steps on how to install a moen kitchen faucet can help ensure a successful and hassle-free installation. However, it is always important to refer to the manufacturer’s instructions for specific details and guidelines.
Frequently Asked Questions:
Q1: Can I Install a Moen Kitchen Faucet Myself?
A: Yes, with the proper tools and following the correct steps, installing a Moen kitchen faucet can be done yourself.
Q2: Do I Need Any Special Tools for Installation?
A: It is recommended to have a basin wrench, an adjustable wrench, and plumber’s tape on hand for a smooth installation.

Q3: How Long Does It Take to Install a Moen Kitchen Faucet?
A: The time may vary based on your experience level, but typically it takes about 1-2 hours to complete the installation process. It is important to carefully follow the instructions and take your time for the best results.
Conclusion
Installing a Moen kitchen faucet is a manageable task that most individuals can accomplish with some basic tools and careful attention to the instructions. By ensuring you have the right equipment and dedicating sufficient time, you can enhance the functionality and appearance of your kitchen with ease.
If you encounter any difficulties, Moen provides detailed guides and customer support to assist you every step of the way. Thanks for reading this article on how to install a moen kitchen faucet.

