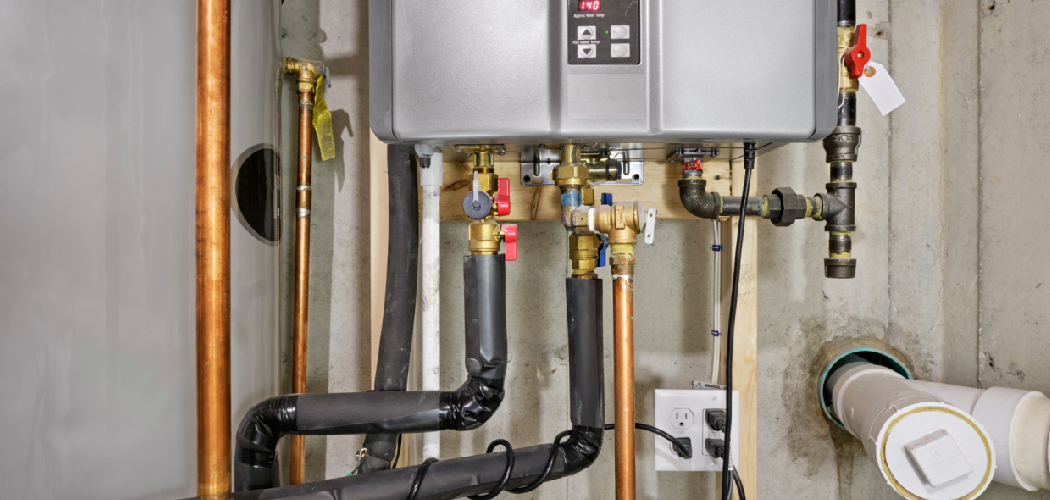
Installing a new water supply line may seem like a daunting task, but with the right tools and guidance, it can be a straightforward process. Whether you’re upgrading an old system or adding a new fixture, ensuring a proper installation is crucial for maintaining efficient water flow and preventing leaks.
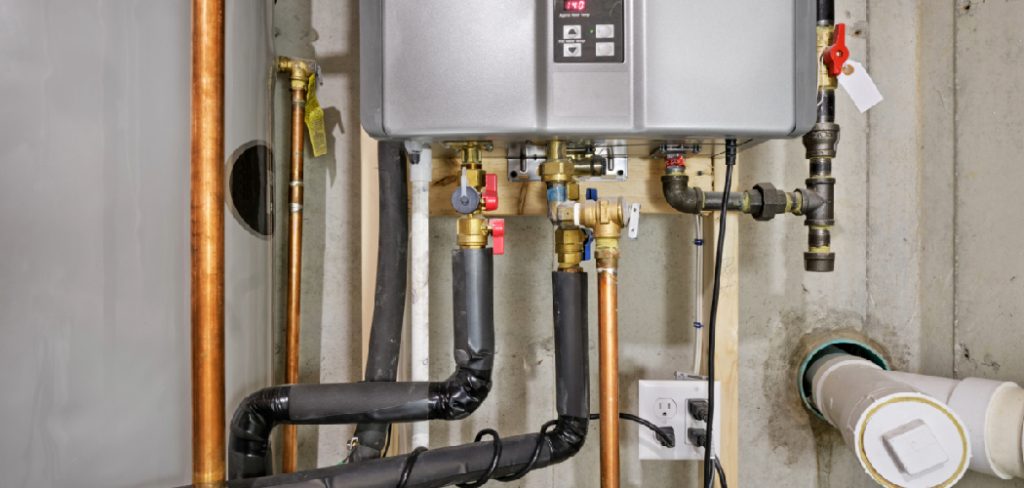
This guide on how to install a new water supply line will walk you through the essential steps to safely and effectively install a new water supply line in your home.
Safety and Preparation
Before starting the installation process, it’s important to prioritize safety and prepare adequately. Begin by turning off the main water supply to prevent any accidental leaks or flooding. Relieve pressure in the pipes by opening nearby faucets. Gather all necessary tools and materials, including wrenches, pipe cutters, plumber’s tape, and the new supply line.
It’s also a good idea to wear safety gloves and goggles to protect your hands and eyes while working. Lastly, ensure you have a clear understanding of the plumbing layout and check for any local codes or permits that may be required to complete the project. Proper preparation will help ensure a smooth and efficient installation process.
Tools and Materials Needed
To successfully complete a plumbing project, it’s essential to have the right tools and materials on hand. Below is a checklist to guide you:
- Adjustable Wrenches
- Pipe Cutters
- Plumber’s Tape (Teflon Tape)
- Replacement Supply Lines or Pipes
- Safety Gloves
- Safety Goggles
- A bucket or a Container to Catch Any Residual Water
- Screwdrivers (Flathead and Phillips)
- Flashlight or Work Light
- Rags or Towels for Cleanup
Having these items readily available will make your work more efficient and help avoid unnecessary interruptions during the process.
7 Simple Step-by-Step Guidelines on How to Install a New Water Supply Line
Step 1: Identify the Type of Water Supply Line You Need
Before starting the installation, it’s essential to determine the type of water supply line suitable for your needs. Check the specifications of your fixture or appliance to ensure compatibility with the new supply line. Common types of water supply lines include braided stainless steel, plastic, or copper.
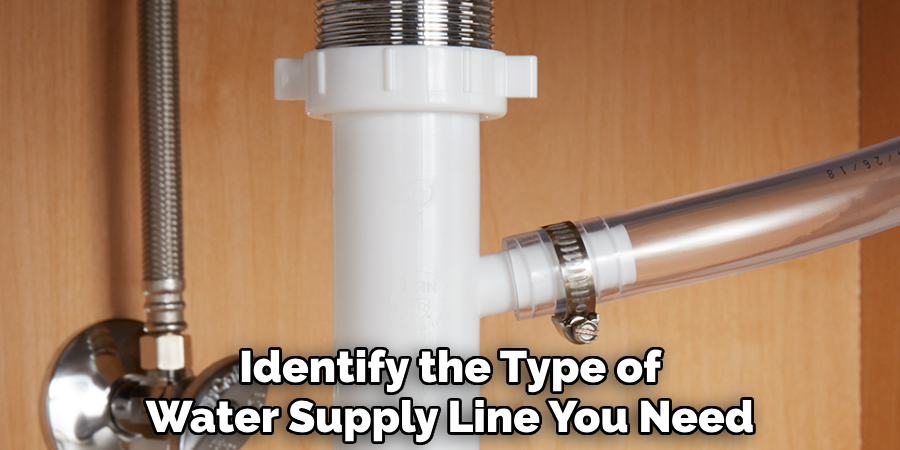
Measure the length you require by assessing the distance between the water supply valve and the fixture. Additionally, confirm the connection sizes at both ends, as fittings can vary depending on the application. Having the correct specifications will ensure a proper fit and prevent leaks or other issues during installation.
Step 2: Shut Off the Water Supply
Before beginning any installation, it is important to shut off the water supply to the fixture. This can typically be done by turning a valve in the wall or underneath the sink. If you are unable to locate a shut-off valve, you may need to turn off the main water supply for your home. This step is crucial for preventing any potential flooding or damage during installation.
Once the water supply has been turned off, open any faucets connected to the same supply line to release any remaining pressure and drain out excess water.
Step 3: Remove Old Supply Line
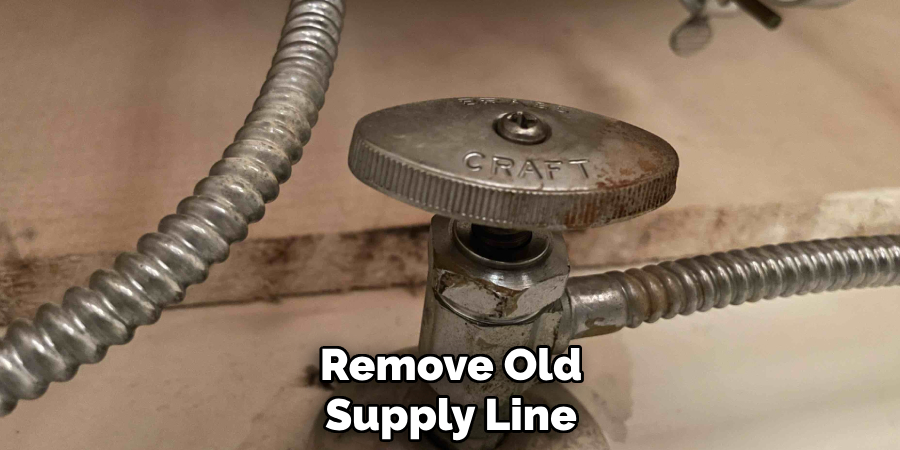
Using an adjustable wrench or pliers, carefully loosen the nuts connecting the old supply line to the fixture and the shut-off valve. Be sure to have a small bucket or towel handy to catch any residual water that may drain out during this process.
Once the nuts are loosened, gently remove the old supply line and inspect the connection points for any damage or debris. Clean the threads and surrounding areas to ensure a proper seal when installing the new supply line.
Step 4: Prepare the New Supply Line
Before installing the new supply line, make sure to measure and cut it to the appropriate length for your specific installation. It is important to leave enough slack in the line to allow for movement and flexibility.
Next, attach any fittings or adapters necessary for connecting the new supply line to your faucet and shut-off valve. Make sure all connections are secure and properly tightened.
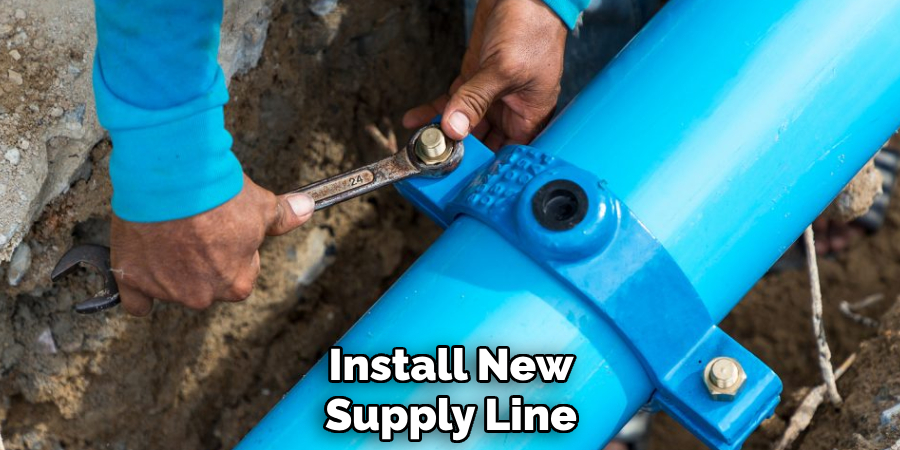
Step 5: Install New Supply Line
With the old supply line removed and the new one prepared, it is now time to install the new supply line. Begin by connecting one end of the supply line to your faucet. This is typically done by unscrewing the old supply line from the bottom of the faucet and screwing in the new one.
Once the faucet end is secure, move on to connecting the other end of the supply line to your shut-off valve. Again, this may involve unscrewing any old fittings or adapters and replacing them with new ones if necessary.
Step 6: Turn on the Water
With the new supply line in place, it’s time to turn on the water and check for any leaks. Slowly open the shut-off valve and allow water to flow through the newly installed supply line.
Keep an eye out for any leaks or drips around the connections. If you do notice a leak, try tightening the fittings or replacing any damaged parts. Once you’re confident that there are no leaks, let the water run for a few minutes to flush out any debris that may have accumulated in the pipes during installation.
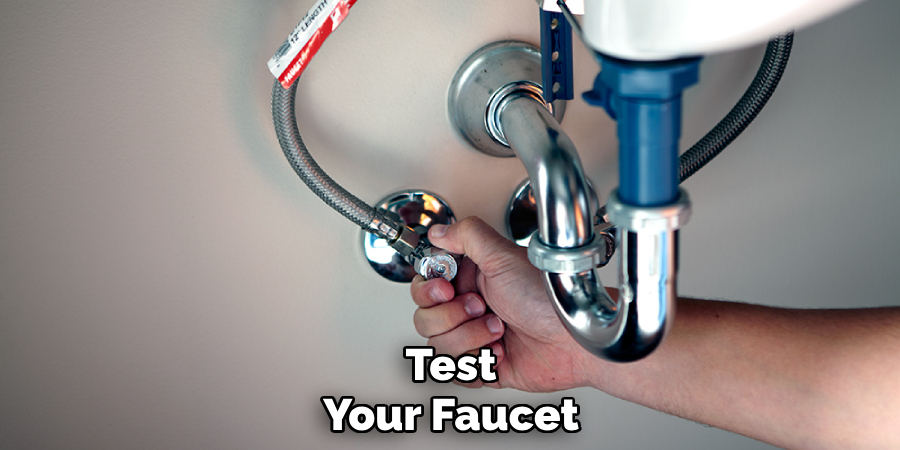
Step 7: Test Your Faucet
After ensuring there are no leaks in the supply line, it’s time to test your faucet. Turn on the faucet handles to check for a steady and even flow of water. Adjust both hot and cold water to confirm proper functionality and temperature balance.
Watch for any unusual noises or irregular flow patterns, as these could indicate air trapped in the lines or other issues. If everything operates smoothly, your installation is complete and your faucet is ready for use!
Following these steps on how to install a new water supply line and faucet will ensure a successful and problem-free installation. Remember to always turn off the water supply before beginning any installation, and double check all connections for proper tightness. With your new faucet in place, you can now enjoy an updated and functional addition to your kitchen or bathroom.
Tips for Maintaining Your Faucet
Once your new faucet is installed, it’s important to properly maintain it to keep it functioning at its best. Here are some tips to help you do just that:
Regularly Clean the Aerator:
Over time, debris such as sediment or mineral deposits can build up in the aerator of your faucet, leading to reduced water flow. To prevent this from happening, remove the aerator every couple of months and soak it in a solution of vinegar and water. This will help dissolve any buildup and keep your faucet running smoothly.
Check for Leaks:
Leaks can not only waste water, but they can also lead to bigger problems if left unchecked. Check your faucet regularly for any signs of leaks, such as dripping or puddles of water around the base. If you do notice a leak, make sure to address it promptly to prevent further damage.
Use Mild Cleaners:
When cleaning your faucet, avoid harsh chemicals that could potentially damage the finish. Instead, opt for mild cleaners and non-abrasive sponges or cloths. This will help keep your faucet looking shiny and new for longer.
Protect from Extreme Temperatures:
Exposure to extreme temperatures can also damage your faucet. Make sure to insulate outdoor faucets during winter months to prevent freezing, and avoid leaving hot or cold water running for extended periods of time. This will not only protect your faucet, but also conserve water.
Consider Upgrades:
If you’re looking to upgrade your faucet, consider options that are more eco-friendly. Look for faucets with WaterSense certification, which use at least 20% less water than traditional models without sacrificing performance. You can also opt for motion-sensor activated faucets, which can help prevent wasted water by automatically shutting off when not in use.
When to Call a Professional?
While many faucet issues can be fixed with basic tools and DIY techniques, there are times when consulting a professional is the safest and most efficient choice. If you notice persistent leaks, significant water pressure problems, or unusual noises coming from your pipes, it’s time to call in an expert.
Additionally, if your faucet requires complex repairs, such as replacing internal components or addressing hidden plumbing issues, professional assistance ensures the job is done correctly and prevents further damage. Investing in professional help can save time, reduce stress, and ultimately extend the lifespan of your faucet.
Frequently Asked Questions
Q1: How Often Should I Check My Faucets for Maintenance?
A1: It’s a good practice to inspect your faucets at least once every few months for leaks, drips, or any visible wear and tear. Regular checks help you identify issues early and prevent costly repairs.
Q2: What Should I Do if My Faucet is Dripping?
A2: A dripping faucet typically indicates a worn-out washer, O-ring, or valve seat. If you’re comfortable performing basic repairs, you can replace the faulty component. Otherwise, consider hiring a professional to ensure proper fixing.
Q3: Can I Fix Low Water Pressure on My Own?
A3: Low water pressure is often caused by clogged aerators or sediment buildup within the faucet. Cleaning the aerator may solve the issue. However, if the problem persists, it could indicate a larger plumbing issue, which may require professional assistance.
Conclusion
Maintaining and upgrading your faucet can have a big impact on both the environment and your water bill. By following these tips on how to install a new water supply line, you can ensure that your faucet is running efficiently while also reducing unnecessary water usage. Remember, small changes can make a big difference.
So be mindful of how you use your faucet and consider making eco-friendly upgrades for a more sustainable home.
Keep in mind that these recommendations apply to all types of faucets, from kitchen sinks to bathroom sinks, ensuring that every drop counts towards conserving our precious resources for future generations. Let’s do our part to protect the planet by being responsible with our water usage!

