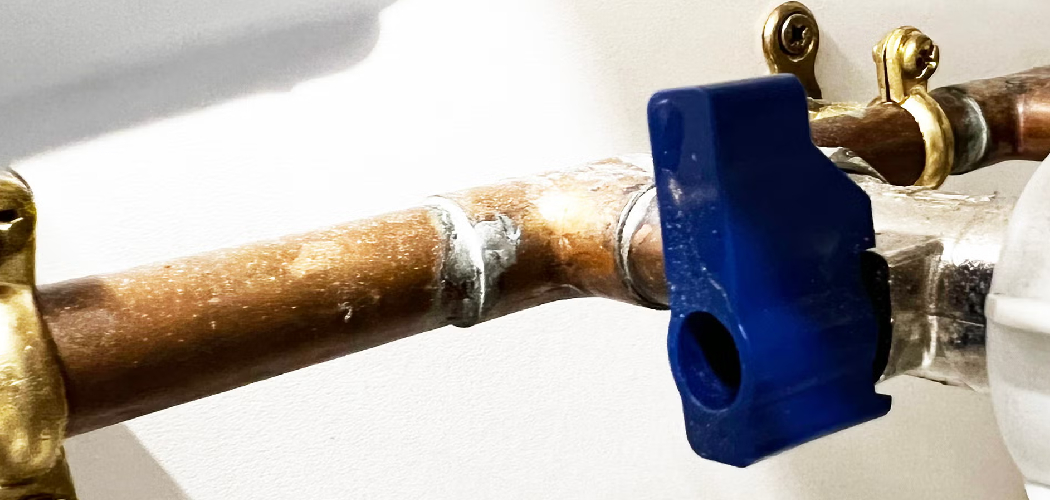
A plug elbow is a specialized plumbing fitting designed to effectively seal or block off a section of a drain pipe. This component is often used when unused drain pipe connections need to be sealed, during testing of drainage systems, or for creating temporary closures in plumbing setups. Its unique ability to provide a secure and reliable closure makes it an essential tool for both professional plumbers and DIY enthusiasts.
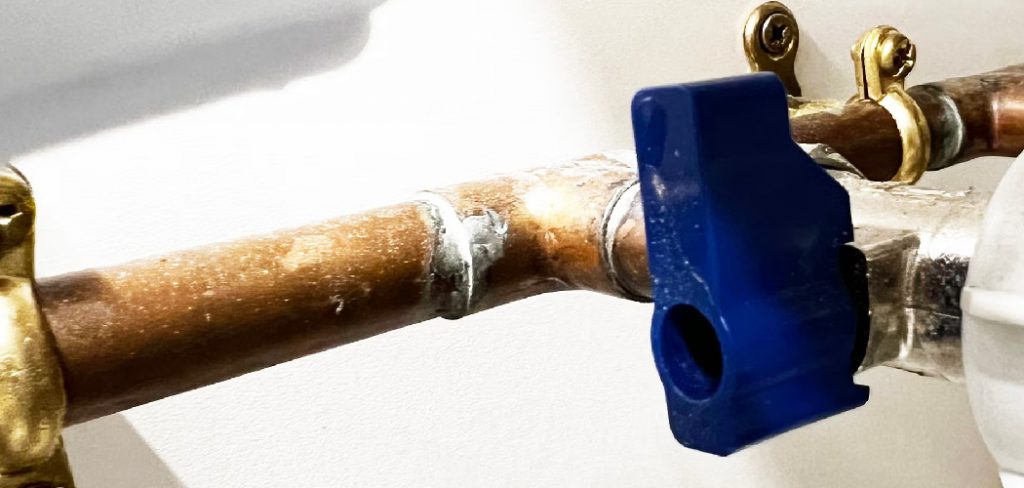
Plug elbows are particularly useful in maintaining the integrity of a drainage system, ensuring there are no leaks or open pathways that could lead to issues. Learning how to install a plug elbow on a drain pipe involves gathering the proper tools, adequately preparing the pipe, and following specific steps to ensure a tight and effective seal. With the right approach and attention to detail, installation can be completed quickly and successfully.
Tools and Materials Needed
Essential Tools
You will require several essential tools to install a plug elbow on a drain pipe. A pipe wrench and adjustable pliers are necessary for loosening and tightening pipe connections. A pipe cutter is crucial for making precise cuts when adjusting the pipe length, while a measuring tape ensures accurate measurements for proper fitting.
Materials for the Job
The primary material required is the plug elbow itself, which should be chosen based on the pipe’s size and material. Depending on the installation method, you will also need pipe cement or Teflon tape to create a secure, leak-proof connection. Rubber gaskets and sealing compounds are vital additions to ensure a durable and watertight seal.
Safety Considerations
Safety is paramount when dealing with plumbing materials. Always wear gloves to protect your hands and safety goggles to shield your eyes from debris or splashes. If you’re using pipe cement or any other chemical-based sealing material, working in a well-ventilated area is essential to avoid inhaling fumes. Proper preparation and adherence to safety protocols will establish an effective and secure installation process.
Turning Off the Water Supply
Shutting Off the Main Water Supply
Before beginning the installation, turning off the main water supply to prevent leaks and potential water damage is crucial. Locate the main shut-off valve, typically found near the water meter or entry point of the water system into the house, and close it securely. For added safety, notify other household members of the ongoing plumbing work to avoid unintentional water usage.
Confirming the Drain Pipe is Empty
Once the water supply is turned off, it’s important to ensure the pipe you’re working on is completely drained. Open nearby faucets to release any remaining water in the system, or use a plunger to help remove residual water from the pipe. This step minimizes mess and allows for a smoother installation process.
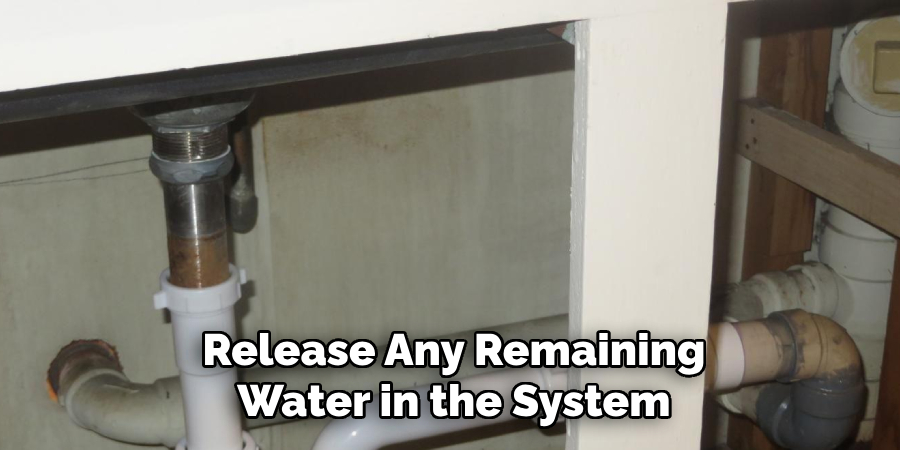
Importance of Proper Drainage Before Installation
Ensuring that the pipe is fully drained is a key step before attaching the plug elbow. Any leftover water in the line can result in spillage during installation, making the worksite messy and increasing the chance of errors. Proper drainage helps maintain a clean, safe work environment and ensures effective sealing.
Preparing the Drain Pipe for Installation
Cutting the Pipe to Fit the Plug Elbow
The first step in preparing the drain pipe is to measure and cut it accurately to ensure a proper fit for the plug elbow. Using a pipe cutter is highly recommended for this process, as it produces a clean and precise cut. Begin by marking the pipe at the desired length using a marker or pencil, ensuring accuracy. Position the pipe cutter on the marked spot and rotate it around the pipe, tightening the cutter with each turn until the pipe is severed. Maintaining a straight cut to avoid any potential fitting issues during installation.
Cleaning the Pipe Ends
Once the pipe is cut, cleaning the ends thoroughly is important. Use a clean rag or cloth to remove any dirt, debris, or traces of old pipe sealant from the edges. This step is crucial to ensure a smooth surface for the sealant and a proper fit for the plug elbow. Neglecting this step could compromise the effectiveness of the seal and increase the likelihood of leaks. A damp cloth or mild cleaning solution may be used for more persistent residue, but ensure the pipe is fully dry before proceeding.
Drying and Deburring the Pipe Edges
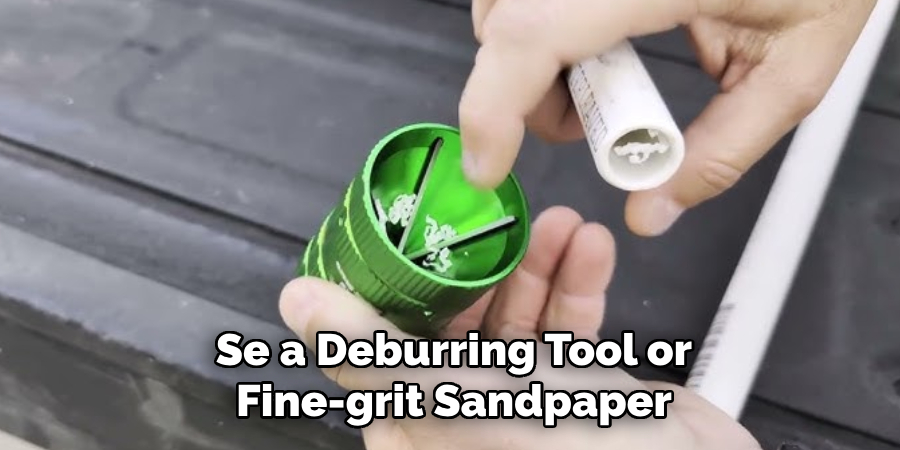
After cleaning, inspect the freshly cut edges of the pipe for any rough edges or burrs left behind by the cutting process. These burrs can interfere with the installation of the plug elbow and compromise the integrity of the seal. Use a deburring tool or fine-grit sandpaper to smooth out the pipe ends carefully. Run your fingers over the edges to confirm they are smooth and even. Finally, ensure the pipe and its edges are completely dry before moving forward with the installation. Proper pipe preparation sets the stage for a secure and leak-free connection.
Applying Sealant or Teflon Tape
Choosing the Right Sealant or Tape
Selecting the appropriate sealant or Teflon tape when installing the plug elbow is essential to ensure a reliable, watertight connection. The choice between pipe sealant and Teflon tape largely depends on the pipe’s material and the connection’s nature. Teflon tape is often the preferred option for metal pipes, as it enables easy disassembly in the future. For plastic pipes, especially PVC, pipe sealant or pipe cement might be more effective in creating a secure and lasting join. Always check the manufacturer’s recommendations for the specific type of pipe to decide which sealing method will work best for your installation.
Wrapping the Threads with Teflon Tape
If using Teflon tape, ensure that the threaded ends of the plug elbow are clean and dry. Hold the tape roll so that the non-sticky side faces outward, and wrap the tape clockwise around the threads. Start at the base of the threads and overlap the tape layers slightly as you proceed toward the end. Apply two to three layers of tape to achieve proper coverage, but avoid over-wrapping, as this could make threading difficult. Ensure the tape lies flat and smooth against the threads without any wrinkles or gaps, as uneven application can compromise the seal. Once wrapped, trim off any excess tape to avoid interfering with the connection.
Applying Pipe Cement (if applicable)
For PVC pipes or other plastic piping systems, pipe cement may be required instead of, or in addition to, a sealant or tape. Before applying cement, ensure that both the pipe and fitting surfaces are free of dust, grease, and moisture. Use the applicator brush provided with the cement to evenly apply a thin layer of primer (if necessary) followed by the cement to both the pipe and the fitting.
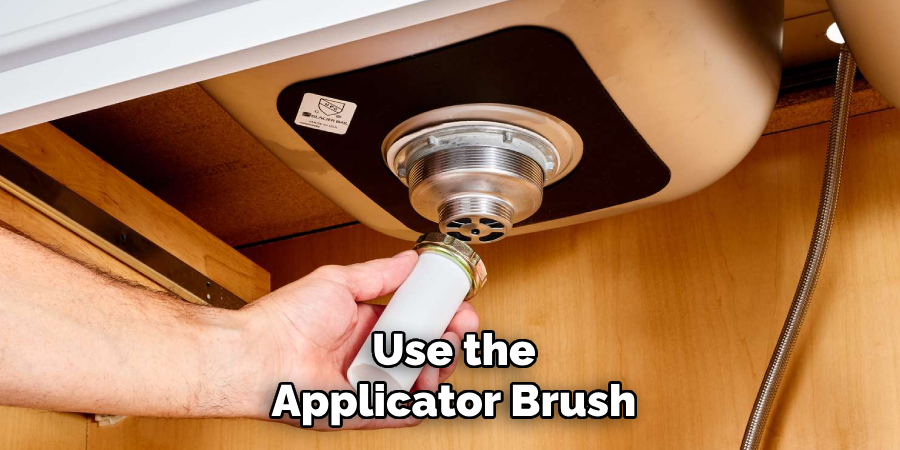
Insert the plug elbow immediately after applying the cement, as the material can dry quickly. Push the fitting firmly into place, then twist it slightly to distribute the cement evenly. Hold the connection steady for several seconds to allow the bond to form before releasing. Wipe excess cement away with a clean, dry cloth and allow sufficient curing time as the cement manufacturer recommends. Proper application of pipe cement ensures a strong, leak-proof connection.
How to Install a Plug Elbow on A Drain Pipe: Installing the Plug Elbow
Attaching the Plug Elbow to the Drain Pipe
Begin by screwing or fitting the plug elbow onto the prepared pipe section. Ensure the pipe section is clean and free of debris to ensure a proper fit. Gently thread the plug elbow by hand, turning it clockwise until it is securely in place.
Ensuring a Secure Fit
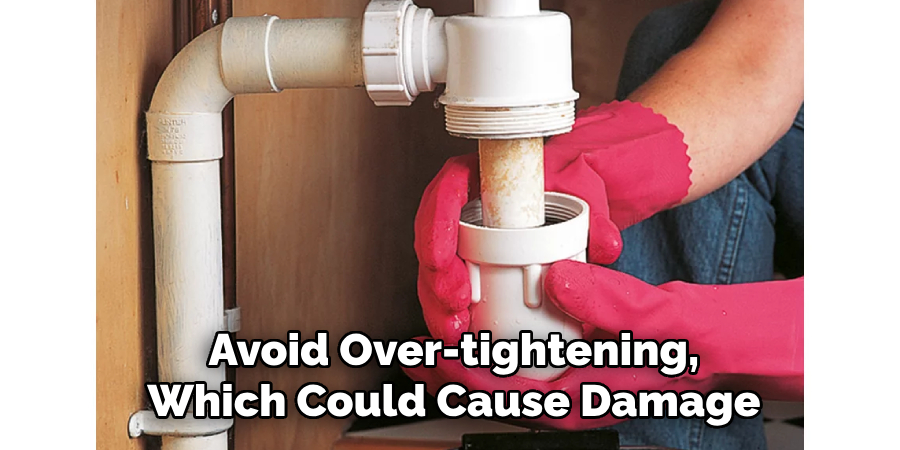
Once the plug elbow is hand-tightened, use a pair of pliers or a pipe wrench to secure the connection firmly. Be careful not to overtighten, as excessive force could damage the fitting or pipe. A snug fit is sufficient to prevent leaks.
Checking for Proper Alignment
After securing the plug elbow, verify that it is correctly positioned and aligned with the rest of the piping system. Misalignment can lead to unnecessary stress on the connection and may cause leaks. Adjust the elbow slightly, if needed, to ensure it aligns smoothly with the adjoining pipe sections.
Testing for Leaks and Inspecting the Connection
Turning On the Water Supply and Checking for Leaks
Gradually turn the water supply back on and scrutinize the plug elbow connection. Begin with a low flow and observe the fitting for any signs of moisture or water seepage. Move around the connection and surrounding area to ensure the installation is secure.
Making Adjustments if Necessary
If any minor leaks are detected, turn off the water supply and re-tighten the connection using pliers or a pipe wrench. In cases where the leak persists, consider adding more sealant or pipe tape to the threads before reassembling the joint. Ensure all adjustments are completed methodically to avoid over-tightening, which could cause damage.
Testing the Drain Functionality
Once the plug elbow connection is free of visible leaks, test the functionality of the entire drainage system. Direct water through the pipe to confirm it remains sealed, ensuring there is no water leakage during or after use.
Conclusion
Successfully learning how to install a plug elbow on a drain pipe ensures a secure and efficient drainage system. The key steps include shutting off the water supply, preparing the pipe, carefully installing the plug elbow, and testing for leaks. A properly installed plug elbow is essential for preventing water damage and maintaining the integrity of the plumbing system. For best results, regularly inspect your plumbing for signs of leaks and reapply sealant as needed to ensure a long-lasting seal. You can achieve a reliable and durable installation by following these tips and steps.

