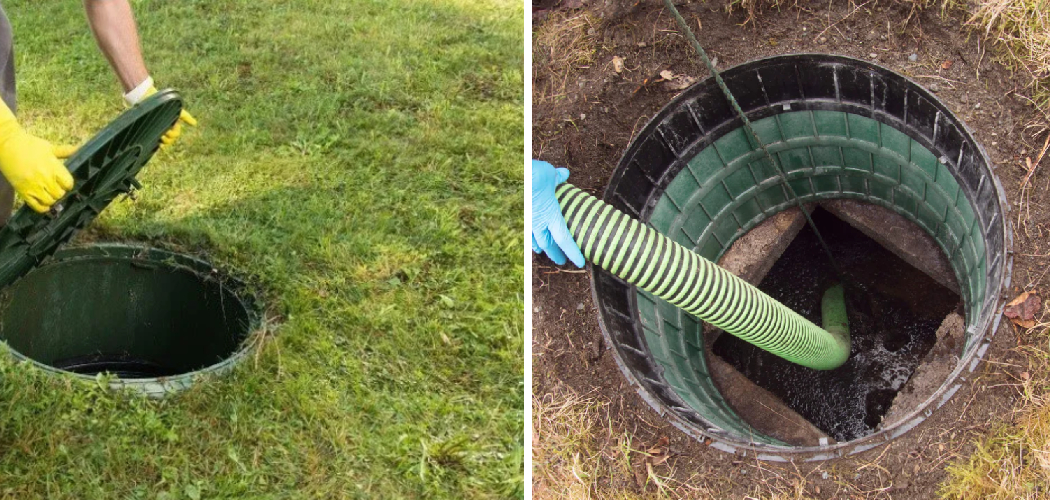
Installing a riser on a septic tank offers numerous benefits, making it a valuable enhancement for homeowners. Primarily, it facilitates easier access for maintenance, pumping, and inspections, ensuring that the septic system operates efficiently and prolongs its lifespan.
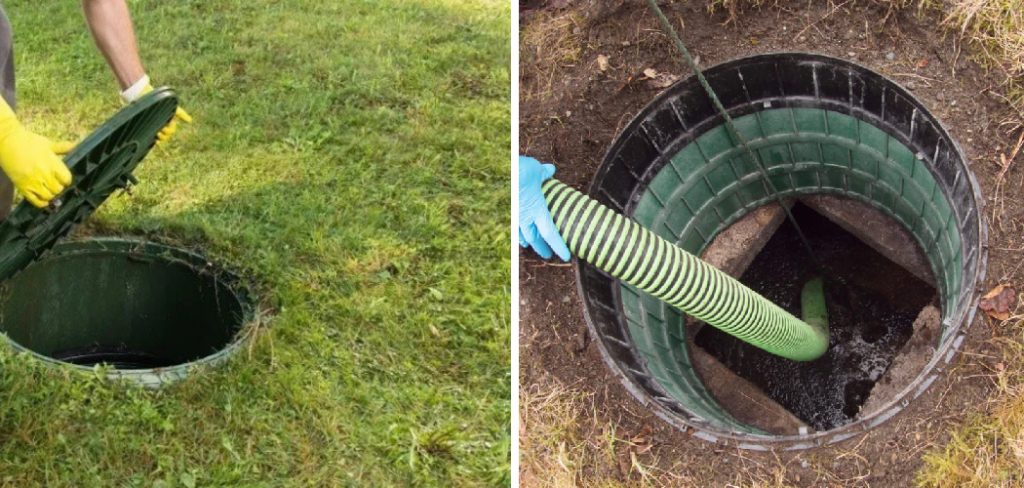
With a properly installed riser, routine checks can be conducted without the need for extensive excavation, saving both time and money. In this article, we will provide a comprehensive overview of how to install a riser on septic tank, securely fitting the riser to the existing access point and sealing it to prevent groundwater infiltration.
By following these steps, homeowners can significantly improve their septic system’s accessibility and functionality while adhering to necessary codes and regulations.
Tools and Materials Needed
To successfully install a riser on your septic tank, you will need the following tools and materials.
Tools
- Shovel or Excavator: This is used to dig around the septic tank to expose the existing access point.
- Measuring Tape: To ensure accurate measurements for the riser fitting.
- Drill and Screws: For securing the riser and any additional components.
- Pipe Wrench: Useful for tightening any fittings or connections.
- Level: To ensure the riser is installed correctly and maintains proper alignment.
Materials
- Riser Kit: This includes the riser itself, a lid, and an adapter if required to fit with the septic tank.
- Sealant: Use either butyl tape or silicone to create a watertight seal around the riser.
- Gravel or Backfill Material: This is used to stabilize the riser once it is installed.
- PVC Glue: This may be necessary if you’re working with PVC components during the installation.
Understanding Septic Tank Risers
What is a Septic Tank Riser?
A septic tank riser is a vertical pipe or structure that connects the septic tank to the surface ground level. Its primary purpose is to elevate the septic tank opening, providing direct access for maintenance, inspections, and pumping without requiring extensive excavation.
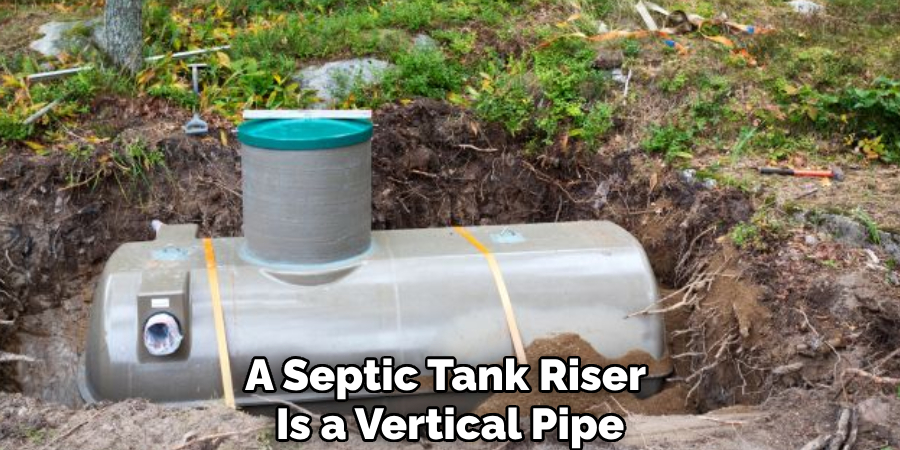
By bringing the access point to the surface, risers improve the functionality and efficiency of the septic system, making routine checks simpler and more convenient for homeowners.
Types of Risers
Septic tank risers are commonly made from plastic (PVC or polyethylene) and concrete. Plastic risers are lightweight, corrosion-resistant, and often easier to handle during installation.
However, they may be less durable than their concrete counterparts, which are heavy, sturdy, and resistant to damage but can be more challenging to install.
Riser Height Considerations
When selecting the appropriate riser height, it is essential to consider the depth of the septic tank and how much of the riser will be above ground. A riser should typically extend a few inches above the ground to prevent water accumulation while still aligning with local regulations and ensuring easy access for maintenance.
Preparing for Installation
Step 1: Locate the Septic Tank Lid
Before you start digging, locating the septic tank lid accurately is crucial. This may require you to consult your property records, as some tanks are buried deeply and not easily visible. If you’re unsure of the tank’s location, consider hiring a professional locator service.
Always prioritize safety by contacting your local utility services to mark any underground lines—this will help prevent accidental damage to existing piping or electrical systems during your excavation.
Step 2: Excavate Around the Tank
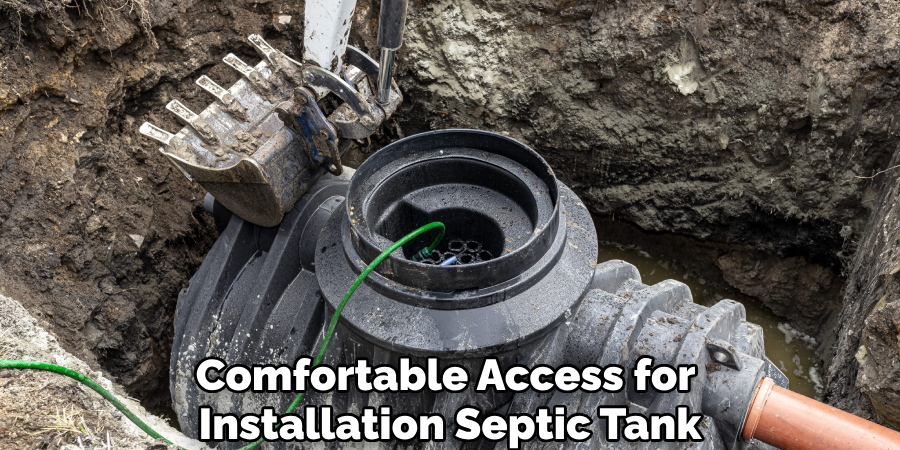
Once you have identified the location of the septic tank lid, use a shovel or excavator to carefully dig around the area. Make sure to create a generous space—at least three feet around the lid—to ensure comfortable access for installation.
As you dig, proceed with caution to avoid damaging the tank itself or any associated pipes. If you encounter roots or other obstacles, assess your approach to avoid complications; patience is key to a successful excavation.
Step 3: Clean the Tank Lid Area
After excavation, it’s essential to clean the surface around the tank lid thoroughly. Remove any dirt, debris, and remnants of old sealant to ensure a proper seal when installing the riser.
A clean surface will help prevent leakage and potential groundwater infiltration issues, contributing to your septic system’s overall longevity and functionality. Inspect the tank lid for any visible damage or wear that may need addressing before proceeding with the installation.
How to Install a Riser on Septic Tank: Installing the Riser
Step 1: Attach the Riser Base or Adapter
To begin the installation, carefully position the riser base or adapter over the existing septic tank lid. Ensure that the base fits snugly and aligns perfectly with the tank opening. Checking the orientation before securing it is crucial, as a misalignment can lead to leaks.
After confirming the correct placement, apply sealant around the perimeter of the tank lid to create a watertight seal. This step is essential to prevent any leakage that could compromise the system’s integrity.
Step 2: Install the Riser Sections
Stack the riser sections on top once the base or adapter is securely attached, ensuring they connect seamlessly to reach your desired height. If you’re using plastic risers, apply PVC glue at the joints for a strong, lasting bond.
For concrete or heavier materials, utilize screws to secure each section firmly. It’s important to check the vertical alignment of the risers as you build to maintain proper drainage and function of the septic system.
Step 3: Seal the Joints
After installing the riser sections, it’s time to seal the joints. Use butyl tape or silicone sealant to thoroughly cover the seams between each riser section. Ensure that the sealant is applied evenly and smoothly to create a watertight barrier. This is a critical step as it prevents groundwater from seeping into the septic system and also helps prevent any odors from escaping, ensuring a healthy environment around your home.
Step 4: Secure the Riser to the Tank
To ensure stability, secure the riser to the septic tank by using screws or bolts through the riser base into the tank lid. Make sure that the fasteners are tight and secure to prevent any movement over time. This step is essential to avoid potential shifting, which can lead to misalignment or leaks.
Step 5: Install the Riser Lid
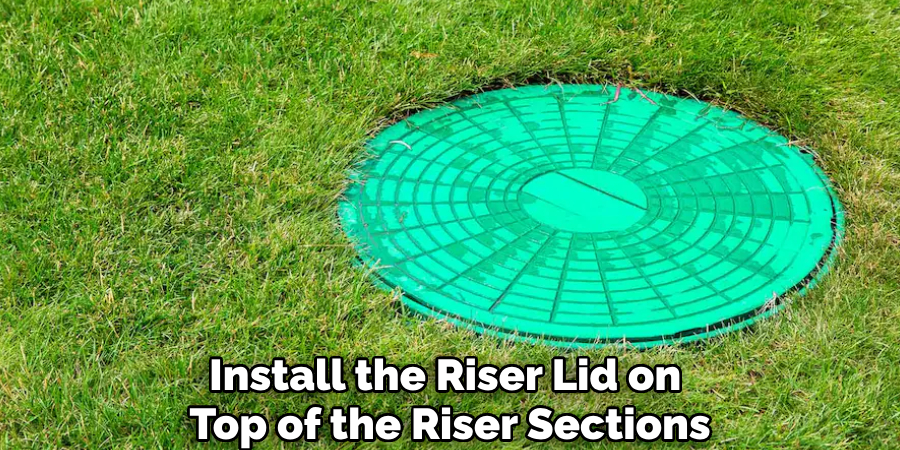
Finally, install the riser lid on top of the riser sections. Depending on the type of lid you are using, make sure that it is properly secured and locked if necessary. Opt for a heavy-duty lid designed to withstand weight and various environmental conditions, as this will protect your septic tank while ensuring continued access for maintenance. A well-fitting lid not only enhances safety but also prolongs the lifespan of your septic system.
Backfilling the Excavation
Step 1: Check for Proper Alignment
Before backfilling, ensure the riser is level and properly aligned with the ground surface. Use a level tool to verify that the riser sits straight and does not tilt. Make any necessary adjustments to the riser position to prevent shifting over time, which could lead to potential problems.
Step 2: Backfill Around the Riser
Carefully backfill the excavated area using clean gravel or soil, ensuring that you compact it down to avoid future settling. Start by filling around the edges of the riser, gradually adding material and packing it tightly.
It’s vital to create a slight slope away from the riser to direct water runoff and prevent any water from pooling around the riser, which could cause issues with your septic system. Aim for a smooth finish that seamlessly blends with the surrounding landscape.
Step 3: Final Inspection
After backfilling, perform a final inspection to ensure the riser is securely installed and stable. Check that the surrounding area is properly compacted and that the lid is tightly sealed to prevent any infiltration or odors. Confirming these details will help maintain the functionality of your septic system.
Maintenance and Tips
Regular Inspections
Conduct regular inspections of the riser and lid to ensure their longevity and functionality. Look for signs of damage, leaks, or shifting. Address any issues promptly to avoid complications affecting the overall septic system performance.
Protecting the Riser
It is crucial to keep heavy equipment and vehicles away from the riser to prevent any potential damage. Marking the riser’s location clearly can help avoid accidental impacts, ensuring it remains intact and accessible for maintenance.
Winterization Tips
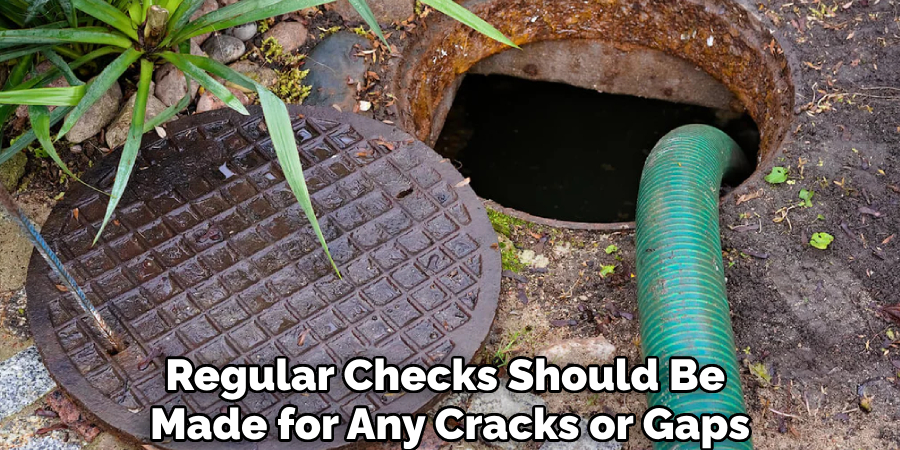
In colder climates, proper winterization of the riser is essential. Consider adding insulation around the riser to protect it from extreme temperatures. Additionally, regular checks should be made for any cracks or gaps that could allow frost to penetrate, safeguarding the system from winter-related damages.
Conclusion
In summary, installing a riser on your septic tank involves several key steps, including careful excavation, cleaning the tank lid area, attaching the riser base, stacking riser sections, sealing joints, securing the riser to the tank, and backfilling the excavation.
Each step is crucial to ensure a watertight seal and prevent leaks. We encourage you to consider this installation a rewarding DIY project, but remember to seek professional assistance if you encounter challenges or are unsure about any steps.
A properly installed riser not only provides easier access for future maintenance and repairs but also enhances the overall longevity of your septic system, avoiding costly repairs down the line. By understanding how to install a riser on septic tank, you can contribute to the health and efficiency of your system while enjoying the satisfaction of completing the project yourself.
Check it out to Pump Septic Tank

