Installing a Saniflo toilet is an excellent solution for creating a bathroom in locations where traditional plumbing may not be feasible. These innovative systems use a macerator pump to handle waste, allowing for installation in basements, attics, or other unconventional spaces. With proper planning and the right tools, installing a Saniflo toilet can be a straightforward DIY project.
This guide on how to install a Saniflo toilet will walk you through the process step-by-step, ensuring a successful and hassle-free installation.

Why Choose a Saniflo Toilet?
Before diving into the installation process, it’s essential to understand why a Saniflo toilet may be the best option for your space. Here are some of the key benefits of choosing a Saniflo toilet:
Versatility:
As mentioned earlier, one of the main reasons people choose a Saniflo toilet is its ability to be installed in unconventional spaces. This versatility makes it an excellent choice for small bathrooms or areas with limited plumbing access.
Cost-Effective:
Installing traditional plumbing in a new bathroom or renovating an existing one can be costly. Saniflo toilets offer a more cost-effective solution, as they require minimal construction work and do not rely on expensive plumbing lines.
Easy to Install:
With basic DIY skills and the right tools, installing a Saniflo toilet is relatively easy and straightforward. This not only saves money but also time and effort compared to traditional plumbing installations.
Tools and Materials Needed:
Before beginning the installation process, gather all the necessary tools and materials to ensure a smooth installation. These may include:
Saniflo Toilet Kit:
The first and most crucial item you will need is the Saniflo toilet kit, which includes all the necessary components for installation. This typically includes a macerator pump, tank, bowl, and seat.
Measuring Tape:
Accurate measurements are essential when installing a SaniFlo toilet. A measuring tape will help you determine the proper placement and positioning of the macerator pump and other components.
Power Drill:
A power drill will come in handy when securing the toilet to the floor and walls.
Pipe Cutter or Saw:
Depending on your existing plumbing setup, you may need a pipe cutter or saw to make necessary cuts to connect pipes to the macerator pump.
Screwdriver:
You may need a screwdriver to tighten screws and bolts during installation.

8 Step-by-step Guidelines on How to Install a Saniflo Toilet:
Step 1: Determine the Location
The first step in installing a Saniflo toilet is to decide on the ideal location for the unit. Choose a space that meets the following criteria: proximity to an existing water supply, access to an electrical outlet to power the macerator pump, and a clear path for connecting the discharge pipe to the drainage system.
Ensure the floor is level and sturdy enough to support the weight of the toilet and macerator system. Proper planning at this stage will help avoid complications during the installation process and ensure optimal performance of your Saniflo toilet.
Step 2: Assemble the Saniflo Toilet Components
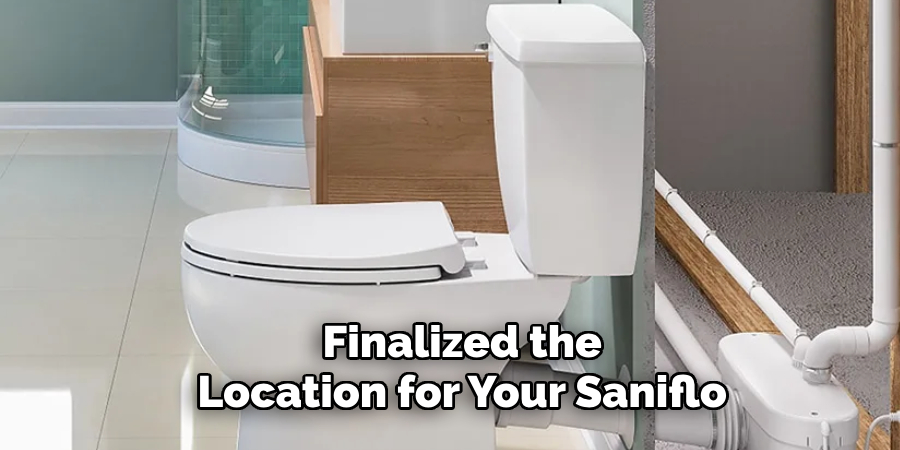
Once you have finalized the location for your Saniflo toilet, the next step is to assemble its components. Start by carefully unpacking the Saniflo toilet kit and verifying that all the necessary parts are included, such as the macerator pump, tank, bowl, seat, and any additional fittings or hardware. Follow the manufacturer’s instructions to attach the tank to the toilet bowl if they are not pre-assembled.
Next, connect the macerator pump to its designated inlet at the back of the toilet, ensuring all connections are secure and properly aligned. Use the provided clamps or fittings to fasten the discharge pipe to the macerator pump’s outlet.
At this stage, it’s important to avoid overtightening components, as this could damage seals or fittings. Once everything is assembled, double-check the connections for any potential leaks or misalignments before proceeding to the next step.
Step 3: Prepare the Drainage System
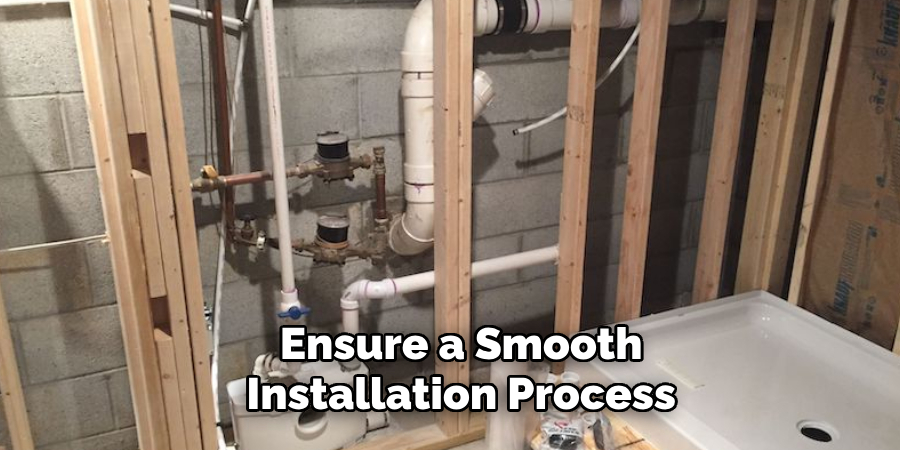
Before connecting the Saniflo toilet to the drainage system, it’s important to ensure that your existing plumbing is suitable for a macerator pump. Most conventional plumbing systems have a standard 3-inch waste pipe, which may not be compatible with the 1-inch discharge pipe of a Saniflo toilet. If this is the case, you will need to install an additional Y-connector or T-joint to connect the Saniflo discharge pipe to your existing drainage line.
Use a pipe cutter or saw to make precise cuts on your existing pipes and attach the fittings as per the manufacturer’s instructions.
Step 4: Install the Macerator Unit
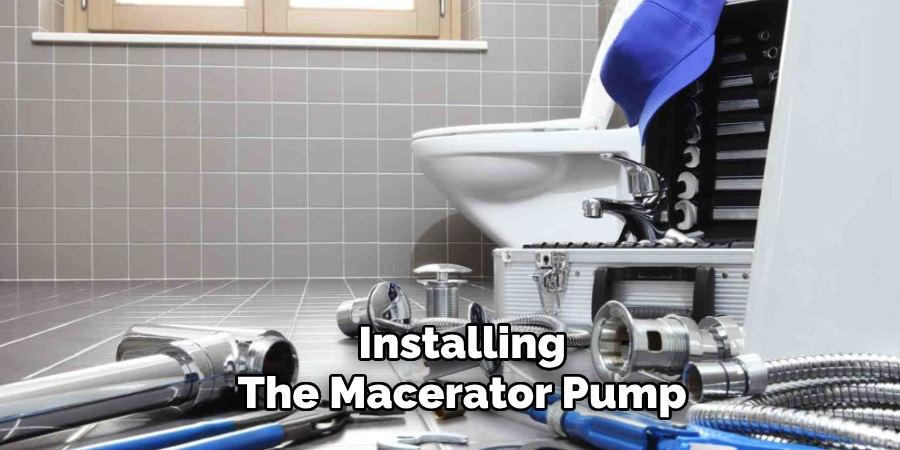
With the drainage system prepared, it’s now time to install the macerator unit. Using your measuring tape, carefully determine the distance between the Saniflo toilet and your existing drain pipe. Cut a section of the discharge pipe according to this measurement, ensuring that it fits snugly into both ends without any gaps.
Next, place the macerator unit in its designated location behind or beside the toilet. Use screws or brackets to secure it in place against a wall or sturdy surface.

Step 5: Connect Water Supply
After installing the macerator pump and preparing the drainage system, you can now connect your Saniflo toilet to a water supply source. This may involve connecting a water supply line from your existing plumbing or installing a separate water tank and pump for locations without easy access to a main water line.
Whichever option you choose, ensure that the water supply is connected to the toilet’s inlet valve.
Step 6: Secure the Toilet to the Floor
Once the macerator unit is in place and the water supply is connected, the next step is to secure the toilet to the floor. Position the toilet bowl over its intended location, ensuring it aligns correctly with the macerator unit and drainage connections. Use a measuring tape to verify proper alignment and spacing.
Once positioned, use the power drill to create pilot holes in the floor using the mounting holes on the base of the toilet as a guide. Then, insert screws or bolts into the pilot holes to firmly secure the toilet to the floor. Tighten the screws evenly to ensure the toilet remains stable and does not shift during use, but avoid overtightening to prevent cracking the porcelain or damaging the floor surface.
Step 7: Test and Adjust
With all the components in place, you can now test your Saniflo toilet installation. Start by filling the tank with water using the flush mechanism on your toilet. Wait for the macerator pump to start and observe if there are any leaks or unusual noises. If everything appears to be functioning correctly, flush several times to ensure proper operation.
If you notice any leaks or issues, turn off the water supply and carefully inspect all connections for loose fittings or misalignments. Make necessary adjustments until everything is properly sealed and aligned.
Step 8: Finalize Installation
Once you have tested and adjusted your Saniflo toilet installation, it’s time to finalize the process. Secure any loose fittings or connections, and use silicone sealant or plumber’s tape to ensure all joints are watertight. If desired, you can also add a decorative cover or base to conceal the macerator unit and create a more aesthetically pleasing look for your new toilet. Finally, clean up any debris and test the toilet one last time before enjoying your newly installed Saniflo toilet.
Following these steps on how to install a saniflo toilet will ensure that your Saniflo toilet is properly installed and ready for use. Remember to always follow the manufacturer’s instructions and consult a professional plumber if you encounter any difficulties during the installation process. With proper installation, your Saniflo toilet can provide convenience, efficiency, and reliable performance for years to come.

Additional Considerations:
When installing a Saniflo toilet, it’s important to consider the overall layout of your bathroom or space where it will be installed. Make sure there is enough room for the macerator unit behind or beside the toilet, as well as space for proper ventilation and access to the unit for maintenance purposes.
Additionally, it’s important to regularly maintain your Saniflo toilet by following the manufacturer’s recommended cleaning methods and scheduling regular inspections with a professional plumber. This can help identify any potential issues before they become major problems and ensure that your Saniflo toilet continues to function properly.
Lastly, be aware of any local building codes or regulations that may apply to installing a macerating toilet in your area. It’s always best to check with your local authorities before beginning any home improvement projects to avoid any potential legal issues or fines.
With proper installation, maintenance, and consideration of all factors, a Saniflo toilet can be a valuable addition to your home or space, providing convenience and efficiency without the need for major plumbing renovations. So why wait? Install a Saniflo today and enjoy all the benefits it has to offer! Happy flushing!

Conclusion:
Installing a Saniflo toilet is a practical solution for spaces where traditional plumbing may be difficult or expensive to implement. By following the step-by-step installation guides on how to install a saniflo toilet and considering additional factors such as maintenance and local building codes, you can ensure a smooth installation process and long-term functionality.
Saniflo toilets offer versatility, efficiency, and the ability to create bathrooms in unconventional spaces, making them a worthwhile investment for homeowners and property developers alike. With proper care and attention, your Saniflo toilet will perform reliably for years to come.

