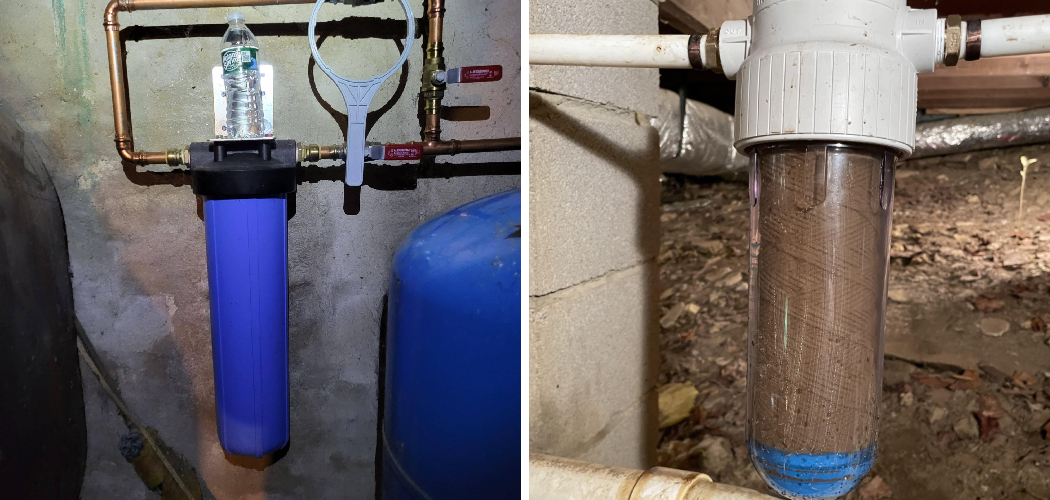
Are you tired of constantly cleaning your pipes and faucets because of sediment buildup? Don’t worry, installing a sediment filter can help solve this problem and improve the water quality.
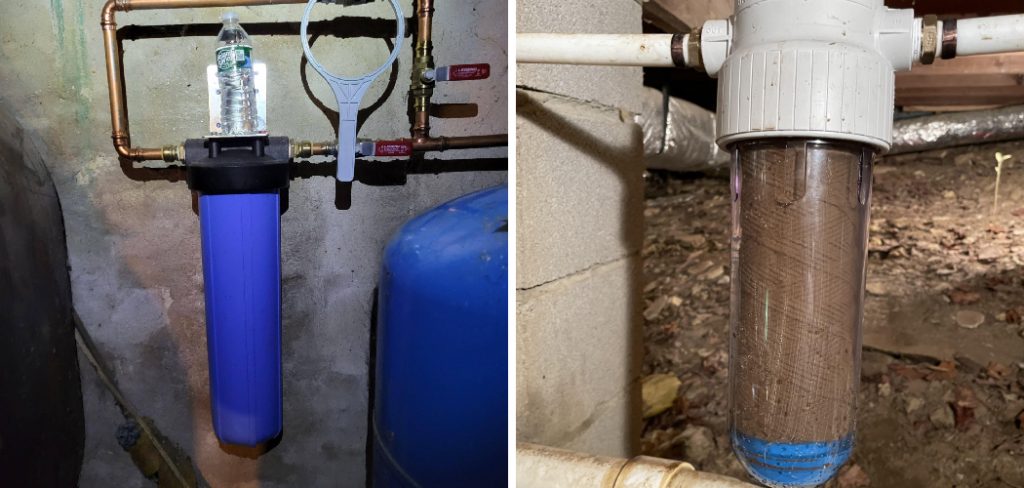
How to install a sediment filter is a crucial step in maintaining clean and safe water for your home or business. Sediment filters are designed to remove particles like sand, dirt, and rust from your water supply, ensuring your plumbing and appliances remain efficient and protected. Whether you’re aiming to improve water quality or extend the lifespan of your water filtration system, understanding the installation process can save you time and money.
This guide will walk you through the key steps and considerations for installing a sediment filter, making the process straightforward and accessible for both beginners and experienced DIY enthusiasts.
What Are the Benefits of Installing a Sediment Filter?
Before we dive into the installation process, let’s first understand why sediment filters are beneficial.
- Improved Water Quality: The primary purpose of a sediment filter is to remove impurities and particles from your water, resulting in cleaner and clearer drinking water for you and your family.
- Extended Appliance Lifespan: By removing sediment and rust from your water supply, sediment filters can protect your appliances, such as washing machines, dishwashers, and water heaters, from damage caused by buildup.
- Cost Savings: Replacing appliances due to damage from build-up can be expensive. By installing a sediment filter, you can extend the lifespan of your appliances and save money in the long run.
- Improved Water Pressure: Sediment and rust build-up can clog your plumbing system, causing a decrease in water pressure. By removing these particles with a sediment filter, you can maintain optimal water pressure throughout your household.
- Better Taste and Odor of Water: In addition to improving the appearance of your drinking water, sediment filters can also enhance its taste and odor. This is because sediments and rust can give your water supply an unpleasant taste and smell.
What Will You Need?
To install a sediment filter in your home, you will need the following materials and tools:
- Sediment filter
- Filter housing
- Wrench
- Teflon tape
- Screwdriver
- A bucket or towels for catching water drips
Once you have gathered all the necessary materials and tools, you can proceed with the installation.
10 Easy Steps on How to Install a Sediment Filter
Step 1. Turn Off the Water Supply
Before starting the installation process, it is crucial to turn off the main water supply to your home. This step ensures that no water flows through the pipes while you are working, preventing leaks, spills, or accidents. Locate the main water shut-off valve in your home, which is typically found near your water meter or where the main supply line enters your house.
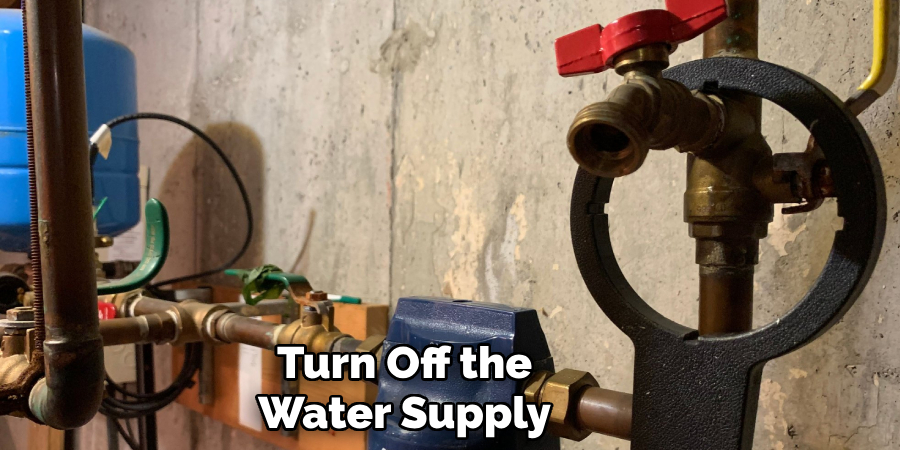
Turn the valve clockwise to shut it off completely. Afterward, open a faucet or two in your home to release any residual water pressure in the system. This will make the installation process smoother and safer.
Step 2. Relieve Water Pressure
By relieving the water pressure, you ensure that no water remains trapped in the pipes, reducing the risk of water spraying out when you disconnect or connect plumbing components. To do this effectively, open the faucets located at the lowest and highest points in your home.
For instance, you could open a faucet in the basement and another on the top floor. This allows gravity to help fully drain the system. Additionally, flushing a toilet can help release water from the pipes more completely.
Step 3. Choose the Installation Location
Choosing the correct installation location is crucial for ensuring your system operates efficiently and safely. Start by identifying a spot that is easily accessible for maintenance and inspections, as this will save effort in the long run. Ensure the area is clean, dry, and free from any potential hazards, such as excessive heat, moisture, or direct sunlight, which could damage the components over time.
Additionally, examine the surrounding space to confirm there is adequate room for any necessary fittings, hoses, or connectors, as cramped conditions can lead to installation difficulties. Keep in mind the importance of proximity to other systems, such as water mains or electrical outlets, depending on the type of installation. Planning and considering these factors will help streamline the process and provide a durable, long-lasting setup.
Step 4. Cut the Pipe
Carefully measure the pipe to the exact length required for the installation. Use a measuring tape and marker to indicate where the cut should be made clearly. Double-check your measurements to avoid errors, as an improperly cut pipe can lead to leaks, added expenses, or delays in the project. Once marked, use an appropriate pipe cutter or saw designed for the pipe material—whether it’s PVC, copper, or another type—to make a clean and straight cut.
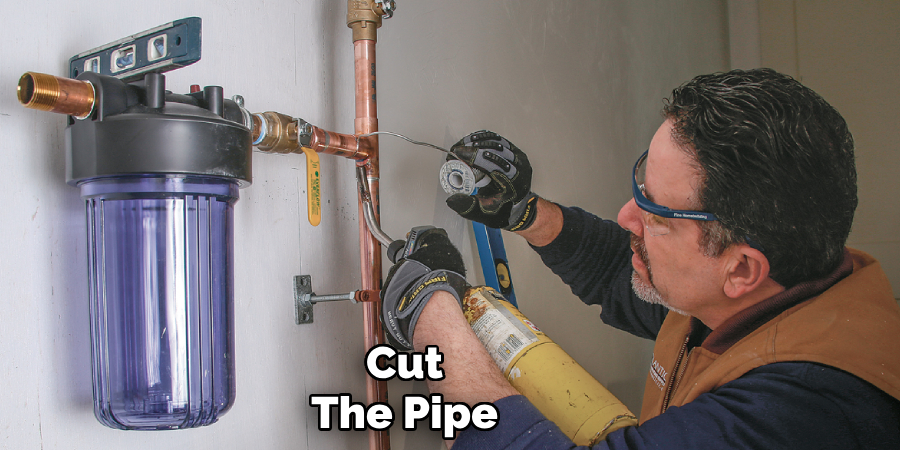
Ensure the cutting tool is sharp and in good condition to achieve precision and minimize damage to the pipe. After cutting, inspect the edges for burrs or rough areas. Use a deburring tool or sandpaper to smooth the edges, as this will improve the fit and help prevent potential blockages or inefficiencies in the system.
Step 5. Attach the Filter Housing Bracket
Choose a location to mount the filter housing bracket that is easily accessible for future maintenance, such as filter replacement. The bracket should be installed on a solid, stable surface to securely hold the filter housing and prevent it from moving or vibrating.
Before attaching the bracket, double-check its alignment with the piping system to ensure the filter housing will sit properly in line with the water flow. Use a level tool to make sure the bracket is mounted straight, which will prevent stress on the connected pipes.
Step 6. Wrap Threads with Teflon Tape
Teflon tape, also known as plumber’s tape, is an essential material for creating a reliable seal on threaded pipe connections. Before wrapping, ensure the threads are clean and free of any debris or old tape remnants that could interfere with the seal. Begin at the base of the threads and wrap the Teflon tape in a clockwise direction, following the direction the pipe will be screwed in. Overlap each layer slightly as you wrap, aiming for 3 to 4 complete rotations around the threads. This ensures the tape is thick enough to create a tight seal.
Step 7. Connect the Filter Housing to the Pipe
Once the Teflon tape is securely in place, carefully align the filter housing with the threaded pipe connection. Begin by hand-tightening the connection to ensure it fits snugly without cross-threading. Cross-threading can damage the threads and compromise the seal, so take your time during this step.
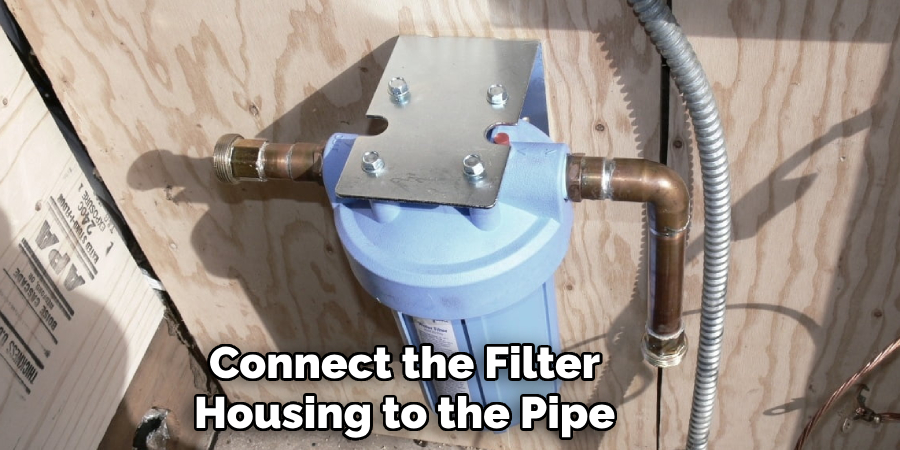
Once the threads are correctly aligned and the connection is hand-tight, use a suitable pipe wrench or a similar tool to tighten the connection further, but be careful not to overtighten. Overtightening can crack the housing or warp the threads, leading to potential leaks over time. It’s crucial to maintain a firm grip to control the force you’re applying.
Step 8. Insert the Sediment Filter
Carefully unpack the sediment filter, ensuring that it remains clean and free from any debris that might have accumulated during storage. Before placement, inspect the filter for any visible damage, such as cracks or tears, as this could impact its effectiveness. Position the filter into the designated housing, aligning it properly to ensure it sits securely. If the filter has an orientation or flow direction marked, follow these guidelines for optimal performance. A properly installed filter is crucial in removing particles like dirt, sand, and rust, ensuring your water remains clean.
Step 9. Test the Installation
After installing the filter, the next crucial step is to test the system to ensure everything is functioning correctly thoroughly. Begin by slowly turning on the water supply to allow the system to fill gradually, without causing a surge of pressure that could dislodge the newly installed filter. While the water flows, carefully inspect the connection points and housing for any leaks or irregularities. Ensure that there are no drips or signs of water escaping, as this could indicate improper sealing or misalignment.
Step 10. Flush the Filter
Allow the water to flow through the system for several minutes to flush out any debris, residual carbon dust, or impurities that may have accumulated during the installation process. This step is crucial for ensuring clean and safe water. Direct the flushed water into a sink or drain, as it may appear discolored or cloudy at first, which is normal. Keep the water running until it flows clear and free of particles. Additionally, check if the system’s flow rate aligns with the manufacturer’s specifications to confirm proper functionality.
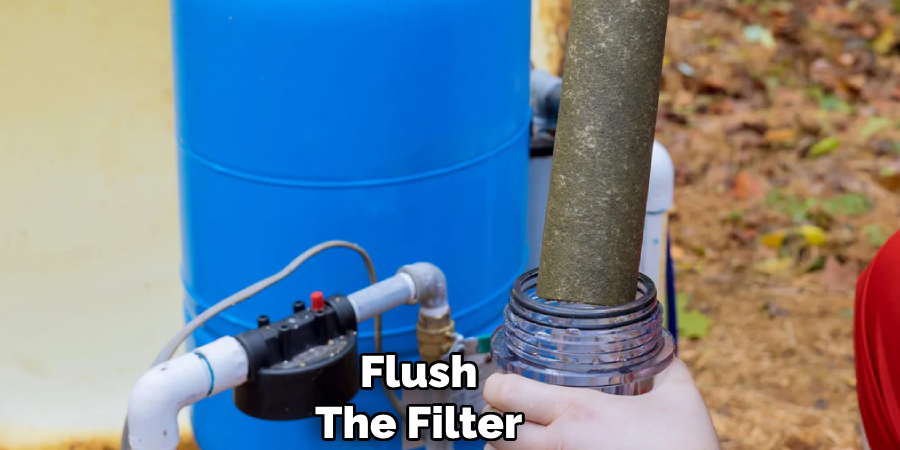
By following these steps, you will have successfully installed a sediment filter, which will improve the quality and clarity of your home’s water supply.
Conclusion
How to install a sediment filter is a manageable process that significantly enhances the quality of your water supply.
By carefully following the steps—preparing the necessary tools, ensuring proper placement, securely attaching fittings, and flushing the system—you can ensure optimal functionality and longevity of the filter. Regular maintenance, such as replacing the filter cartridge as recommended, will further ensure clean and particle-free water.
With these straightforward steps, you can enjoy the long-term health and household benefits of a well-installed sediment filter.

