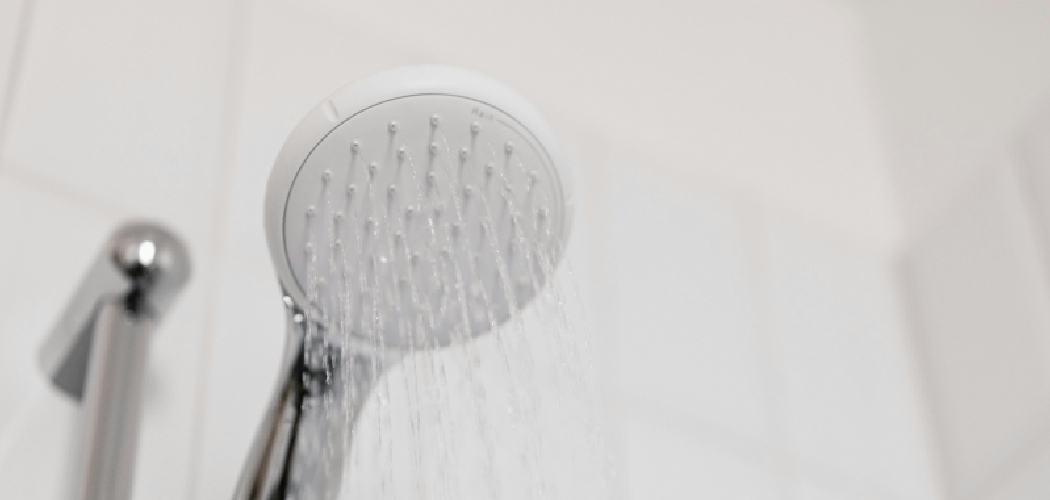
Installing a shower head is a straightforward task that can enhance your bathroom experience without requiring professional assistance. Whether you’re replacing an old shower head or upgrading to a newer model, this guide will walk you through the steps of how to install a shower head quickly and efficiently. With just a few tools and a little effort, you’ll enjoy a refreshed and functional shower in no time.
Benefits of Replacing or Upgrading a Shower Head
Replacing or upgrading your shower head comes with several advantages that can transform your daily shower experience. First, a new shower head can improve water pressure and flow, ensuring a more satisfying and efficient shower.
Additionally, modern shower heads often include features such as adjustable spray patterns or water-saving technology, which help conserve water and reduce utility bills. For those seeking luxury, upgraded models may offer features like rainfall settings, built-in filters, or even LED lighting. Replacing an old or clogged shower head also improves hygiene by eliminating potential buildup of mineral deposits and bacteria. Overall, upgrading your shower head enhances comfort, efficiency, and style in your bathroom.
Materials and Tools Needed
To replace or upgrade your shower head, you’ll need the following materials and tools:
- New shower head (either handheld, fixed, or rainfall, depending on your preference)
- Adjustable wrench or pliers for loosening and tightening connections
- Thread seal tape (commonly referred to as plumber’s tape) to ensure a leak-proof seal
- Soft cloth or rubber grip to protect the fixture’s finish while using tools
- Old toothbrush or small brush for cleaning the pipe threads
- Bucket or towels to catch any drips during installation
Having these items on hand will streamline the process and ensure smooth installation.
10 Methods How to Install a Shower Head
1. Prepare the Workspace and Gather Tools
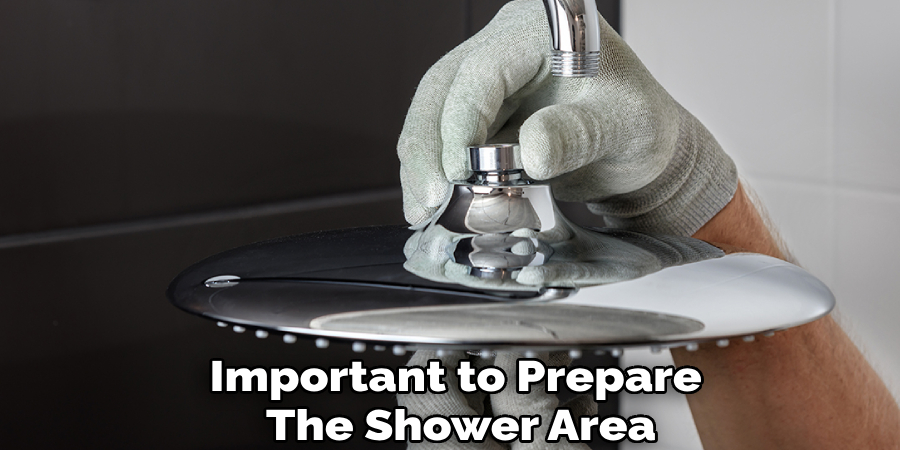
Before beginning the installation, it’s important to prepare the shower area and assemble the necessary tools. Clear the shower space of any loose items like shampoo bottles or hanging caddies. Ensure the water supply is turned off at the shower valve or main water source if needed, though most shower head installations don’t require full shutoff. Gather tools such as an adjustable wrench, plumber’s tape (Teflon tape), a rag or cloth, and possibly a step stool if the shower arm is high. Having everything ready and within reach minimizes interruptions and makes the process more efficient.
2. Remove the Existing Shower Head
If replacing an old shower head, begin by removing it. Hold the shower arm steady with one hand and use the adjustable wrench to loosen the base of the old shower head with the other. If the head is particularly tight or corroded, wrap a cloth around the base before applying the wrench to avoid damaging the finish. Twist counterclockwise until it detaches from the shower arm. Once removed, inspect the shower arm threads for any old plumber’s tape or residue and clean them thoroughly with a rag or small wire brush if needed.
3. Inspect and Clean the Shower Arm
With the old shower head removed, take a moment to examine the exposed threads of the shower arm. Look for signs of rust, corrosion, or wear. Wipe the threads clean and ensure they’re smooth. If the threads appear damaged, replacing the shower arm may be necessary, which involves unscrewing it from the wall and installing a new one using the same steps described for the shower head. A clean and well-maintained thread ensures a watertight seal and reduces the chance of leaks after installation.
4. Apply Plumber’s Tape to Threads
To create a water-tight connection, wrap plumber’s tape (also known as Teflon tape) around the threads of the shower arm. Start at the base of the threads and wrap in a clockwise direction two to three times, overlapping slightly. Be careful not to cover the opening of the pipe or wrap too thickly. The tape acts as a sealant that helps prevent leaks when the new shower head is screwed on. Press the tape gently into the threads with your fingers to ensure a snug fit and smooth installation.

5. Hand-Tighten the New Shower Head
Begin attaching the new shower head by screwing it onto the taped shower arm by hand. Turn it clockwise, taking care to align it properly and avoid cross-threading. Most manufacturers recommend hand-tightening to avoid over-compression of internal washers or damage to the fittings. In many cases, hand-tightening is sufficient to create a leak-free seal, especially when Teflon tape has been applied correctly. However, if the instructions call for tool assistance, proceed with caution using a wrench wrapped in cloth to protect the fixture’s finish.
6. Use a Wrench for a Snug Fit (if needed)
If the new shower head requires additional tightening, use an adjustable wrench to give it a quarter turn beyond hand-tight. Wrap a soft cloth around the shower head’s base to prevent scratching, then gently tighten. Avoid overtightening, as this can strip the threads, crack plastic components, or compromise the built-in washer. This method is especially useful when installing metal shower heads, which may require a firmer connection to avoid leaks under higher water pressure.
7. Check for Leaks and Adjust
Once the shower head is securely in place, turn on the water supply and test the fixture. Let water run through for a few minutes, observing around the base for any signs of leakage. If leaks are visible, turn off the water and attempt to tighten the connection slightly more. If leaking persists, remove the shower head, reapply fresh plumber’s tape, and reinstall it. Checking for leaks at this stage ensures that you won’t encounter unwanted dripping or water waste later during use.
8. Adjust Spray Settings and Angles
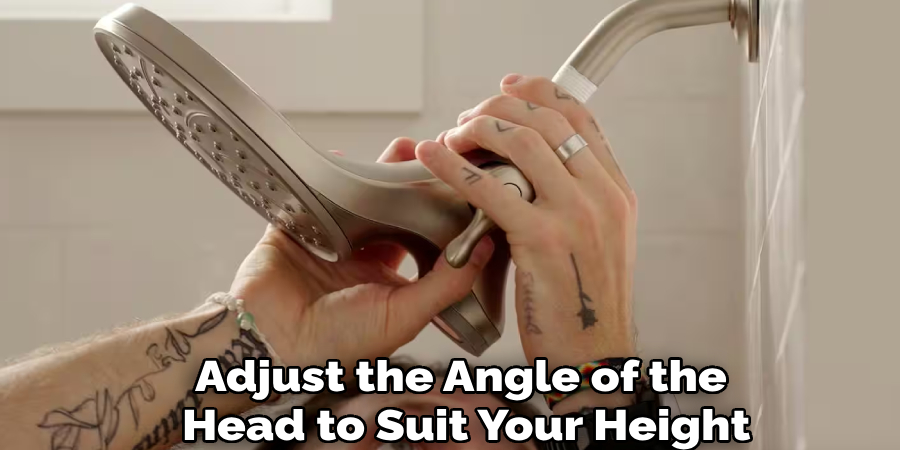
Many modern shower heads offer adjustable spray patterns or angles. Once installed and leak-free, take a few minutes to explore the spray options. Test various settings to ensure they function correctly, and adjust the angle of the head to suit your height and comfort. If the shower head is mounted on a ball joint, it should rotate easily; if it feels stiff or loose, make appropriate adjustments. This step personalizes the installation to meet your preferences and maximizes comfort.
9. Add Optional Accessories or Extensions
For enhanced convenience or reach, consider adding accessories like a shower head extension arm, a swivel adapter, or a handheld diverter. These components can improve accessibility for children, elderly users, or taller individuals. To install them, simply unscrew the new shower head, attach the accessory to the shower arm with plumber’s tape, then reattach the head. Follow the same tightening and leak-checking steps. Optional additions can transform a basic installation into a custom shower experience without extensive remodeling.
10. Maintain the Shower Head Over Time
A successful installation doesn’t end with first use—it includes ongoing care. Mineral deposits can accumulate in the nozzle openings, especially in areas with hard water. Clean your shower head periodically by soaking it in a vinegar-water solution or using a toothbrush to scrub the jets. Detachable models are easier to clean; fixed ones can be wrapped in a plastic bag filled with vinegar and secured with a rubber band overnight. Maintaining your shower head keeps water pressure optimal and ensures longevity for years of use.
Maintenance and Upkeep
Regular maintenance not only ensures the performance of your shower head but also adds to its lifespan. Beyond periodic cleaning, inspect your shower head for signs of wear, such as cracks, leaks, or decreased water flow. Replace washers and O-rings if you notice leaks around the connections. For shower heads with adjustable spray settings, occasionally check the mechanisms to ensure smooth operation.
If you live in an area with hard water, consider installing a water softener to reduce mineral buildup. Simple maintenance practices, when performed consistently, will keep your shower head functioning efficiently and help you avoid costly replacements.
Common Mistakes to Avoid
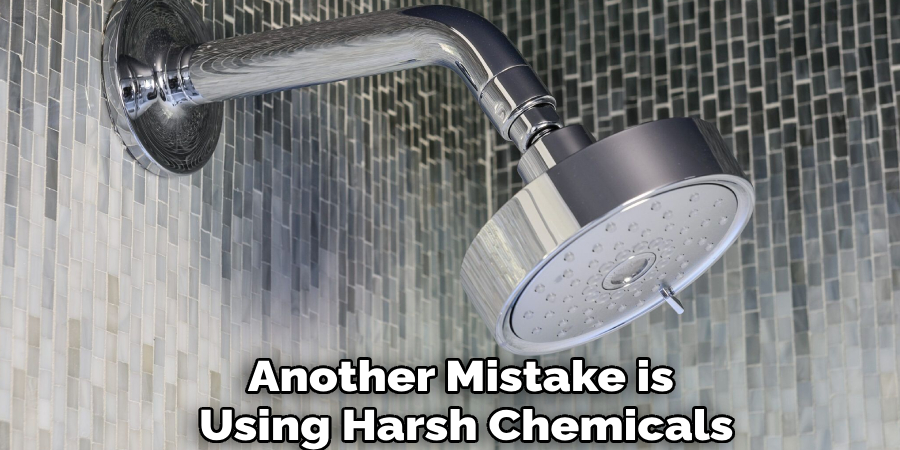
When maintaining your shower head, there are some common mistakes that can reduce its efficiency or even cause damage. One frequent error is neglecting regular cleaning, which allows mineral deposits and mold to accumulate over time, leading to blockages and poor water flow. Another mistake is using harsh chemicals or abrasive tools for cleaning, as these can corrode or scratch the surface of the shower head.
Failing to replace old washers and seals can also result in persistent leaks, wasting water and increasing utility bills. Lastly, using excessive force when tightening connections can crack fittings or damage threads, so always secure components gently but firmly. Avoiding these pitfalls will ensure your shower head remains in top condition for years to come.
Conclusion
Installing a shower head is a task well within the reach of most homeowners, requiring minimal tools but benefiting greatly from care and attention to detail. Each of the ten methods above contributes to a seamless installation—from preparation and proper sealing to tightening, testing, and personalizing. Whether you’re replacing a worn-out fixture or upgrading to a more luxurious model, following these steps ensures a watertight, efficient, and customized result. Thanks for reading, and we hope this has given you some inspiration on how to install a shower head!

